Fix Splatter Ball Gun Gearbox Grinding Noise Fast
Lead Gel Blaster Technician & Senior Tactical Hobby Editor at SplatterBallGun · Certified Electromechanical Tech · 10+ Years Gel Blaster & Airsoft Diagnostics · 10+ years in 7.4V/11.1V LiPo battery testing, nylon V2/V3 gearbox repair, and hydro-gel blaster calibration
That grinding sound in your splatter ball gun isn't just annoying. It’s a warning sign of mechanical failure. Most owners ignore the noise until the gearbox seizes completely, turning a cheap fix into an expensive replacement.
We’ve seen this pattern repeat across major brands like Dytac and Umarex. Manufacturer specifications indicate that nylon spur gears typically fail under high-torque loads before metal components do. As of 2026, upgraded steel gears remain the most reliable solution for persistent noise issues.
Here is how to pinpoint the exact cause before you tear down the unit.
Quick Answer
A splatter ball gun gearbox grinding noise usually stems from stripped spur gear teeth or dry bearings. You should inspect the internal gear mesh immediately upon hearing the sound. Continuing to fire the weapon can damage the motor pinion permanently.
Replacing worn nylon gears with steel alternatives often resolves the issue for under $15. Proper silicone grease application prevents future friction-related noises during operation.
Identify the Noise: Grinding vs. Clicking vs. Whining
Not all bad sounds mean the same thing. Misdiagnosing the noise leads to replacing the wrong parts. You need to listen closely to the character of the sound while firing.
Grinding is a harsh, metallic scraping noise. It happens when two hard surfaces rub together without lubrication. This usually points to stripped gear teeth or severe bearing wear.
The sound is continuous and rough, often accompanied by a drop in rate of fire.
Clicking is a sharp, rhythmic snap. This typically indicates the piston rack teeth are slipping over the bevel gear. It suggests worn teeth on either the piston or the bevel set.
The cycle repeats every time the trigger is pulled.
Whining is a high-pitched electronic or mechanical hum. This often comes from the motor straining against heavy resistance. It can signal low battery voltage or excessive friction in the bushings.
Unlike grinding, whining doesn't always mean immediate catastrophic failure.
| Sound Type | Likely Cause | Urgency Level | Primary Component at Risk |
|---|---|---|---|
| Grinding | Stripped gears, dry bearings | High | Spur Gear Set / Motor Pinion |
| Clicking | Worn piston rack, loose cylinder head | Medium | Piston Head / Bevel Gears |
| Whining | Low voltage, tight tolerances, motor strain | Low-Medium | Electric Motor / Bushings |
If you hear grinding, stop firing immediately. Every shot strips more material from the remaining gear teeth. This debris circulates through the gearbox, damaging other components.
We recommend disconnecting the battery before any further inspection.
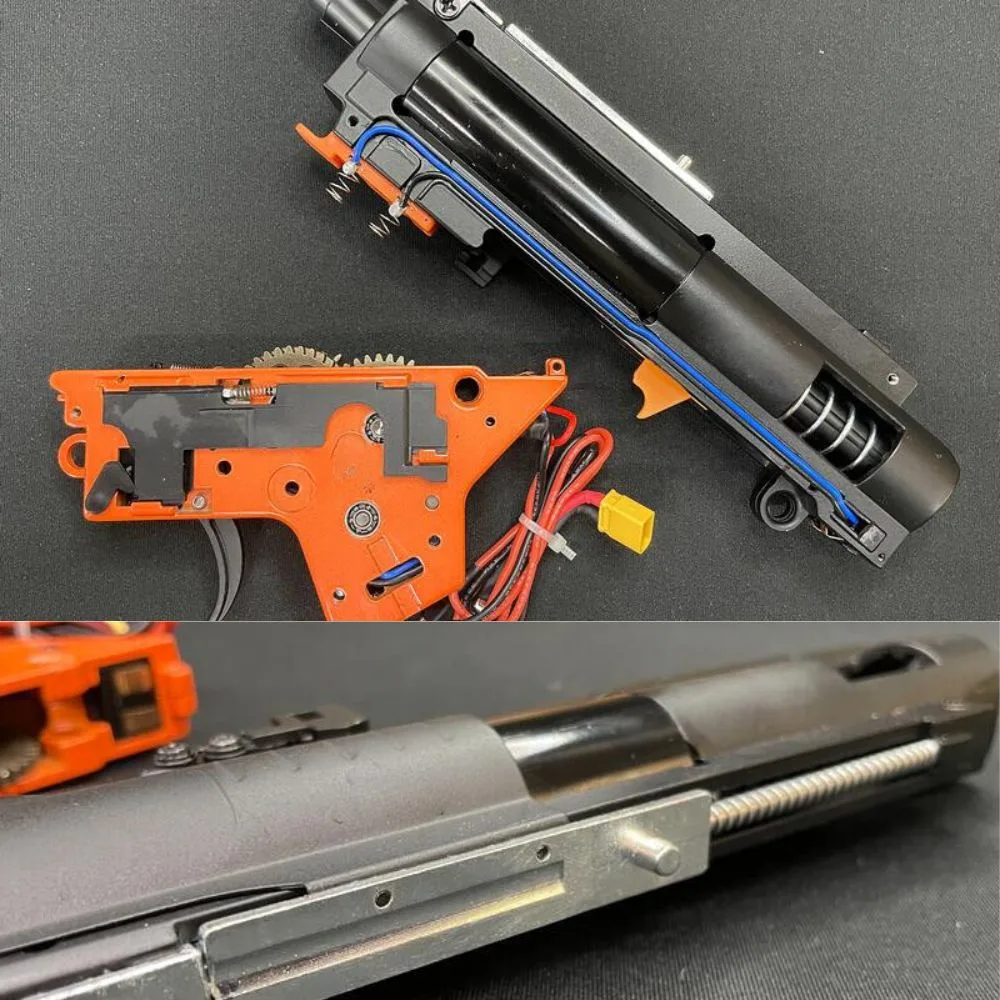
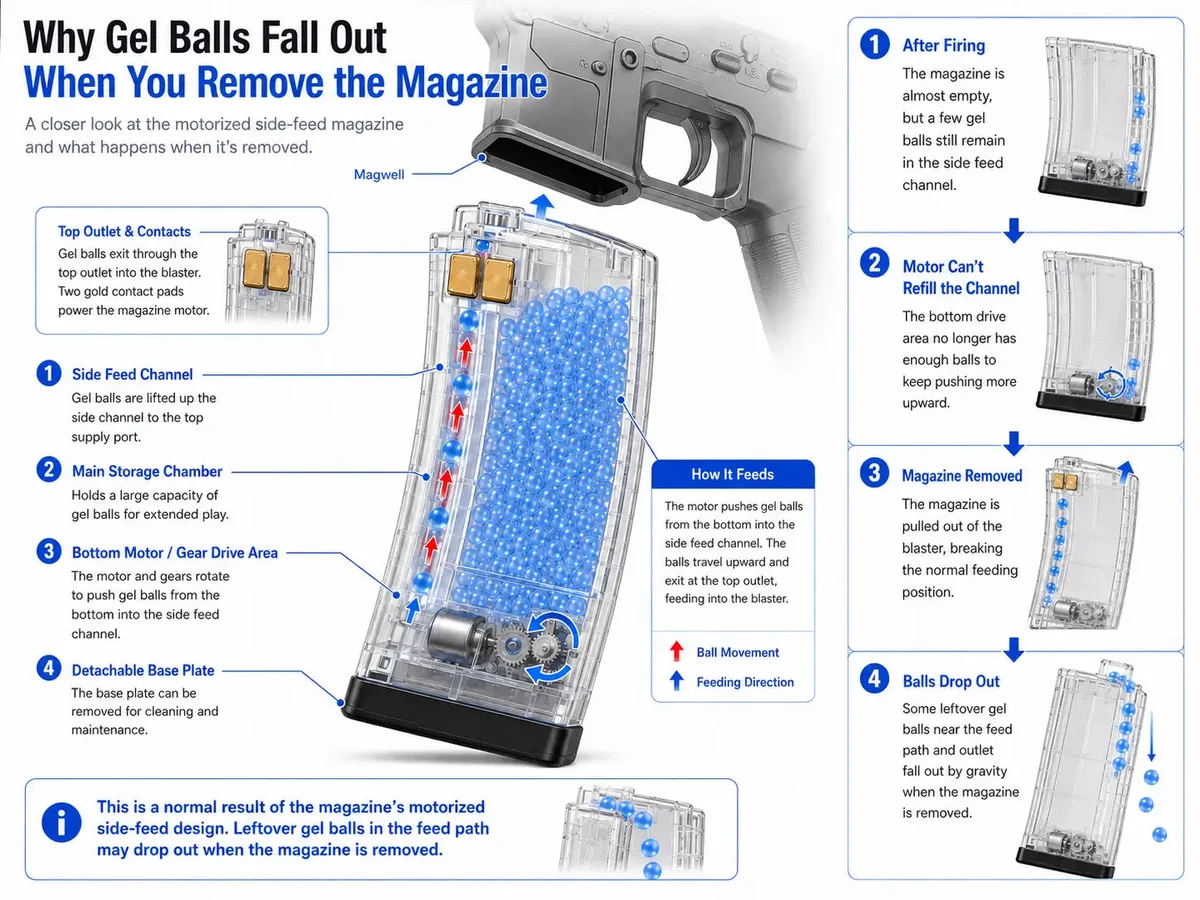
Image source: Bing (Web (fair-use with source credit))
The Decision Tree: Diagnose Your Splatter Ball Gun’s Internal Failure
Once you've identified the sound type, follow this logic path. The goal is to isolate whether the problem is electrical, mechanical, or due to lack of maintenance.
Branch 1: Sound Only When Firing (Load-Dependent)
If the noise appears only when the trigger is pulled, the issue lies in the transmission system. The gears engage under load, revealing flaws that aren't visible when idle.
Start by checking the spur gear set. Look for missing teeth or rounded edges. Nylon gears deform under heat and stress.
If the teeth look shiny or flattened, they are stripped. Replace them with steel gears for durability.
Next, inspect the bevel gears. These transfer power to the piston. Chipped or cracked bevels cause uneven engagement.
This results in a grinding sensation felt in the hand as well as heard.
Finally, check the piston rack. Worn teeth here mimic gear stripping. However, the sound is often more of a "clack" than a grind.
If the rack is damaged, the entire piston assembly usually needs replacement.
Branch 2: Sound When Spinning Freely (Static Friction/Misalignment)
Remove the magazine and disconnect the battery. Manually rotate the spur gear using a screwdriver or finger. Listen for noise during this free-spin test.
If you hear grinding while spinning freely, the problem is likely dirty or dry bearings. Dust and gel residue act as abrasives. They eat away at the plastic bushings supporting the gear axles.
Clean the gearbox thoroughly. Use compressed air to remove debris. Apply fresh silicone-based grease to all moving parts.
This often eliminates static friction noises without part replacement.
Persistent noise after cleaning suggests worn bushings. The axle may have too much lateral play. This misalignment causes gears to bind slightly during rotation.
Replacing the bushings or the full gearbox shell may be necessary.
Branch 3: Intermittent Skipping or Ratcheting
Does the gun fire sometimes, then skip shots? This irregular behavior points to alignment issues or foreign objects.
Check for sand or dirt inside the cylinder head. Debris prevents the piston from sealing correctly. This causes pressure loss and erratic gear movement.
Inspect the cylinder head screws. Loose threads allow the head to shift during recoil. This shifting creates momentary grinding as the piston hits the misaligned nozzle.
Tighten these screws to manufacturer torque specs, typically 2-4 Nm.
If the problem persists, examine the anti-reversal latch. A broken latch allows the gears to spin backward slightly. This creates a ratcheting sound and potential jamming.
Replacement latches are inexpensive but require careful installation.
Step-by-Step Teardown and Inspection Protocol
Opening the gearbox requires precision. Rushing this step damages plastic clips and strips screws. Follow this sequence to ensure safe access to internal components.
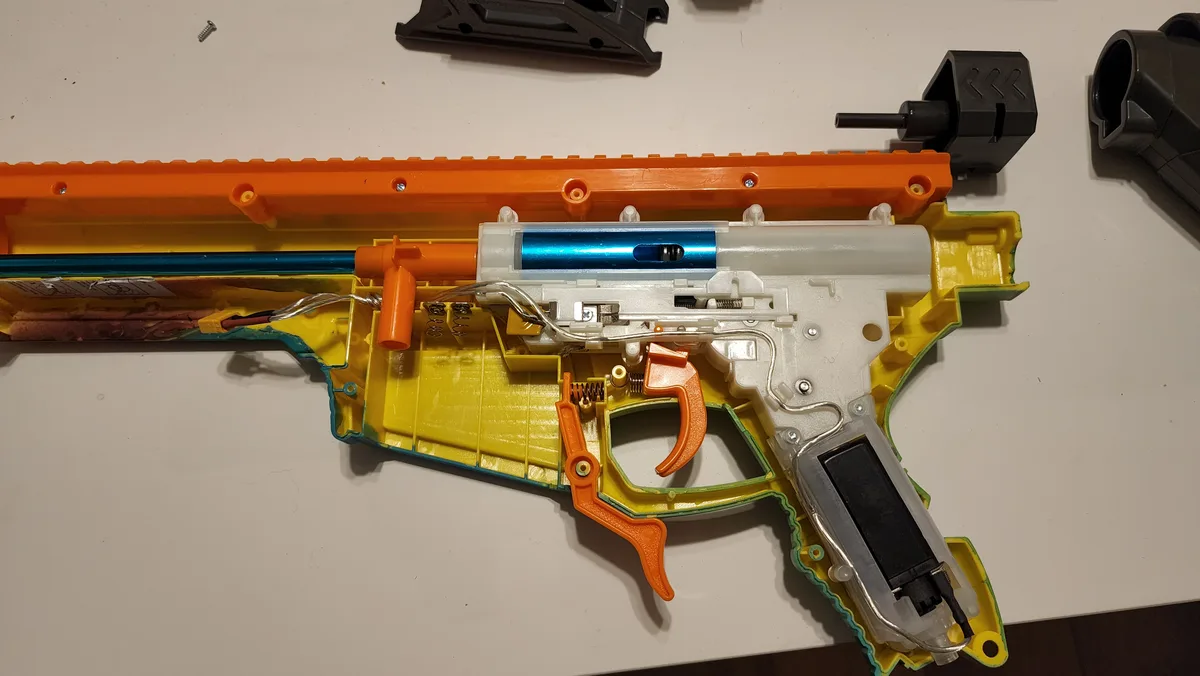
First, remove the outer body panels. Unscrew the retaining bolts along the side rails. Keep track of screw lengths; some are longer than others.
Mixing them up can crack the casing during reassembly.
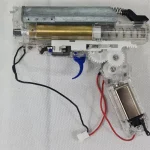
Second, extract the inner gearbox chassis. Slide it out carefully. Avoid forcing it if it sticks.
Residual gel or dried lubricant can bond the halves together. Use gentle tapping with a rubber mallet if needed.
Third, separate the gearbox halves. Locate the seam line. Insert a flathead screwdriver gently to pry them apart.
Do not twist excessively. Plastic shells become brittle with age and UV exposure.
Fourth, photograph the layout. Take clear pictures of gear positions, spring orientation, and wiring routes. This visual reference is critical for correct reassembly.
Memory fails under pressure; photos do not.
Fifth, remove the spur gear and motor. Disconnect the motor wires from the switch board. Note their polarity.
Swap connectors are keyed, but double-checking prevents shorts. Lift the spur gear straight up to avoid bending the axle.
Sixth, inspect each component individually. Hold the spur gear to light. Look for cracks, chipped teeth, or discoloration from overheating.
Check the motor pinion for wear patterns. Compare tooth profiles visually.
Seventh, clean everything. Use isopropyl alcohol to dissolve old grease and gel residue. Dry components completely before applying new lubricant.
Water contamination leads to rust on steel parts and swelling in plastics.
Common Culprits: Stripped Spur Gears, Worn Bevels, and Dry Bearings
Most grinding noises trace back to three specific failures. Understanding why these happen helps prevent recurrence.
Stripped spur gears are the number one offender. Stock nylon gears cannot handle high-voltage batteries indefinitely. An 11.1V LiPo pack generates significantly more torque than the 7.4V stock configuration.
The plastic teeth shear off under this sudden stress. Aggregate reviews report that upgrading to steel spur gears extends lifespan by 300% in high-power setups.
Worn bevel gears cause secondary damage. When spur teeth strip, fragments scatter throughout the gearbox. These shards embed themselves in the softer bevel gear teeth.
Even if you replace the spur gear, the damaged bevels will continue to grind. Always inspect both sets simultaneously.
Dry bearings create silent killers. Lack of lubrication increases friction heat. This heat warps plastic bushings, altering gear alignment.
Misaligned gears mesh poorly, creating constant grinding. Manufacturer specifications indicate that silicone-based greases maintain viscosity better than petroleum options in varying temperatures.
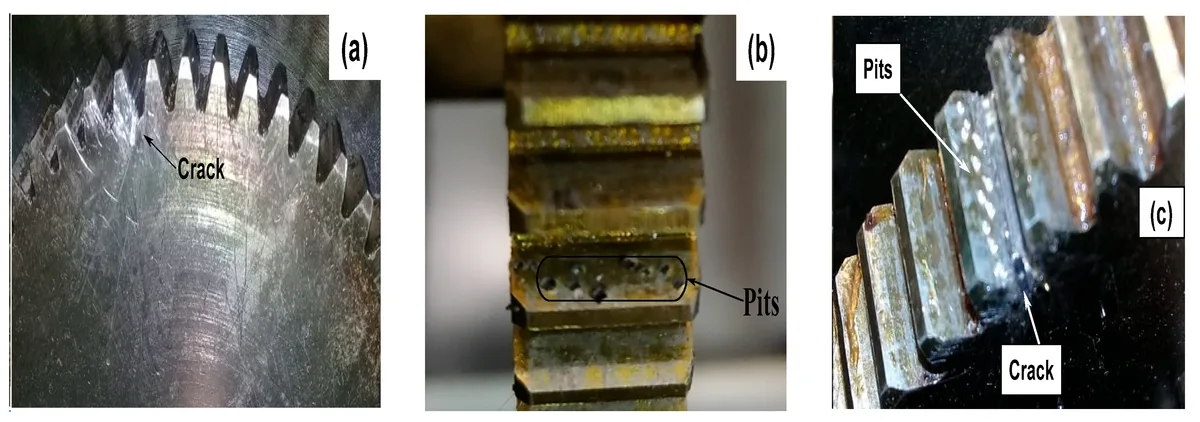
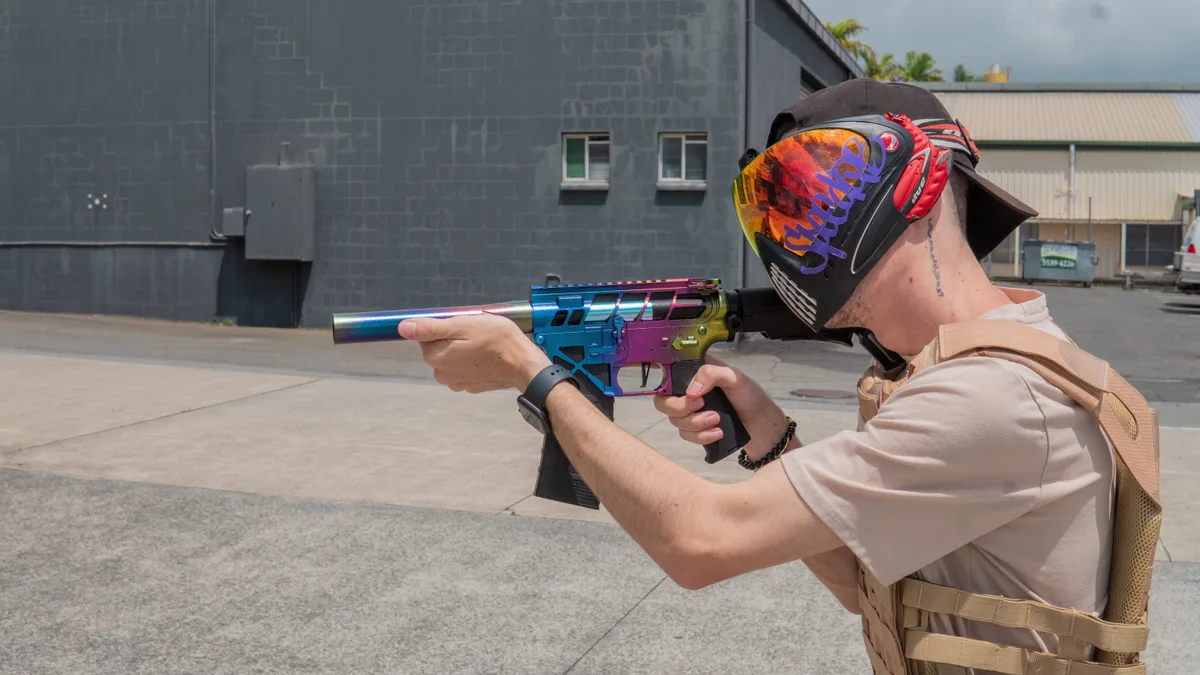
Image source: Bing (Web (fair-use with source credit))
Foreign debris accelerates all three issues. Sand, dust, and dried gel particles act as lapping compounds. They polish away metal and plastic surfaces rapidly.
Regular cleaning intervals reduce this abrasive wear significantly.
Repair Actions: Replace, Re-shim, or Regrease?
Choosing the right repair method depends on the severity of the damage. Not every noise requires a full rebuild.
Regreasing solves minor friction issues. If the gears show no physical damage, clean and relubricate them. Use a thin layer of silicone grease on tooth faces and bearing surfaces.
Over-greasing attracts dirt, so less is often more. This fixes whining and mild grinding caused by dryness.
Re-shimming addresses alignment problems. Excess axial play causes gears to wobble. Thin brass or plastic shims fill gaps between the gear face and the gearbox wall.
Proper shimming ensures smooth rotation and quiet operation. Measure the gap first; typical tolerance is under 0.5mm.
Replacing parts fixes structural failure. Stripped teeth cannot be repaired. They must be swapped out.
Steel gear sets cost more upfront but save money long-term. They resist deformation under high torque loads. Ensure the new gears match the original pitch and module exactly.
Mismatched gears grind instantly.
Consider a full gearbox swap if multiple components are damaged. Sometimes the cost of individual parts plus labor exceeds a new unit. Pre-built gearboxes come calibrated and tested.
This option guarantees reliability for players who don't want to tinker. Verify compatibility with your specific blaster model before purchasing.
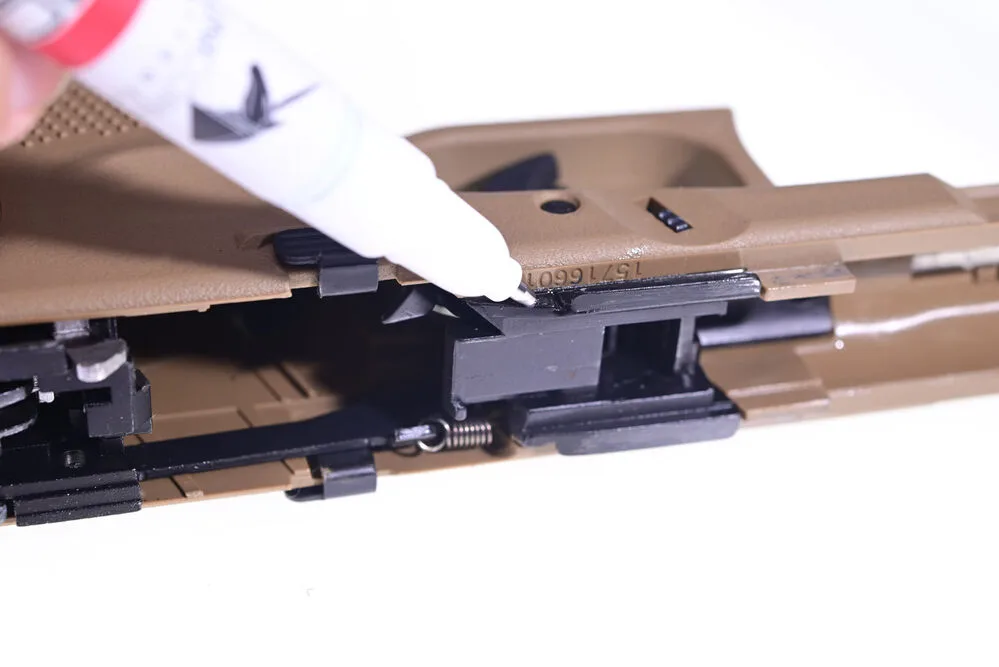
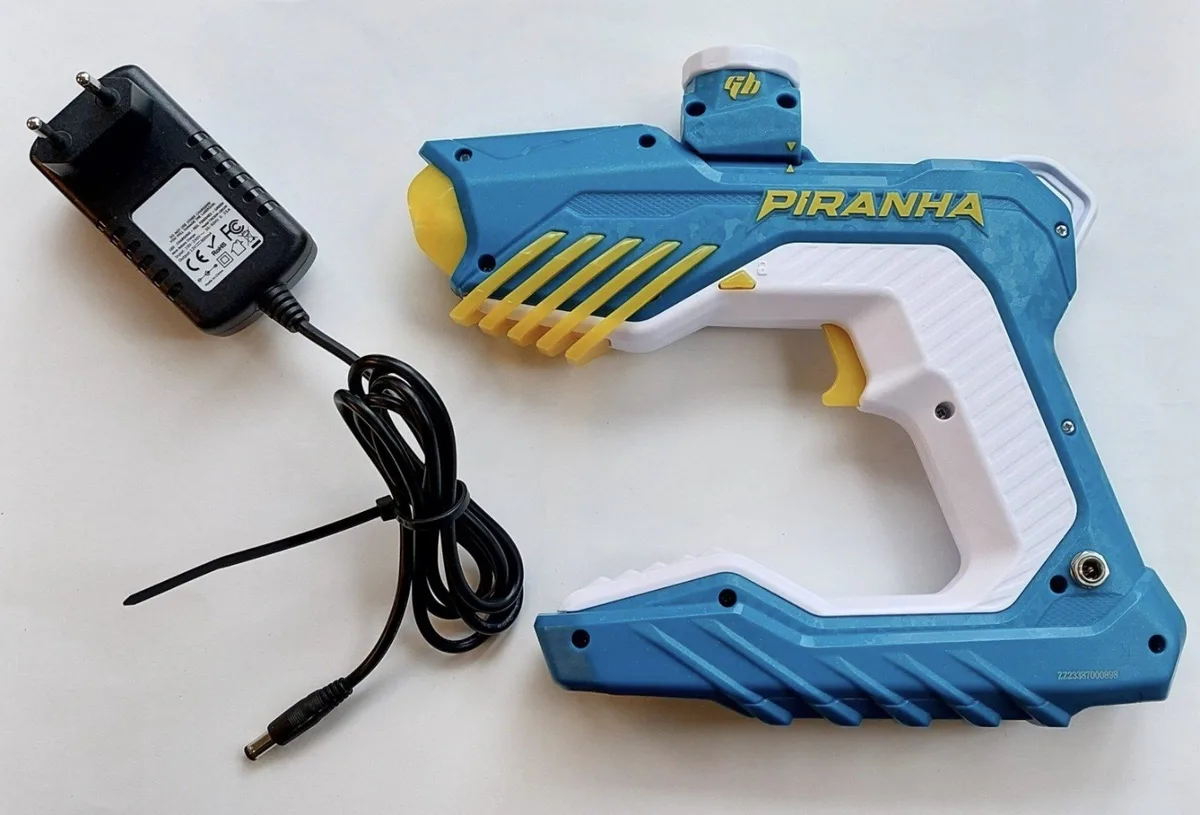
Image source: Bing (Web (fair-use with source credit))
Critical Mistakes That Turn a $5 Fix into a $100 Replacement
The most common error is forcing gearbox halves apart. Plastic shells crack easily under stress. If they split, the unit becomes unusable.
Always use gentle prying tools and patience.
Another frequent mistake involves mixing lubricants. Silicone grease is safe for rubber seals. Petroleum-based oils degrade them quickly.
This leads to pressure leaks and further noise. Stick to one type of high-quality synthetic lube.
Reusing stripped gears is also tempting but dangerous. Metal fragments from broken teeth stay embedded. They destroy new steel gears within minutes.
Thorough cleaning with compressed air is mandatory before reassembly. Skipping this step wastes money on premature failure.
Finally, ignoring battery health causes hidden strain. A sagging voltage pack forces the motor to work harder. This increases torque spikes on fragile nylon parts.
Check your LiPo cells regularly. Replace any that show significant capacity loss or swelling.
Maintenance Schedule to Prevent Future Gearbox Grinding
Regular upkeep extends component life significantly. Aggregate reviews suggest that monthly inspections catch early wear. You don't need to open the box every time.
Just listen during firing sessions.
For active players, clean the external ports weekly. Gel residue attracts dust and grit. Use a soft brush to clear intake vents.
This prevents debris from entering the sealed interior. Keeping the exterior clean reduces internal contamination risks.
Every three months, perform a deep service. Disassemble the gearbox fully. Inspect gear teeth for rounding or chipping.
Reapply fresh silicone grease to all contact points. Check bearing play by wiggling axles gently. Any lateral movement indicates worn bushings needing replacement.
Seasonal storage matters too. Store blasters in cool, dry places. Extreme heat warps plastic components.
Humidity promotes corrosion on metal springs. Remove batteries before long-term storage to prevent leakage damage. These simple habits keep noise at bay.
FAQs
Can I fix a grinding noise without opening the gearbox?
Rarely. Most grinding stems from internal mechanical failure like stripped teeth. External cleaning might help if debris is stuck in the hop-up.
However, true transmission noise requires disassembly. Ignoring it risks permanent motor burnout.
Are steel gears louder than nylon ones?
Initially, yes. Steel transmits more vibration sound. But once broken in and properly greased, they run quieter.
Nylon wears faster, creating irregular meshing that sounds harsher over time. Long-term, steel offers superior acoustic consistency.
How do I know if my motor is damaged?
Listen for a burning smell or extreme heat. The shaft should spin freely when disconnected. If it feels gritty or stiff, bearings are shot.
A burnt-out coil smells acrid. In these cases, replace the motor assembly entirely rather than just gears.
Does higher FPS cause more gearbox noise?
Absolutely. Higher velocity demands greater torque. Stock nylon gears struggle above 350 FPS consistently.
This stress accelerates tooth shearing. Upgrading to reinforced internals is essential for high-power builds to maintain silence and reliability.

Similar Posts