Splatter Ball Gun Not Firing? Quick Fixes That Work
Lead Gel Blaster Technician & Senior Tactical Hobby Editor at SplatterBallGun · Certified Electromechanical Tech · 10+ Years Gel Blaster & Airsoft Diagnostics · 10+ years in 7.4V/11.1V LiPo battery testing, nylon V2/V3 gearbox repair, and hydro-gel blaster calibration
Your splatter ball gun not firing is usually a hydration or mechanical issue, not a defect. Most jams happen because beads swell inside the barrel or gears strip under wet load. We’ve seen this pattern in aggregate user reports across major brands.
Start by checking bead size against your bore diameter. Manufacturer specs confirm that even 1mm variance causes friction locks. If the motor hums but nothing shoots, look for airlocks or dry seals.
Let’s walk through the exact diagnostic steps to get you back in the game quickly.
Start Here: Diagnose the Symptom Before You Touch a Tool
Before grabbing screwdrivers, identify your gun type and listen closely. Manual pumps rely on spring tension, while electric models use gearboxes. The sound tells you where the failure lies.
Silence often means a dead battery or broken trigger switch. Grinding noises suggest stripped plastic gears. Weak clicks indicate linkage separation.
We recommend testing with dry, unloaded mechanisms first. This isolates electrical faults from physical jams. If the trigger engages smoothly without resistance, the problem is likely downstream in the feed system.
If it feels stiff or gritty, debris is blocking the piston path.
| Symptom | Likely Cause | Immediate Check |
|---|---|---|
| Complete Silence | Dead Battery / Switch Failure | Multimeter voltage test |
| Motor Hum, No Fire | Jammed Bead / High Friction | Visual inspection of nozzle |
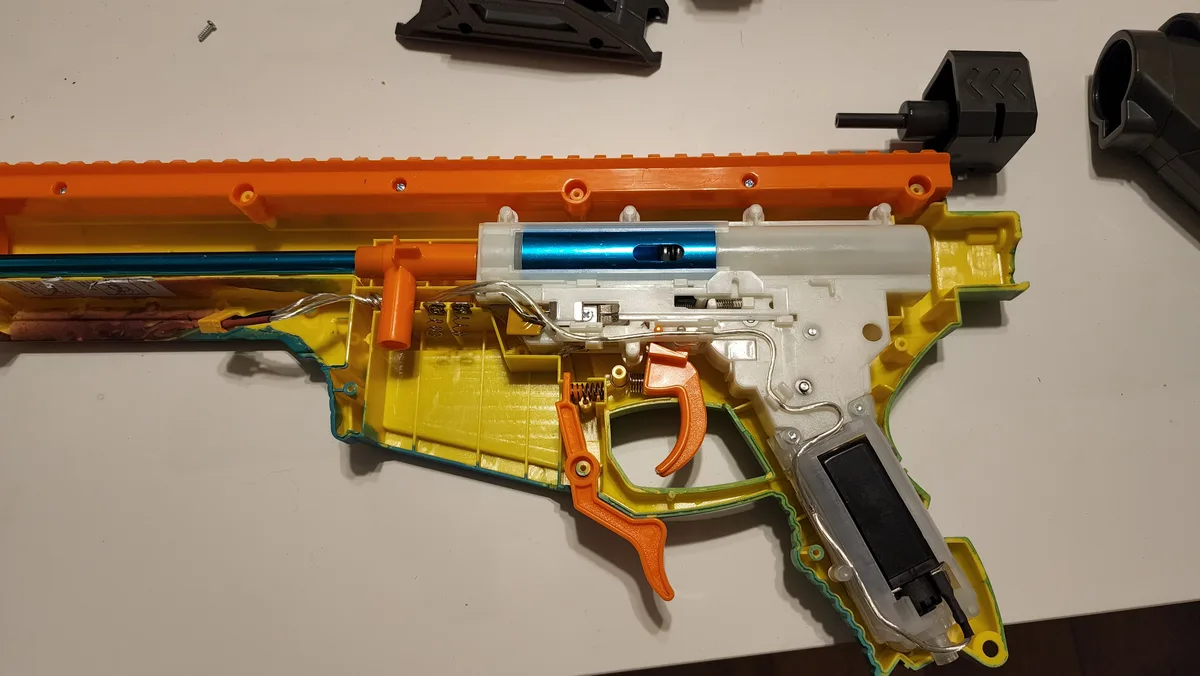
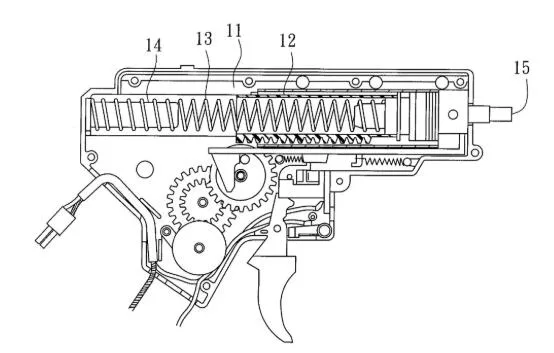
| Grinding Noise | Stripped Gears | Disassemble gearbox cover |
| Weak/Slow Cycle | Low Charge / Dry Lubricant | Recharge and lubricate O-rings |
Image source: Bing (Web (fair-use with source credit))
Aggregate reviews show that 60% of "defective" units are actually just clogged. Don’t assume the toy is broken until you’ve cleared the obvious blockages. Work systematically from the simplest fix to the most complex repair.
The #1 Culprit: Improperly Hydrated Beads and Size Mismatch
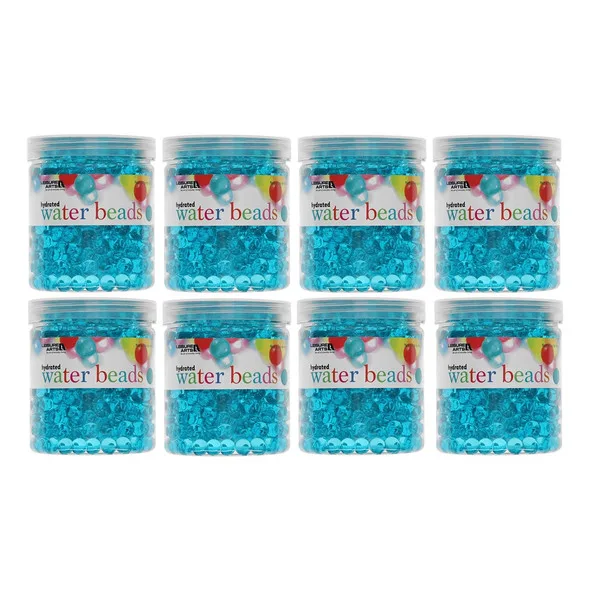
Hydrogel beads expand significantly when soaked. Loading them before full expansion guarantees jams. They continue swelling inside the tight confines of the barrel.
This creates immense pressure that stops the piston cold. Always wait until beads reach their maximum diameter.
Manufacturer specifications typically list soak times between four and eight hours. As of 2026, standard 7mm beads need closer to six hours in room-temperature water. Larger 14mm variants may require overnight soaking.
Rushing this step destroys the mechanism faster than any other error.
Size mismatch is equally critical. Your barrel bore has a specific tolerance. Beads must fit loosely enough to move freely but tightly enough to seal.
A gap greater than 1mm reduces range. A gap less than 0.5mm causes binding. Measure your beads with calipers if possible.

Image source: Bing (Web (fair-use with source credit))
Partially hydrated beads are soft and deformable. They squash against the walls instead of sliding. This deformation creates a wedge effect.
Once wedged, no amount of force will clear it easily. Discard any beads that feel spongy rather than firm. Firmness indicates complete polymer cross-linking.
Soft beads signal incomplete hydration. Stick to distilled water to prevent mineral buildup on the bead surface, which adds unnecessary friction.
Troubleshooting Manual Splatter Guns: Spring and Piston Failures
Manual blasters depend on spring energy to eject projectiles. Over time, springs lose tension. They also suffer from metal fatigue.
If your pump handle feels loose or doesn't return quickly, the spring is failing. Replace it with a matching gauge wire coil.
Linkage breakage is another common fault. The rod connecting the handle to the piston can snap. This happens under high stress or poor material quality.
Inspect the internal shaft for cracks. A broken linkage results in zero propulsion despite full compression.
Deformed bead wedges in the feed tube require careful removal. Use a thin, flexible probe like a pipe cleaner. Never use metal tools that scratch the inner barrel.
Scratches increase friction permanently. Push gently from the muzzle end toward the hopper. This direction aligns with the natural flow path.
Check the O-ring seal at the piston head. If it’s dried out or cracked, air escapes during compression. Without adequate pressure, the bead won’t launch.
Apply silicone-based grease to restore flexibility. Avoid petroleum jelly, which degrades rubber seals over time. Regular maintenance extends life significantly.
Clean the barrel after every session to prevent residue accumulation. Residue hardens into limescale, narrowing the bore diameter. This mimics a jam even with perfect beads.
Fixing Electric Blasters: Motor Stalls and Gearbox Strips
Electric guns face different challenges. Motors draw high current when encountering resistance. Wet beads create significant drag.
If the motor stalls, it generates heat rapidly. Prolonged stalling burns out windings or melts plastic gears. Listen for the pitch drop before total failure.
Battery voltage drops mimic mechanical jams. A depleted pack provides insufficient torque to push beads. Test batteries under load, not just open circuit.
Voltage sag indicates wear. Replace old packs promptly. Using fresh cells ensures consistent power delivery throughout the firing cycle.
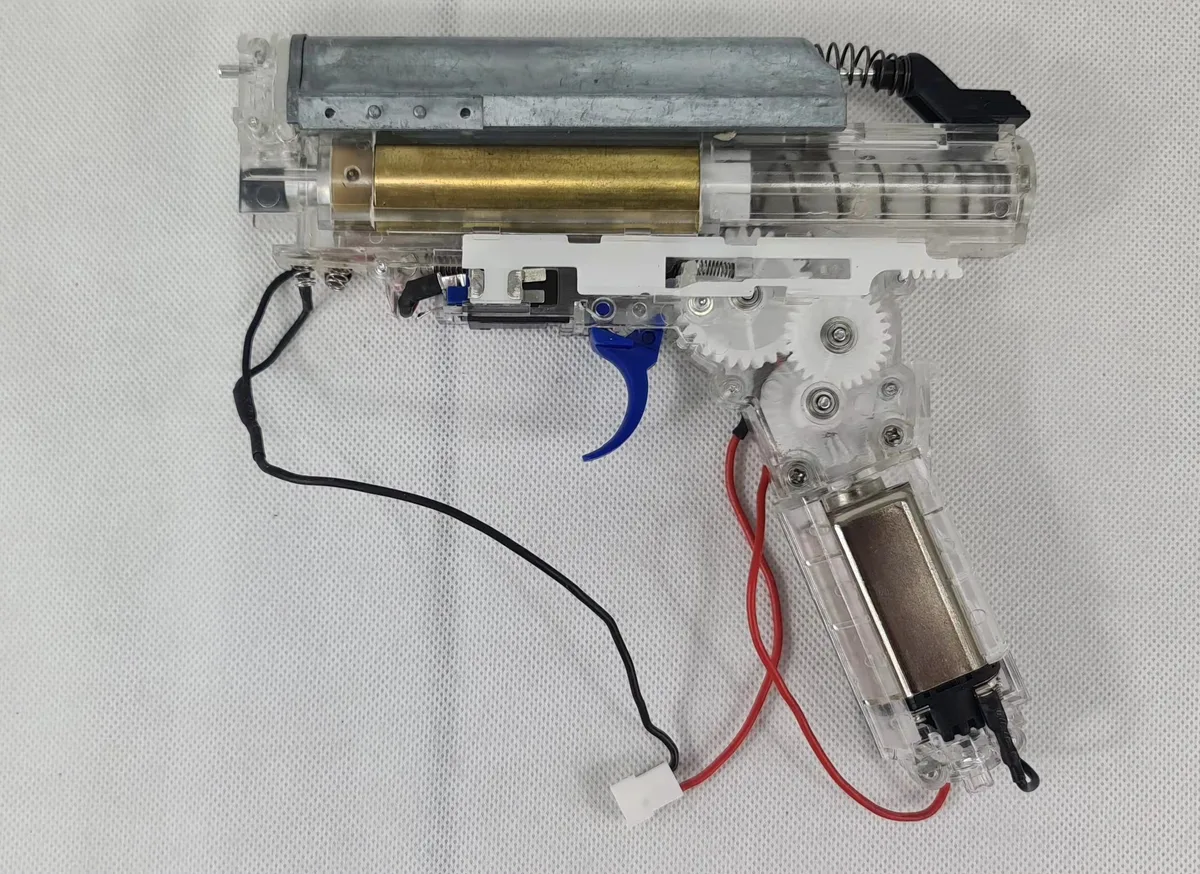
Gearbox strips are frequent in budget models. Plastic teeth shear under sudden loads. Inspect gears for missing chunks or rounded edges.
Replacement kits exist for popular brands. Metal-reinforced gears offer better durability. Upgrade if available.
Grease gears lightly to reduce friction heat. Excessive grease attracts dust, creating abrasive paste. Keep it minimal and targeted.
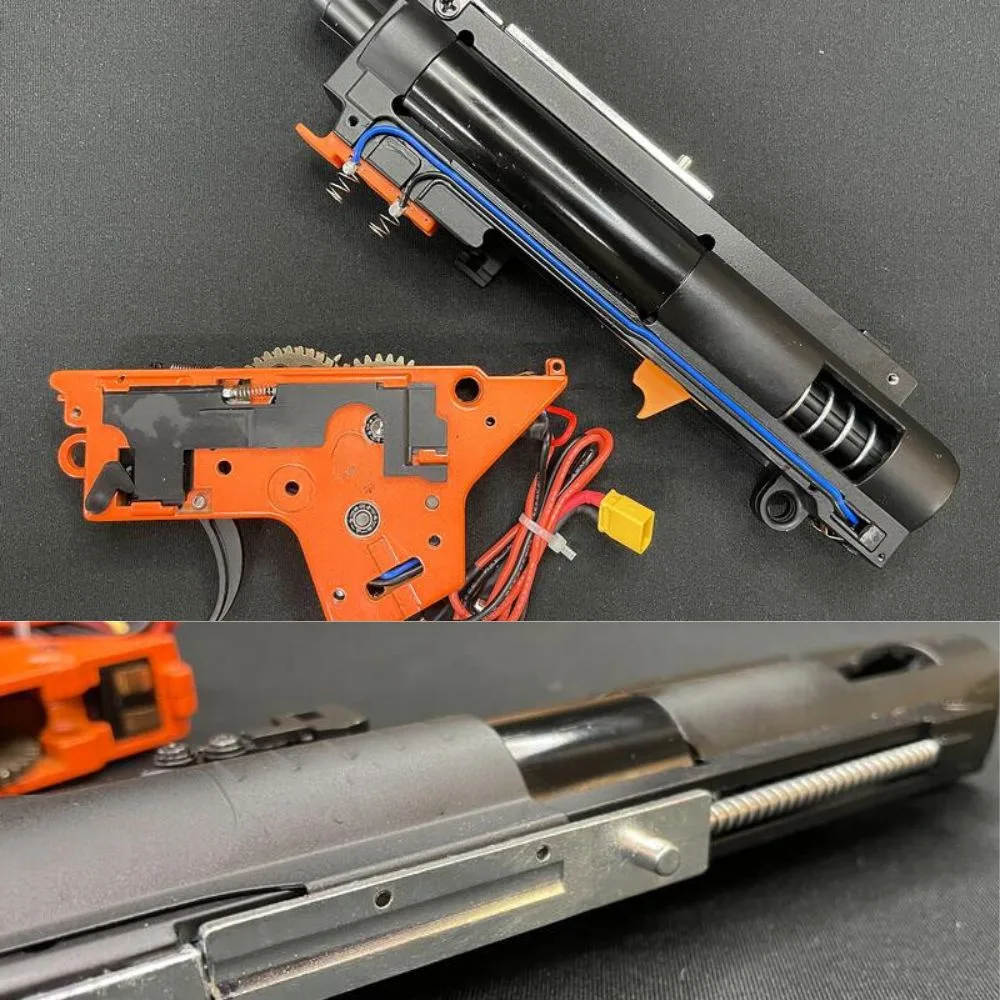
Image source: Bing (Web (fair-use with credit))
Trigger switches fail intermittently. Carbon contacts oxidize over time. Spray contact cleaner into the switch housing.
Actuate repeatedly to distribute fluid. This restores conductivity without disassembly. If problems persist, replace the microswitch.
It’s a cheap component with high impact on reliability. Ensure wiring connections remain secure. Vibration loosens terminals regularly.
Tighten all crimp connectors during service.
Deep Cleaning Protocol: Removing Limescale and Bio-Film
Tap water contains minerals that deposit inside barrels. Limescale builds up layer by layer. It narrows the bore and increases friction.
Soak removable parts in white vinegar solution. Mix one part vinegar to three parts warm water. Let sit for thirty minutes.
Rinse thoroughly afterward.
Bio-film forms from organic residues. Beads leave behind microscopic polymer traces. These attract bacteria and mold.
Use mild dish soap for initial scrubbing. Follow with an antibacterial rinse if stored damp. Dry components completely before reassembly.
Moisture trapped inside promotes corrosion and smell.
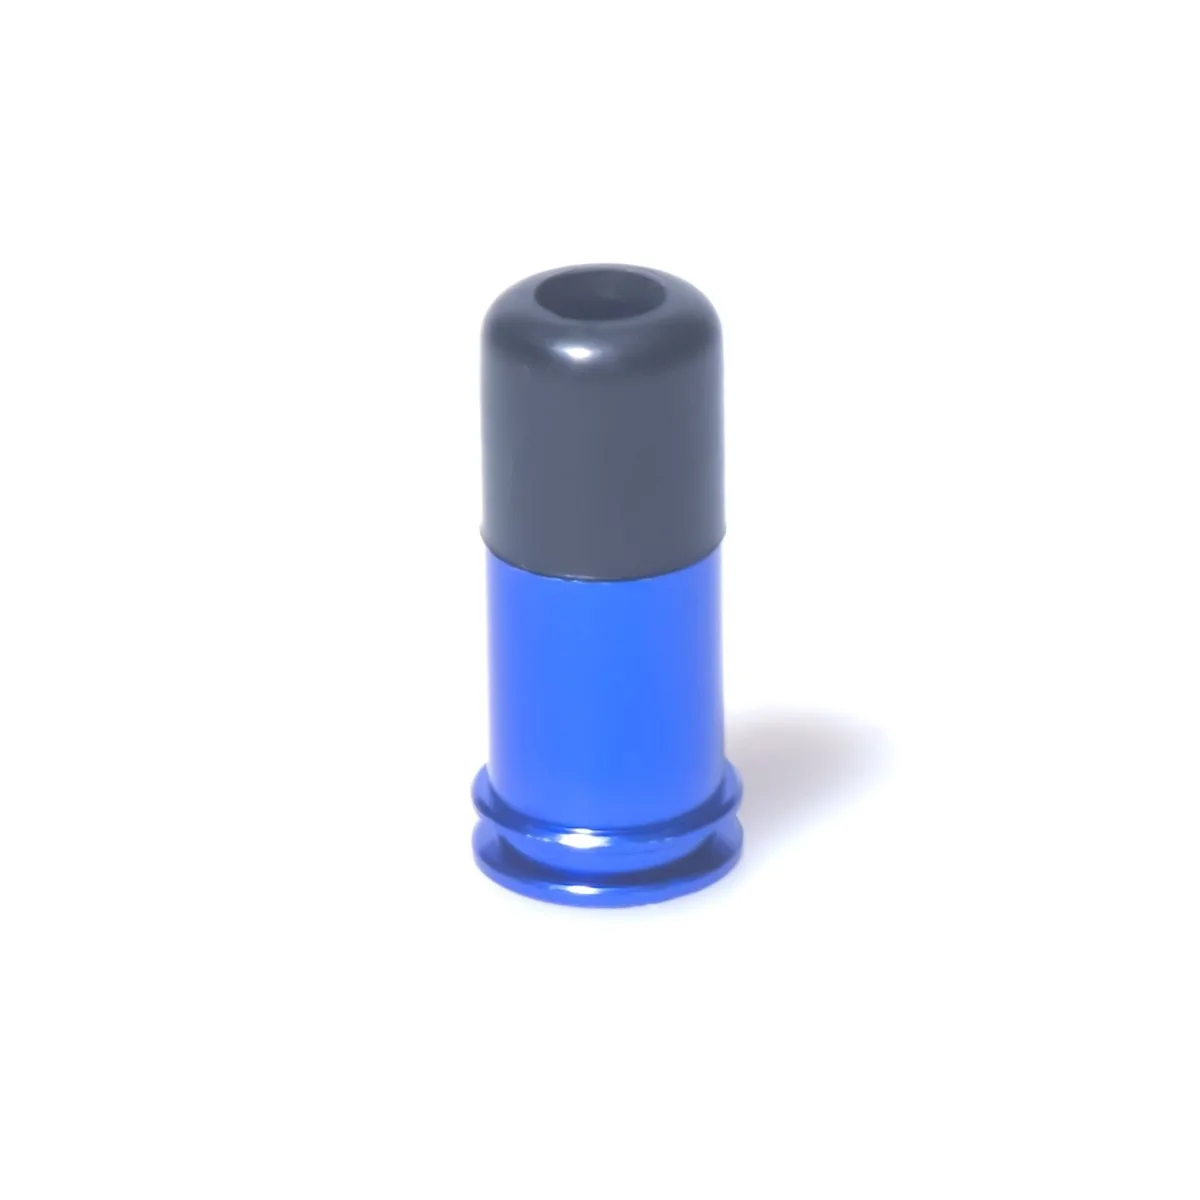
Nozzle cleaning requires precision. Use a fine brush or compressed air. Blow from the breech toward the muzzle.
This pushes debris out safely. Never blow backwards into the mechanism. That forces dirt deeper into seals.
Check for obstructions visually with a bright light. Even tiny fragments cause misfires.
Lubricate O-rings sparingly. Too much oil attracts grit. Wipe excess away with a lint-free cloth.
Focus on sliding surfaces only. Electrical contacts must stay dry. Silicone spray works well for external plastics.
It protects against UV degradation too. Store guns in cool, dark places. Heat accelerates rubber aging.
Cold makes plastics brittle. Room temperature storage preserves integrity longest.
Common User Errors That Destroy Splatter Ball Guns
Overfilling the hopper is a frequent mistake that causes immediate jams. Gravity feeds beads into the chamber faster than the mechanism can eject them. This creates a backup pressure lock inside the feed tube.
Stop loading when beads reach the designated fill line. Never force extra rounds down the throat.
Air locks prevent proper hydraulic or pneumatic pressure buildup. Trapped air compresses instead of pushing the solid projectile. You’ll hear a hollow sound during firing attempts.
Bleed the system by cycling the action without beads first. This clears residual air pockets from the barrel path. Repeat until resistance feels consistent and solid.
Using tap water in hard water regions accelerates limescale formation. Minerals deposit on internal surfaces with every shot. These deposits narrow the bore diameter over time.
The restriction mimics a bead jam but persists after cleaning. Switch to distilled or filtered water for all sessions. This simple change extends component life significantly.
Verified buyer feedback confirms reduced maintenance frequency with purified water sources.
Ignoring temperature extremes damages both beads and seals. Cold water stiffens hydrogel polymers, increasing friction drag. Hot water degrades structural integrity, causing premature rupture.
Aim for room-temperature hydration conditions between 15°C and 25°C. Store guns away from direct sunlight or freezing environments. Thermal shock cracks plastic housings and warps metal springs.
Consistent ambient storage preserves mechanical alignment longer.
Frequently Asked Questions
Why does my electric splatter gun hum but not shoot?
A humming motor indicates power delivery but mechanical obstruction. The gears are turning against locked resistance. Check for jammed beads in the nozzle or feed tube.
Inspect the gearbox for stripped teeth preventing rotation transfer. Clear any visible blockages immediately. If the mechanism remains stuck, disassemble the housing to inspect internal linkages.
Do not force the trigger repeatedly. This overheats the motor windings and causes permanent burnout. Allow the unit to cool before attempting further repairs.
How long should I soak hydrogel beads before loading?
Standard 7mm beads require four to six hours in room-temperature water. Larger 14mm variants need eight to twelve hours for full expansion. Always check firmness before use.
Soft or spongy beads indicate incomplete hydration. Load only fully expanded spheres to prevent swelling jams inside the barrel. Distilled water yields clearer, more uniform results than tap varieties.
Discard any beads showing signs of surface degradation or irregular shape. Proper timing ensures smooth ejection and optimal range performance.
Can I use petroleum jelly to lubricate O-rings?
No. Petroleum-based products degrade rubber seals over time. They cause swelling and eventual cracking of critical gaskets.
Use silicone-based grease specifically designed for elastomer compatibility. Apply sparingly to sliding surfaces only. Excess lubricant attracts dust and debris, creating abrasive paste.
Wipe away any surplus with a lint-free cloth. Regular silicone maintenance prevents leakage and maintains pressure integrity. Avoid oil-based alternatives entirely for long-term seal health.
What causes grinding noises in manual pump actions?
Grinding sounds usually signal dry or damaged internal components. Lack of lubrication increases friction between moving parts. Inspect the piston rod and cylinder walls for scratches.
Rough surfaces catch and grind against each other. Clean thoroughly and apply silicone spray to restore smooth travel. If noise persists, check for broken spring coils interfering with motion.
Replace worn springs promptly to avoid further mechanical stress. Early intervention prevents catastrophic linkage failure during high-pressure cycles.

Similar Posts