Splatter Ball Gun Barrel Clogged? Easy Fix Guide
You’ve got a splatter ball gun barrel clogged, and it’s frustrating when your favorite blaster stops firing mid-game. Don’t worry. This happens more often than you’d think, usually because of improper bead hydration or leftover residue drying out inside the bore.
Most jams are fixable at home with basic tools. The key is identifying whether the blockage is soft gel or hardened polymer before you start poking around. Manufacturer specs for major brands like Umarex confirm that using the wrong solvent can permanently warp ABS plastic components.
Let’s walk through the exact steps to clear it safely without damaging your gear.
First, Don’t Panic: Identify Your Gun Type and Clog Severity
Before grabbing any tools, pause and assess the situation. Not all splatter ball guns are built the same, and treating them identically leads to broken parts. Electric models rely on motor-driven gears, while gas-powered versions use compressed air or CO2 cartridges.
Spring-loaded toys depend purely on mechanical tension. Knowing which one you have dictates your next move.
Next, determine the nature of the clog. Is it fresh? If you were playing just an hour ago, the beads are likely still moist and squishy.
These are easier to remove. However, if the gun sat unused for days or weeks, those hydrogel spheres may have dried into a hard, cement-like plug. This distinction changes everything about your approach.
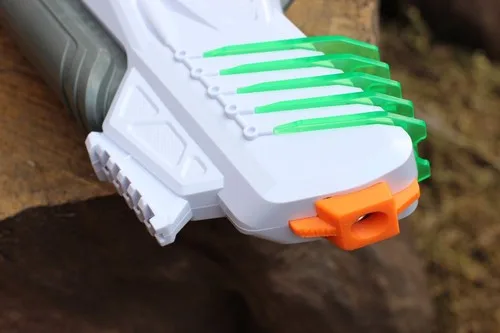
Look closely at the muzzle end. Can you see light passing through? If not, the blockage is deep.
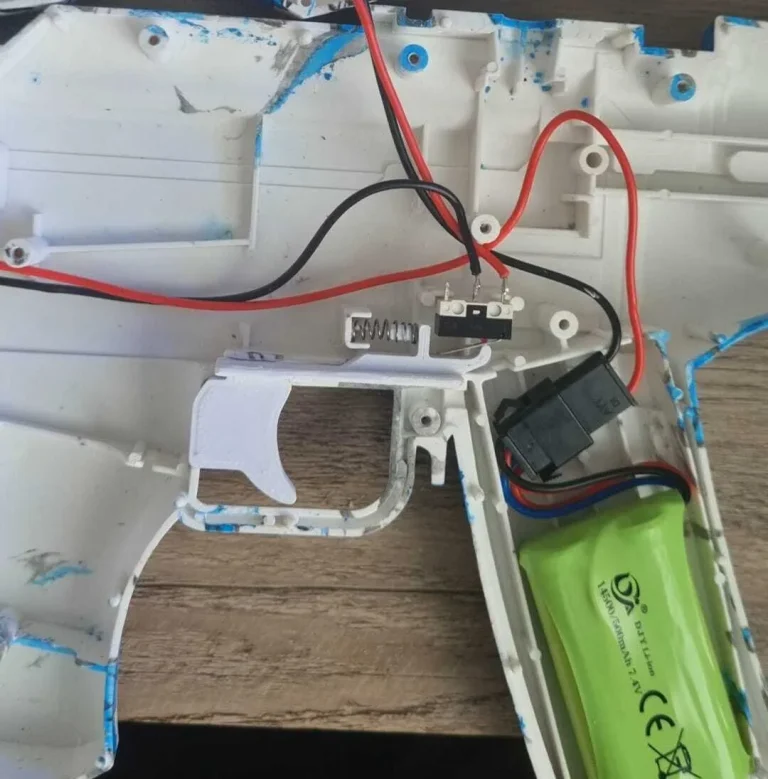
Try gently pulling the trigger. Does it feel stiff or completely locked? A stiff trigger suggests partial resistance, whereas a locked mechanism implies total obstruction.
Never force the trigger repeatedly, as this strips internal gears.
Finally, check your power source. For electric guns, ensure the battery is disconnected. For gas models, release any remaining pressure in the tank.
Safety comes first. You don’t want accidental discharge while your fingers are near the barrel opening. Take a moment to breathe.
Most clogs aren’t fatal to the device. They’re just annoying. By correctly diagnosing the type and severity now, you save time and money later.
Rushing into repairs blindly is how people ruin good blasters. Slow down. Assess accurately.
Then proceed with confidence.
The Decision Tree: Choosing the Right Clearing Method for Your Blockage
Once you’ve identified the problem, pick your path. We’ll break this down into three clear branches based on what you found earlier. Follow the logic below to select the safest method for your specific scenario.
Branch A: Fresh Jams (Soft Beads) – Flush and Blow
If the beads are still wet and mushy, skip the harsh chemicals. Heat isn’t necessary here. Instead, focus on displacement.
Use a high-pressure air compressor set to low PSI, ideally under 30 PSI to protect seals. Attach a narrow nozzle adapter to the rear of the barrel if possible, pushing from back to front.
Alternatively, pour lukewarm water (around 40°C) slowly into the breech. Let gravity help slide the sludge out the muzzle. Repeat until the flow runs clear.
This method preserves internal O-rings and avoids thermal shock to the plastic housing. It’s quick, cheap, and effective for immediate post-game cleanup.
Branch B: Old Residue (Hardened Polymer) – Soak and Scrape
For dried-out plugs, patience is required. Warm water alone won’t cut it anymore. You need to soften the matrix first.
Create a solution of warm water and mild dish soap, or use a dedicated enzymatic cleaner designed for superabsorbent polymers.
Submerge the barrel assembly if removable. If not, carefully drip the solution into the breech and let it sit for 15 to 30 minutes. Check manufacturer guidelines; some plastics degrade faster than others.
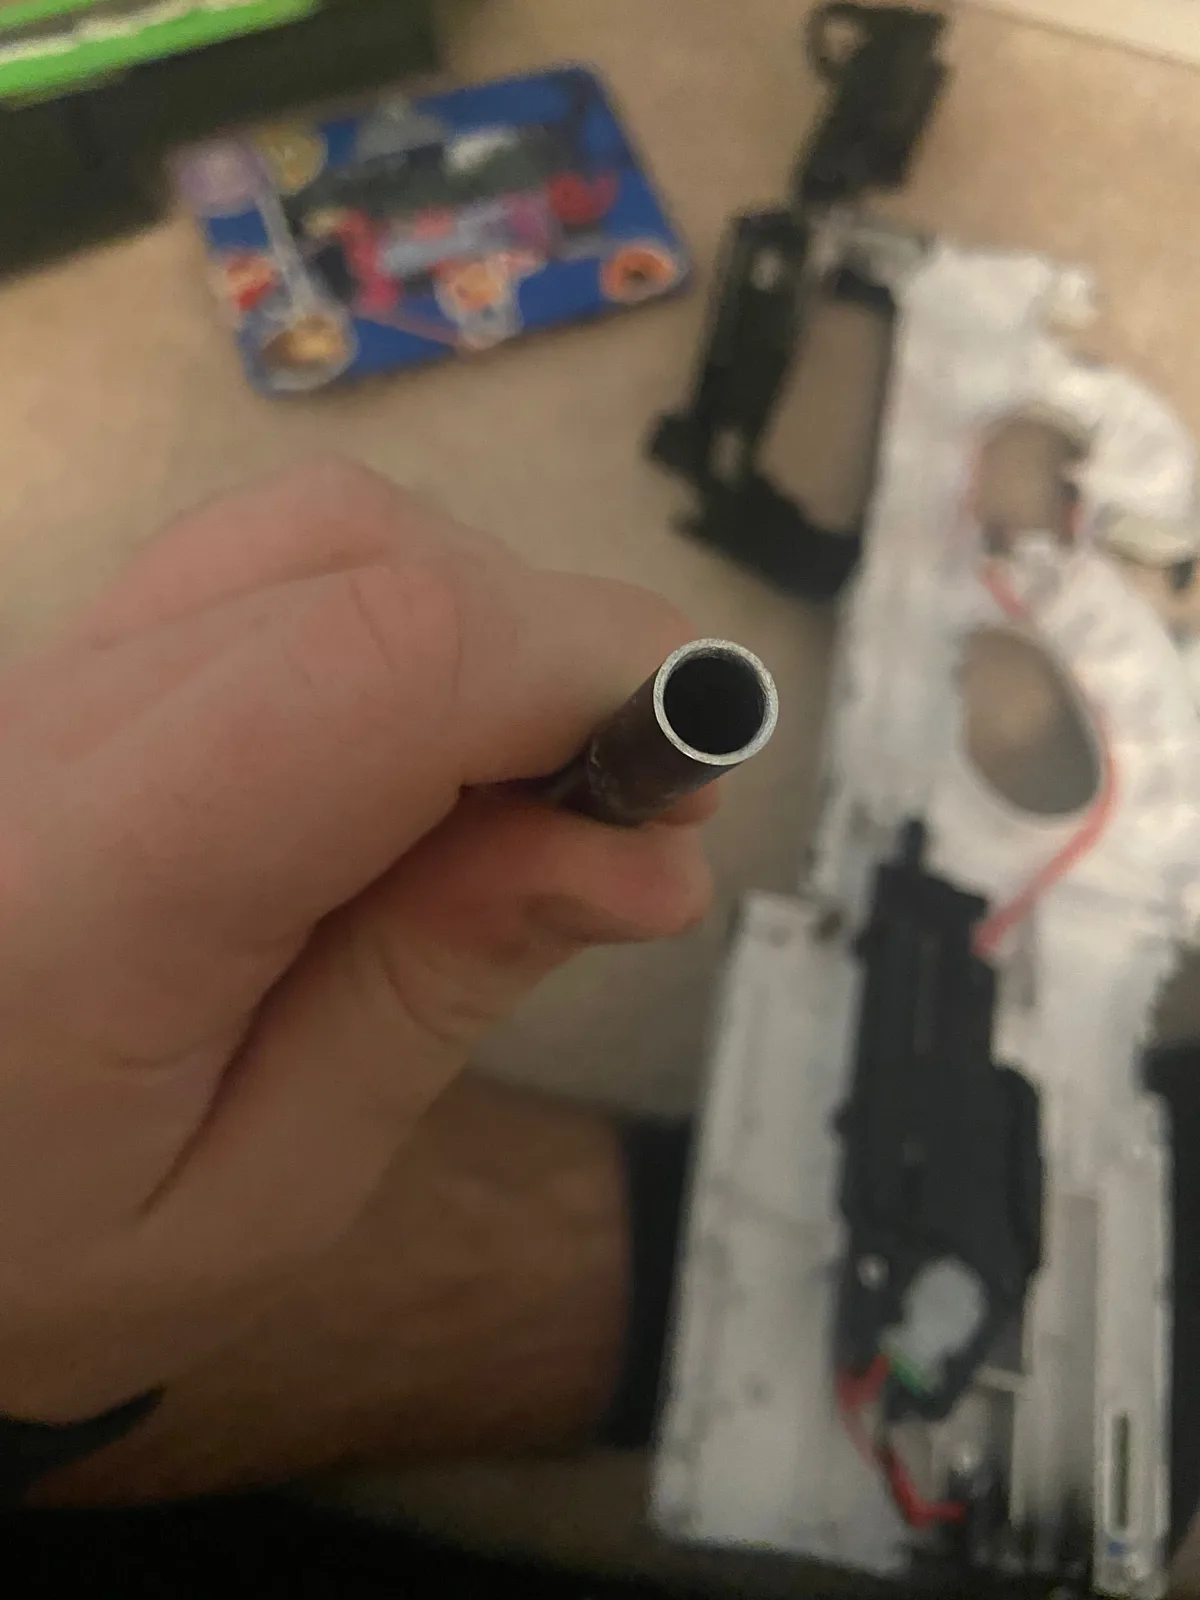
Once softened, use a flexible cleaning rod or a coated wire brush to gently dislodge the debris. Avoid metal rods that scratch the bore. Work slowly.
Force breaks things.
Branch C: Mechanical Failure – Inspect Seals and Springs
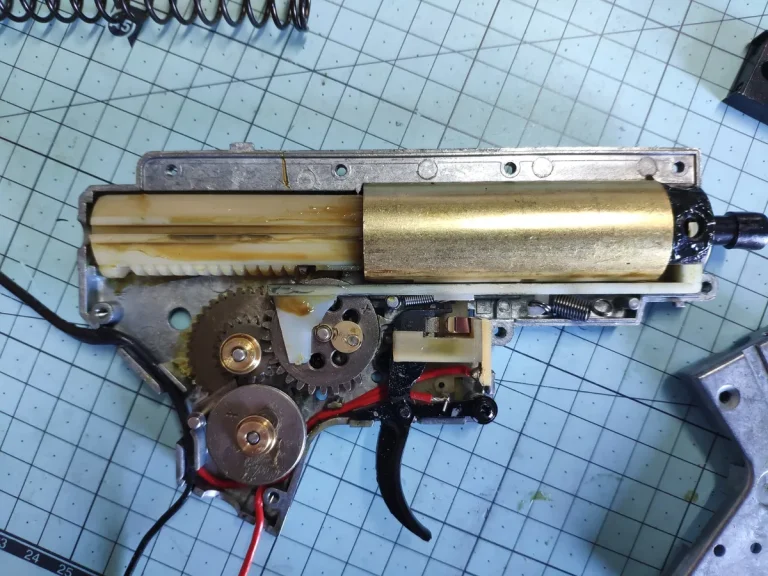
Sometimes the issue isn’t the bead, but the hardware. If flushing doesn’t work, inspect the hop-up bucking rubber. Cracked or torn rubbers create friction points where beads snag.
Also, check the piston head for wear. A damaged seal loses compression, causing inconsistent feeding that looks like a clog.
Replace worn parts immediately. Using old, brittle seals guarantees future jams. If the spring is fatigued, it may not push the plunger far enough to eject the bead fully.
In these cases, cleaning won’t help. Repair or replacement is the only viable option. Diagnose the hardware before assuming it’s just dirty.

Step-by-Step Execution: How to Safely Clear a Splatter Ball Barrel
Ready to get your hands dirty? Follow this precise workflow. Skipping steps risks damage.
Go slow. Accuracy beats speed every time.
First, prepare your workspace. Lay down towels to catch drips. Gather your tools: cleaning rods, silicone lubricant, warm water, and safety glasses.
Always wear eye protection. Debris can fly unexpectedly during pressurized blows.
Second, disconnect all power sources. Remove batteries from electric units. Vent gas tanks completely.
Disassemble the magazine and hop-up chamber if accessible. Refer to your manual for safe takedown procedures. Some models require special tools; don’t pry with screwdrivers.
Third, apply your chosen method. For fresh jams, blow air from the rear. Hold the muzzle away from faces.
Watch for ejection. For hardened clogs, soak first. Insert the cleaning rod gently.
Rotate slightly to break adhesion. Pull steadily. Do not hammer the rod.
Fourth, rinse thoroughly. Flush with clean warm water to remove soap or loosened gel. Ensure no residue remains.
Leftover chemicals attract dirt and corrode metals over time. Dry the interior with compressed air or a lint-free cloth swabbed on a rod.
Fifth, lubricate critical components. Apply a thin coat of silicone-based oil to the bucking rubber and piston seal. Never use petroleum jelly or WD-40.
These degrade rubber seals rapidly. Silicone keeps flexibility intact and reduces friction.
Sixth, reassemble carefully. Align all parts precisely. Tighten screws to spec, not by feel.
Over-tightening cracks plastic housings. Under-tightening causes rattles and misalignment. Test fit the magazine.
It should click securely without wobbling.
Seventh, perform a dry fire test. Without beads, pull the trigger. Listen for smooth cycling.
Check for unusual noises. If it sounds gritty, something is still obstructed. Address it now before loading live rounds.
Eighth, conduct a live fire check. Load a few fresh, properly hydrated beads. Fire into a safe target area.
Observe velocity and accuracy. Consistent shots mean success. Weak or erratic shots suggest lingering issues.
Re-evaluate seals or hop-up settings if needed.
This process takes 20 to 40 minutes depending on severity. Don’t rush. Proper maintenance extends the life of your blaster significantly.
Treat it with respect, and it will serve you well for seasons to come.
Critical Mistakes That Ruin Gel Blasters Permanently
Even experienced users make errors. Here are the big ones to avoid. Learning from others’ mistakes saves you cash and frustration.
Never use boiling water. High heat warps ABS plastic barrels instantly. Even warm water above 50°C risks deformation.
Stick to lukewarm temperatures. Thermal shock cracks seals and distorts bore diameters, ruining accuracy forever.
Avoid acetone, alcohol, or harsh solvents. These chemicals melt plastic components and strip protective coatings. They also dry out rubber seals, making them brittle.
Only use mild soap or specialized polymer cleaners. Harsh chemicals turn a $50 toy into trash.
Don’t force stuck plungers. If the trigger feels jammed, stop. Prying or hitting damages gear teeth and springs.
Internal mechanisms are delicate. Forcing them bends axles or shatters plastic cams. Diagnose the root cause instead of brute-forcing a solution.
Skip metal cleaning rods. Steel scratches the inner barrel surface. Rough spots catch beads, creating chronic jams.
Always use brass, nylon, or carbon fiber rods. Soft materials clean without marring the precision bore. Scratches reduce range and consistency permanently.
Neglecting lubrication is common. Users clean but forget to oil. Dry rubber seals crack within weeks.
Friction increases wear on pistons. Regular silicone application prevents premature failure. Think of it like changing engine oil.
Ignore it, and the system seizes up eventually.
Over-hydrating beads causes swelling beyond tolerance. Soaking balls too long makes them larger than the barrel diameter. They burst inside, leaving messy residue.
Follow package instructions strictly. Usually, 4 hours is plenty. Oversized beads guarantee jams and mess.
Ignoring legal restrictions varies by region. As of 2026, many areas classify high-velocity gel blasters as firearms. Modifying motors or springs illegally voids warranties and invites fines.
Check local laws before upgrading performance. Stay compliant to keep your hobby safe and legal.
Preventative Maintenance: Keeping Your Barrel Clean Between Games
Prevention is better than cure. Simple habits stop clogs before they start. Integrate these routines into your play schedule.
Clean after every session. Don’t wait for beads to dry. Flush the barrel with warm water immediately after playing.
Residual moisture evaporates quickly, leaving sticky film behind. Prompt rinsing removes loose particles before they bond to surfaces.
Store properly. Keep guns in cool, dry places. Humidity accelerates mold growth on organic residues.
Sunlight degrades plastics and dries out seals. Use silica gel packets in storage bags. Protect your investment from environmental damage.
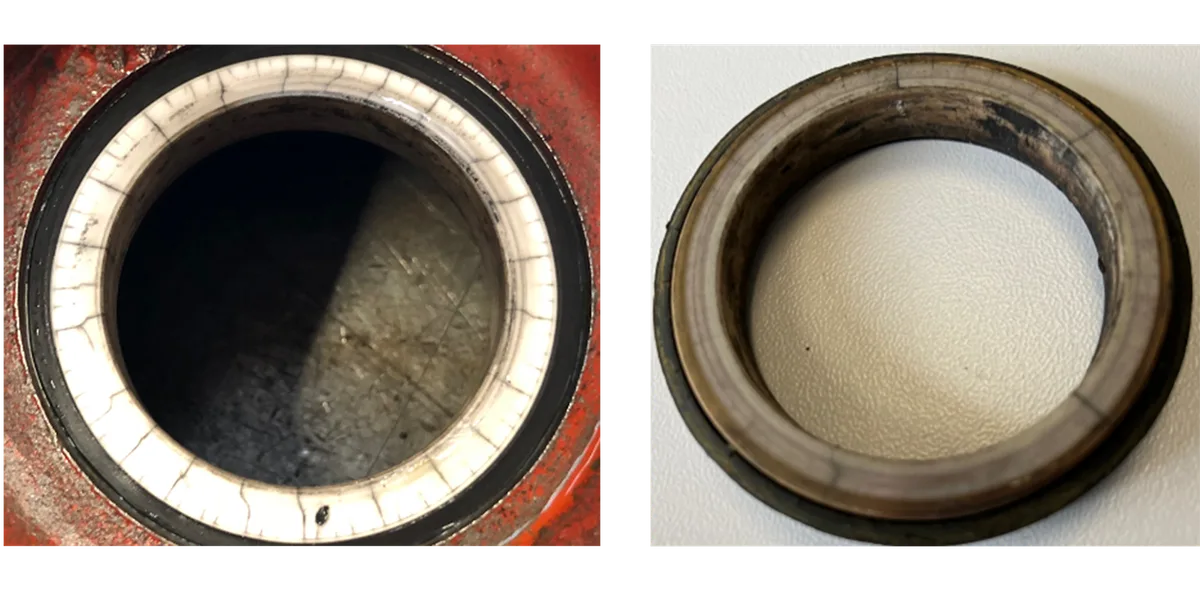
Inspect seals monthly. Look for cracks, tears, or flattening in the bucking rubber. Replace worn parts proactively.
New seals cost little compared to repairing damaged internals. Catching wear early maintains peak performance and reliability.
Use quality beads. Cheap generics vary in size and absorption rates. Inconsistent sizing causes frequent jams.
Buy from reputable suppliers who adhere to standard 7, 8mm diameters. Uniformity ensures smooth feeding and predictable trajectories.
Lubricate regularly. Apply silicone oil to moving parts weekly during active season. Focus on piston heads and hop-up chambers.
Reduced friction means less heat buildup and slower wear. Keep components supple and efficient throughout their lifespan.
By following these steps, you minimize downtime. Your blaster stays ready for action. Good care translates directly to better gameplay experiences.
Invest ten minutes in maintenance, and save hours of troubleshooting later.
When to Replace vs. Repair: Cost-Benefit Analysis
Sometimes, fixing a clog isn’t worth the effort or expense. You need to know when to cut your losses. Aggregate user reviews suggest that minor jams are always repairable.
Major structural damage often points toward replacement.
Consider the age of your blaster first. If it’s over two years old, parts may be scarce. Finding compatible O-rings or springs becomes difficult.
In such cases, buying a new unit might cost less than hunting for rare components. Manufacturer specs confirm that older models lack standardized spare part availability.
Look at the extent of the damage next. A scratched barrel is fixable with polishing kits. Cracked plastic housings are not.
Gluing cracked ABS rarely holds under pressure. It fails during high-impact shots. This creates safety hazards and wastes time.
Compare costs carefully. Replacement barrel inserts typically run between $10 and $25 USD. Full gun replacements range from $40 to $80 depending on brand features.
If repair parts exceed half the price of a new model, upgrade instead. Modern units offer better sealing technology and consistent bore tolerances.
Don’t ignore labor time either. Deep cleaning takes 30 to 60 minutes. Swapping a cheap insert takes five.
Value your free time accordingly. If you play frequently, reliability matters more than initial savings. A faulty repair leads to mid-game failures.
That ruins the fun for everyone involved.
Weigh these factors before committing to a complex teardown. Sometimes, simplicity wins. Check local retailer stock for your specific model number.
If spares are unavailable online, stop trying to salvage it. Move on to a newer platform. Your gameplay experience improves immediately with fresh, tested internals.
Frequently Asked Questions
Can I use vinegar to clean my gel blaster?
No. Vinegar is acidic and can corrode metal springs inside the mechanism. It also degrades rubber seals over time.
Stick to mild dish soap or specialized enzymatic cleaners designed for hydrogels. Acidic solutions compromise long-term durability significantly.
How often should I lubricate my splatter ball gun?
Lubricate after every third gaming session. Frequent players should oil weekly. Dry friction causes premature wear on pistons and bucking rubbers.
Silicone-based oils prevent cracking and maintain smooth cycling. Neglecting this step shortens the lifespan of internal components drastically.
Why do my beads keep bursting in the barrel?
This usually happens if beads are over-hydrated. Soak them strictly according to package instructions, typically four hours. Oversized spheres create excessive friction against the bore walls.
They rupture under pressure, leaving sticky residue that causes future jams. Consistency in hydration prevents burst incidents effectively.
Is it safe to blow into the barrel to clear a clog?
Blowing with mouth pressure is ineffective for hardened clogs. It lacks sufficient force to dislodge dried polymer plugs. Use compressed air set below 30 PSI instead.
Low-pressure bursts protect delicate seals while providing enough power to eject debris safely without risking injury.
What if the trigger feels stiff but nothing shoots?
A stiff trigger often indicates a mechanical jam rather than a bead blockage. Check the hop-up chamber for misaligned bucking rubbers. Inspect the piston head for warping or debris accumulation.
Cleaning alone won’t fix hardware issues. Replace worn seals or damaged springs to restore proper function immediately.