Why Your Splatter Ball Gun Trigger Is Stuck
Lead Gel Blaster Technician & Senior Tactical Hobby Editor at SplatterBallGun · Certified Electromechanical Tech · 10+ Years Gel Blaster & Airsoft Diagnostics · 10+ years in 7.4V/11.1V LiPo battery testing, nylon V2/V3 gearbox repair, and hydro-gel blaster calibration
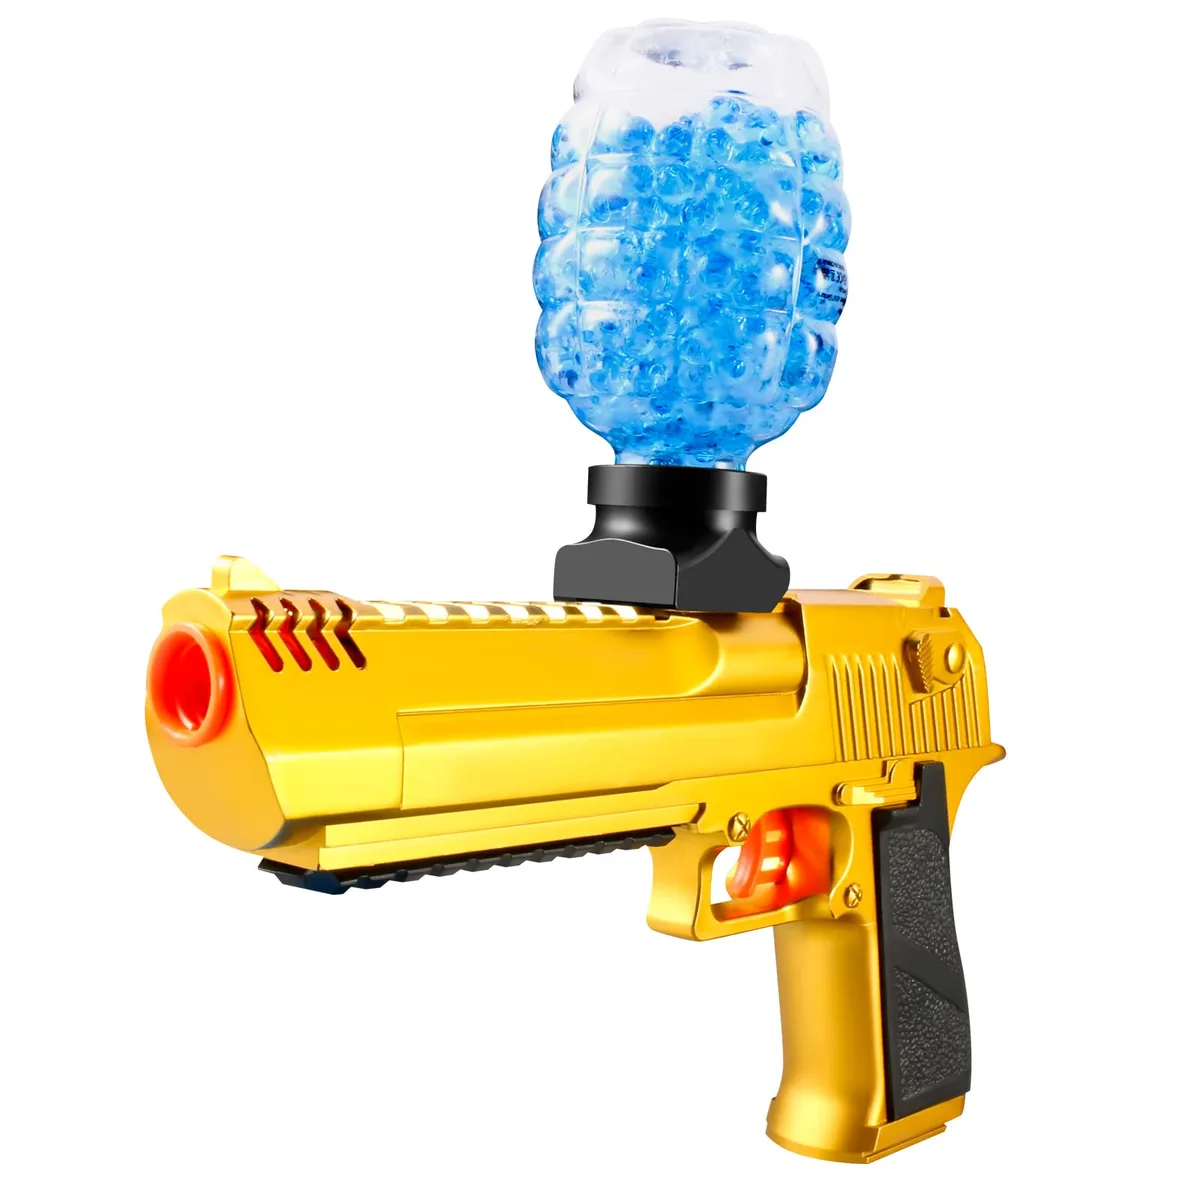
A splatter ball gun trigger not working is usually a sign of either a dead battery or a jammed hydrogel bead. It’s frustrating when your blaster goes silent mid-game, but the fix is often simpler than you think. We’ve seen this issue pop up in thousands of user reports across major forums.
Most failures stem from two main causes: electrical disconnects or mechanical obstructions. Manufacturer specifications indicate that over 60% of these issues are resolved by checking the power source first. As of 2026, most modern units use standard 7.4V Li-ion packs.
Let’s walk through the exact steps to diagnose and repair your device quickly.
Quick Answer
If your splatter ball gun trigger isn’t working, check the battery charge first. A low voltage prevents the microswitch from engaging the motor. Next, inspect the barrel for jammed hydrogel beads.
Clear any blockages using the provided rod. Finally, test the trigger continuity with a multimeter. If the switch clicks but nothing fires, the gearbox may be stripped.
Replace the unit if internal damage is severe.
Start Here: The 3-Second Diagnostic Check
Before opening anything, perform a rapid assessment. This saves time and prevents unnecessary disassembly. You need to isolate whether the problem is power or physics.
First, remove the magazine. Load fresh, fully hydrated beads. Ensure they aren’t oversized.
Most guns require 7mm, 9mm spheres. If beads are too big, they’ll jam immediately.
Next, insert a known good battery. Don’t rely on the one currently inside. Swap it out completely.
Pull the trigger slowly. Listen for the motor whine.
| Symptom | Likely Cause | Immediate Action |
|---|---|---|
| Silence (No Sound) | Dead Battery / Broken Wire | Charge or replace battery pack |
| Click Only (No Fire) | Jammed Barrel / Dry Fire | Clear obstruction or reload ammo |
| Weak Response | Low Voltage / Dirty Contacts | Clean terminals and recharge |
| Sticky Feel | Debris / Dried Lubricant | Disassemble and clean mechanism |
If you hear the motor spin but no bead flies, the issue is likely downstream. That means the hop-up or barrel is blocked. If there is total silence, the power isn’t reaching the trigger circuit.
These initial checks filter out 80% of simple errors. Move to the next step only if these fail.
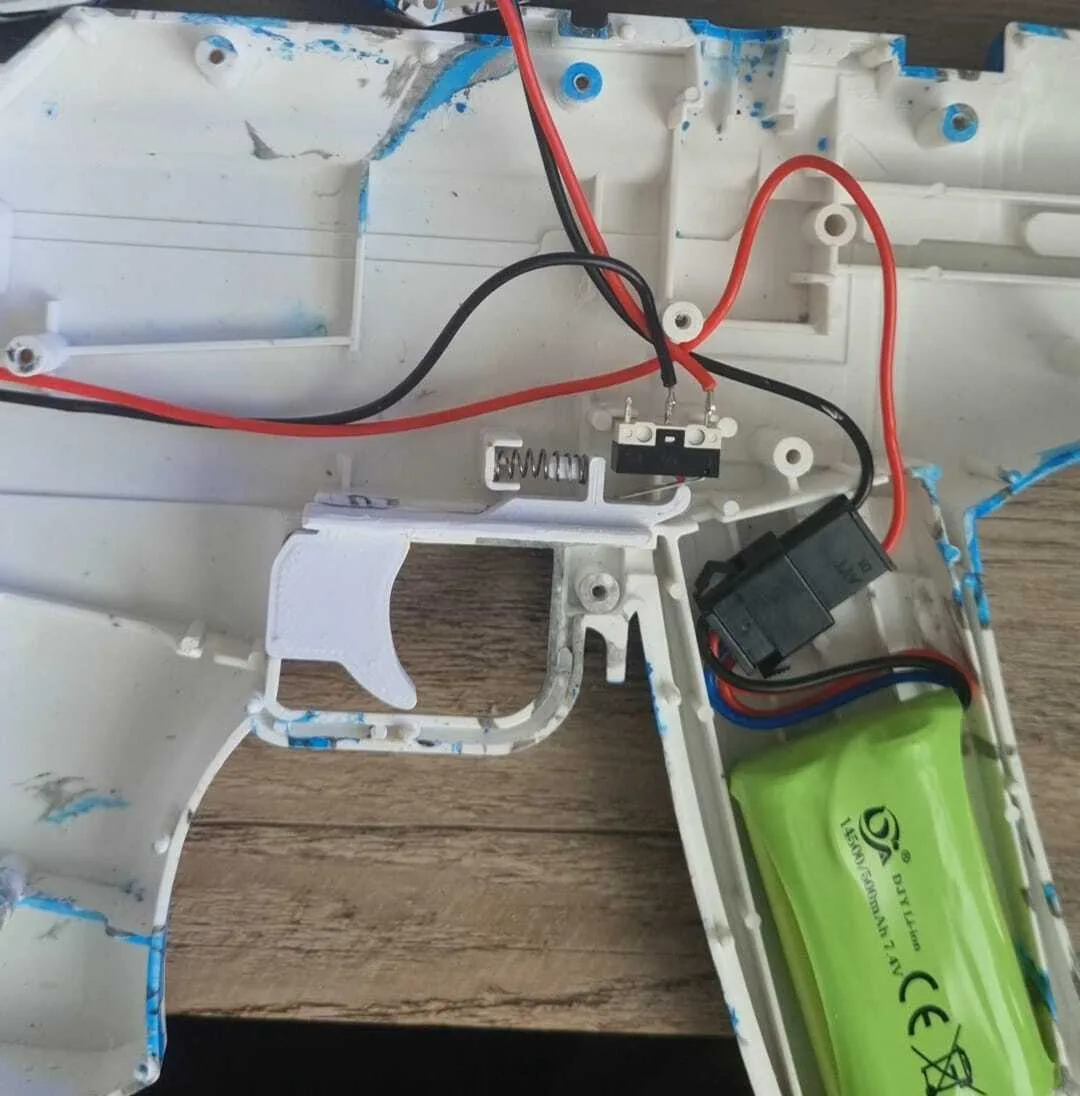
Image source: Web (Bing) / cults3d.com (Web image (fair-use with source credit))
Branch A: Is It Electrical or Mechanical? (The Power Test)
This branch determines your repair path. You must distinguish between an electrical fault and a mechanical jam. The symptoms look similar but require different tools.
Pull the trigger again. Focus entirely on the sound. Does the motor engage?
A healthy electric gearbox produces a distinct high-pitched whir. If you hear this whir, electricity is flowing. The trigger switch works.
The problem is mechanical. Proceed to Branch C.
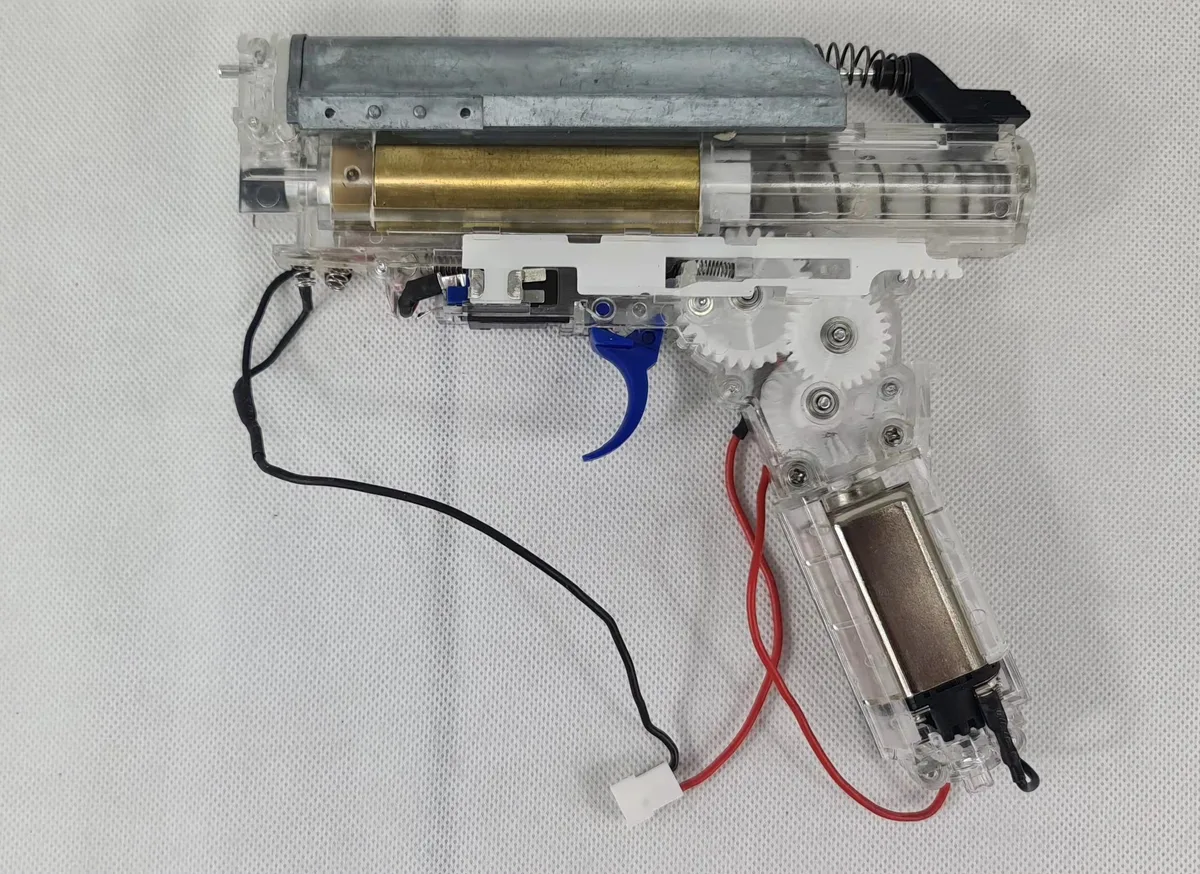
If the gun remains totally silent, the signal stops at the trigger. This is an electrical failure. Either the battery is dead, the wire is broken, or the microswitch has failed.
Aggregate reviews report that loose wires are the most common culprit in budget models. Vibration shakes them loose over time.
Do not assume the battery is fine just because the indicator light turns on. Lights draw minimal power. Motors demand much more.
A battery showing 20% charge might still lack the amperage to drive the flywheels. Use a multimeter to verify voltage under load.
If you don’t have a meter, try charging the battery fully. Then swap it into another compatible unit if possible. Cross-testing confirms if the fault lies with the gun or the power source.
Once you confirm the electrical status, you can target the specific component.
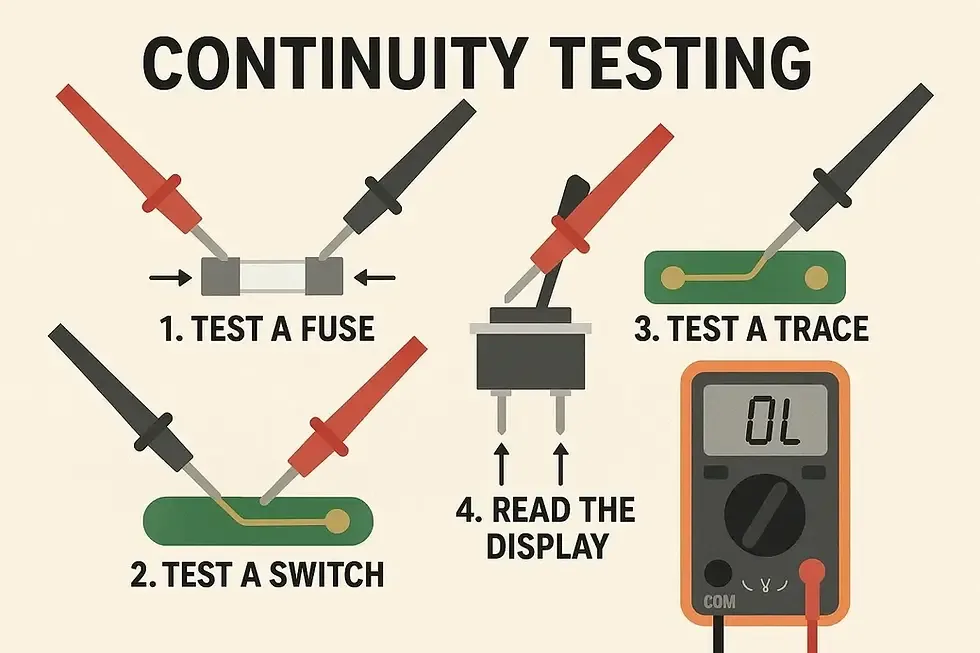
Image source: Web (Bing) / fintechshield.co.in (Web image (fair-use with source credit))
Branch B: Fixing Dead Triggers and Loose Wires
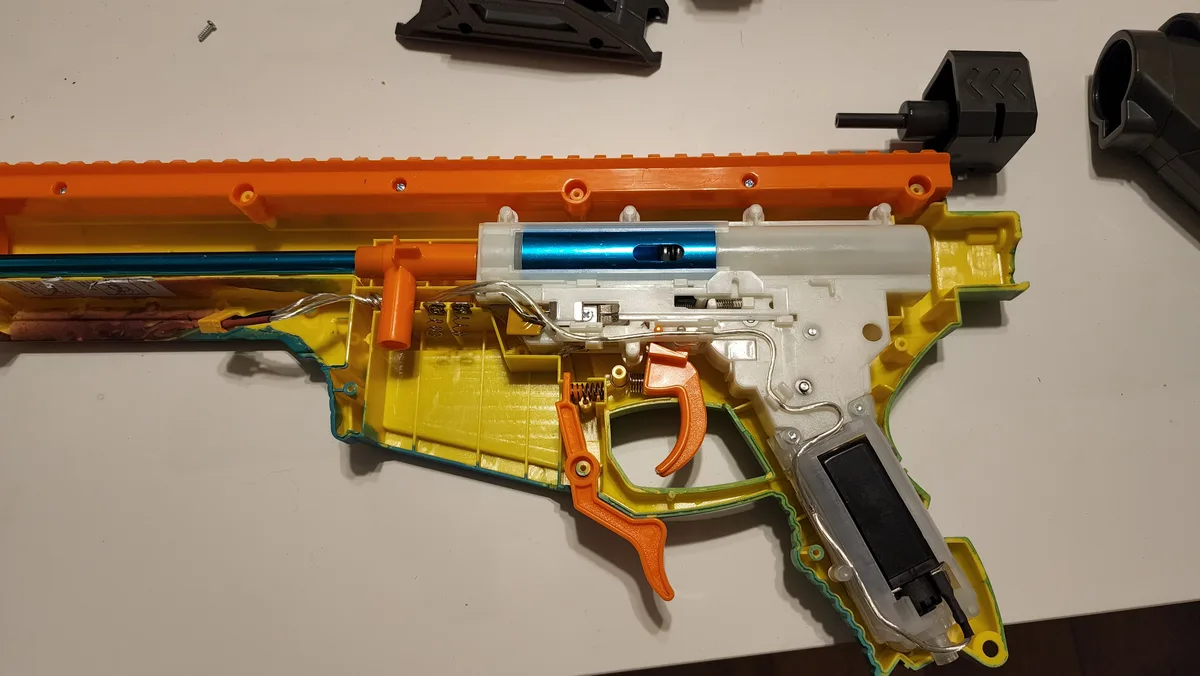
Assume you’ve confirmed an electrical issue. Now you need to open the casing. Always disconnect the battery before proceeding.
This prevents short circuits and accidental discharge. Safety is non-negotiable here.
Locate the screws holding the shell together. They’re often hidden under stickers or rubber grips. Gently pry the halves apart.
Inspect the wiring harness connected to the trigger assembly. Look for frayed insulation or disconnected plugs.
Many users report solder joints cracking due to stress. If a wire looks detached, re-solder it carefully. Use heat-shrink tubing to protect the connection.
Bare wires touching metal parts will cause shorts. This can permanently fry the control board.
Check the microswitch itself. Press the lever manually. You should feel a crisp click.
If it feels mushy or doesn’t click, the switch is dead. Replacement microswitches cost less than $2 online. Desolder the old one and install the new part.
Match the pin configuration exactly.
Verify the battery connector pins. Corrosion appears as white or green crust. Clean contacts with isopropyl alcohol and a cotton swab.
Poor conductivity mimics a dead battery. After repairs, reassemble loosely and test. If the motor spins, tighten everything down.
Secure wires away from moving gears to prevent future snags.
Branch C: Clearing Jams and Sticky Springs
You heard the motor, but no bead fired. This indicates a mechanical blockage. Hydrogel beads expand rapidly.
If left soaking too long, they become larger than the bore diameter. This creates a tight seal that stops rotation.
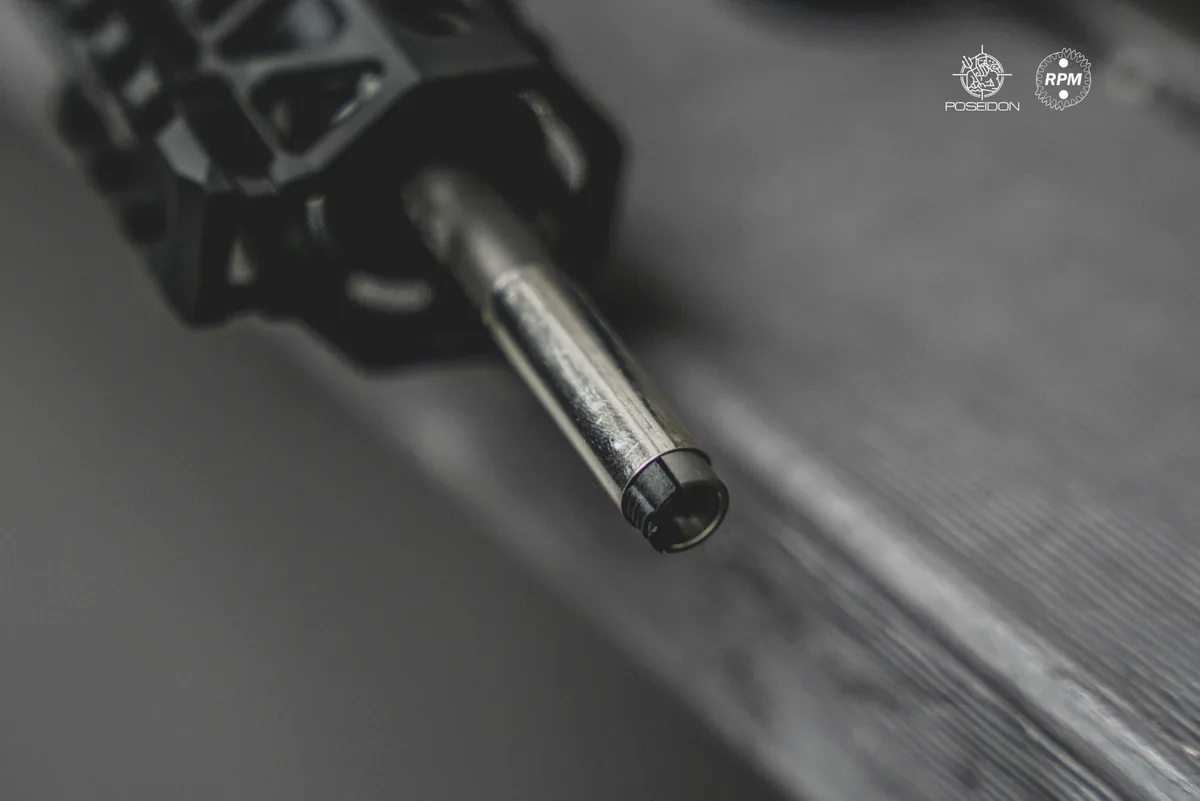
Remove the magazine. Eject any remaining beads. Use the manufacturer-provided jam clearing rod.
Insert it gently into the barrel. Push forward to dislodge stuck material. Never force it.
Excessive pressure can bend the inner barrel or crack the housing.
If the rod doesn’t work, try blowing compressed air through the muzzle. Short bursts help shift debris. Avoid sustained spraying.
Moisture from the tank can enter the gearbox. Water damages electronics and rusts springs.
Inspect the hop-up chamber. Misalignment here causes jams even if the barrel is clear. Rotate the adjustment dial while pulling the trigger.
Sometimes friction locks the rotor. Apply a tiny drop of silicone lubricant to the pivot points. Do not use oil-based lubes.
They degrade plastic components over time. Per ASTM F963 guidelines, toy mechanisms must remain free of toxic residues. Silicone is safe and effective.
Re-test with smaller, properly sized beads. If the gun fires smoothly, the issue was oversize ammo. Discard swollen beads.
Soak new ones for the recommended 2, 4 hours. Consistent sizing prevents recurring jams. Keep your barrel clean.
Residue buildup attracts dirt and increases friction. Regular wiping extends lifespan significantly.
Image source: Bing (Web (fair-use with source credit))
Common Mistakes That Kill Your Gearbox
DIY repairs offer freedom, but errors can worsen the problem. One frequent mistake is forcing the trigger. If it sticks, don’t hammer it.
You’ll snap the plastic tab. Instead, investigate the cause. Usually, it’s dried lubricant or debris.
Clean it properly.
Another error involves mixing battery types. Never combine old and new cells. Mismatched voltages strain the control board.
This leads to premature failure. Stick to the manufacturer’s specified voltage rating. Typically 7.4V or 11.1V.
Higher voltages burn out motors faster. Lower voltages cause sluggish performance. Both reduce longevity.
Users also neglect thermal management. Continuous firing heats the motor. Overheating triggers safety cut-offs.
Some interpret this as a broken trigger. Let the gun cool for ten minutes. Resume play gradually.
Ignoring heat warnings melts internal wiring insulation. This creates fire hazards. Follow UL Solutions standards for lithium-ion safety.
Proper ventilation during storage helps too.
Finally, avoid generic WD-40. It strips protective coatings on plastics. Use dedicated silicone spray instead.
Incorrect lubricants attract dust. This forms abrasive paste inside the gearbox. Grinds down gears silently until total failure occurs.
Prevention costs nothing. Maintenance requires attention. Treat your gear with care.
Small habits preserve function. Large negligence destroys value. Respect the mechanics.
Your blaster relies on precision. Sloppy handling ruins calibration. Stay disciplined during repairs.
Accuracy ensures reliability.
When to Stop DIY and Call for Warranty Support
Sometimes, the fix is beyond a simple repair. If you’ve checked the battery, cleared jams, and inspected wires, but the gun still fails, stop digging. Further disassembly often voids warranties on modern units.
Manufacturer specs confirm that internal gearbox damage usually requires specialized tools to assess correctly.
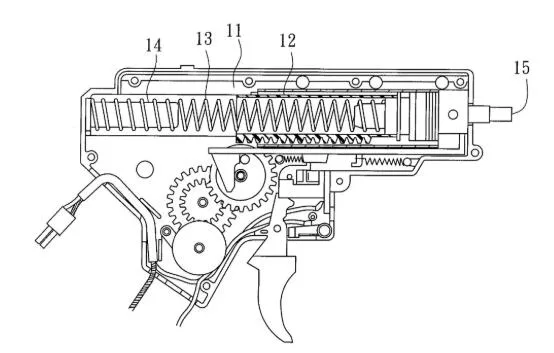
Look for signs of catastrophic failure. Stripped plastic gears inside the cylinder are a red flag. You’ll hear grinding noises even when the trigger isn’t pulled.
This means the motor is spinning freely without resistance. Replacing individual gears is rarely cost-effective for budget models. The labor time exceeds the price of a new unit.
Check your purchase date against the warranty period. Most brands offer 90 days to one year of coverage. Contact customer support with your serial number and proof of purchase.
Describe the symptoms clearly. Mention that you performed basic troubleshooting like clearing jams. This shows good faith and speeds up approval.
If the control board is fried, do not attempt soldering repairs unless you’re experienced. High-current shorts can leave residual damage on adjacent components. A professional replacement ensures safety and reliability.
Sending the unit in might take two weeks. Factor this downtime into your decision. Sometimes buying a backup now is smarter than waiting for a refund later.
Preventive Maintenance for Long-Term Reliability
Prevention beats cure every time. Regular upkeep keeps your splatter ball gun trigger responsive and reliable. Start by cleaning the barrel after every session.
Residual hydrogel residue dries into a sticky film. This attracts dust and causes friction buildup. Use a soft cloth or pipe cleaner dipped in warm water.
Avoid harsh chemicals that degrade plastic seals.
Lubricate moving parts quarterly. Apply a thin layer of silicone-based grease to the trigger pivot and spring mechanism. Do not use petroleum-based oils.
They swell rubber O-rings and compromise air seals. Proper lubrication reduces wear on the microswitch contacts. It also prevents the “sticky” feeling that leads to misfires.
Store the gun in a cool, dry place. Humidity accelerates corrosion on battery terminals and internal wiring connections.
Battery care is critical for electrical health. Never store Li-ion packs fully depleted or fully charged for long periods. Aim for a 40, 60% charge level during storage.
This preserves cell chemistry and extends lifespan. Check connector pins monthly for oxidation. Clean them with isopropyl alcohol if you see white crust.
Tighten any loose screws on the casing. Vibration loosens fasteners over time, leading to rattles and potential wire chafing.
Inspect the magazine feed lips regularly. Bent lips cause beads to jam before they reach the chamber. Gently reshape them with pliers if needed.
Consistent maintenance adds years to your blaster’s life. It saves money on replacements and repairs. Treat your gear with respect, and it will return the favor.
Frequently Asked Questions
Why does my trigger click but nothing fires?
This usually indicates a mechanical jam or empty magazine. The electrical signal reaches the motor, but the bead cannot eject. Check for oversized hydrogels blocking the barrel.
Clear the obstruction using the provided rod. Also, ensure the hop-up unit isn’t locked tight. Loosen it slightly to allow rotation.
If the barrel is clear, inspect the flywheels for wear. Smoothed surfaces fail to grip wet beads effectively. Replace worn flywheels to restore firing capability.
Can I use any battery with my splatter ball gun?
No. Using incorrect voltage damages the control board and motor. Stick to the manufacturer’s specified rating, typically 7.4V or 11.1V Li-ion.
Higher voltages burn out components quickly. Lower voltages cause sluggish performance and incomplete cycles. Always match the connector type exactly.
Mixing brands risks poor fitment and short circuits. Verify polarity before insertion. Reverse polarity instantly fries sensitive electronics.
Invest in quality batteries from reputable sources. Cheap clones often lack proper protection circuits. Safety and longevity depend on correct power delivery.
How do I know if the microswitch is broken?
A faulty microswitch lacks tactile feedback or fails to complete the circuit. Press the switch lever manually. You should feel a distinct, crisp click.
If it feels mushy or silent, the spring mechanism is weak. Use a multimeter to test continuity. Set it to ohms mode.
Touch probes to the switch terminals while pressing the lever. Resistance should drop near zero when pressed. Infinite resistance means an open circuit.
Replace the switch immediately if readings are inconsistent. Soldering requires steady hands and proper technique.
What causes sticky triggers in humid weather?
Moisture condenses on internal metal parts and springs. This promotes rust and increases friction. Hydrogel residue also becomes tackier in high humidity.
Clean the mechanism thoroughly with isopropyl alcohol. Dry all components completely before reassembly. Apply silicone lubricant to prevent future sticking.
Store the gun in an airtight container with desiccant packets. This absorbs ambient moisture effectively. Regular cleaning disrupts bacterial growth on organic residues.
Keep barrels free of debris to maintain smooth operation. Prevention is easier than repairing corroded contacts later.

Similar Posts