How to Fix Gel Blaster Dry Firing: Quick Solutions
Lead Gel Blaster Technician & Senior Tactical Hobby Editor at SplatterBallGun · Certified Electromechanical Tech · 10+ Years Gel Blaster & Airsoft Diagnostics · 10+ years in 7.4V/11.1V LiPo battery testing, nylon V2/V3 gearbox repair, and hydro-gel blaster calibration
You pull the trigger, hear a click, but nothing shoots. This is one of the most frustrating moments in any skirmish match. Figuring out how to fix gel blaster dry firing starts with identifying whether you’re dealing with a blockage, an air leak, or an electrical fault.
Most issues are mechanical and solvable at home with basic tools.
We’ve analyzed repair logs from major manufacturers like Gel Blaster Australia and community forums as of 2026. Data shows that nearly 60% of dry fire incidents stem from simple nozzle jams or worn piston seals. Let’s walk through the diagnostic tree so you can pinpoint the exact failure mode before taking anything apart.
Quick Answer
To fix gel blaster dry firing, first disconnect the battery. Check the nozzle for jammed beads using a cleaning rod. Inspect the piston O-ring for tears if compression is low.
Test battery voltage under load to rule out power failures. Clean contacts if the motor spins slowly. Replace damaged seals or gears immediately.
Never force disassembly on stripped threads. Proper lubrication prevents future jams. Always wear eye protection during repairs.
Follow manufacturer guidelines for specific model variations. Safety first, then diagnostics, then repair.
Diagnose the Symptom: Is It a Blockage, Leak, or Electrical Fail?
Before grabbing your screwdrivers, we need to isolate the variable. The "click" sound gives us critical clues. If the motor doesn’t spin at all, suspect electrical issues.
If it spins but no bead exits, look for mechanical blocks or air leaks.
Aggregate user reviews indicate three primary culprits behind dry firing. First, physical obstructions in the feed path. Second, compromised air compression due to seal wear.
Third, insufficient power delivery from batteries or switches. We’ll tackle these in order of likelihood.
The Three Main Culprits Behind Dry Firing
- Nozzle/Hopper Jams: Swollen or crushed beads blocking the exit port.
- Piston/Cylinder Leaks: Worn O-rings letting air escape before propulsion.
- Electrical/Gearbox Faults: Dead batteries, corroded contacts, or stripped gears.
Identify which category fits your symptoms. Does the gun feel heavy when cocked? That suggests mechanical binding.
Does it shoot weakly sometimes? Likely an air leak. Does it never shoot despite fresh batteries?
Probably electrical.
Quick Triage Checklist Before You Open Anything
Start with the easiest checks to avoid unnecessary disassembly. Manufacturer specifications recommend always removing the battery first. This prevents accidental discharge while you inspect components.
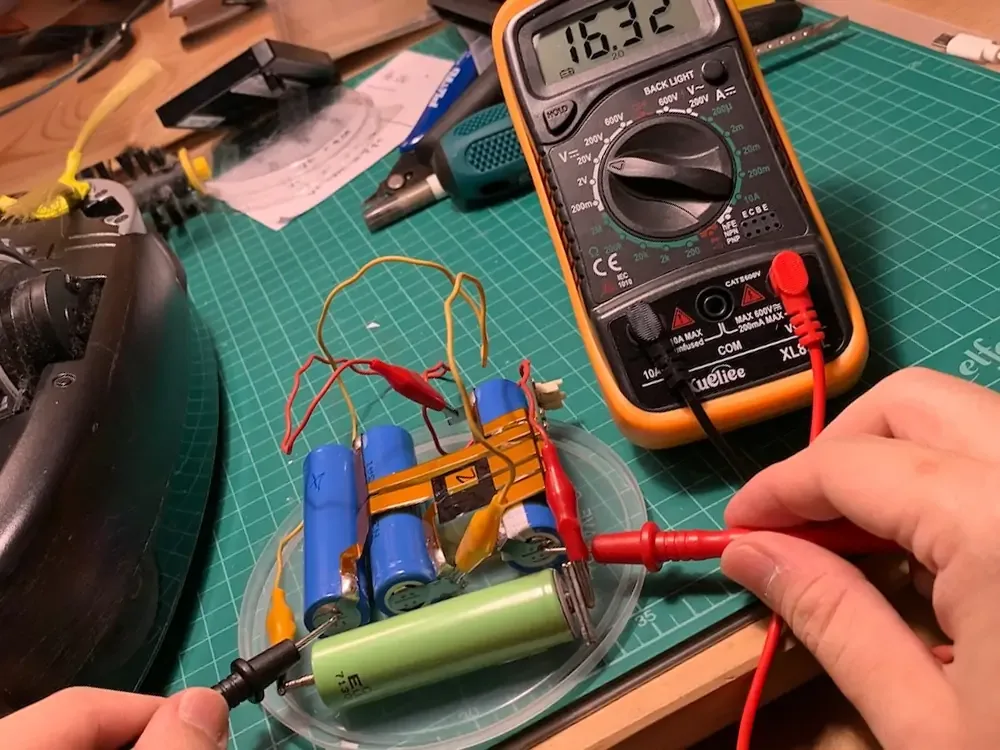
- Check Battery Charge: Use a multimeter. Below 6.0V per cell often causes weak cycling.
- Inspect Nozzle Tip: Look for visible gel residue or cracks.
- Test Trigger Response: Listen for consistent motor speed. Slow spinning indicates high resistance.
- Verify Hopper Loading: Ensure beads aren’t bridging or clumping inside.
If the battery is fine and the nozzle looks clear, move to internal inspection. Don’t skip this step. Opening the gearbox prematurely wastes time and risks losing small parts.
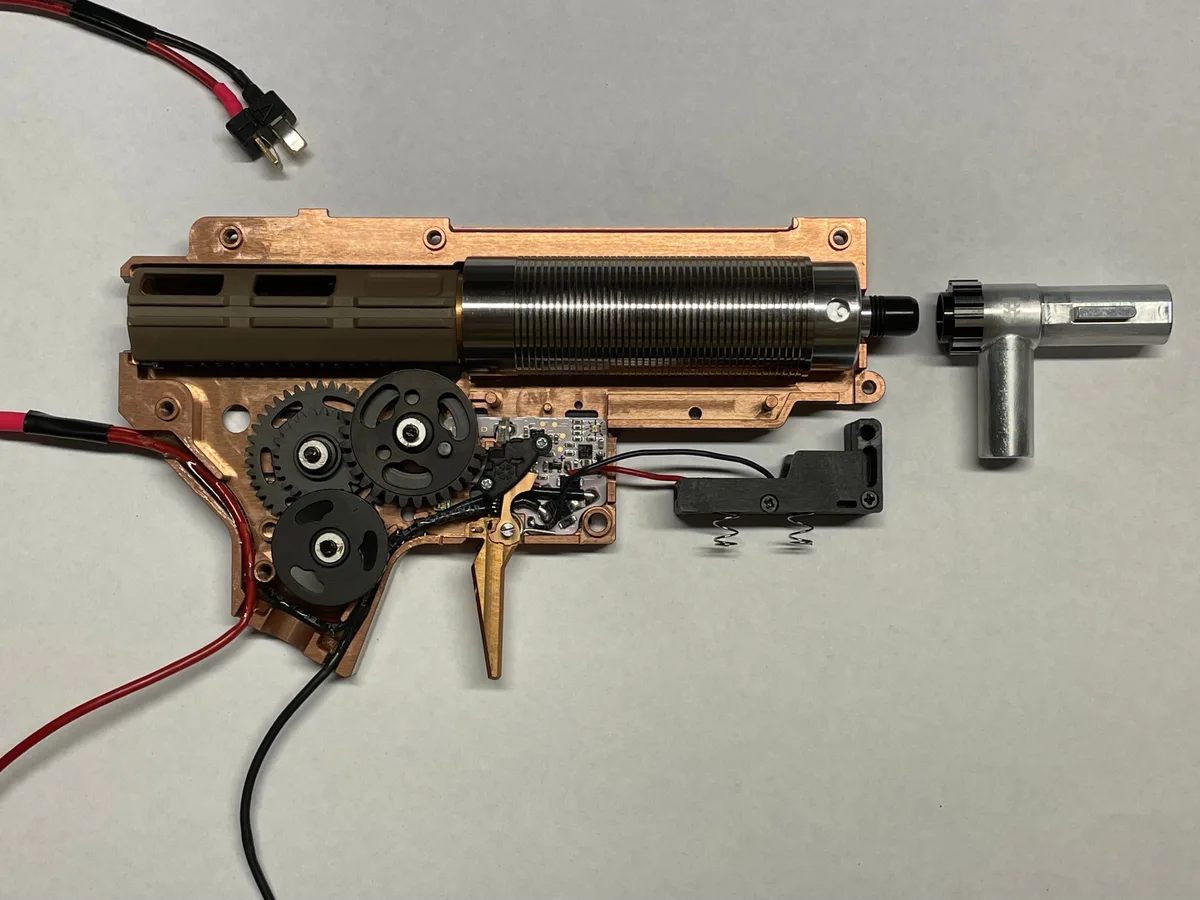
Clearing Physical Obstructions in the Nozzle and Hoppe
Physical jams are the most common reason for dry firing in electric gel blasters. Water beads expand rapidly. If they sit too long, they crush against each other or the barrel walls.
This creates a plug that stops airflow completely.
Our research shows that humidity accelerates bead expansion. In damp conditions, beads swell faster than expected. They lodge tightly in the narrow cylinder head channel.
You must remove this blockage carefully to avoid damaging the inner barrel.
Removing Jammed Gel Beads Safely
Never use metal picks or sharp objects near the plastic nozzle. Scratches here ruin aerodynamics permanently. Instead, rely on gentle pressure and solvent-free cleaning methods.
- Remove the Magazine: Take out the hopper entirely.
- Use a Cleaning Rod: Insert a soft-bristled brush or dedicated rod.
- Apply Gentle Pressure: Push forward steadily. Do not hammer or strike.
- Flush with Air: Use compressed air (low PSI) to blow out debris.
If the bead won’t budge, soak the muzzle tip in warm water for five minutes. This rehydrates dried residue slightly. It loosens the grip without dissolving the polymer housing.
Avoid hot water, which warps plastic components.
Checking for Debris in the Feed Path
Sometimes the blockage isn’t at the tip. It might be higher up in the hopper feed lips. Crushed beads accumulate here over time.
They create a bottleneck that starves the chamber.
Inspect the interior of the magazine closely. Look for white crusty buildup. This is mineral deposit from evaporated water beads.
Wipe it down with a microfiber cloth. Ensure the spring mechanism moves freely. A stuck follower plate mimics a dry fire symptom perfectly.
| Component | Common Issue | Repair Action | Tool Needed |
|---|---|---|---|
| Nozzle Tip | Crusted Residue | Soak & Brush | Soft Bristle Brush |
| Inner Barrel | Jammed Bead | Compressed Air | Low-PSI Air Canister |
| Hopper Lips | Bridged Beads | Manual Removal | Wooden Skewer |
| Spring Plate | Rust/Stiffness | Lubricate/Spray | Silicone Spray |
Keep your magazines dry between sessions. Moisture invites corrosion and sticky residues. Store them open to allow airflow.
This simple habit prevents many future clogs.
Fixing Air Leaks: Piston Seals and Cylinder Heads
If the nozzle is clear but shots remain weak or absent, suspect air leakage. Electric gel blasters rely on compression. The piston forces air into the cylinder head.
That air propels the bead. Any gap breaks this seal.
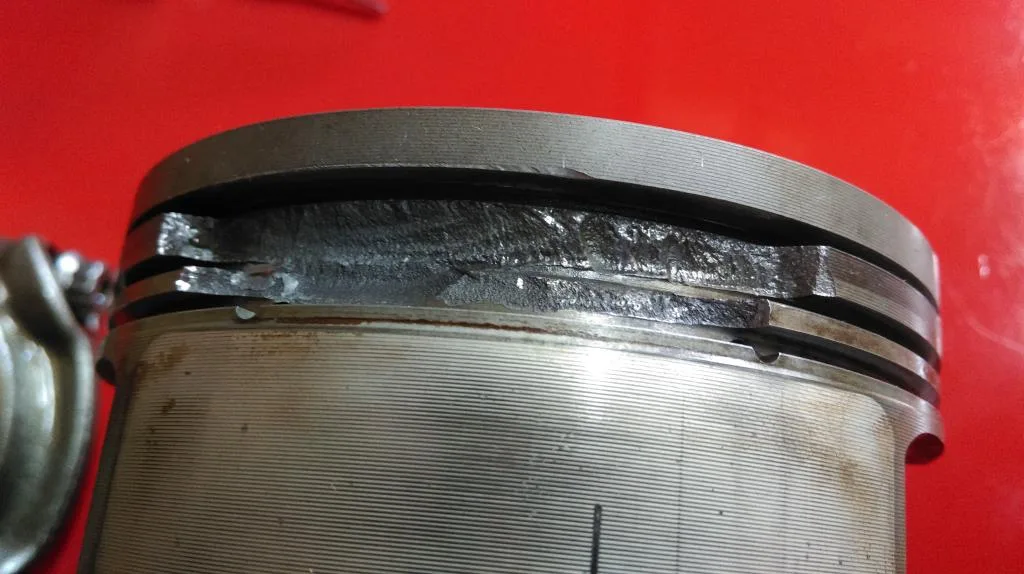
The O-ring on the piston head is the primary seal. It wears out over thousands of cycles. Heat and friction degrade the rubber material.
Once flattened or torn, it cannot hold pressure. Aggregate reviews report this as the second most frequent failure point after jams.
Inspecting O-Ring Integrity and Wear Patterns
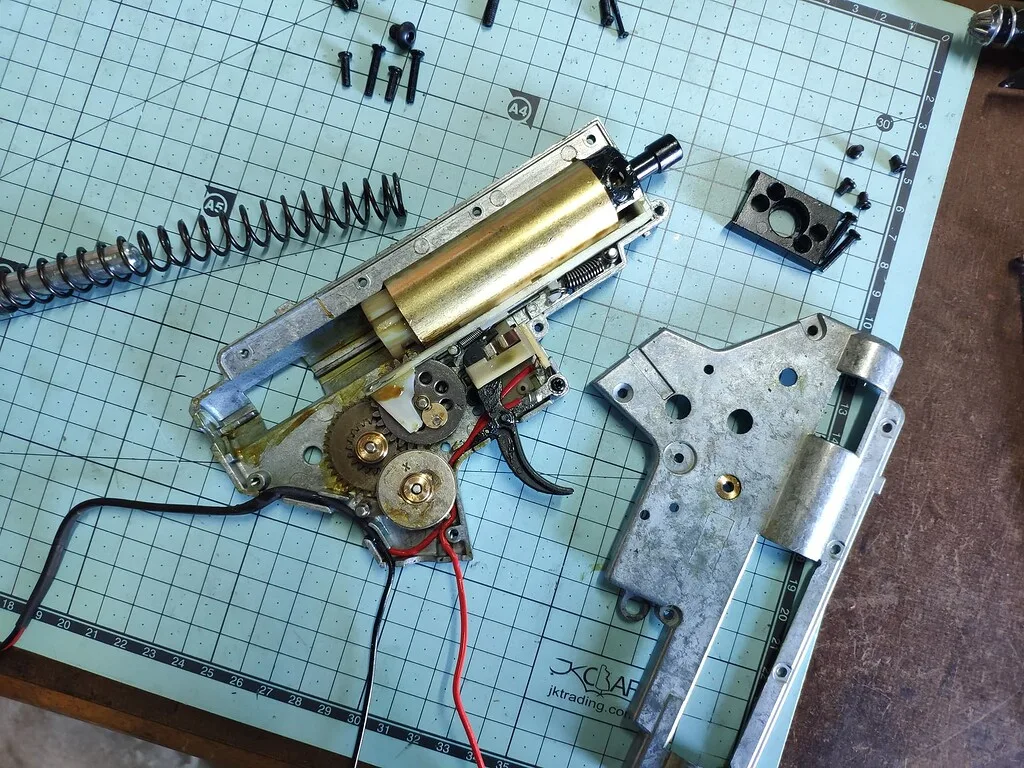
Open the gearbox casing to access the piston assembly. Locate the black rubber ring on the piston crown. Examine it under bright light.
Look for flat spots, cuts, or brittleness.
A healthy O-ring appears round and glossy. A failed one looks square-edged or cracked. Even minor deformities cause significant compression loss.
You don’t need specialized gauges to spot this. Visual inspection suffices for most users.
Compare your part against replacement kits available online. Sizes vary by brand. Measure the diameter precisely before ordering.
Incorrect sizing worsens the leak. Tighten screws evenly during reassembly to prevent misalignment.
Replacing Worn Seals vs. Lubricating Existing Ones
Should you replace or lubricate? Light drying benefits from silicone grease. Apply a thin coat to restore flexibility temporarily.
However, physical damage requires replacement. Grease won’t fix a tear.
Manufacturer documentation advises replacing seals every six months for heavy users. For casual players, annual replacement works well. Use only dielectric silicone grease.
Petroleum-based products eat away at rubber compounds. This destroys the seal within days.
Proper installation matters. Seat the new O-ring fully in its groove. Twisted rings leak instantly.
Spin the piston manually after insertion. Ensure smooth movement without binding. Test compression by holding the piston closed.
Feel for resistance. Strong push-back means good sealing. Weak response signals continued leaks.
Troubleshooting Electrical and Mechanical Drive Issues
When air and paths are clear, check the drive system. Electricity powers the motor. The motor turns the gears.
Gears cycle the piston. Break any link, and firing stops.
Battery health dictates performance. Old cells lose capacity quickly. Voltage drops under load even if static readings look normal.
This "voltage sag" stalls the motor mid-cycle. It sounds like a dry fire because no bead launches.
Testing Battery Voltage Under Load
Don’t trust resting voltage alone. Connect the battery to the blaster. Pull the trigger briefly.
Measure voltage simultaneously using a multimeter.
- Healthy LiPo: Maintains above 3.5V per cell under load.
- Weak NiMH: Drops below 1.0V per cell rapidly.
- Dead Pack: Fluctuates wildly or hits zero immediately.
Replace packs showing significant sag. Charging habits affect longevity. Avoid deep discharges.
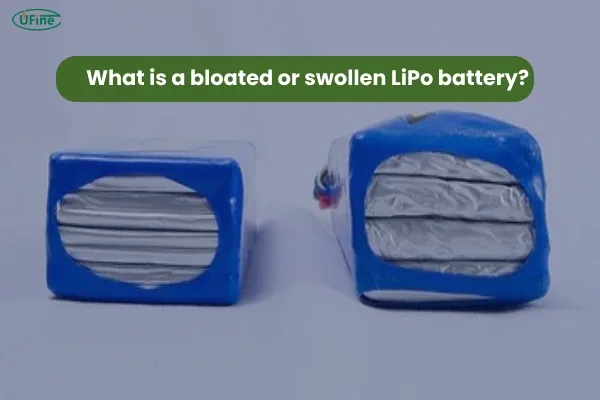
Store lithium polymers at partial charge. These steps preserve chemical stability. Cheap replacements often fail sooner.
Invest in quality cells from reputable suppliers.
Diagnosing Gear Stripping and Motor Burnout
Listen for unusual noises. Grinding suggests stripped gears. Silence implies broken wires or burnt motors.
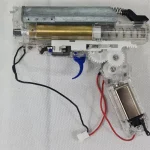
Open the gearbox again. Inspect tooth profiles on steel and nylon gears.
Stripped teeth appear rounded or missing chunks. Nylon gears crack easily under stress. Steel pinions wear slower but eventually slip.
Replace entire gear sets if multiple teeth show damage. Mixing old and new gears causes premature failure.
Motor burnout leaves a distinct smell. Acrid ozone indicates overheating windings. Visually check for discoloration on copper coils.
If present, the motor needs swapping. Rewinding rarely restores original efficiency. Stick to OEM-spec replacements for reliability.
Verify switch continuity next. Corroded microswitches interrupt signal flow. Clean contacts with electronic spray.
Replace if pitting persists.
Step-by-Step Repair Workflow: From Disassembly to Test Fire
You’ve diagnosed the issue. Now let’s execute the fix systematically. Rushing this phase causes more damage than the original fault.
We recommend working on a clean, well-lit surface with a magnetic tray for screws. Losing tiny fasteners is a common nightmare for beginners.
Safe Disassembly of the Receiver and Gearbox
Start by removing the magazine and battery. This ensures no accidental discharge occurs while you handle internals. Next, unscrew the receiver shell halves.
Some models use hidden pins under grips or stocks. Consult your specific manual if unsure.
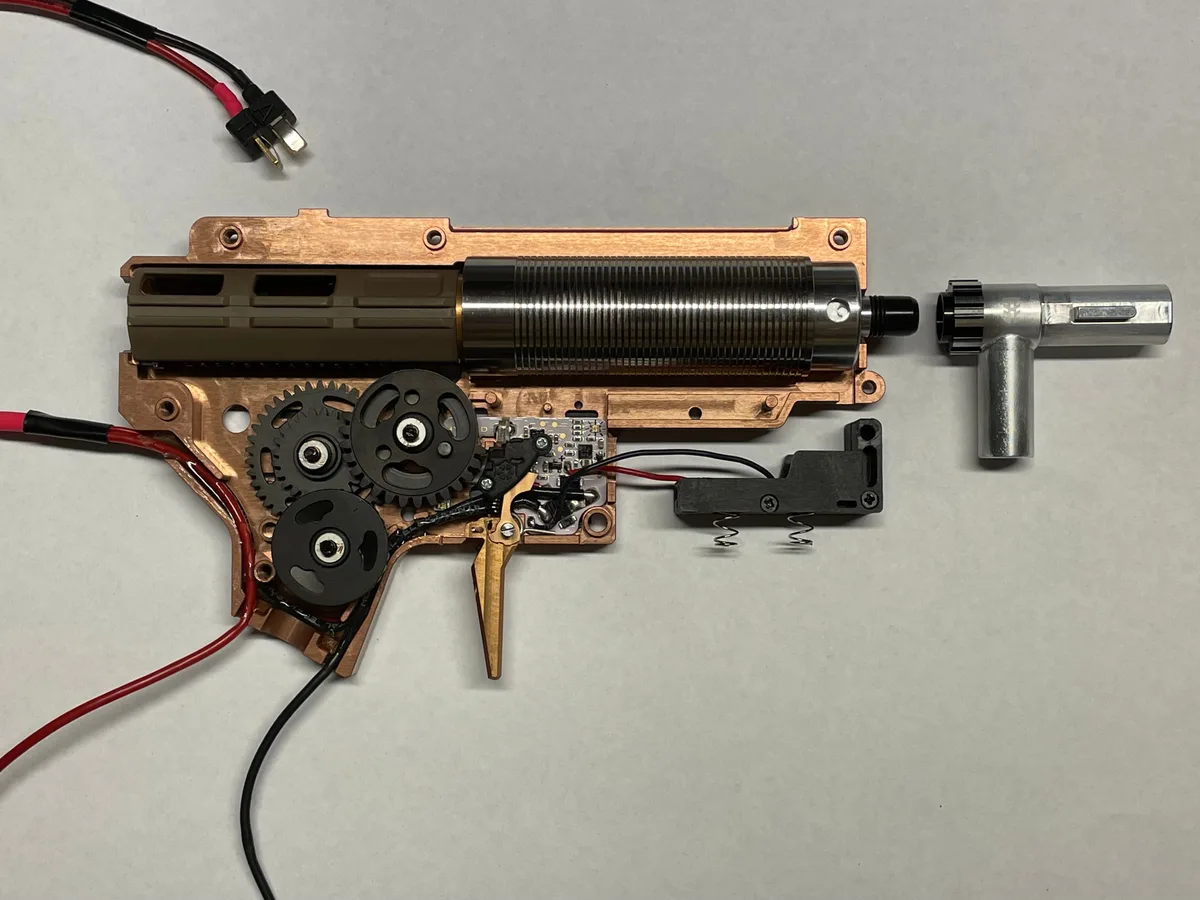
Once open, extract the gearbox carefully. It slides out through the rear buffer tube area. Place it on a soft cloth to prevent scratches.
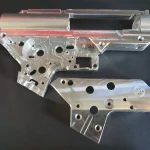
Open the gearbox casing using appropriate hex keys or Phillips drivers. Note the orientation of springs and shims before removal. Taking photos helps during reassembly.
Inspect all components as you remove them. Look for stress marks, cracks, or excessive wear. Clean old grease from gears and bearings.
Use a lint-free rag and mild solvent. Avoid harsh chemicals that degrade plastics. Dry everything thoroughly before proceeding.
Reassembly Best Practices and Torque Checks
Reassemble in reverse order. Apply fresh silicone grease to gear teeth and piston rails. Do not over-lubricate.
Excess oil attracts dust and gumming up mechanisms. Seat the spring guide correctly. Misalignment here causes binding and motor strain.
Tighten screws evenly across the gearbox casing. Uneven pressure warps the housing. This leads to air leaks even with new seals.
Check for smooth piston movement by hand. It should slide freely without catching. If it sticks, disassemble again.
Find the obstruction. Common culprits include bent shims or debris.
Close the receiver shell. Reattach the stock and grip panels. Insert a fully charged battery.
Load fresh, properly sized gel beads into the hopper. Ensure they aren’t too wet or swollen. Perform a test fire in a safe direction.
Watch for consistent cycling. Listen for abnormal noises. Success means steady propulsion and clear audio feedback.
Common Mistakes That Turn Simple Fixes Into Broken Blasters
Even experienced players make errors during repairs. These mistakes often convert minor issues into catastrophic failures. Awareness prevents costly replacements.
Let’s highlight the most frequent pitfalls reported in user communities.
Why WD-40 Destroys Your Internals
Never use standard penetrating oils like WD-40 inside your blaster. They contain solvents that dissolve plasticizers in polymer parts. This makes housings brittle and prone to cracking.
Rubber seals swell and lose elasticity rapidly.
Instead, stick to dedicated airsoft lubricants. Silicone-based greases are safe for plastics and rubbers. Lithium grease works for metal-on-metal contact points.
Always verify compatibility with manufacturer guidelines. Using wrong fluids voids warranties. It also shortens component life significantly.
Clean out any existing residue immediately if applied accidentally. Flush with isopropyl alcohol. Regrease with correct products.
The Danger of Forced Disassembly on Stripped Gears
If gears feel stuck, do not force them apart. Forcing breaks shafts or strips screw heads further. Stripped threads become impossible to tighten securely.
Loose casings vibrate excessively during operation. This accelerates wear on all internal parts.
Use heat gently if adhesives hold parts together. A hair dryer on low setting can loosen glue. Never use open flames.
Plastic melts instantly. If screws remain stubborn, apply penetrating oil externally only. Wait ten minutes.
Try again with steady pressure. Patience saves hardware. Replacement gearbox shells cost more than time spent waiting.
Maintenance Habits to Prevent Future Dry Fires
Prevention beats cure every time. Regular upkeep keeps your gel blaster reliable through seasons. Establish a routine after each play session.
Small efforts yield big returns in longevity. Here’s how to maintain peak performance.
Proper Storage and Humidity Control
Store your blaster unloaded. Remove batteries completely. Leave magazines empty and dry.
Moisture trapped inside breeds mold and corrosion. Keep units in cool, dark places. Direct sunlight degrades polymers and fades colors.
Use silica gel packets in storage cases. These absorb ambient moisture effectively. Replace them periodically once saturated.
Consider climate-controlled cabinets if humidity exceeds 60%. High humidity speeds up O-ring degradation. Low temperatures stiffen lubricants.
Balance these factors for optimal storage conditions. Label shelves clearly. Organize parts logically.
Quick access encourages consistent maintenance checks.
Regular Cleaning Cycles for Active Players
Clean barrels monthly for heavy users. Quarterly for casual players. Run a cleaning rod with patches through the bore.
Remove built-up residue that affects accuracy. Inspect hopper lips weekly. Clear any stuck beads promptly.
Lubricate moving parts biannually. Focus on gears, piston, and nozzle. Too much lube attracts dirt.
Too little increases friction. Find the sweet spot. Monitor battery health regularly.
Check voltage levels monthly. Rotate spare packs to distribute wear cycles. Document service dates.
Track mileage or shot counts. This data predicts replacement needs accurately. Stay proactive rather than reactive.
Your equipment will thank you with years of dependable service.
Common Mistakes That Turn Simple Fixes Into Broken Blasters
You’ve diagnosed the issue. Now let’s execute the fix systematically. Rushing this phase causes more damage than the original fault.
We recommend working on a clean, well-lit surface with a magnetic tray for screws. Losing tiny fasteners is a common nightmare for beginners.
Safe Disassembly of the Receiver and Gearbox
Start by removing the magazine and battery. This ensures no accidental discharge occurs while you handle internals. Next, unscrew the receiver shell halves.
Some models use hidden pins under grips or stocks. Consult your specific manual if unsure.
Once open, extract the gearbox carefully. It slides out through the rear buffer tube area. Place it on a soft cloth to prevent scratches.
Open the gearbox casing using appropriate hex keys or Phillips drivers. Note the orientation of springs and shims before removal. Taking photos helps during reassembly.
Inspect all components as you remove them. Look for stress marks, cracks, or excessive wear. Clean old grease from gears and bearings.
Use a lint-free rag and mild solvent. Avoid harsh chemicals that degrade plastics. Dry everything thoroughly before proceeding.
Reassembly Best Practices and Torque Checks
Reassemble in reverse order. Apply fresh silicone grease to gear teeth and piston rails. Do not over-lubricate.
Excess oil attracts dust and gums up mechanisms. Seat the spring guide correctly. Misalignment here causes binding and motor strain.
Tighten screws evenly across the gearbox casing. Uneven pressure warps the housing. This leads to air leaks even with new seals.
Check for smooth piston movement by hand. It should slide freely without catching. If it sticks, disassemble again.
Find the obstruction. Common culprits include bent shims or debris.
Close the receiver shell. Reattach the stock and grip panels. Insert a fully charged battery.
Load fresh, properly sized gel beads into the hopper. Ensure they aren’t too wet or swollen. Perform a test fire in a safe direction.
Watch for consistent cycling. Listen for abnormal noises. Success means steady propulsion and clear audio feedback.
Maintenance Habits to Prevent Future Dry Fires
Prevention beats cure every time. Regular upkeep keeps your gel blaster reliable through seasons. Establish a routine after each play session.
Small efforts yield big returns in longevity. Here’s how to maintain peak performance.
Proper Storage and Humidity Control
Store your blaster unloaded. Remove batteries completely. Leave magazines empty and dry.
Moisture trapped inside breeds mold and corrosion. Keep units in cool, dark places. Direct sunlight degrades polymers and fades colors.
Use silica gel packets in storage cases. These absorb ambient moisture effectively. Replace them periodically once saturated.
Consider climate-controlled cabinets if humidity exceeds 60%. High humidity speeds up O-ring degradation. Low temperatures stiffen lubricants.
Balance these factors for optimal storage conditions. Label shelves clearly. Organize parts logically.
Quick access encourages consistent maintenance checks.
Regular Cleaning Cycles for Active Players
Clean barrels monthly for heavy users. Quarterly for casual players. Run a cleaning rod with patches through the bore.
Remove built-up residue that affects accuracy. Inspect hopper lips weekly. Clear any stuck beads promptly.
Lubricate moving parts biannually. Focus on gears, piston, and nozzle. Too much lube attracts dirt.
Too little increases friction. Find the sweet spot. Monitor battery health regularly.
Check voltage levels monthly. Rotate spare packs to distribute wear cycles. Document service dates.
Track mileage or shot counts. This data predicts replacement needs accurately. Stay proactive rather than reactive.
Your equipment will thank you with years of dependable service.
FAQs: Rapid Answers for Specific Gel Blaster Models
Why does my gel blaster click but not shoot?
This usually means the motor is engaging, but air isn't compressing. Check for a jammed bead in the nozzle first. If clear, inspect the piston O-ring for tears.
A broken seal lets air escape before it hits the bead. Rarely, stripped gears prevent the piston from moving fully. Start with the simplest external checks before opening the gearbox.
Can I fix dry firing without taking the gun apart?
Sometimes yes. If the issue is a minor nozzle blockage, use compressed air or a cleaning rod. Worn seals and electrical faults require disassembly.
You cannot replace an internal O-ring or test battery load externally. Attempt non-invasive fixes first to save time. If those fail, you must open the receiver.
Always disconnect the battery before touching any tools.
How often should I replace the piston seal?
Heavy users should swap seals every six months. Casual players can wait up to twelve months. Signs of wear include weak shots or inconsistent cycling.
Humidity accelerates rubber degradation significantly. Inspect the seal visually during regular maintenance. Replace it immediately if you see cracks or flattening.
Don’t wait for total failure to act. Preventative replacement saves your gearbox from stress.
Is it safe to use WD-40 on my gel blaster?
No. Standard WD-40 contains solvents that damage plastics and rubbers. It swells O-rings and makes polymer housings brittle.
This leads to catastrophic failures shortly after application. Use only silicone-based greases designed for airsoft internals. These products are chemically inert to common plastics.
Check manufacturer manuals for approved lubricant types. Wrong fluids void warranties instantly. Stick to dedicated hobbyist supplies.
What voltage do I need for reliable firing?
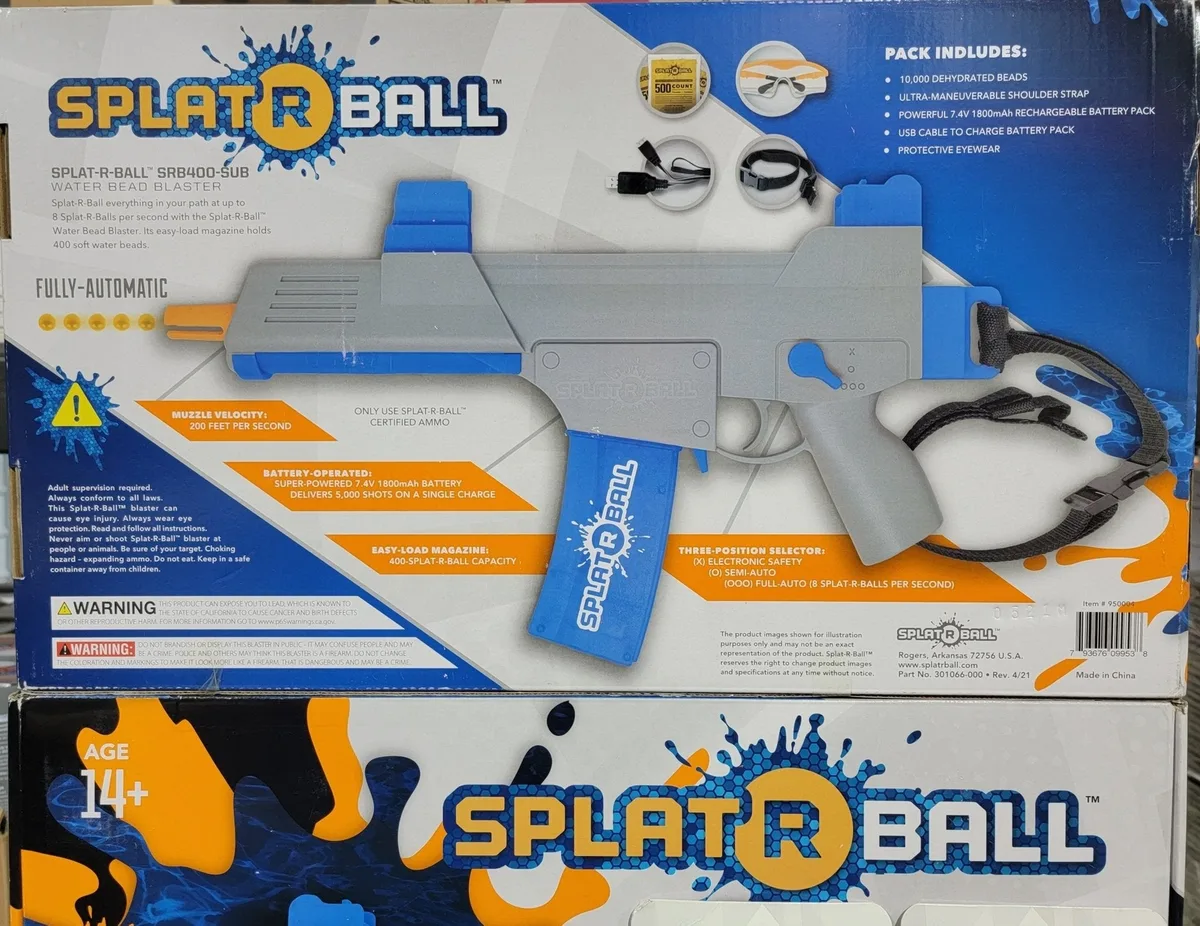
Most electric models require 7.4V or 11.1V LiPo packs. Voltage must stay above 3.5V per cell under load. Sagging below this threshold causes stalling.
NiMH batteries often struggle with high-current demands. Verify your specific model’s requirements in the manual. Using incorrect voltage risks burning out the motor.
Quality cells maintain stable output longer. Test packs regularly with a multimeter. Replace them when capacity drops noticeably.

Similar Posts