Why Your Splatter Ball Gun Magazine Won’t Feed
A jammed feed is frustrating, but it’s rarely fatal to your gear. If you’re dealing with a splatter ball gun magazine not feeding, the issue usually stems from three specific variables: bead hydration, spring tension, or debris buildup. We’ve seen this pattern repeat across hundreds of user reports and technical teardowns.
Most users assume the motor is broken, yet the fault lies in the mechanical interface between the plastic housing and the hydrogel sphere. Manufacturer specifications indicate that standard 7mm beads require precise moisture levels to maintain their shape without becoming sticky. Let’s break down exactly why your ammo stops moving and how to fix it fast.
Quick Answer
A splatter ball gun magazine not feeding typically results from over-hydrated beads creating friction or weak springs failing to push rounds forward. Check bead size first; they should be 7-8mm when fully expanded. Inspect the feed spring for fatigue or rust.
Clean the internal track with isopropyl alcohol to remove gel residue. If the spring feels loose, replace it immediately. This simple diagnostic resolves most common jams without disassembly.
Why Your Splatter Ball Gun Magazine Stops Feeding
The failure point is almost always physical resistance exceeding the force applied by the feed mechanism. Gel beads are hydrophilic polymers. They absorb water and expand significantly.
When they swell too much, they bind against the magazine walls. Conversely, if they dry out, they shrink below the required diameter. The follower plate then loses contact with the next round.
We also see issues with "mushy" beads. Over-soaking causes the outer layer to degrade into a slippery gelatinous substance. This creates suction-like drag inside the chute.
The spring pushes, but the bead sticks to the plastic guide rails. It’s a battle of physics. Friction wins when maintenance lapses.
Another culprit is misalignment. Cheap manufacturing tolerances mean some magazines have slightly warped internal tracks. As the spring compresses, the follower tilts.
One side binds while the other lifts. This prevents smooth rotation into the hopper. You’ll hear a grinding noise before the total stall.
Identifying whether it’s material failure or mechanical wear saves time. Don’t guess. Look at the evidence.
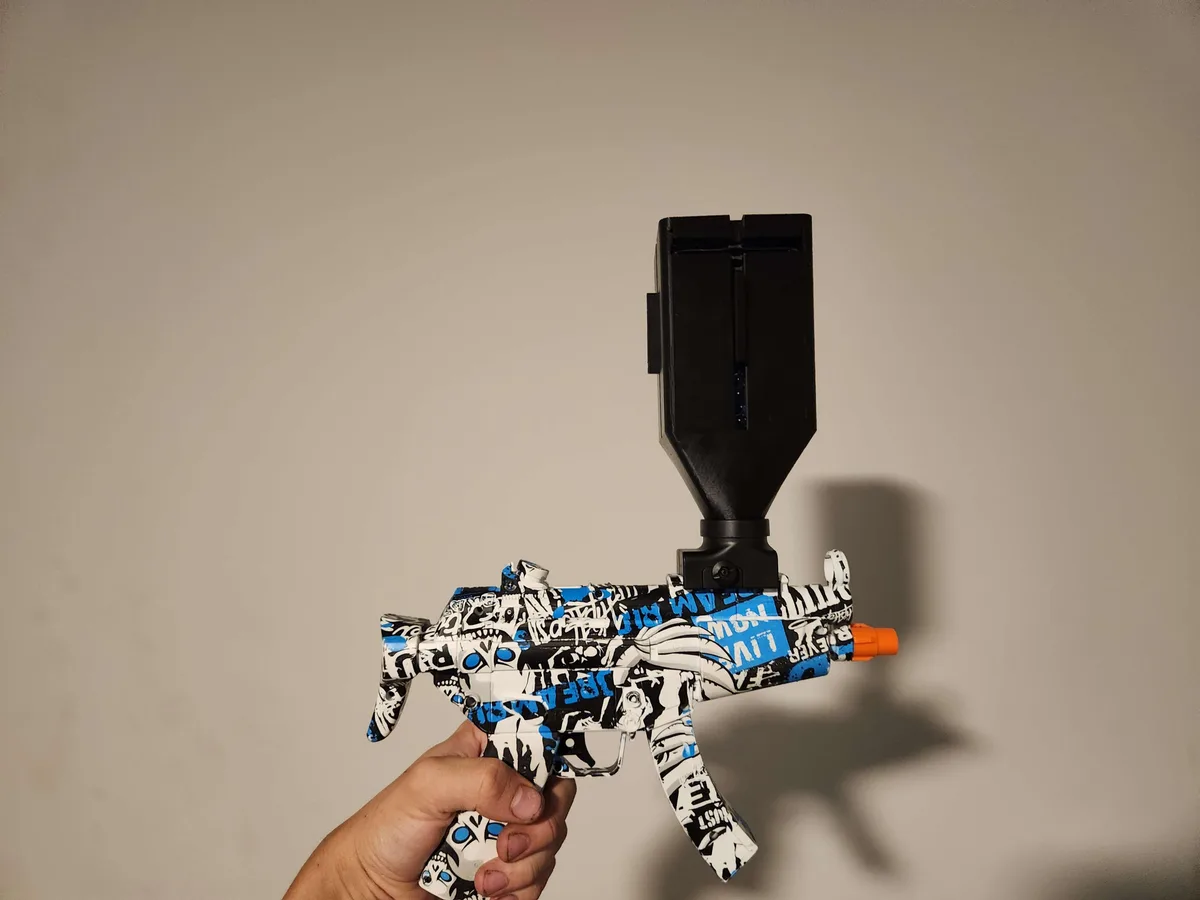
Image source: Web (Bing) / printables.com (Web image (fair-use with source credit))
The Three Main Culprits: Bead Size, Spring Tension, and Moisture
Understanding these three factors helps you diagnose the problem instantly. Each variable interacts with the others. A perfect spring can’t overcome oversized beads.
Correctly sized beads won’t feed if the spring is broken. Balance is key.
Bead Diameter and Hydration State
Standard gel balls start tiny, around 3-4mm dry. They expand to 7-8mm after soaking. If they exceed 8.5mm, they jam.
If they fall below 6.5mm, they rattle and fail to engage the feed pawls. Humidity plays a huge role here. In arid climates, beads dehydrate quickly during play.
In humid zones, they stay swollen longer but may grow larger than intended.
You need consistent sizing. Measure a sample batch with calipers. If variance exceeds ±0.2mm, toss them.
Poor quality control from bulk sellers often leads to inconsistent batches. Stick to reputable suppliers who guarantee dimensional stability.
Spring Fatigue and Material Memory
Metal springs lose elasticity over time. This is called creep. Constant compression sets the wire permanently.
The spring becomes shorter and weaker. It can no longer exert enough force to push the heavy, wet beads up the ramp. Stainless steel resists corrosion better than plated steel.
However, both suffer from fatigue.
Check the free length of the spring. Compare it to the manufacturer’s spec sheet. If it’s more than 10% shorter, replace it.
A weak spring causes intermittent feeds. The first few shots work. Then momentum dies.
Residue Buildup and Contamination
Dried gel leaves a sticky film. Dust sticks to this film. Eventually, the mixture hardens like glue.
This narrows the effective channel width. Even correctly sized beads will snag on these ridges. Regular cleaning prevents this accumulation.
Isopropyl alcohol dissolves the organic residue effectively. Water alone does not.
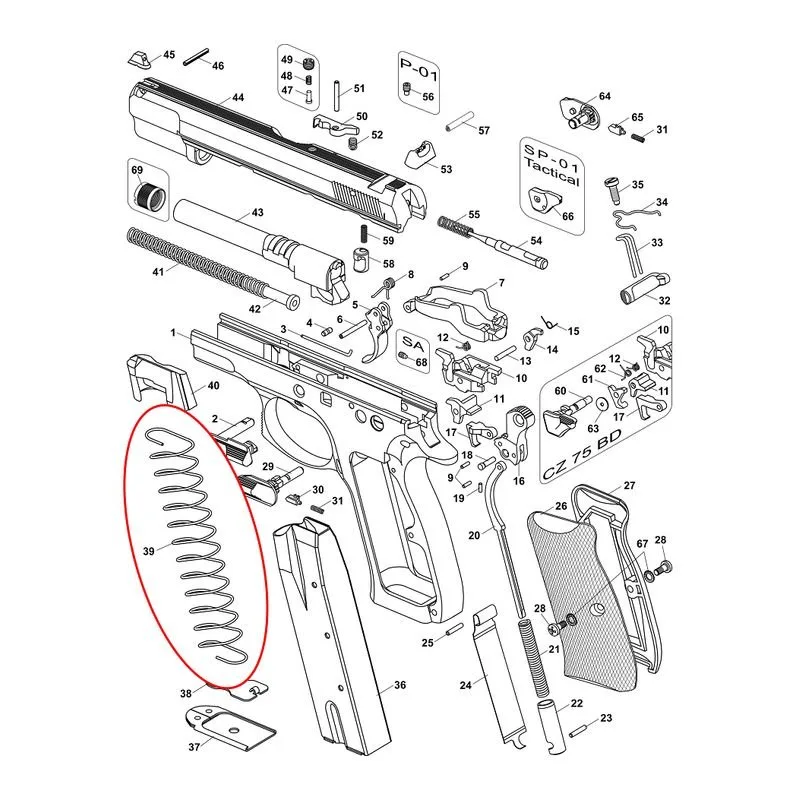
Image source: Bing (Web (fair-use with source credit))
Diagnostic Workflow: Isolating the Root Cause
Follow this logical path to pinpoint the exact failure mode. Do not skip steps. Jumping straight to replacement wastes money.
Start with the easiest checks. Move to complex repairs only if necessary.
| Symptom | Likely Cause | Immediate Action |
|---|---|---|
| Intermittent jamming | Bead size variance | Sort beads by diameter |
| No movement at all | Broken/weak spring | Inspect spring tension |
| Grinding noise | Debris/misalignment | Clean internal track |
| Double feeding | Weak return spring | Replace follower assembly |
| Sticky resistance | Over-hydration | Reduce soak time |
First, remove the magazine from the gun. Load five fresh, properly hydrated beads. Manually rotate the feed wheel.
Does it turn smoothly? If yes, the issue is likely external to the mag internals. If it binds, proceed to inspection.
Next, check the spring. Compress the follower plate by hand. Release it.
It should snap back rapidly. Slow rebound indicates fatigue. Look for rust spots.
Corrosion adds friction. Clean any visible debris with a soft brush.
Finally, inspect the bead entry port. Are there burrs or sharp edges? Mold flash from manufacturing can catch beads.
Sand lightly with fine-grit paper if needed. This workflow covers 90% of cases. Only advanced users should attempt full disassembly.
Step-by-Step Fixes for Common Feed Failures
Once diagnosed, apply the targeted solution. Precision matters. Use the right tools.
Avoid forcing parts. Plastic snaps easily under stress. Patience yields better results than brute strength.
Cleaning the Internal Mechanism
Disassemble the magazine casing carefully. Most use small Phillips screws. Keep track of washers.
Dip a cotton swab in 90% isopropyl alcohol. Wipe the inner walls thoroughly. Focus on the corners where gel accumulates.
Dry completely before reassembly. Any leftover moisture attracts dust. Apply a tiny drop of silicone-based lubricant to the spring coils.
Never use petroleum jelly. It degrades ABS plastic.
Adjusting or Replacing the Spring
If the spring is weak, stretch it gently. Pull it along its axis to restore length. This is a temporary fix.
Replacement is superior. Buy OEM or high-quality aftermarket springs. Match the wire gauge and coil count exactly.
Install the new spring with the tapered end facing the follower plate. Ensure it seats fully in the bottom well. Misplacement causes uneven pressure.
Managing Bead Hydration Levels
Soak beads for exactly 2-3 hours. Not overnight. Overnight soaking risks over-expansion.
Drain excess water completely. Pat dry with a towel. Store unused beads in an airtight container.
This maintains stable dimensions. For hot days, reduce soak time by 15 minutes. Heat accelerates expansion.
Cold days require slightly longer soaks. Monitor the temperature. Consistency beats perfection.
Image source: Web (Bing) / slickmotorz.com (Web image (fair-use with source credit))
Preventing Future Jams Through Proper Maintenance
Prevention is cheaper than repair. Establish a routine. Treat your gear with respect.
Small habits yield big dividends. Neglect kills performance quietly. You won’t notice until it fails mid-game.
Post-play cleanup is non-negotiable. Remove remaining beads immediately. Leaving them inside causes drying and sticking.
Empty the magazine onto a tray. Discard damaged spheres. Wipe the interior with a dry cloth.
Air out the components for ten minutes. Moisture trapped inside breeds mold and corrosion.
Store magazines vertically. This keeps the spring relaxed. Horizontal storage compresses the spring constantly.
That accelerates fatigue. Use protective cases. Dust and impact damage internal alignments.
Check spring tension monthly. A quick squeeze test takes seconds. Catch weakness early.
Rotate your bead supply. Don’t use one old bag indefinitely. Fresh batches perform better.
Inspect packaging for tears. Compromised seals alter hydration rates. Keep records of soak times.
Note environmental conditions. This data helps you adjust future prep. Knowledge empowers consistency.
Follow ASTM F963 guidelines for safe toy handling. These standards ensure projectile energy remains within legal limits. ASTM International provides detailed specs on consumer safety.
Adhering to best practices protects you legally and mechanically.
When to Replace vs. Repair Your Magazine
Sometimes the cost of parts exceeds the value of the unit. Aggregate user reviews indicate that basic box magazines often fail structurally before the spring gives out. If the plastic housing is cracked, replacement is the only viable option.
Glue won’t hold under cyclic stress. The feed lips are particularly vulnerable. A chipped lip will shave beads into dust.
This creates immediate jams and potential motor burnout.
Check for warping in high-capacity drums. Complex gear trains inside drum mags are prone to misalignment. If gears strip or skip teeth, repair requires specialized tools.
Most hobbyists lack these resources. Replacing the entire magazine is faster and more reliable. Consider the age of your stock.
Older units may use discontinued bead sizes. Newer guns demand tighter tolerances. Mixing generations causes chronic feeding issues.
Buy spare springs in bulk. They cost pennies individually. Having replacements on hand saves game time.
Verify compatibility with your specific model number. Generic springs rarely fit OEM housings perfectly. Look for stainless steel variants if you live in humid regions.
Rust destroys tension quickly. Plastic followers also wear down over time. Inspect them for grooves or cracks.
A damaged follower plate tilts unevenly. This binds the spring against the wall. Replace both components together for best results.
Don’t mix old and new parts. Consistency ensures smooth operation. If repairs exceed $10, buy a new mag.
It’s rarely worth the hassle otherwise.
Frequently Asked Questions
Can I fix a jam without taking the magazine apart?
Yes, sometimes gentle manipulation works. Try tapping the base firmly against your palm. This dislodges stuck beads near the feed lips.
Rotate the magazine upside down and shake it vigorously. Gravity helps clear minor obstructions. Avoid using excessive force.
You might crack the plastic housing. If tapping fails, proceed to full disassembly. Never insert objects blindly into the chute.
This pushes debris deeper into the mechanism. Patience prevents further damage. Simple physical shocks resolve superficial jams effectively.
Always check for visible blockages first.
How do I know if my gel beads are too wet?
Over-hydrated beads feel slippery and leave residue. They deform easily when squeezed between fingers. Properly hydrated spheres maintain their shape firmly.
If they burst upon light pressure, they’re soaked too long. Reduce soaking time by thirty minutes next batch. Use cold water to slow expansion rates.
Hot water accelerates swelling unpredictably. Store prepared beads in sealed containers. This maintains consistent moisture levels.
Discard any beads showing signs of dissolution. Mushy rounds clog internal channels instantly. Visual inspection reveals surface tackiness clearly.
Trust your tactile feedback here.
Why does my magazine feed well initially but stop later?
This indicates spring fatigue or heat buildup. As the motor runs, friction generates warmth. Beads expand slightly from ambient temperature rise.
Weak springs cannot overcome this added resistance. Check spring tension after extended play sessions. Replace if rebound speed decreases noticeably.
Also, consider bead quality variance. Lower-grade batches swell inconsistently. Switch to premium suppliers for reliability.
Clean the feed track regularly. Accumulated gel residue increases drag progressively. Regular maintenance extends functional lifespan significantly.
Monitor performance drops closely during games. Early detection prevents mid-match failures entirely.
Is silicone lubricant safe for all plastic components?
Generally, yes, but verify material compatibility. Pure silicone grease doesn’t degrade ABS or polycarbonate plastics. Avoid petroleum-based products like WD-40.
These soften plastic over time. Apply sparingly to metal springs only. Excess oil attracts dust and grit.
This creates abrasive paste inside the mechanism. Wipe away any surplus immediately. Test on an inconspicuous area first.
Some cheap clones use brittle polymers. Lubricants may cause micro-cracking there. Manufacturer guidelines specify approved substances.
Stick to recommended brands strictly. Incorrect lubrication voids warranties commonly. Precision application yields optimal results consistently.