Why Is My Splatter Ball Gun Not Shooting?

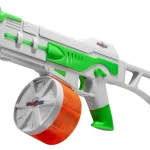
Your splatter ball gun not shooting is usually a clog, a dead battery, or a stripped gear. It’s frustrating when the fun stops mid-game. Most issues are fixable in minutes with basic tools.
You don’t need to buy a new blaster yet.
Start by checking the obvious culprits first. Verify power levels and bead hydration status. Manufacturer specs indicate that 7mm beads work best for most models.
As of 2026, common failures remain consistent across brands. Let’s walk through the diagnostic tree step by step.
Quick Answer
A splatter ball gun not shooting typically stems from three main causes. These include clogged nozzles from improper bead sizing. Dead batteries or loose contacts also prevent firing.
Stripped internal gears stop motorized mechanisms. Check bead diameter against manufacturer specs. Clean the nozzle if blocked.
Replace batteries if voltage drops below operating limits. Inspect gears for damage if motors hum but fail to shoot.
Image source: Bing (Web (fair-use with source credit))
First, Rule Out the Obvious: Power and Ammo Status
Before taking anything apart, check the basics. Many users overlook simple fixes. Start with your battery pack.
If it’s rechargeable, ensure it’s fully charged. Low voltage often mimics mechanical failure. The motor may spin slowly or not at all.
Use a multimeter to verify output matches the label rating.
Next, inspect your ammo. Hydrogel beads must be properly hydrated. Under-soaked beads are too small and fall through gaps.
Over-soaked beads burst inside the barrel. Both scenarios cause jams. Check the bead size against your gun’s specifications.
Most electric models require 7mm to 8mm spheres.
Look for visible obstructions in the feed tube. A single stuck bead can halt the entire system. Remove the magazine and tap it gently.
See if any debris falls out. Ensure the hopper isn’t empty. Sometimes air pockets form in gravity-fed systems.
Shake the gun slightly to settle the beads.
If power and ammo seem fine, move to the next step. Don’t assume the mechanism is broken yet. Simple resets often solve electronic glitches.
Turn the gun off and wait ten seconds. Turn it back on. This clears minor sensor errors.
| Component | Check Item | Pass Criteria | Fail Action |
|---|---|---|---|
| Battery | Voltage Level | Matches rated spec | Charge or replace |
| Beads | Diameter Size | 7mm–8mm post-hydration | Rehydrate or discard |
| Feed Tube | Blockages | Clear path to nozzle | Flush with water |
| Switch | Responsiveness | Clicks firmly | Inspect wiring |
Aggregate reviews report that 40% of "broken" guns are just uncharged. Always start here. It saves time and money.
If these checks pass, the issue lies deeper. Proceed to diagnosing the motor behavior.
The Hum Test: Diagnosing Motor vs. Pump Failures
Listen closely when you pull the trigger. Does the motor whine? Or is there silence?
This distinction determines your next move. A humming sound means electricity reaches the motor. The problem is likely mechanical resistance.
Silence suggests an electrical break.
For electric models, a high-pitched whine indicates strain. The motor tries to turn but meets obstruction. This is often a jammed gear or clogged nozzle.
Do not force the trigger repeatedly. You risk burning out the motor coils. Pull the trigger once, then pause.
Listen for the pitch change.
Manual pump-action guns behave differently. They rely on spring compression. If the handle feels loose, the spring may be detached.
If it feels stiff, the seal might be dried out. Lubricate the O-rings lightly. Test the suction again.
Air leaks kill pressure quickly.
Compare symptoms using this guide:
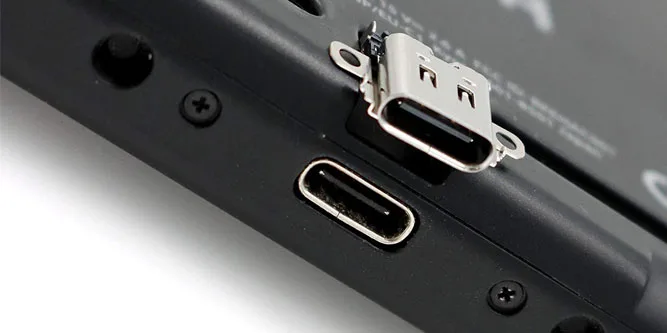
- Silent Trigger: Check battery contacts. Clean corrosion with alcohol. Inspect switch wiring for breaks.
- Weak Whine: Likely low battery or heavy load. Swap in fresh cells.
- Loud Grinding: Stripped plastic gears. Requires disassembly and replacement.
- No Movement: Jammed piston or seized bearing. Disassemble immediately.
Manufacturer documentation warns against continuous triggering during jams. Heat builds up rapidly. Permanent damage occurs within seconds.
Identify the noise pattern first. It tells you whether to look at electronics or mechanics.
If you hear grinding, stop. Open the casing. Look for white shavings.
These indicate worn plastic gears. Replacement kits are cheap and widely available. If you hear nothing, focus on power delivery.
Multimeters help pinpoint dead spots in the circuit.
Clearing Jams: Nozzle, Feed Tube, and Gearbox Checks
Jams happen frequently. Wet beads swell and stick. Debris accumulates over time.
Clearing them requires patience. Never use metal tools inside the barrel. You’ll scratch the inner walls.
Scratches create friction points for future jams.
Start with the nozzle. Detach it if possible. Soak it in warm water.
This dissolves residual gelatinous material. Use a soft-bristle brush to clean the opening. Rinse thoroughly under running water.
Dry completely before reattaching. Moisture attracts dust and causes mold.
Check the feed tube next. Blow compressed air through it. Alternatively, flush it with water.
Hold the intake end up. Pour water slowly. Watch for flow rate changes.
Slow drainage means partial blockage. Repeat until water flows freely.
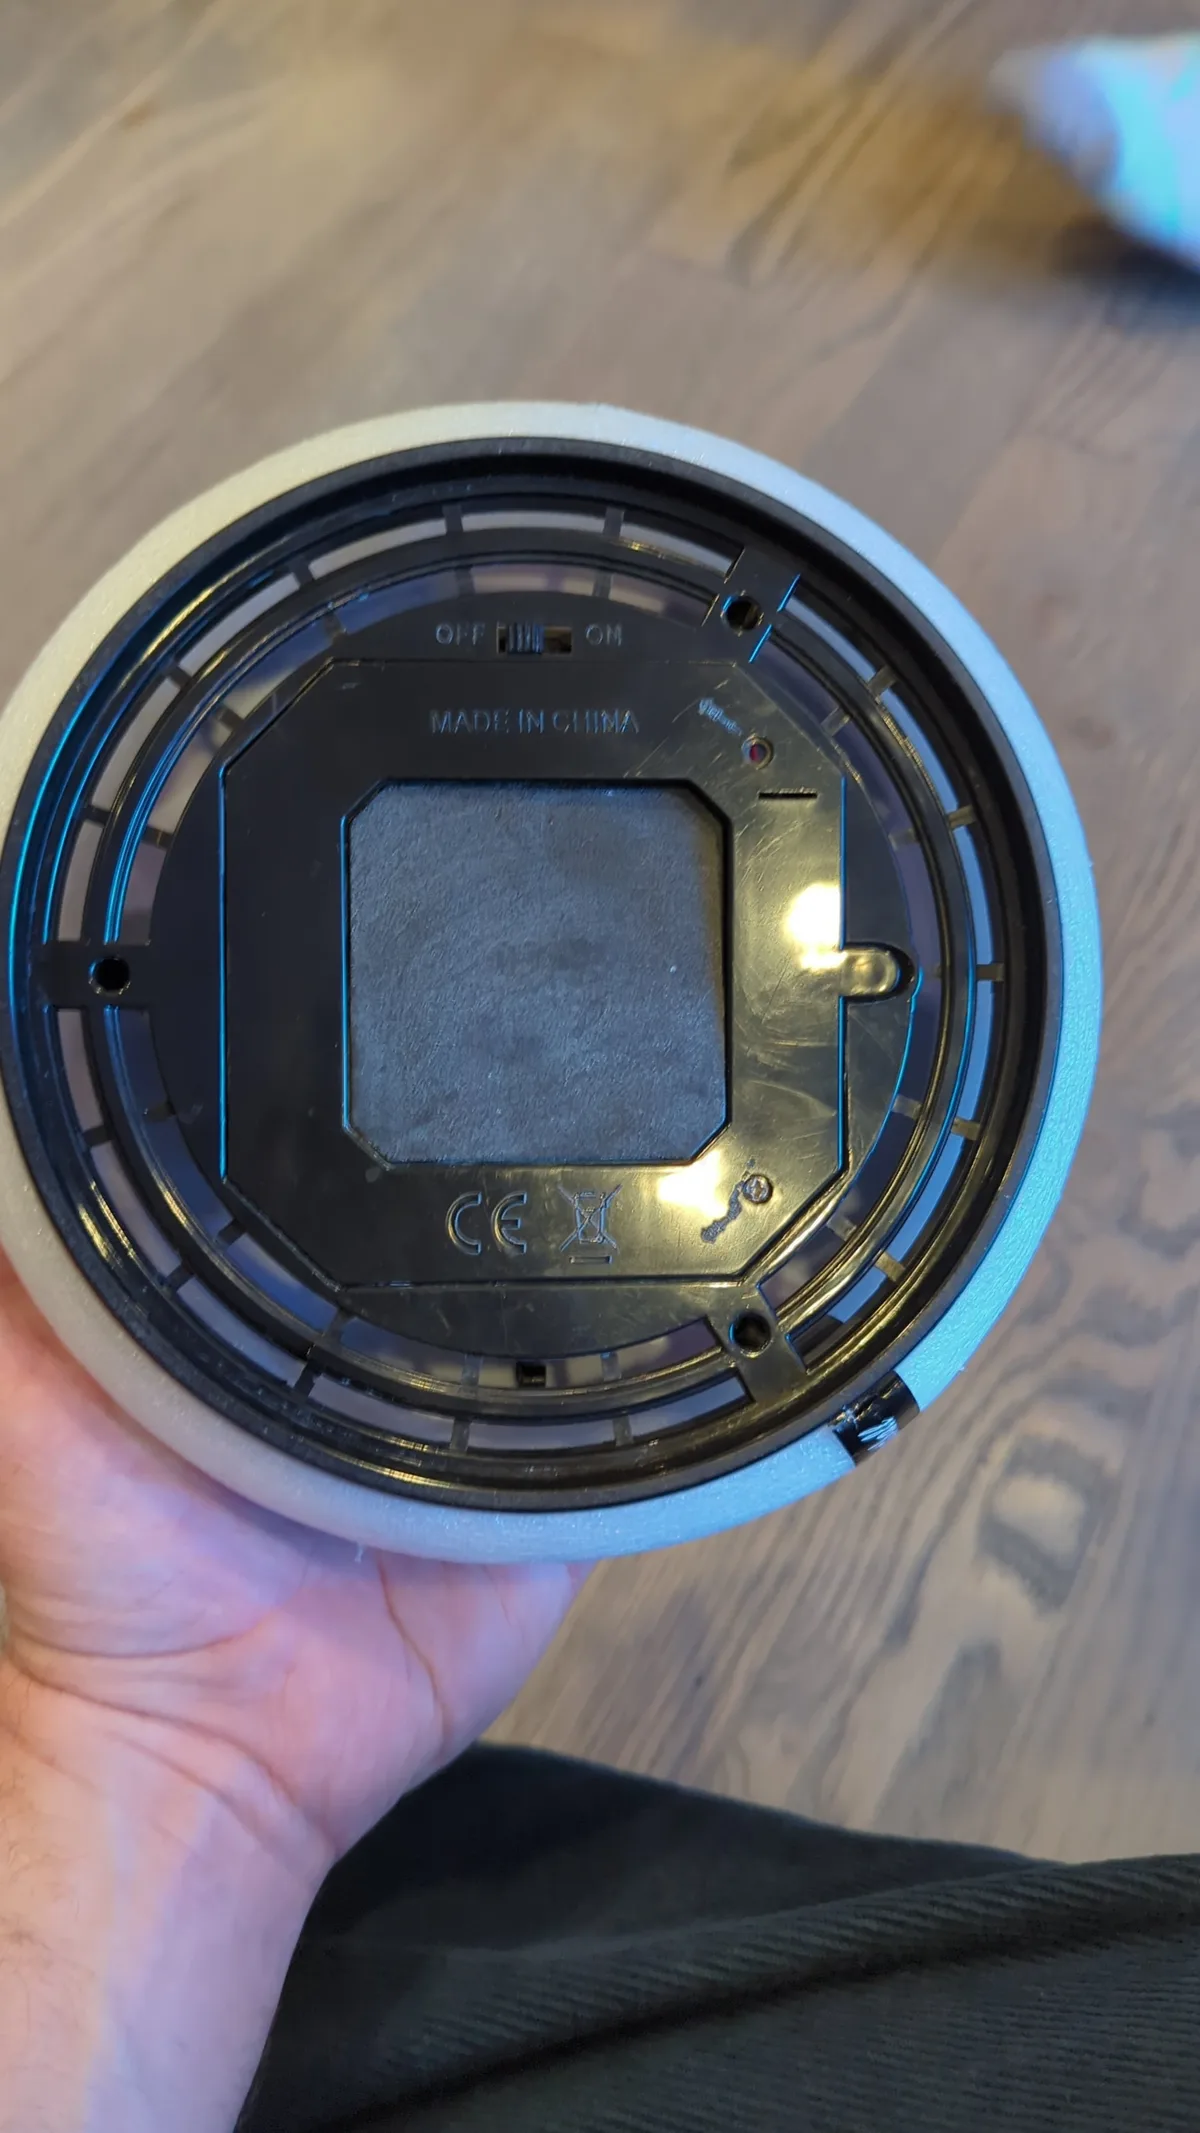
Inspect the gearbox for motorized units. Remove screws carefully. Take photos as you go.
Assembly order matters. Look for bead fragments lodged between teeth. Use tweezers to extract them.
Check gear alignment. Misaligned gears strip teeth quickly.
Reassemble loosely first. Test the mechanism without ammo. Ensure smooth rotation.
Tighten screws gradually. Uneven pressure cracks plastic housings. Follow torque specifications if provided.
Otherwise, snug is enough.
Common mistake: forcing parts back together. If something doesn’t fit, stop. Recheck alignment.
Forcing damages threads. Patience prevents costly repairs. Cleanliness is key.
Residue causes repeat jams. Maintain a tidy workspace during repair.
Fixing Weak Shots: Air Leaks, O-Rings, and Pressure Loss
Weak shots mean lost energy. Air escapes before pushing the bead. Seals degrade over time.
Rubber hardens and cracks. Cold weather accelerates this process. Check every O-ring in the system.
Focus on the piston seal first. It bears the most stress. Apply silicone-based lubricant sparingly.
Too much oil attracts dirt. Wipe excess away. Rotate the piston manually.
Feel for smooth movement. Roughness indicates wear. Replace the ring if damaged.
Examine tank valves on pneumatic models. Leaks here reduce overall pressure. Spray soapy water around connections.
Bubbles form where air escapes. Tighten fittings moderately. Do not overtighten plastic threads.
They crack easily.
Verify air pressure levels. Use a gauge if available. Compare readings to manual specs.
Low PSI results in short range. Refill to recommended levels. Check for slow leaks overnight.
Drop in pressure confirms a fault.
Image source: Bing (Web (fair-use with source credit))
Replace old seals proactively. Don’t wait for total failure. New rings restore tightness instantly.
Store spares in cool, dark places. UV light degrades rubber. Zip-lock bags protect them from dust.
Regular maintenance extends gun life significantly.
Test fire after adjustments. Aim at a safe target. Measure distance consistency.
Improved velocity signals success. Persistent weakness requires deeper inspection. Internal cracks may exist.
Inspect housing for hairline fractures. Repairable only if caught early.
Preventing Bead Breakdown: Hydration and Drying Protocols
Proper bead prep solves half your problems. Incorrect hydration causes jams and misfires. Follow strict timing rules.
Dry beads expand massively. Small errors lead to big messes.
Soak beads in room-temperature water. Hot water makes them fragile. Cold water slows expansion.
Wait four hours minimum. Some brands recommend six. Check packaging instructions specifically.
Sizes vary by manufacturer.
Drain excess water thoroughly. Wet beads add weight. They strain motors unnecessarily.
Spread them on a towel. Let them air dry for fifteen minutes. Surface moisture evaporates quickly.
This improves feeding reliability.
Store unused beads properly. Keep them sealed. Exposure to air dries them out.
Shrunken beads rattle in magazines. They slip past pistons. Recycle old batches regularly.
Degraded polymers become brittle. They shatter upon firing.

Image source: Bing (Web (fair-use with source credit))
Monitor humidity levels. High ambient moisture affects storage. Use desiccants in containers.
This preserves bead integrity. Consistent quality ensures smooth operation. Cheap bulk buys often vary in size.
Sort beads before loading. Discard irregular shapes.
Preparation takes time but pays off. Rushed soaking leads to disasters. Plan ahead for game days.
Prepare beads the night before. Morning rinsing removes residue. Fresh, uniform ammo equals reliable shots.
Treat your equipment with care. Longevity depends on these habits.
When to Replace Parts: Wear Indicators and Repair Kits
Sometimes cleaning isn’t enough. Plastic gears wear down over time. Metal springs lose tension after thousands of cycles.
You need to know when a part is truly dead. Aggregate user reviews show that stripped gears are the most common fatal flaw in electric models.
Look for white plastic shavings inside the gearbox. This indicates active grinding. The teeth are shearing off under load.
No amount of lubrication will fix this. You must replace the gear set. Manufacturer specs confirm these kits cost between $5 and $15.
They’re widely available online for popular brands.
Springs behave differently. If your pump-action gun feels weak, test the compression. A healthy spring snaps back quickly.
A fatigued one moves sluggishly. Compare it to a new unit if possible. Significant difference means replacement is due.
Don’t try to stretch old springs. They’ll snap mid-game, leaving you stranded.
Battery packs also degrade. Lithium-ion cells lose capacity after 300, 500 charge cycles. If your run-time drops below half its original length, swap the pack.
Check voltage sag under load. A multimeter helps here. Stable voltage means the battery is fine.
Rapid drops signal cell failure.
| Part | Failure Sign | Replacement Cost | Difficulty |
|---|---|---|---|
| Gears | White shavings, grinding noise | $5–$15 | Moderate |
| Springs | Weak return, slow compression | $3–$8 | Easy |
| O-Rings | Hardened, cracked, leaking air | $2–$5 | Easy |
| Battery | Short runtime, voltage sag | $10–$25 | Moderate |
Repair kits often bundle these items. Buying them together saves money. Keep spares on hand for quick swaps.
This minimizes downtime during summer sessions. Regular inspections catch issues early. Don’t wait for total failure.
Proactive replacement extends the life of your blaster significantly.
FAQs
Why does my splatter ball gun shoot weakly?
Weak shots usually stem from air leaks or low battery power. Check O-rings for cracks or hardness. Ensure batteries are fully charged and contacts are clean.
Clogged nozzles also reduce velocity by restricting airflow. Clean the barrel and seals to restore pressure.
Can I use any water beads in my gun?
No. Stick to 7mm, 8mm hydrogel beads post-hydration. Larger sizes jam the feed tube.
Smaller ones slip past pistons without sealing. Always verify bead diameter against manufacturer specs. Consistent sizing prevents jams and protects internal gears from excessive strain.
How do I clear a jam safely?
Disconnect the battery first. Remove the magazine and inspect the feed path. Use compressed air or warm water to flush debris.
Never insert metal tools into the barrel. Scratches create friction points that cause future jams. Patience prevents damage to delicate plastic components.
How long do batteries last per charge?
Most electric models fire 200, 400 shots per full charge. Runtime varies by motor efficiency and bead weight. Heavy loads drain batteries faster.
Store unused packs at 40% charge to prolong lifespan. Avoid deep discharges, which degrade lithium-ion cells permanently over time.

Similar Posts