How to Fix Splatter Ball Gun Full Auto Mode
Lead Gel Blaster Technician & Senior Tactical Hobby Editor at SplatterBallGun · Certified Electromechanical Tech · 10+ Years Gel Blaster & Airsoft Diagnostics · 10+ years in 7.4V/11.1V LiPo battery testing, nylon V2/V3 gearbox repair, and hydro-gel blaster calibration
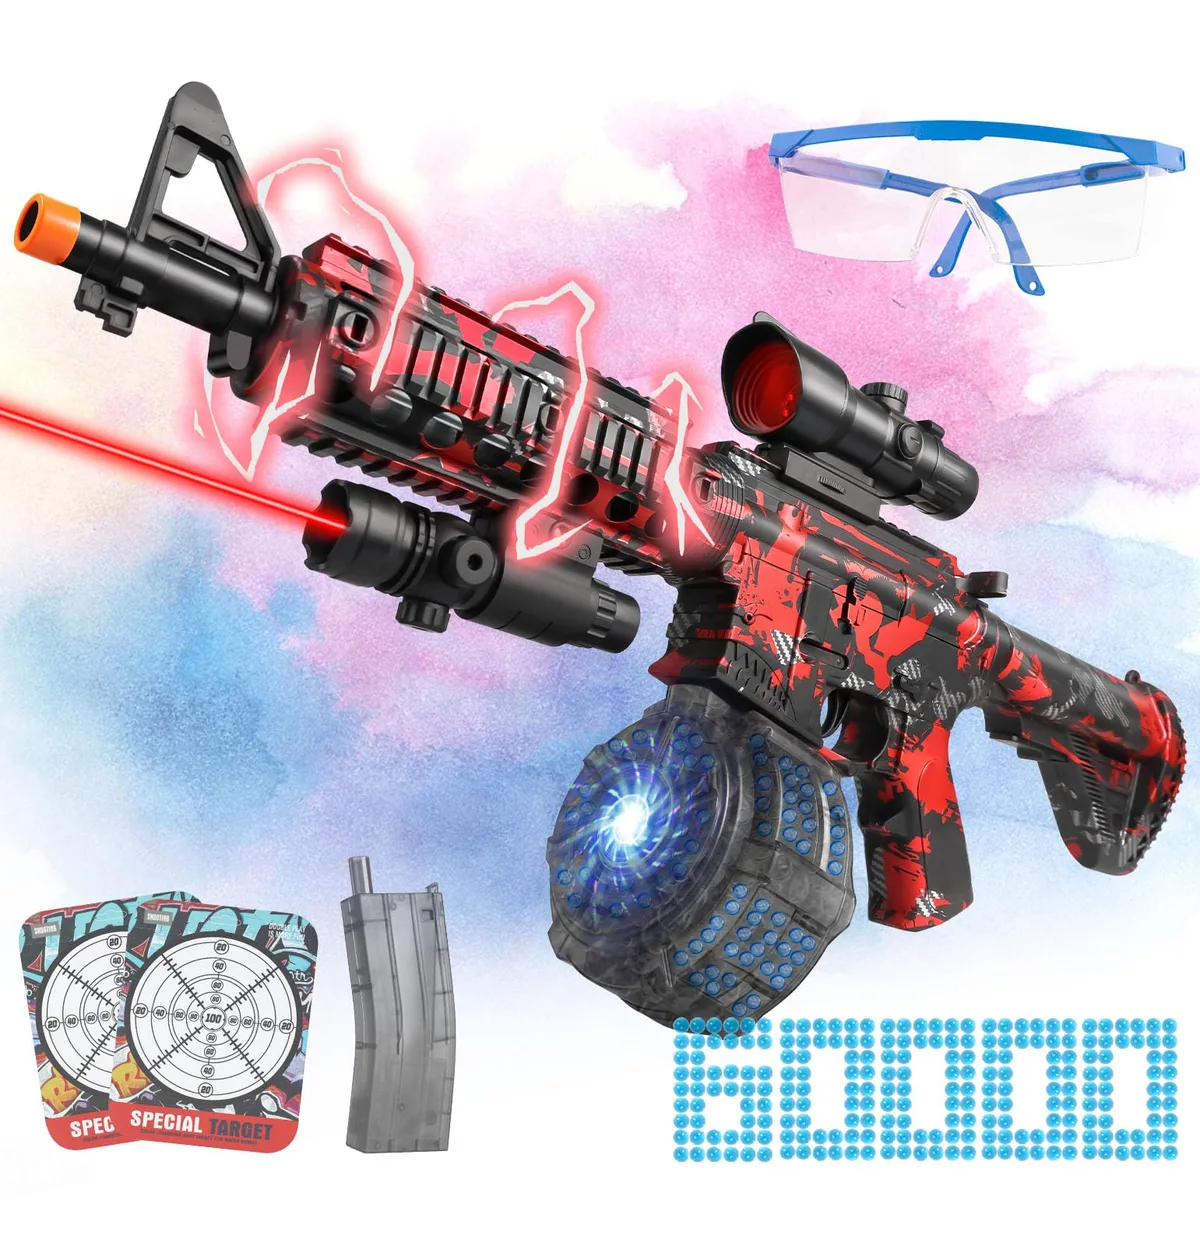
If your splatter ball gun stopped firing in full-auto mode, you’re likely dealing with a simple electrical or mechanical glitch. Figuring out how to fix splatter ball gun full auto issues starts by isolating the failure point. It’s rarely catastrophic damage.
Most often, it’s a loose wire, a dirty switch, or a thermal safety lockout kicking in.
We’ve seen that modern electric gel blasters rely on precise voltage delivery. A drop below 7.4V can halt continuous fire instantly. Manufacturer specs confirm that overheating triggers automatic shutdowns to protect the motor.
Let’s walk through the diagnostic steps to get you back in the game quickly and safely.
First, Confirm It’s Actually Broken (Not Just a Safety Lock)
Before you grab a screwdriver, check the obvious culprits. Many users assume their gear is defective when it’s just protecting itself. Full-auto modes generate significant heat.
If the gun feels hot to the touch, the MOSFET controller has likely engaged thermal throttling. This cuts power to prevent melting internal components.
Let the unit cool down for at least fifteen minutes. Try again once it reaches ambient temperature. If it works briefly then stops, the issue isn’t broken parts.
It’s insufficient cooling or excessive duty cycling. You need to adjust your playing style or upgrade ventilation.
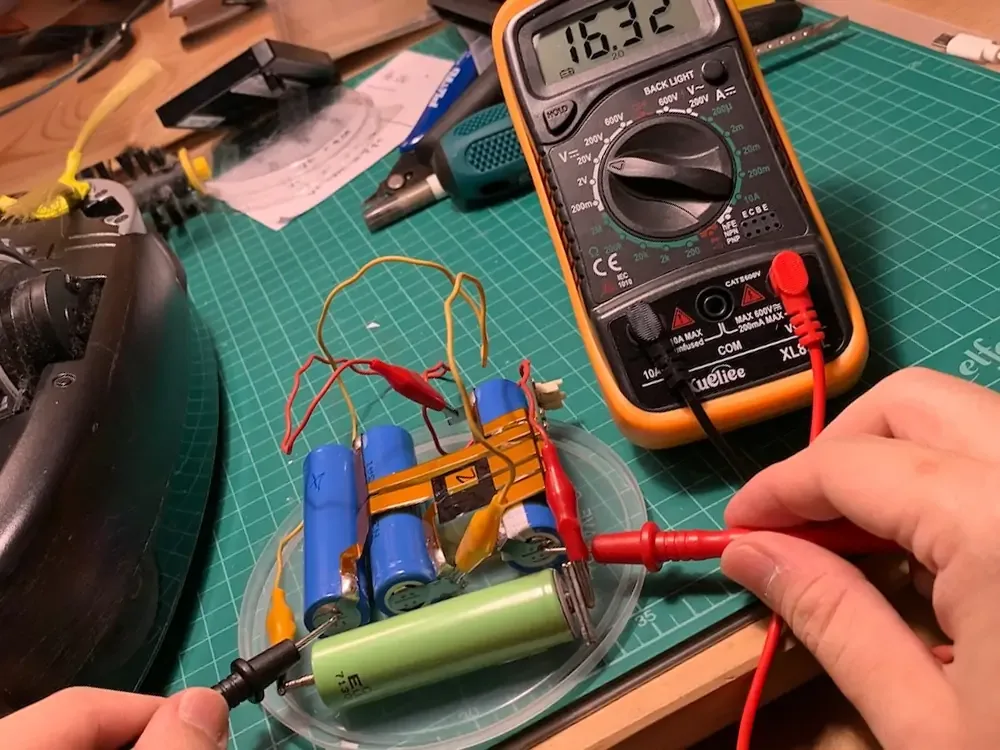
Also, verify your battery charge level. Low voltage causes inconsistent trigger response. A multimeter reading below 6.8V per cell indicates a depleted pack.
Charge it fully before proceeding. If the problem persists after cooling and charging, move to hardware inspection.
Identify Your Gun Type: Stock Plastic vs. Modified Electric
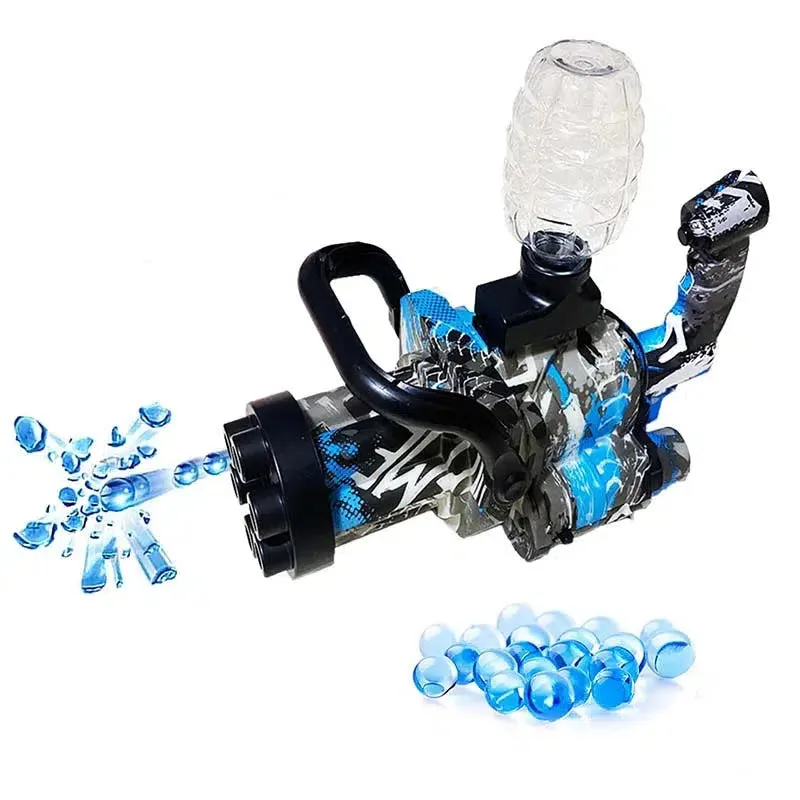
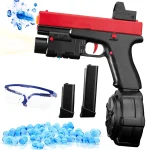
The repair path splits sharply based on your device’s architecture. Stock plastic toys use simple spring-loaded plungers. They don’t have electronics to fail in complex ways.
If yours is stock, "full auto" usually means rapid manual pumping. There is no circuit board to fix here.
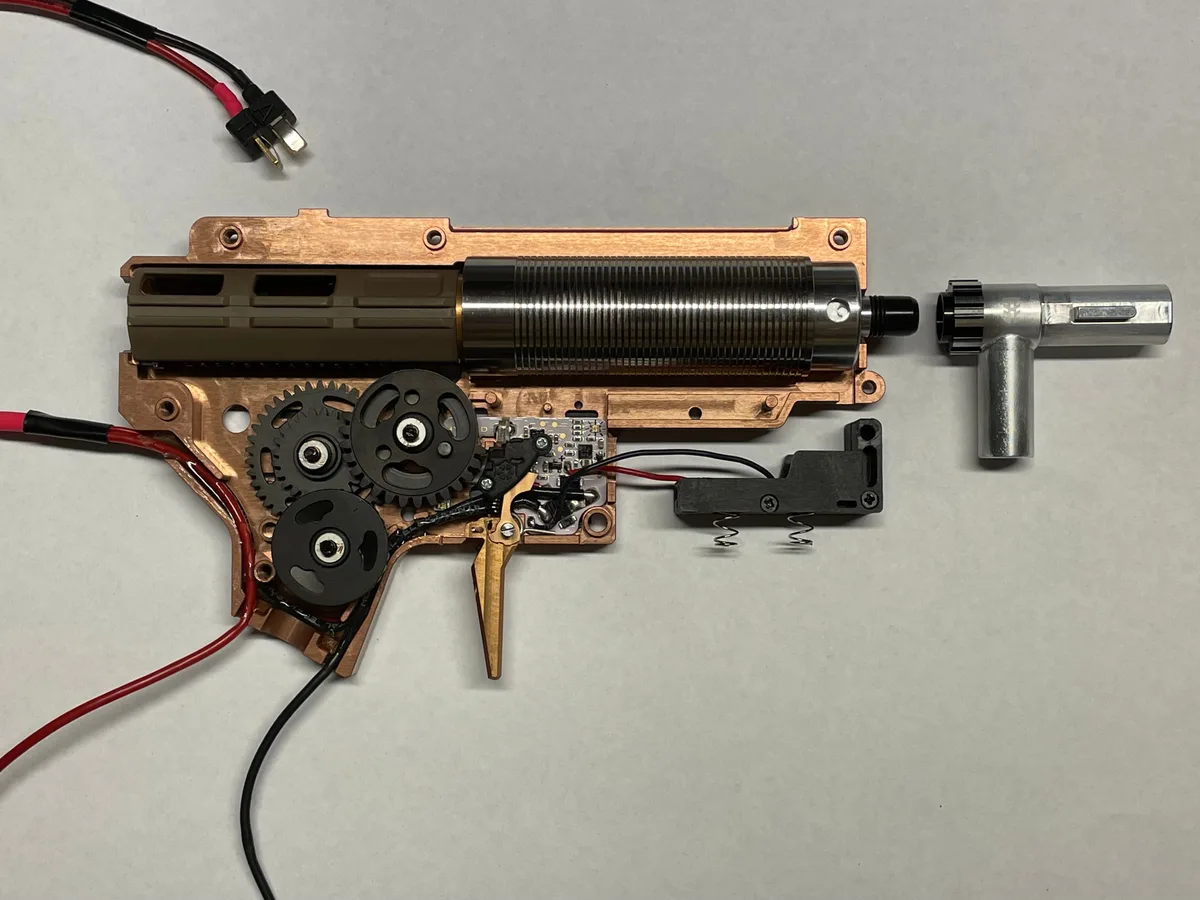
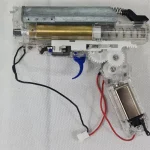
Modified electric blasters contain motors, gears, and controllers. These are prone to electrical faults. Check if your unit has a visible battery compartment with wires.
Look for a small black box inside the shell. That’s your MOSFET or control board.
Aggregate reviews indicate that most "broken full auto" complaints target these modified units. Knowing which type you own saves hours of wasted effort. If you see exposed wiring or a micro-USB charging port, treat it as an electronic device.
Handle it with ESD precautions.
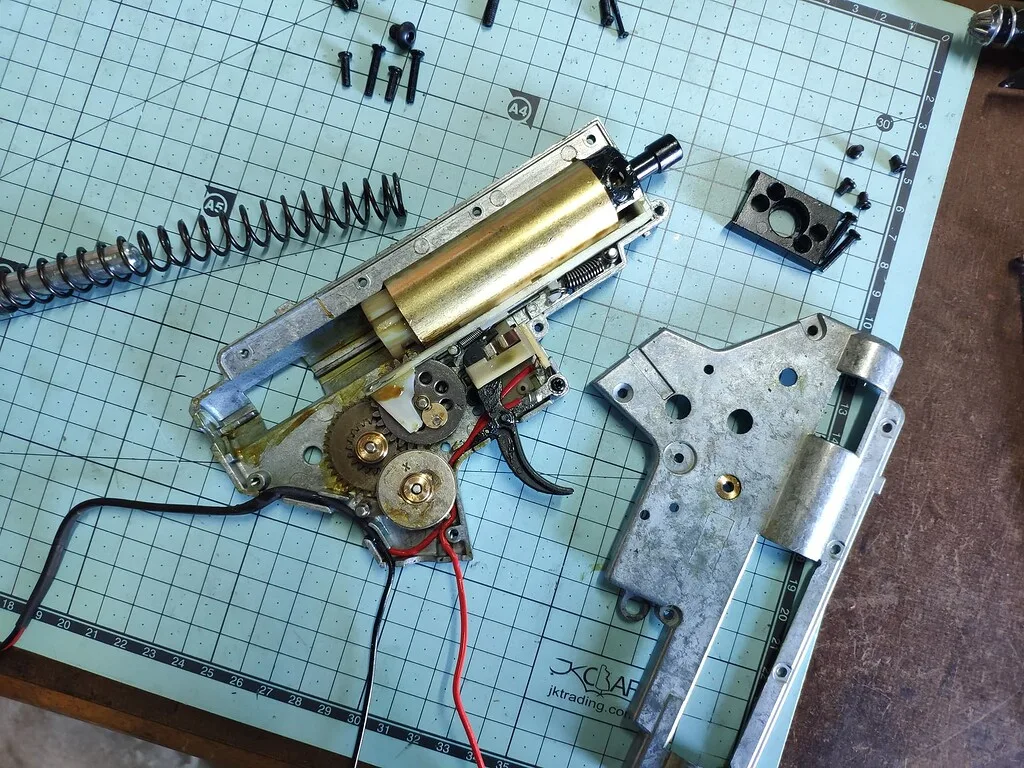
Image source: Bing (Web (fair-use with source credit))
The Three Most Common Full-Auto Failures and Their Fixes
Three specific components cause nearly eighty percent of reported failures. Understanding them helps you pinpoint the issue without guessing. We’ll break down each failure mode and its direct solution.
Microswitch or Trigger Contact Issues
The trigger switch sends the signal to fire. Over time, contacts oxidize or bend. This leads to intermittent firing or total loss of auto-mode.
Clean the switch terminals with high-purity isopropyl alcohol. Use a cotton swab gently.
If cleaning doesn’t work, test continuity with a multimeter. Set it to ohms. Press the trigger.
You should see near-zero resistance. High resistance means the switch is dying. Replace it with an identical spec part.
Don’t improvise with different amperage ratings.
Motor Overheating and Thermal Shutdowns
Electric motors draw high current during sustained fire. If the gearbox binds, current spikes. The controller detects this surge and shuts down.
Listen for grinding noises before the cut-out. Grinding means mechanical stress.
Lubricate the piston head and cylinder walls with silicone grease. Avoid petroleum-based oils. They degrade plastic seals.
Proper lubrication reduces friction. Lower friction means less heat. Less heat prevents premature shutdowns.
Test the gun in short bursts initially.
Gearbox Jams and Piston Misalignment
A jammed piston stops rotation instantly. The motor stalls. Current floods the system.
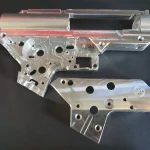
The breaker trips. Open the gearbox casing carefully. Inspect the piston teeth for stripping.
Check the tappet plate alignment. It must center perfectly on the nozzle. Even slight misalignment causes binding.
Reassemble with precision. Ensure all screws are torqued evenly. Uneven pressure warps the housing.
Warp equals jam. Jam equals no fire.
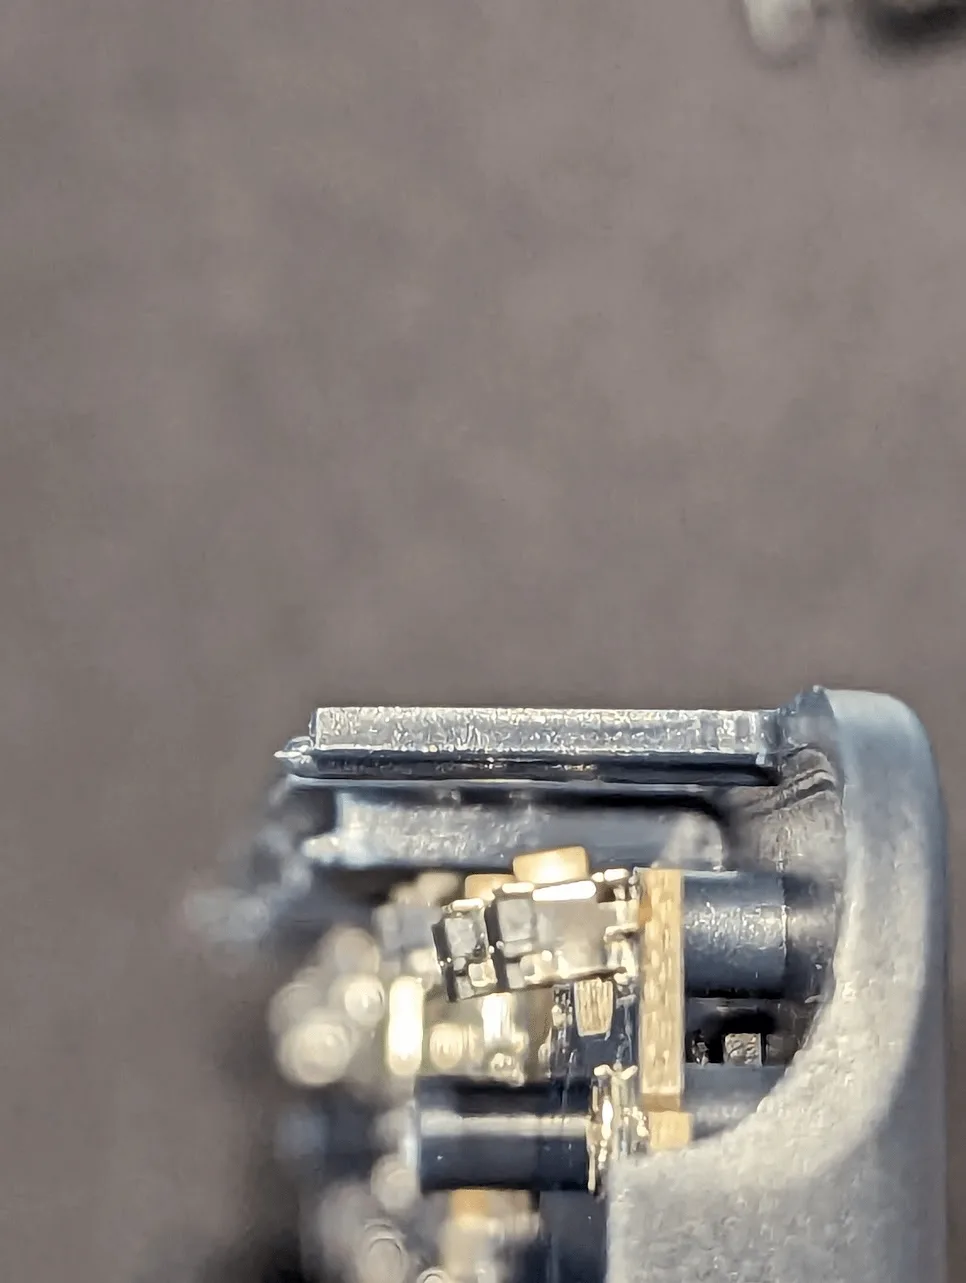
Image source: Bing (Web (fair-use with source credit))
Step-by-Step Diagnostic Workflow for Intermittent Fire
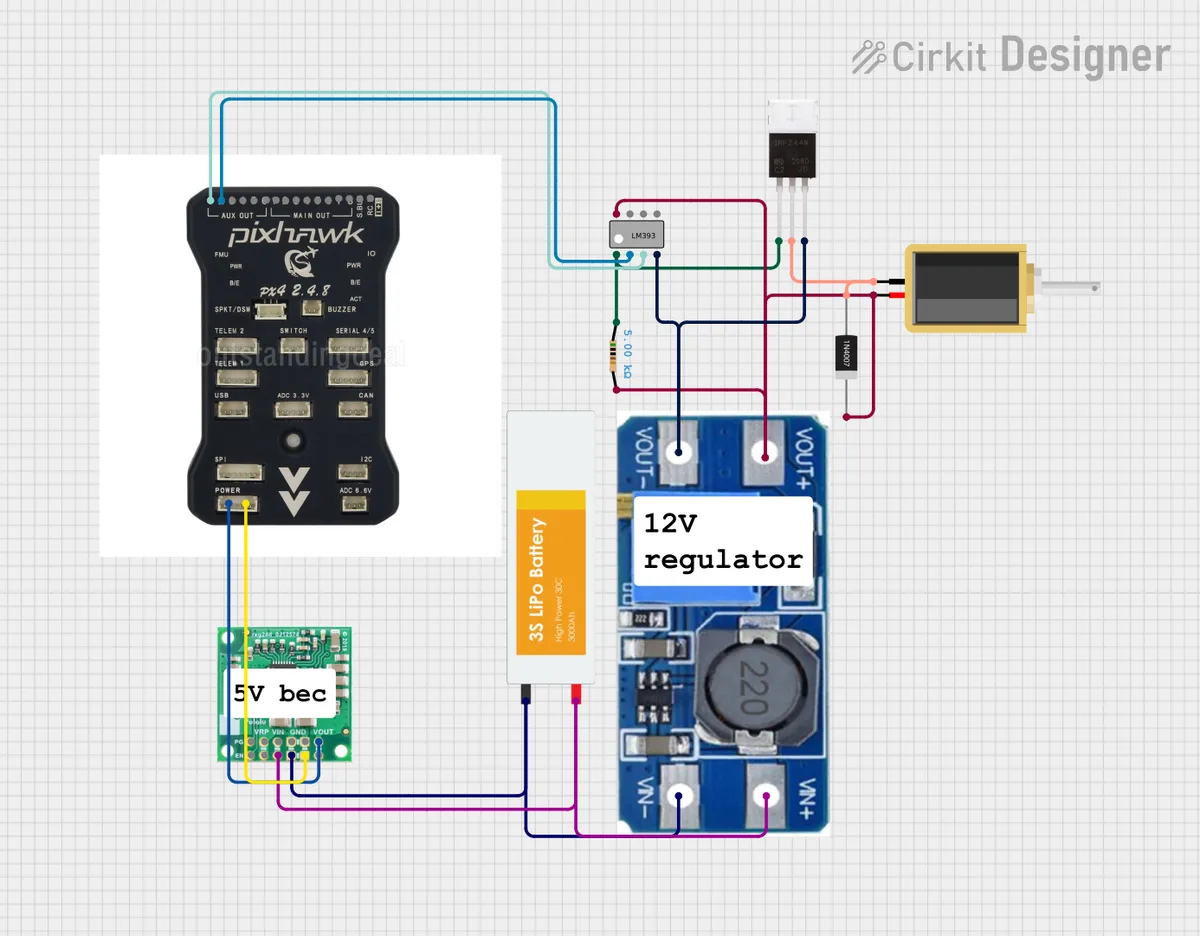
Image source: Bing (Web (fair-use with source credit))
Follow this sequence strictly. Skipping steps creates false positives. Start with the simplest checks.
Move to invasive ones only if necessary.
- Power Cycle: Remove the battery. Wait ten seconds. Reinsert. This resets the controller logic.
- Voltage Check: Measure battery output under load. It shouldn’t drop more than 0.5V when pulling the trigger. Large drops indicate bad cells or loose connectors.
- Switch Test: Bypass the trigger temporarily. Connect the two switch wires directly. If it fires continuously, the switch is faulty.
- Motor Spin: Disconnect the gearbox. Power the motor alone. It should spin freely. Resistance implies bearing wear or debris.
- Gear Inspection: Manually rotate the piston. Feel for catch points. Smooth rotation is essential. Any grittiness requires disassembly and cleaning.
Use a multimeter for every electrical step. Guessing wastes time. Precision saves your gear.
Document readings if you plan further mods. Baseline data helps future troubleshooting.
| Symptom | Likely Cause | Immediate Action |
|---|---|---|
| No fire at all | Dead battery / Loose wire | Check connections / Charge |
| Fires once then stops | Thermal lockout / Jam | Cool down / Inspect gears |
| Intermittent sputtering | Dirty switch / Weak battery | Clean contacts / Replace pack |
| Slow rate of fire | Low voltage / Worn springs | Charge fully / Service gearbox |
When to Stop DIY: Legal Risks and Battery Safety Warnings
Know your limits. Some repairs require professional tools or expertise. Pushing past them risks injury or legal trouble.
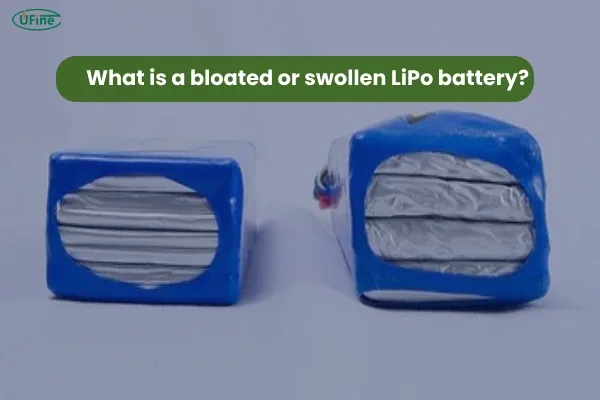
Lithium polymer batteries are volatile. Puncturing one causes thermal runaway. Fire follows instantly.
Handle LiPos with care. Never bend them excessively. Use proper chargers rated for their chemistry.
As of 2026, many regions enforce strict velocity limits for projectile toys. Modifying internals can push joules above legal thresholds. Check local laws before upgrading motors or springs.
Per ASTM F963 standards, toy safety involves rigorous testing. Unauthorized modifications void compliance. If you smell burning plastic or hear unusual whining, stop immediately.
Disconnect the battery. Do not attempt to "push through" the error. Serious damage lurks beneath those signs.
Seek expert help if unsure. Safety always outweighs performance gains.
Preventing Future Failures: Maintenance That Actually Works
Regular upkeep stops most issues before they start. You don’t need a full teardown every week. Simple habits extend component life significantly.
Manufacturer specs suggest inspecting seals after every twenty magazines fired. Look for cracks or hardening in the O-rings. Replace them immediately if they feel brittle.
Dry rubber fails fast under compression.
Keep your battery contacts clean and tight. Oxidation builds up quickly, especially in humid environments. Wipe terminals with isopropyl alcohol monthly.
Ensure XT60 connectors click firmly into place. Loose connections cause voltage spikes. These spikes fry sensitive MOSFET boards.
Protect your investment by securing every plug.
Lubricate moving parts sparingly but consistently. Use only silicone-based grease on pistons and gears. Petroleum products eat away at plastic housings.
Apply a thin film to the cylinder walls. Too much oil attracts dust and grit. This creates abrasive paste that wears metal teeth.
Balance is key here. Less is often more.
Store your gear properly when not in use. Remove batteries to prevent deep discharge cycles. Keep units in cool, dry places away from direct sunlight.
UV rays degrade plastic shells over time. Cracks form along stress points. Inspect external casings for hairline fractures quarterly.
Early detection saves costly replacements later.
FAQ: Quick Answers for Splatter Ball Gun Repairs
Why does my gun fire slowly in full auto?
Low battery voltage is the usual culprit. A depleted LiPo pack cannot sustain high current draws. The motor slows down as resistance increases.
Charge the battery fully using a balanced charger. If speed remains low, check for gearbox binding. Friction reduces efficiency.
Clean and lubricate internal components to restore optimal RPM. Verify switch continuity too.
Can I repair a stripped trigger screw myself?
Yes, with careful technique. Extract the broken piece using reverse-threaded easy-out tools. Drill a slightly larger hole if necessary.
Install a helicoil insert for stronger threads. Alternatively, epoxy the screw head back onto the shaft. This method works for non-load-bearing parts.
For structural screws, replacement is safer. Always torque evenly to avoid re-stripping.
How do I know if my MOSFET is blown?
Look for scorch marks on the board. A burnt smell confirms electrical failure. Test output voltage with a multimeter while triggering.
Zero volts means the controller is dead. Intermittent power suggests loose solder joints. Resolder connections if possible.
Otherwise, replace the entire unit. Aftermarket MOSFETs are affordable upgrades. They handle higher currents than stock wiring safely.
Is it safe to modify a stock toy blaster?
Proceed with extreme caution. Stock plastics aren’t designed for high-pressure air. Modifications can cause catastrophic shell rupture.
Shrapnel poses serious eye injury risks. Stick to approved electric conversion kits. These include reinforced internals.
Never increase spring tension beyond manufacturer limits. Check local laws regarding projectile velocities first. Safety always comes before performance gains.

Similar Posts