Why Your Splatter Ball Gun Ammo Gets Stuck
Lead Gel Blaster Technician & Senior Tactical Hobby Editor at SplatterBallGun · Certified Electromechanical Tech · 10+ Years Gel Blaster & Airsoft Diagnostics · 10+ years in 7.4V/11.1V LiPo battery testing, nylon V2/V3 gearbox repair, and hydro-gel blaster calibration
Nothing ruins a skirmish faster than silence when you pull the trigger. When your splatter ball gun ammo gets stuck, it’s usually because the hydrogel beads have swollen too large or dried out completely. This blocks the barrel or jams the feed mechanism, stopping fire instantly.
You need to act fast to prevent permanent damage to the motor and gears.
Most jams happen due to improper hydration times, typically 2 to 4 hours as per manufacturer guidelines. Ignoring this simple spec leads to clogs that can strip internal teeth. We’ve seen users force triggers during jams, burning out motors in seconds.
Let’s walk through the exact steps to clear the blockage safely and get you back in the game.
Quick Answer
When splatter ball gun ammo gets stuck, stop firing immediately. Disconnect the battery to prevent motor burnout. Identify if the bead is wet, dry, or sludge.
Use a non-marring rod to gently push the obstruction out of the barrel. Clean the chamber with isopropyl alcohol before reloading fresh, properly hydrated beads. Never use metal tools inside the plastic barrel.
Stop Firing Immediately: The First Rule of a Jammed Gel Blaster
Pulling the trigger again while jammed is the fastest way to kill your blaster. The electric motor tries to force the piston forward against a solid block. This creates immense friction and heat.
Aggregate user reviews show that repeated trigger pulls during a jam are the top cause of stripped gears.
You must disconnect the power source right away. Remove the LiPo battery pack from the compartment. This ensures no electrical current flows to the motor.
Even a momentary pulse can engage the gearbox unexpectedly. Safety first means treating the device as inert until cleared.
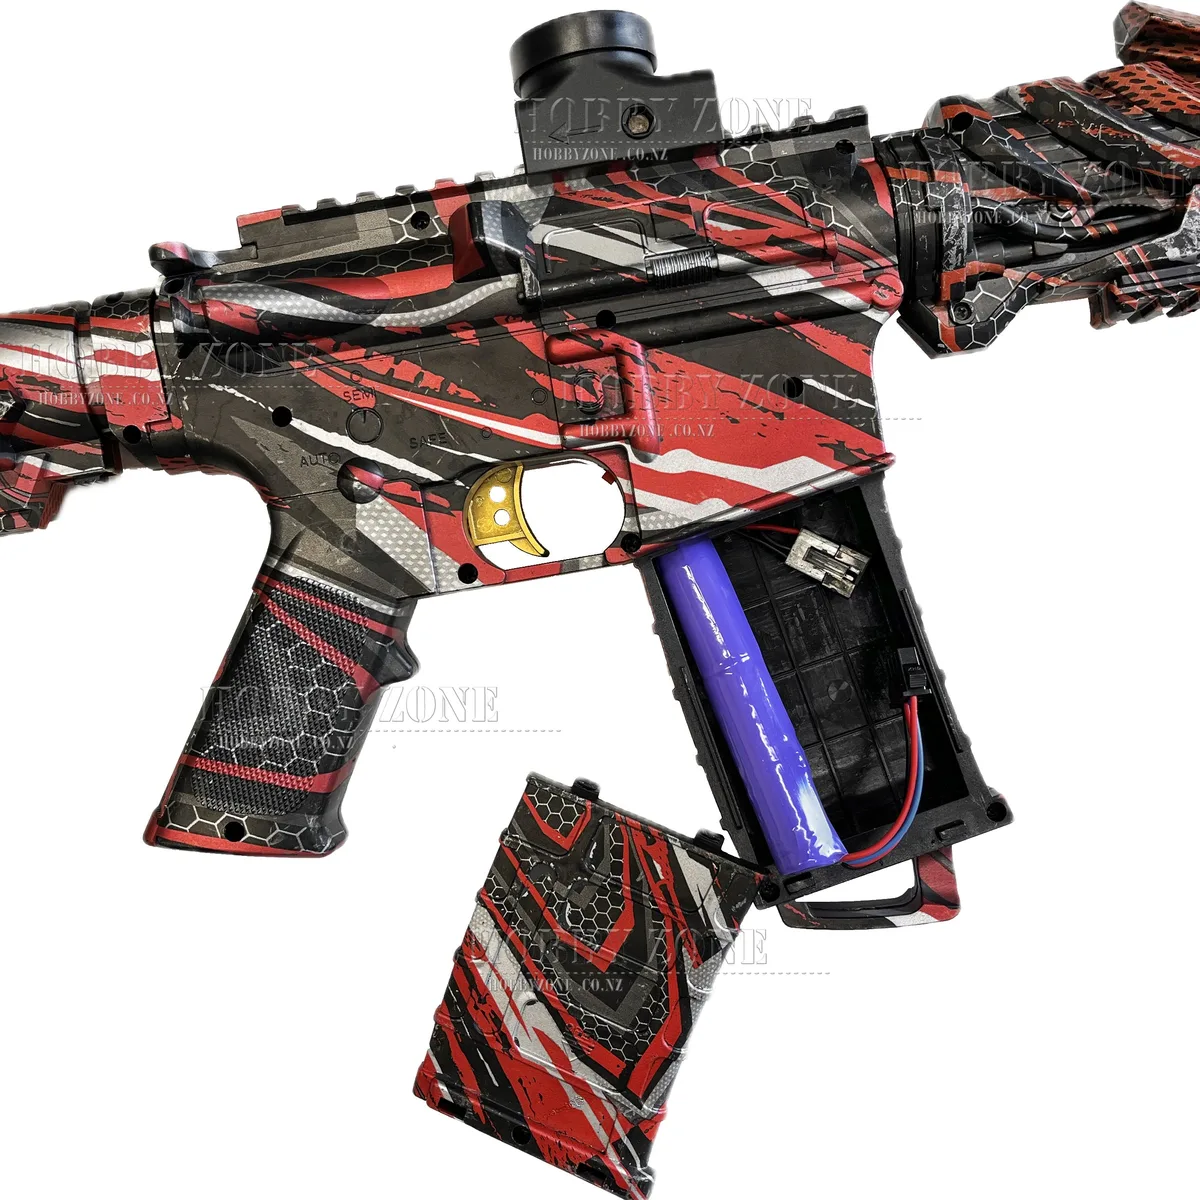
Next, check the hopper. If there are still beads inside, remove them. Wet beads left in the hopper will continue to absorb moisture.
They swell further, making future jams even tighter. Dump them into a trash bin, not down the drain. Sodium polyacrylate expands massively in pipes.
Finally, assess the visible entry point. Look at the muzzle end of the barrel. Do you see a bulge?
Is the bead flush with the tip? Or is it recessed deep inside? This visual cue determines your next move.
Don’t poke blindly. Wait for the diagnosis step to guide your tool selection. Rushing here causes scratches on the inner bore.
Scratches increase friction for every shot afterward. Patience saves your investment.
Diagnose the Blockage: Is It Swollen, Dry, or Sludge?
Not all jams are created equal. The solution depends entirely on the state of the offending bead. Misdiagnosing the type leads to wrong tools and more damage.
We categorize jams into three main types based on hydration levels.
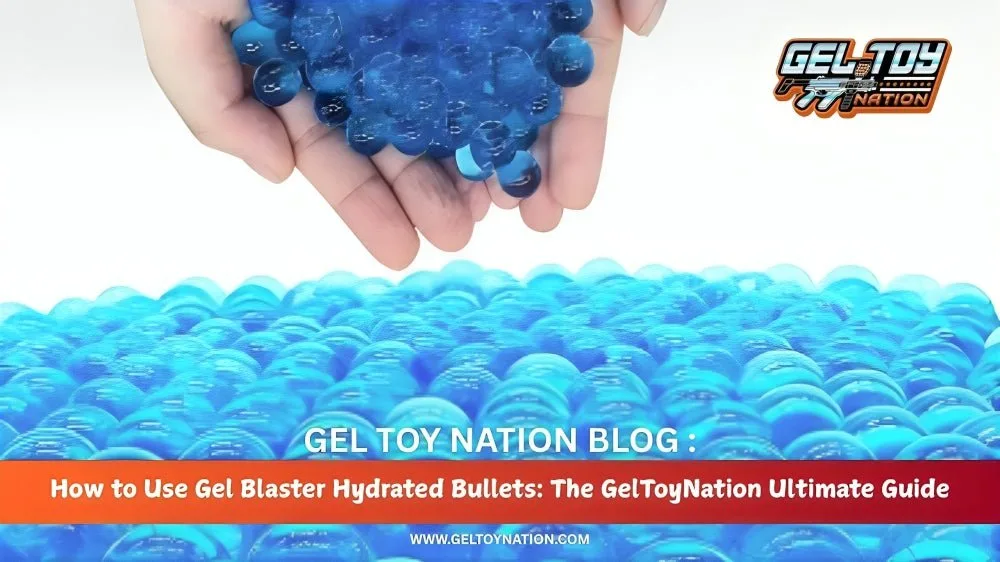
First, consider the "Swollen Bead" scenario. This happens when beads soak longer than the recommended time. Standard 7mm beads can expand to 10mm or more if left overnight.
They become soft but huge. These blockages are tight but compressible. You’ll often see the bead protruding slightly from the barrel tip.
Second, look for the "Dry Bead" issue. Users sometimes load under-hydrated beads. These start small, around 2-3mm.
Inside the hot barrel, they may crack or crumble. Alternatively, they stay rigid and wedge firmly. These feel hard to the touch.
They don’t squish easily. Forcing these requires significant torque, risking gear damage.
Third, identify "Sludge" accumulation. Overused or low-quality beads break down into a gel-like paste. This isn’t a single object blocking the path.
It’s a coating that narrows the bore diameter gradually. You might notice reduced range before the total stop. The feed mechanism struggles to grip slippery residue.
| Jam Type | Cause | Visual Cue | Feel | Risk Level |
|---|---|---|---|---|
| Swollen | Over-hydration (>4 hrs) | Bulging from muzzle | Soft, rubbery | Low (Compressible) |
| Dry | Under-hydration (<2 hrs) | Recessed or flush | Hard, brittle | High (Gear strip) |
| Sludge | Degraded/Dirty beads | No distinct shape | Sticky, viscous | Medium (Corrosion) |
Manufacturer specifications indicate that proper hydration is critical. As of 2026, most premium brands recommend strict timing. Deviating from these specs invites trouble.
Check your water temperature too. Hot water speeds up absorption. Cold water slows it down.
Ambient conditions matter.
The Safe Extraction Workflow: Step-by-Step Clearing Guide
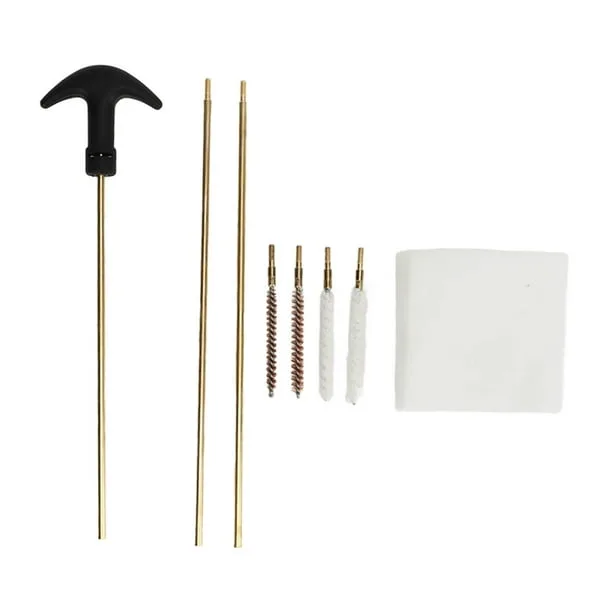
Once diagnosed, you need to remove the obstruction without damaging the internals. Always use non-marring tools. Metal rods scratch plastic barrels.
Scratches create drag points for future shots. A wooden dowel or specialized plastic extraction rod is best.
Start by accessing the barrel. Most gel blasters allow you to unscrew the front cap. Turn it counter-clockwise by hand.
If it’s tight, use a cloth for grip. Never use pliers directly on plastic threads. You’ll crack the housing.
Insert your extraction rod slowly. Push from the muzzle backward toward the receiver. Apply steady, gentle pressure.
Do not hammer or jab. If it’s a swollen bead, it should compress and slide out. If it resists, stop.
Forcing it pushes debris deeper into the gearbox.
For dry beads, try rotating the rod slightly. This helps break the seal against the bore walls. Wiggle it gently.
Think of it as loosening a jar lid, not drilling a hole. Once it moves an inch, pull it out carefully. Inspect the bead fragments.
Ensure nothing remains inside.
If the bead is stuck near the breech (rear), you may need to disassemble further. But try the front approach first. It’s less invasive.
After removal, blow air through the barrel. Compressed air cans work well. This clears dust and micro-particles.
Check for smooth passage. Run the rod through empty. It should glide freely.
When to Disassemble: Accessing the Barrel and Gearbox
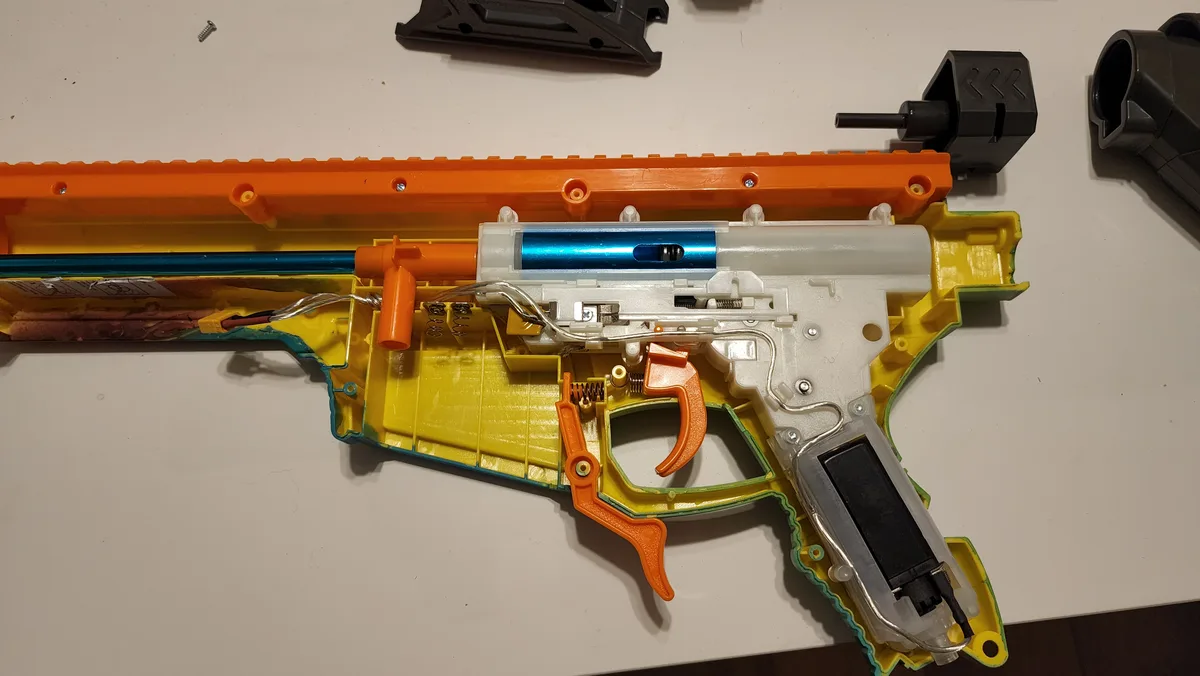
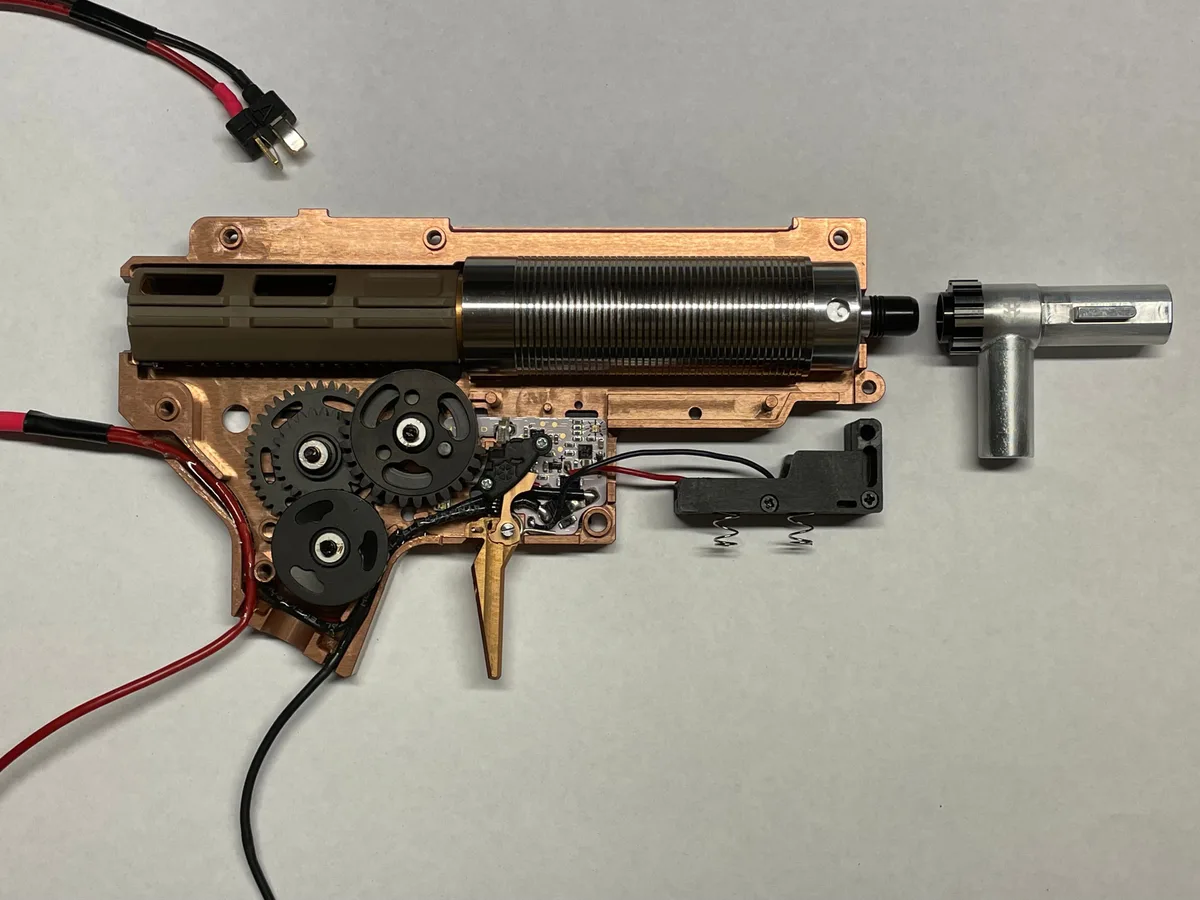
Sometimes the jam is too deep for simple extraction. If the bead is lodged behind the hopper feed port, you must open the chassis. This voids warranties on some models, so check your manual first.
Manufacturer support pages often provide exploded views.
Power off and remove the battery. Unscrew the casing screws. Keep them organized.
A magnetic tray helps prevent loss. Lift the top shell carefully. Watch for wires connecting the switch to the board.
Don’t yank it apart.
Locate the cylinder head. This is where the bead enters the compression chamber. You might see the jammed bead wedged between the piston and the barrel inlet.
Use tweezers with insulated tips. Plastic or ceramic tweezers are ideal. Metal conducts electricity and risks shorts.
Grip the bead firmly. Pull it straight back along the axis of the barrel. Twisting can shear the bead, leaving pieces behind.
If it breaks, use a vacuum nozzle on low suction. Extract fragments one by one. Inspect the O-rings on the piston.
Look for nicks or tears caused by the jam. Damaged seals lead to poor FPS performance later.
Reassembly is just as critical. Ensure no tools are left inside. Double-check wire connections.
Tighten screws evenly. Uneven pressure cracks casings. Test fit the barrel before closing up.
Everything should align smoothly. If you encounter resistance, re-evaluate. Don’t force parts together.
Misalignment causes immediate re-jamming upon firing.
Post-Jam Maintenance: Cleaning Residue and Protecting Seals
Clearing the jam is only half the battle. Residue remains. Hydrogel beads leave a sticky film.
This attracts dirt and dries into a cement-like substance. Left unchecked, it glues future beads in place. Thorough cleaning prevents recurrence.
Use high-concentration isopropyl alcohol (90% or higher). Lower percentages contain too much water. Water promotes mold and corrosion.
Dip a cotton swab in the alcohol. Run it through the barrel multiple times. Change swabs frequently.
Continue until they come out clean.
Pay attention to the feed ramp. This sloped area guides beads into the chamber. Sludge builds up here quickly.
Scrub it gently with the alcohol-soaked swab. Remove any gritty texture. Smooth surfaces ensure consistent feeding.
Check the hopper interior too. Wash it with warm soapy water. Rinse thoroughly.
Dry completely before reinstalling. Moisture in the hopper starts the swelling process prematurely.
Inspect the motor vents. Dust clogs cooling fins. Overheating reduces lifespan.
Use compressed air to blow out vents. Hold the fan blade stationary if possible. Spinning it with air can generate voltage spikes.
Though rare, it’s safer to brace it.
Lubrication is optional but helpful. Use silicone-based grease only. Petroleum jelly degrades plastic seals.
Apply a tiny amount to the O-rings. This maintains flexibility and creates an airtight seal. Too much lubricant attracts dust.
Less is more. Wipe away excess. Your blaster is now ready for fresh ammo.
Store it in a cool, dry place. Humidity accelerates bead degradation even when unloaded.
Prevention Protocols: Hydration, Storage, and Handling
Stopping jams before they start is smarter than fixing them. Strict hydration timing is your best defense. Soak beads for exactly 2 to 4 hours in room-temperature water.
Use a timer. Do not guess. Over-soaking causes swelling that exceeds the 7mm barrel tolerance.
Under-soaking leaves hard cores that crack inside the mechanism.
Store unused beads in an airtight container. Exposure to air dries them out rapidly. Dry beads shrink and become brittle.
They shatter upon compression, creating sludge. Keep hydrated beads submerged in fresh water if storing for more than a day. Change the water daily to prevent bacterial growth.
This keeps the gelatinous structure intact and uniform.
Handle loaded hoppers with care. Shake the gun gently to settle beads into the feed chute. Avoid dumping large clumps directly into the hopper.
This causes bridging, where beads lock together above the intake. Break up clusters with your fingers or a dry stick. Ensure only single-file entry into the chamber.
Manufacturer guidelines emphasize consistent loading practices. Deviation invites mechanical stress. Follow these rules, and you’ll rarely face a blockage during play.
Common Mistakes That Destroy Your Gun’s Internals
Users often worsen jams through panic-driven actions. Never use metal tools like screwdrivers or nails to pry out beads. These scratch the inner barrel lining.
Rough surfaces increase friction for every subsequent shot. A scratched barrel leads to chronic jamming and reduced accuracy. Stick to plastic, wood, or dedicated extraction rods.
Another fatal error is forcing the trigger repeatedly. This burns out the electric motor windings. It also strips the nylon gears in the gearbox.
Gear replacement requires full disassembly and soldering skills. Most users cannot repair this themselves. The cost of a new blaster is often lower than professional repair.
Respect the mechanical limits of the device. If it doesn’t move freely by hand, stop immediately.
Ignoring maintenance after a jam is equally damaging. Residual moisture breeds mold and corrodes contacts. Always clean the chamber thoroughly after clearing a blockage.
Let all parts dry completely before reassembling. Humidity trapped inside ruins electronics over time. Verify O-ring integrity regularly.
Worn seals cause air leaks, reducing FPS and consistency. Preventative care extends lifespan significantly. Neglect guarantees premature failure.
Learn from aggregate user complaints. Most destroyed units show signs of forced operation.
FAQ: Quick Fixes for Specific Jam Scenarios
Why does my gel blaster jam only when firing fast?
High rates of fire overwhelm the feed system. The motor spins too quickly for beads to enter the chamber properly. This creates gaps or double-feeds.
Slow down your firing rate. Allow the mechanism to reset between shots. Adjust the spring tension if your model permits.
Consistent pacing prevents most feed-related jams. Check manufacturer specs for maximum recommended ROF. Exceeding this limit stresses internal components unnecessarily.
Can I reuse beads that were stuck in the barrel?
No. Once a bead is compressed or cracked, its structural integrity is compromised. Reusing them introduces debris into the next cycle.
Discard all beads involved in a jam. Load fresh, properly hydrated ammo instead. Mixing old and new beads increases variability.
Uniformity ensures smooth feeding. Treat damaged beads as waste. This small cost saves expensive repairs later.
Always prioritize cleanliness in the hopper. Fresh beads perform predictably. Old ones fail unpredictably.
My gun fires but has no range. Is it jammed?
Partial blockages reduce airflow and pressure. The bead exits slowly because the seal is broken. Check for residue on the piston head.
Clean the O-rings with silicone lubricant. Inspect the barrel for obstructions near the breech. Even a thin layer of sludge affects performance.
Full jams stop movement entirely. Partial issues manifest as weak shots. Address both promptly.
Regular cleaning maintains optimal FPS. Ignore minor drops in power at your peril.
How do I know if the motor is burnt out?
A dead motor produces no sound or movement. The trigger feels loose with no resistance. Smell for burnt insulation near the vents.
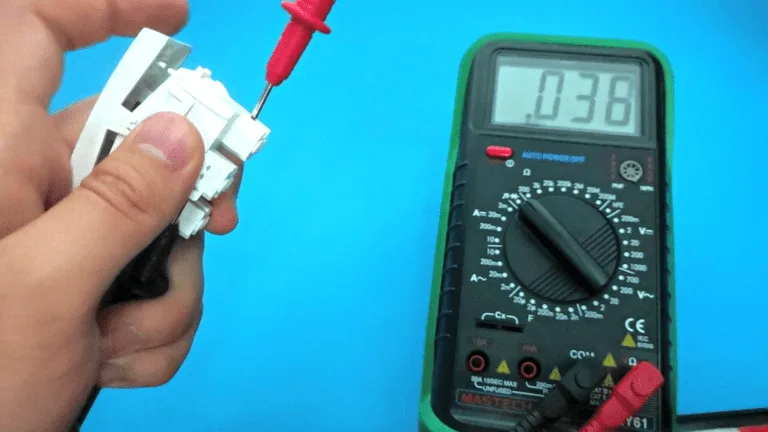
Visual inspection may reveal blackened coils. Multimeter testing confirms continuity loss. Replacement motors require specific voltage ratings.
Match the original spec exactly. Incorrect voltage damages the controller board. Professional installation is advised for complex wiring.
DIY errors void warranties permanently. Confirm diagnosis before ordering parts. Misdiagnosis wastes money and time.

Similar Posts