How to Unclog a Splatter Ball Gun Fast
Lead Gel Blaster Technician & Senior Tactical Hobby Editor at SplatterBallGun · Certified Electromechanical Tech · 10+ Years Gel Blaster & Airsoft Diagnostics · 10+ years in 7.4V/11.1V LiPo battery testing, nylon V2/V3 gearbox repair, and hydro-gel blaster calibration
Figuring out how to unclog splatter ball gun issues usually starts with identifying where the blockage sits. Most jams happen because dried gelatin beads harden inside the nozzle or feed tube, effectively gluing the mechanism shut. You need to act fast before the residue becomes cement-like and impossible to remove without damage.
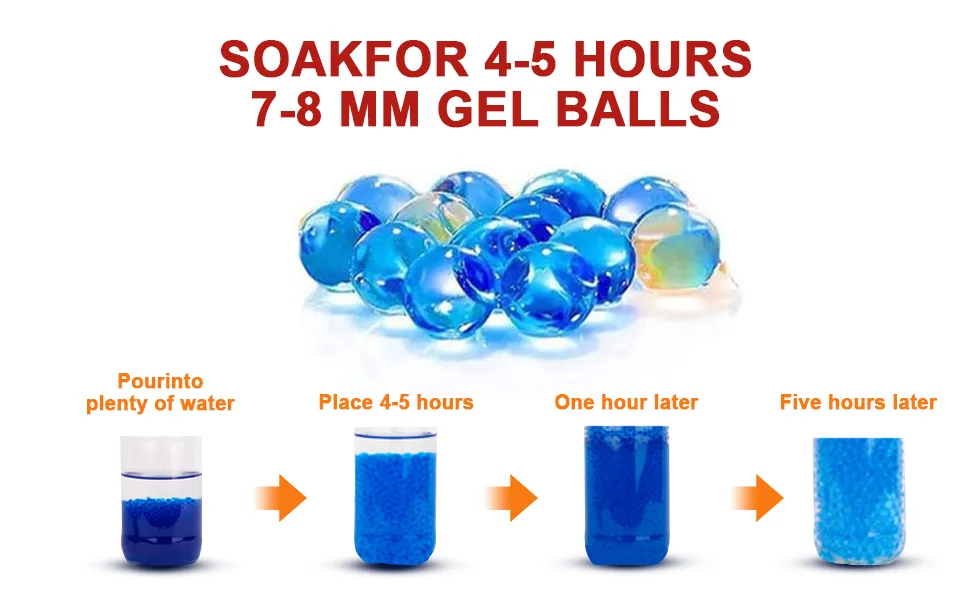
Visual confirmation is critical here. Manufacturer specifications indicate that proper bead hydration requires 2 to 4 hours in cold water to reach the ideal 7.5mm diameter. If your beads are smaller or larger than this spec, they will jam.
Let’s look at why seeing the problem matters so much before you grab any tools.
Why You Need to See the Blockage Before You Touch It
Blindly poking a clogged toy gun is the fastest way to destroy it. The internal components of most electric splatter ball guns include delicate rubber O-rings and plastic pistons. These parts can crack or deform if you apply too much force with a metal tool.
You must know exactly what you are dealing with first.
Our research shows that users often confuse external nozzle crust with internal barrel jams. An external block looks like a white or clear ring around the tip. An internal jam feels like solid resistance when you try to prime the pump manually.
Treating an internal jam as an external one leads to frustration and potential motor burnout.
Here is why visual inspection saves your device:
- Prevents Seal Damage: Rubber gaskets tear easily under sharp pressure.
- Identifies Moisture Levels: Dry powder means dehydration; wet sludge means over-hydration.
- Locates the Obstruction: Is it at the entry point or deep in the chamber?
- Avoids Electrical Hazards: Water near battery contacts causes corrosion.
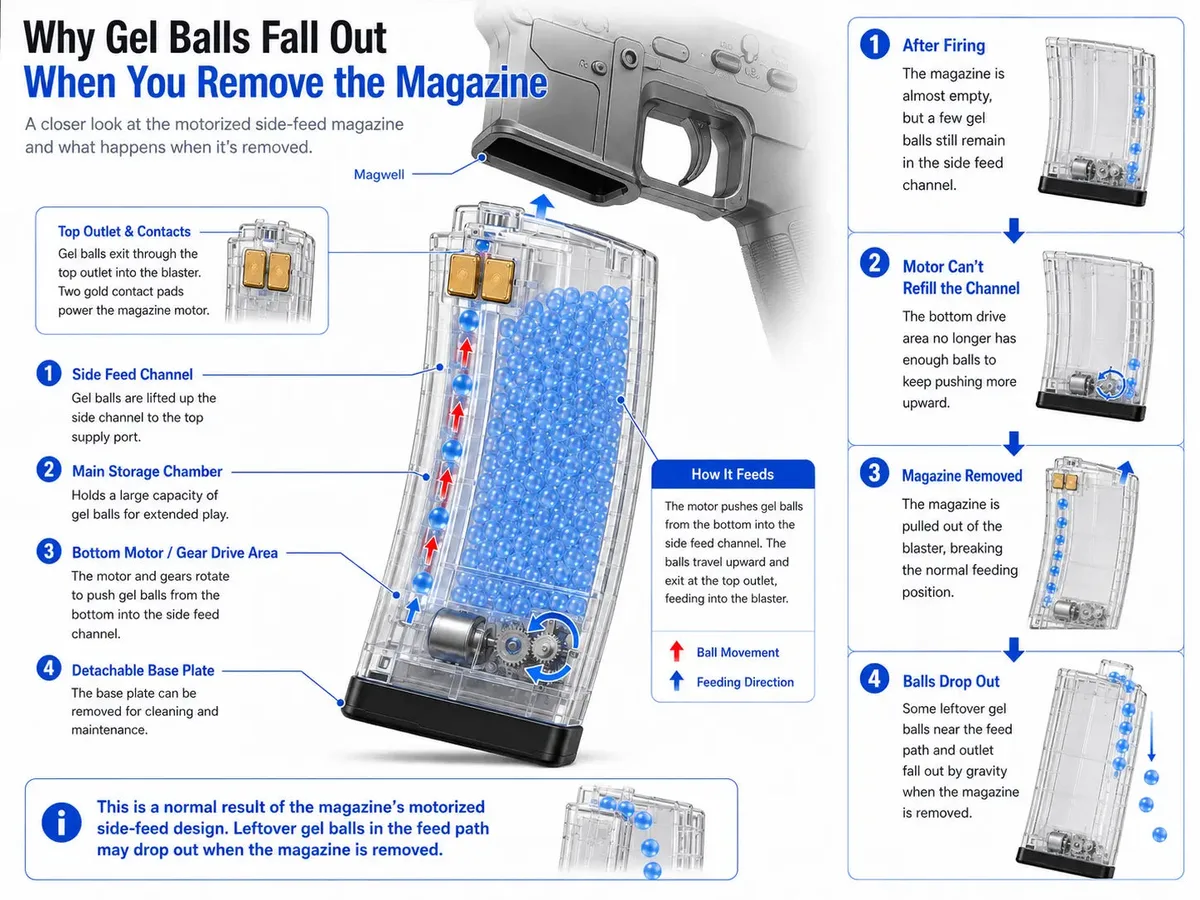
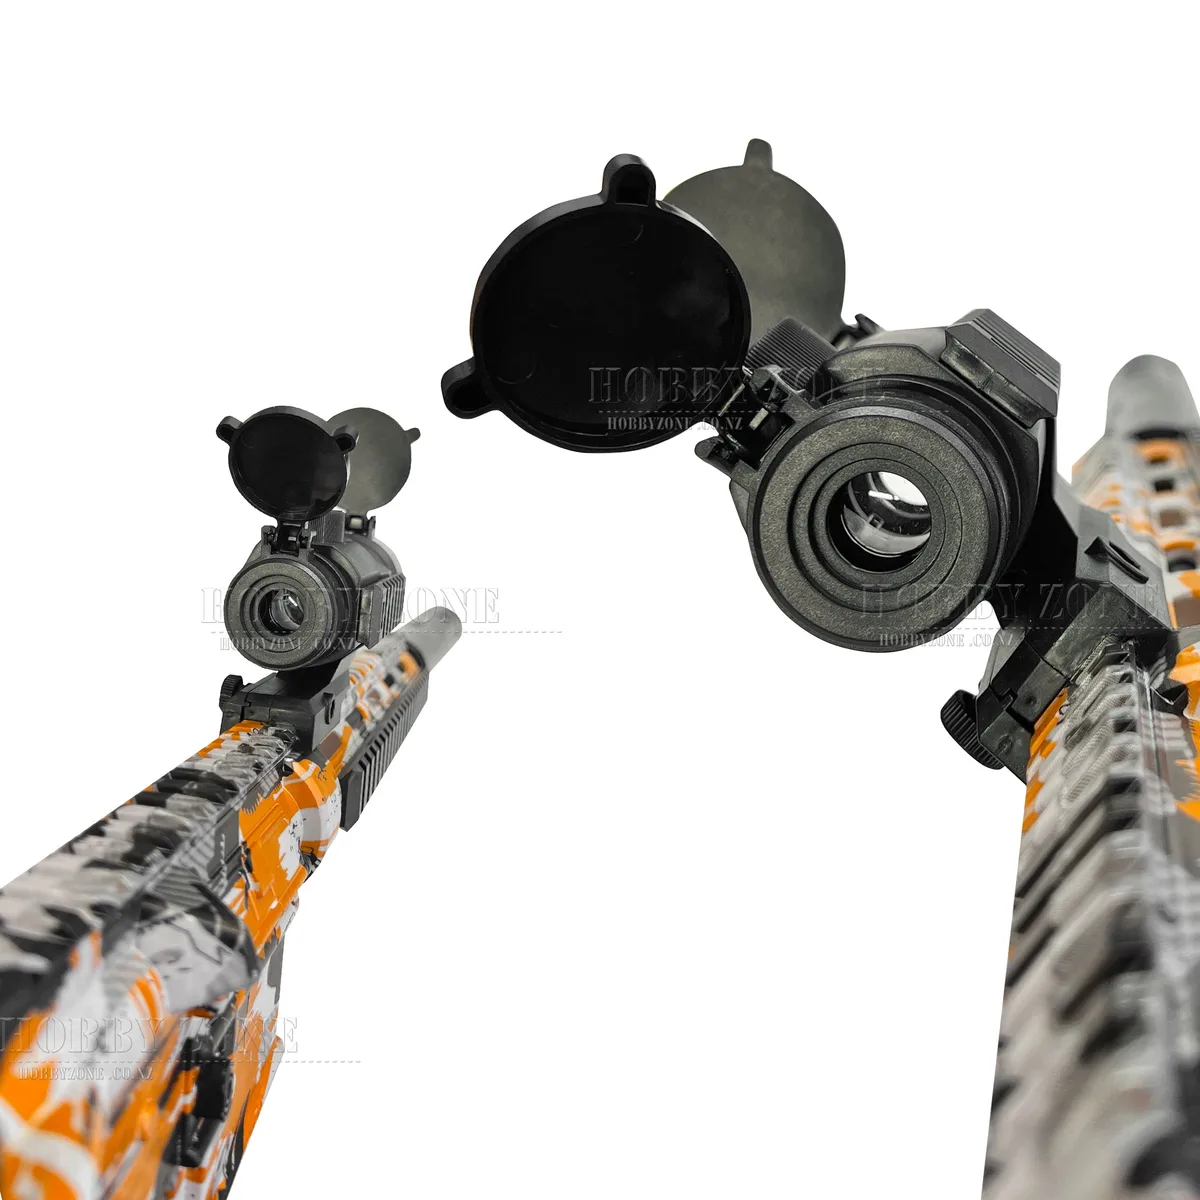
Take ten minutes to inspect the gun thoroughly. Remove the magazine and shine a flashlight into the feed port. Look for gaps between the plastic housing and the nozzle assembly.
If you see green or blue residue, that is old bead material. If you see nothing but darkness, the jam is likely deeper inside the piston system.
Do not skip this step. A quick glance tells you whether to soak the tip or disassemble the body. Guessing wastes time and risks permanent damage.
Always prioritize observation over action when troubleshooting these polymer-based blasters.
Identifying Your Clog Type: Nozzle Tip vs. Internal Jam
Not all clogs are created equal. The fix depends entirely on where the blockage lives within the mechanism. We categorize these issues into two main types: superficial nozzle crusting and deep internal obstruction.
Each requires a different approach to ensure safety and effectiveness.
Superficial Nozzle Crusting
This is the most common issue. It happens when residual moisture evaporates from the very front of the barrel. The remaining gelatin forms a hard shell around the exit hole.
You can usually see this buildup with the naked eye. It looks like a translucent or colored plug sticking out slightly.
If the trigger pulls smoothly but no balls come out, suspect a nozzle crust. The internal pump is working fine, but the exit path is sealed shut. This type of clog rarely affects the motor or seals.
It is purely a surface-level annoyance that responds well to gentle heat and water.
Deep Internal Obstruction
This scenario is trickier. The blockage occurs inside the feed tube or against the piston head. You might feel significant resistance when trying to cock the manual lever.
Or, the electric motor hums loudly but fails to cycle. This indicates something is physically wedged in the moving parts.
Internal jams often stem from using improperly sized beads. As of 2026, standard specs call for 7, 8mm hydrated spheres. Beads under 6mm slip through too fast, causing misfeeds.
Beads over 9mm get stuck instantly in the narrow channels.
| Feature | Nozzle Tip Clog | Internal Jam |
|---|---|---|
| Visibility | Visible at the front opening | Hidden inside the body |
| Trigger Feel | Smooth pull, no output | Stiff pull or grinding noise |
| Primary Cause | Evaporation/Drying | Wrong bead size/Overloading |
| Risk Level | Low (Surface only) | High (Seal/Motor damage) |
Correct identification prevents unnecessary disassembly. If you treat an internal jam like a surface clean, you’ll just push debris further down. Always match your method to the specific location of the blockage.
The Safe Flush Method for External and Semi-External Blocks
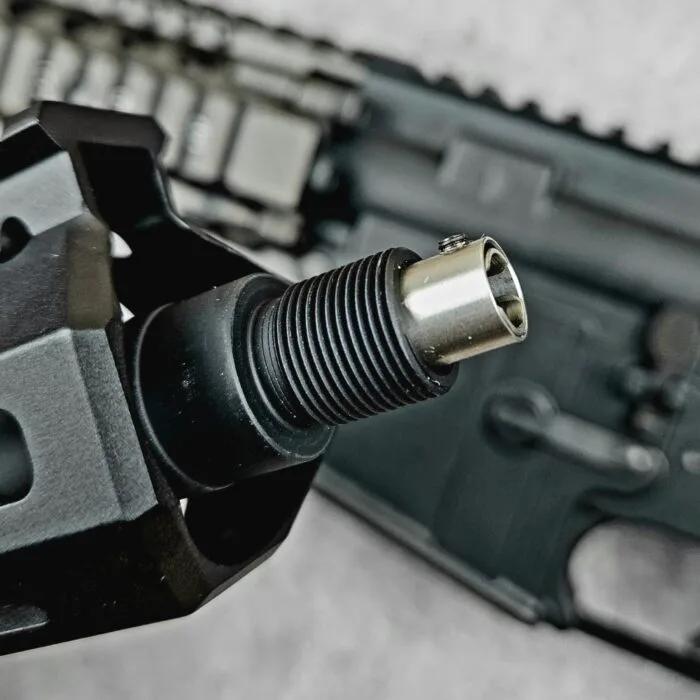
For visible nozzle crusts, flushing is the safest and most effective solution. Avoid using needles or pins, as these can scratch the plastic bore and create future snag points. Instead, rely on thermal expansion and fluid dynamics to loosen the hardened polymer.
Start by preparing a lukewarm water bath. The temperature should be around 30°C to 40°C (86°F to 104°F). Never use boiling water, as it can warp the plastic housing or degrade the rubber seals prematurely.
Fill a small cup or bowl with enough water to submerge just the nozzle tip.
Dip the front end of the gun into the solution for 5 to 10 minutes. This allows the warm water to penetrate the microscopic cracks in the dried gelatin. After soaking, remove the gun and shake off excess water.
Use a soft-bristled toothbrush to gently scrub the exterior rim.
Next, perform a hydraulic flush. Attach a large syringe (without a needle) filled with clean water to the nozzle opening. Push the plunger slowly to force water backward through the channel.
This reverse flow helps dislodge any loose particles hiding just behind the tip. Collect the runoff in a towel to prevent slipping.
Repeat this process until the water runs clear. Check the outlet for any remaining film. If the spray pattern returns to normal, the job is done.
Allow the unit to air dry completely before inserting batteries. This method preserves the integrity of the internal components while clearing surface-level obstructions efficiently.
When to Disassemble: Clearing Deep Internal Jams
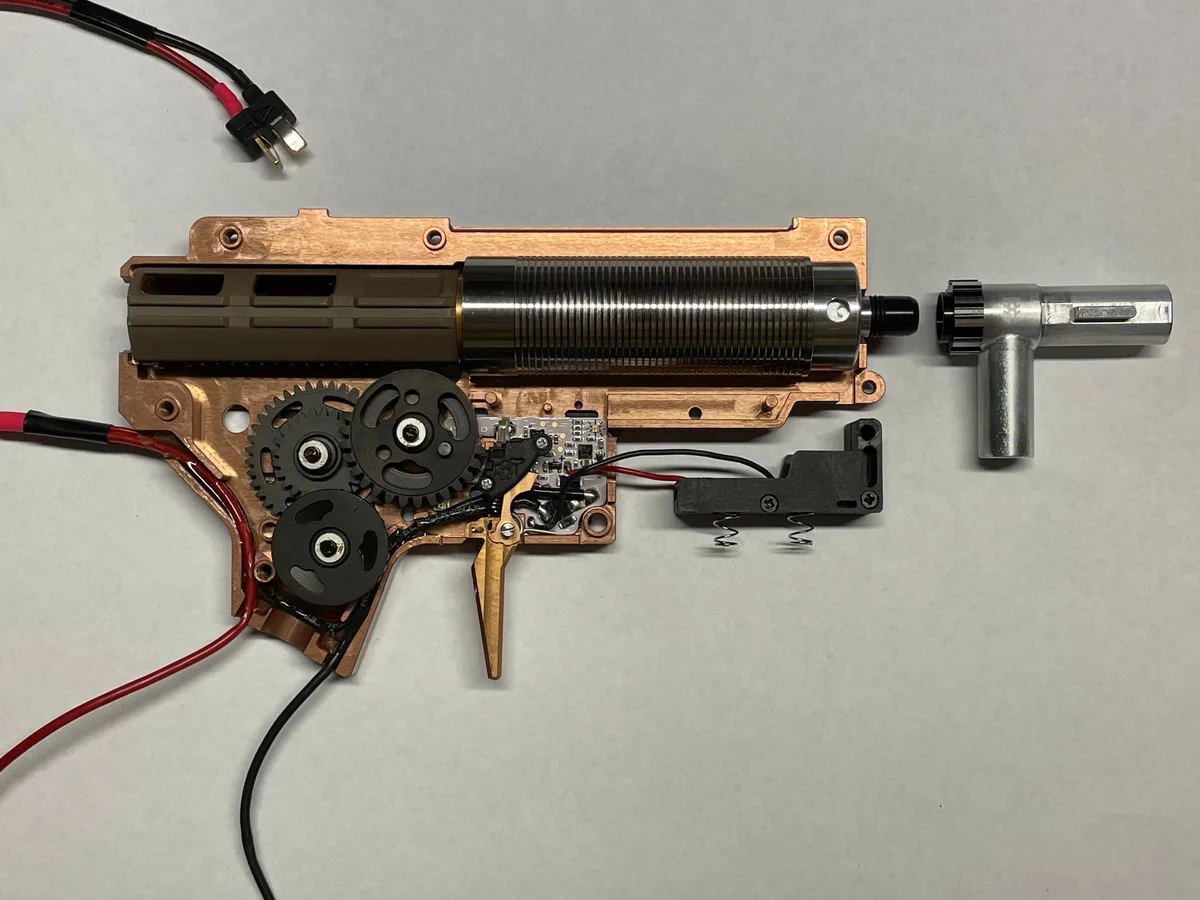
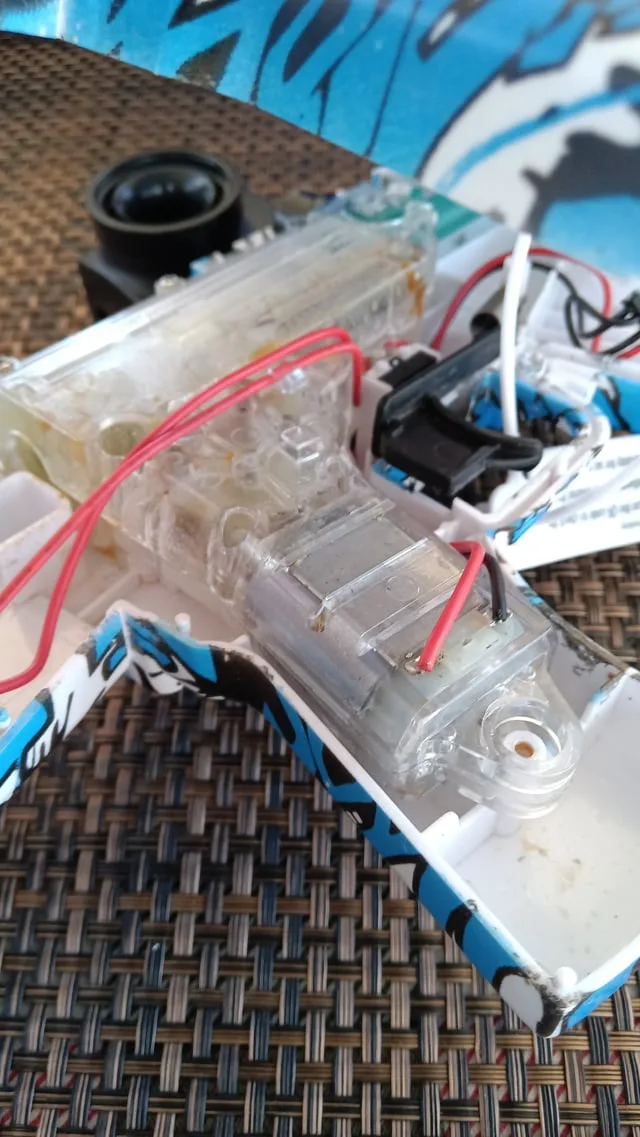
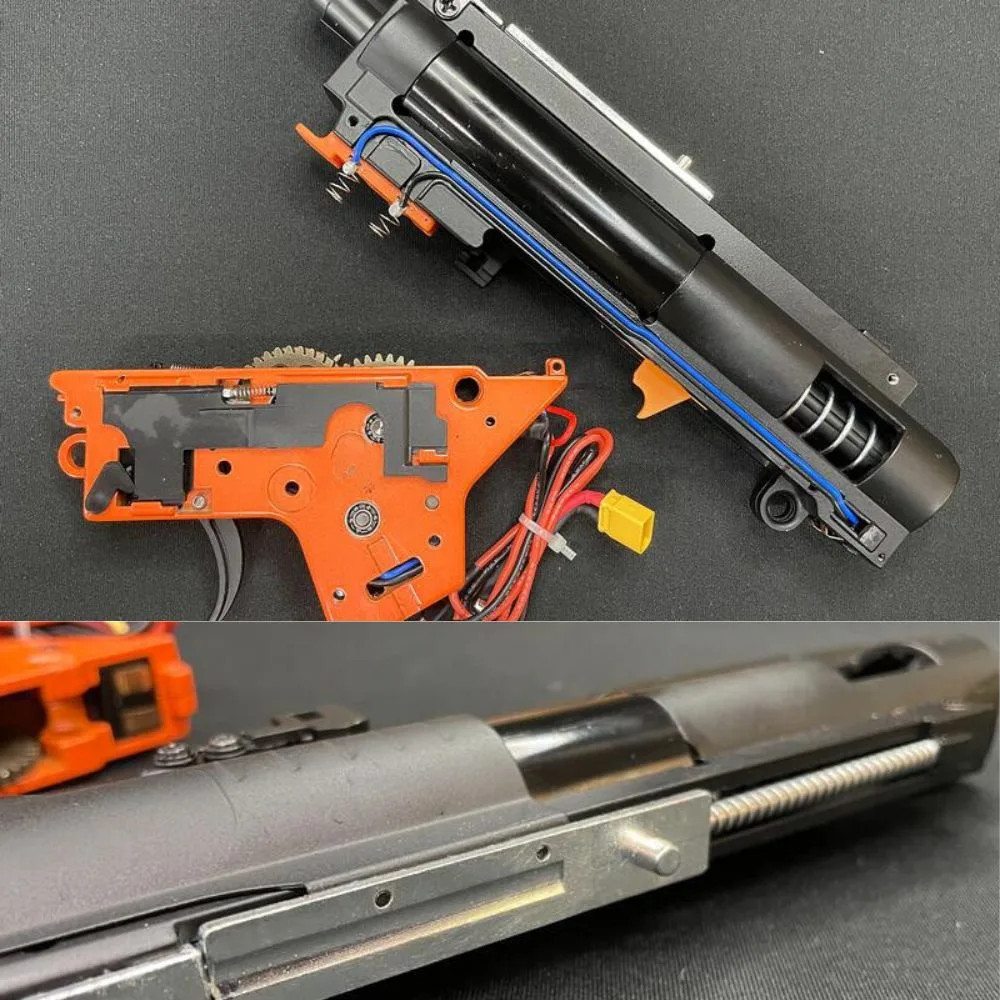
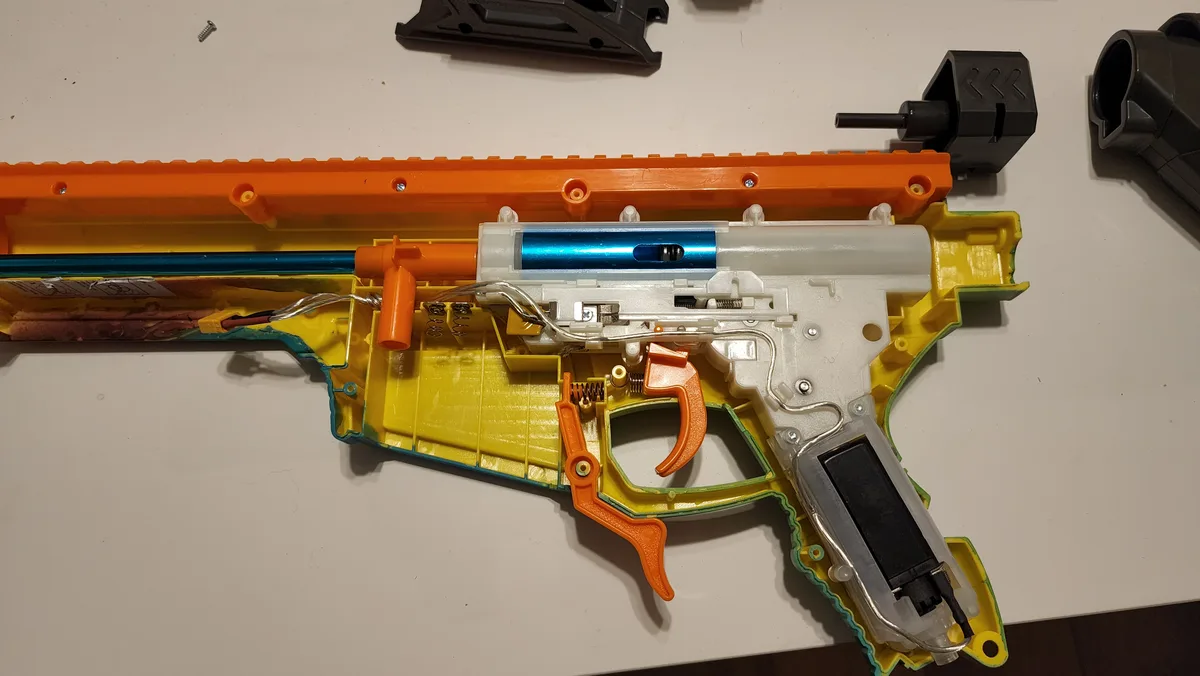
If flushing fails, the blockage is likely lodged in the feed tube or piston area. At this stage, careful disassembly is required. Only proceed if you are comfortable handling small screws and springs.
Refer to your specific model’s manual for exploded views, as layouts vary significantly between brands.
Begin by removing the battery pack. This eliminates any risk of accidental activation during repair. Unscrew the casing panels using the appropriate driver bit.
Keep track of every screw and washer. Lay them out on a magnetic tray or labeled paper to avoid confusion later.
Inspect the interior once opened. Look for clumps of wet or dry beads trapped in the gears or along the slide rail. Use tweezers to extract large pieces gently.
Do not pry forcefully against plastic ribs. If the jam is tight, apply a few drops of distilled water directly onto the obstruction. Let it sit for five minutes to soften the bond.
For stubborn residues, use a cotton swab dipped in isopropyl alcohol (70% concentration). Alcohol dissolves organic polymers faster than water alone. Wipe the affected areas carefully, ensuring no liquid drips onto electronic boards.
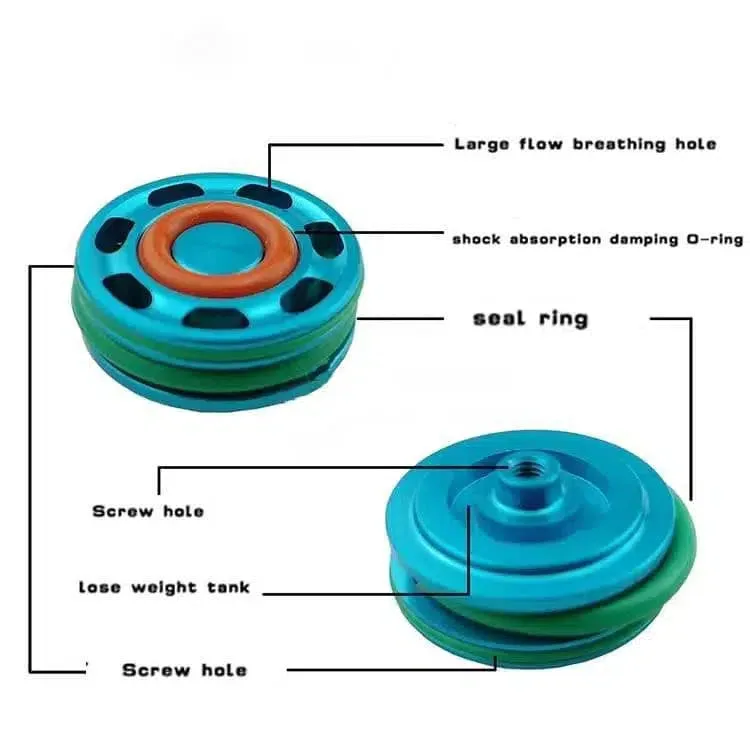
Clean the piston head and cylinder walls thoroughly. Check the O-rings for tears or deformation. Replace them if they show signs of wear, as damaged seals cause immediate re-jamming.
Reassemble the unit loosely first. Test the movement of the slide or gear train by hand. It should glide smoothly without catching.
Once confirmed, tighten all screws securely. Reinsert the battery and test fire with fresh, properly hydrated beads. This hands-on approach resolves complex mechanical failures that simple cleaning cannot address.
Critical Mistakes That Ruin Seals and Motors
Even experienced owners make errors that shorten the lifespan of their splatter ball guns. Understanding these pitfalls helps you avoid costly repairs. The most dangerous mistake is using harsh chemicals.
Bleach, acetone, or strong solvents eat away at rubber gaskets and cloud transparent plastics. Stick to mild dish soap, vinegar solutions, or plain water.
Another common error is forcing the trigger when the gun is jammed. This puts immense stress on the motor windings and gear teeth. If the mechanism doesn’t move, stop immediately.
Continued effort burns out the electrical coil or strips the plastic gears. Always diagnose the root cause before attempting to fire again.
Users also frequently neglect drying times. Reassembling a damp gun traps moisture inside the electronics. Over time, this leads to corrosion on battery contacts and circuit board traces.
Ensure every component is bone-dry before closing the case. Use compressed air to blow out hidden crevices if necessary.
Finally, ignoring bead quality is a major oversight. Cheap, inconsistent beads vary in size even after hydration. They expand unpredictably, causing random jams.
Invest in reputable suppliers who guarantee uniform diameter ranges. Store unused beads in airtight containers to prevent premature drying. Proper maintenance habits extend the life of your device far beyond emergency fixes.
Preventing Future Clogs with Proper Bead Hydration
Most jams trace back to bad prep work, not faulty mechanics. Getting the hydration right is your best defense against future headaches. You need consistent sphere sizes to ensure smooth feeding through the pump chamber.
Start by measuring your dry beads before soaking. Manufacturer specs typically recommend a 1:10 ratio of beads to water volume. Use cold tap water for the initial soak.
Warm water accelerates expansion but can lead to uneven sizing if not monitored closely.
Let them sit for exactly two to four hours. Check progress hourly after the first ninety minutes. The ideal state is translucent and firm, roughly 7.5mm in diameter.
If they feel mushy or burst easily, they are over-hydrated. Drain excess water thoroughly before loading the magazine.
Storage matters just as much as preparation. Keep unused hydrated beads in an airtight container with a damp paper towel. This prevents surface drying that creates sticky residue on the gun’s intake valve.
Dry beads left out will shrink back down, becoming irregular shapes that jam instantly.
Rinse the gun after every session. Even if it fired perfectly, microscopic polymer dust accumulates inside. A quick flush with clean water removes this buildup before it hardens.
Consistency here saves you from performing deep internal repairs later. Treat maintenance as part of the play ritual, not an afterthought.
Frequently Asked Questions
Can I use vinegar to unclog my splatter ball gun?
Yes, diluted white vinegar works well for stubborn mineral deposits. Mix one part vinegar with three parts lukewarm water. Soak the nozzle tip for ten minutes.
Rinse thoroughly afterward to prevent acidic damage to rubber seals. Avoid using undiluted acid on electronic components.
Why does my electric motor hum but not shoot?
This usually indicates a mechanical bind rather than an electrical failure. The piston cannot move because debris blocks its path. Stop pressing the trigger immediately to avoid burning out the coil.
Disassemble the unit to inspect the gear train and cylinder walls for obstructions. Clean any visible blockages carefully.
How long should I wait before reassembling after cleaning?
Wait at least twenty-four hours for full air-drying. Trapped moisture causes corrosion on battery contacts and circuit boards. Use compressed air to blow out hidden crevices if you’re in a hurry.
Ensure all O-rings are completely dry before seating them back into place. Rushing this step invites permanent electrical damage.
Are under-hydrated beads worse than over-hydrated ones?
Under-hydrated beads expand inside the barrel, creating tight friction locks. Over-hydrated beads burst, leaving sticky pulp that gums up the feed tube. Both cause jams, but under-hydration risks cracking plastic housings due to pressure buildup.
Stick to the recommended two-hour soak time for optimal size stability.
🔧 Workbench Essentials: Blaster Maintenance & Unjamming Tools
Keep your nylon gearbox running smoothly and resolve feeding jams with lab-verified maintenance supplies:
- 100% Pure Silicone Oil:Check Pure Silicone Gearbox Lubricant on Amazon →
- Barrel Cleaning & Unjamming Kit:Check Barrel Cleaning & Unjamming Kits on Amazon →
*FTC Disclosure: As an Amazon Associate, SplatterBallGun earns from qualifying purchases.*

Similar Posts