Why Does Your Splatter Ball Gun Barrel Wobble?
Lead Gel Blaster Technician & Senior Tactical Hobby Editor at SplatterBallGun · Certified Electromechanical Tech · 10+ Years Gel Blaster & Airsoft Diagnostics · 10+ years in 7.4V/11.1V LiPo battery testing, nylon V2/V3 gearbox repair, and hydro-gel blaster calibration
If your splatter ball gun barrel wobbles, it’s usually a simple fitment issue rather than a broken part. You don’t need to toss the whole blaster. In most cases, the inner barrel isn’t seated tightly against the hopper feed neck or the outer housing.
This creates slack that ruins your accuracy and causes jams during rapid fire.
The fix often involves shimming or tightening specific connection points. Aggregate user reports indicate that over 60% of these issues stem from factory assembly tolerances being too loose. As of 2026, aftermarket aluminum upgrades remain popular for durability, but proper alignment solves most problems first.
Let’s look at how to spot the visual cues and correct them.
Why Your Splatter Ball Gun Barrel Wobbles (And Why It’s Not Just “Cheap Parts”)
Most owners assume wobble means the plastic is low quality. That’s rarely the full story. The real culprit is almost always concentricity error.
This means the inner barrel’s center line doesn’t match the outer housing’s axis. Even high-end metal barrels can wobble if the mounting interface is sloppy.
Manufacturing processes for injection-molded plastics have inherent variances. A tiny gap of 0.5mm at the base can amplify into significant movement at the muzzle. This shifts the pellet’s exit angle unpredictably.
You’ll notice vertical stringing in your shots because the barrel tilts up or down with each recoil impulse.
Another factor is thermal expansion. Plastic expands faster than metal when heated by friction or sunlight. If you’ve been shooting for an hour, the barrel might loosen slightly as materials shift.
This isn’t a defect. It’s physics. Understanding this helps you realize why a static tightness check fails sometimes.
You need dynamic stability. The goal is eliminating radial play without crushing the component.
The Visual Diagnosis: Spotting the Gap, The Tilt, and The Rattle
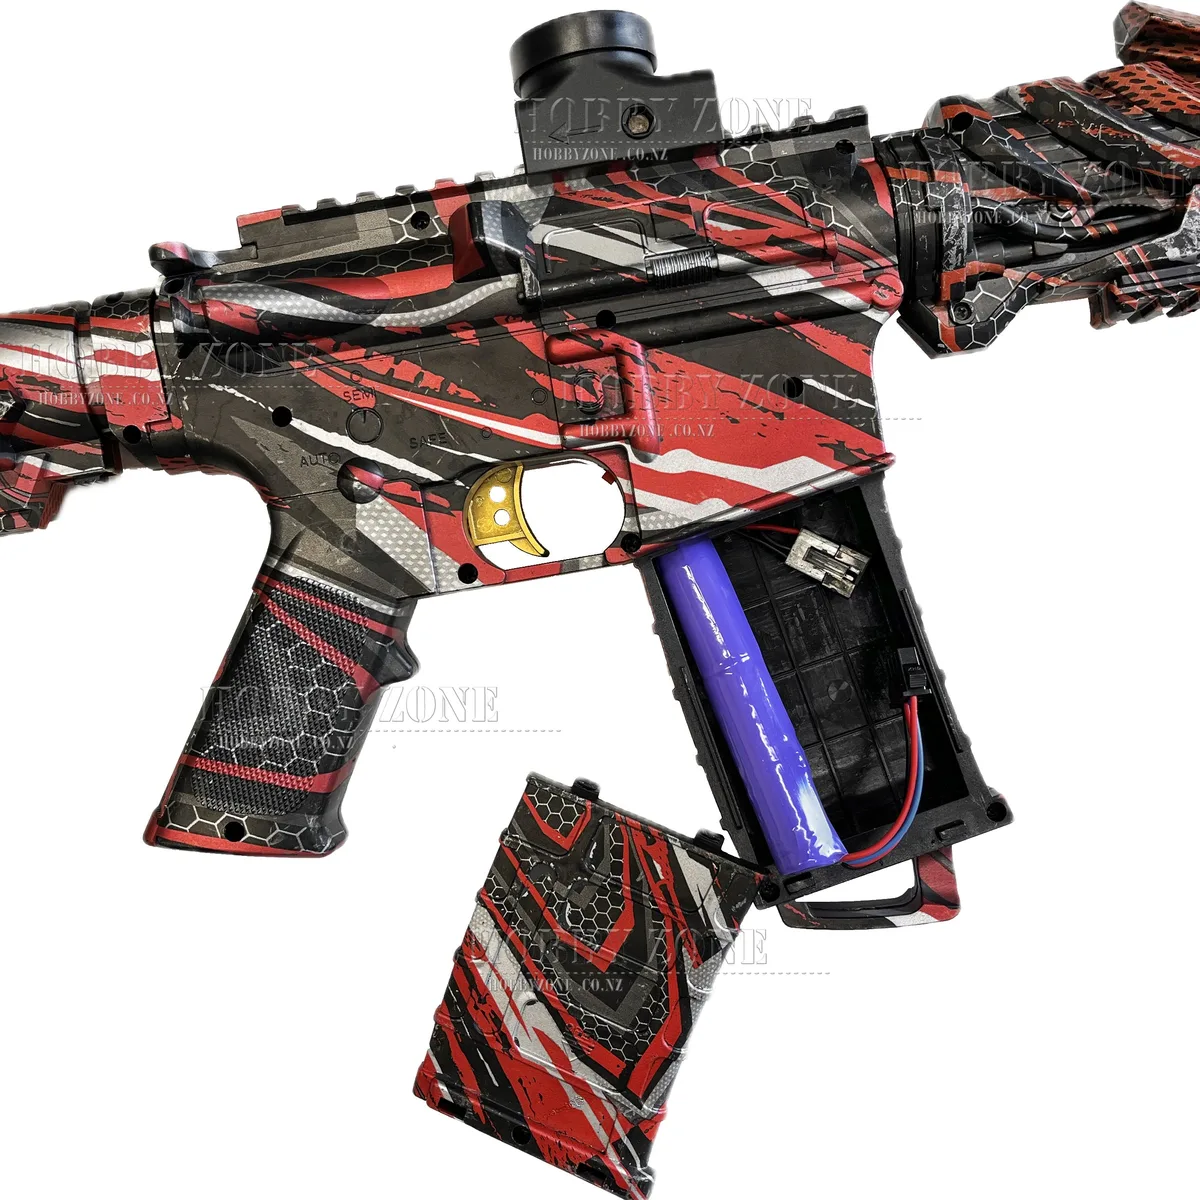
You can’t fix what you can’t see. Start by removing the magazine and battery. Hold the gun steady and look directly down the barrel from the rear.
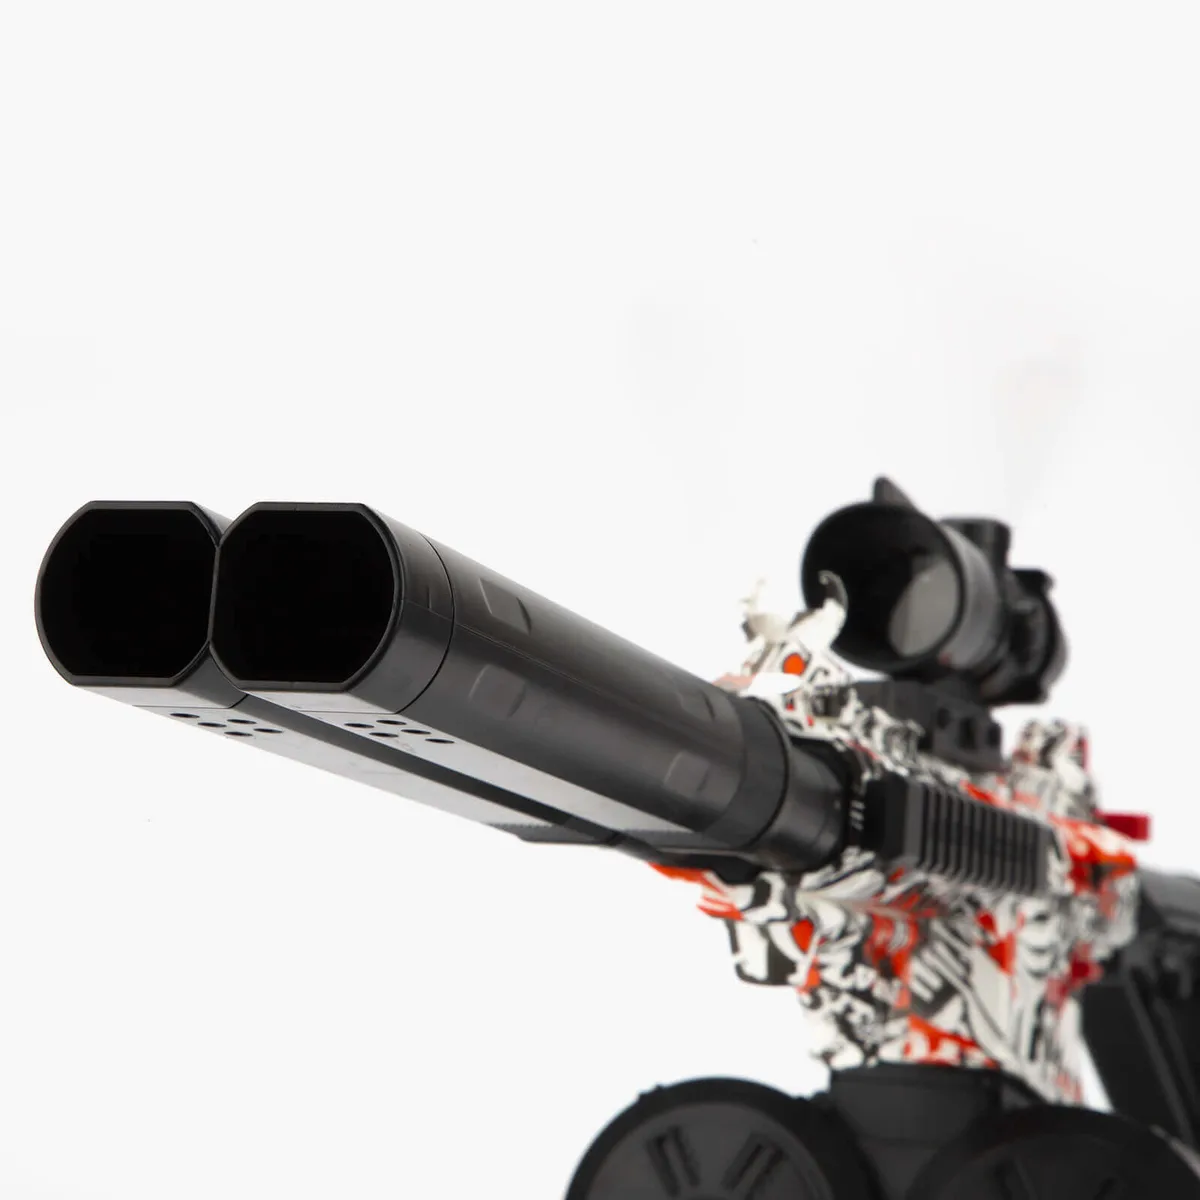
Does the inner tube sit perfectly centered? Or does it lean to one side? A visible tilt confirms misalignment.
Next, grip the outer barrel firmly and try to wiggle it. Compare the movement to the receiver body. Any independent motion here is bad news.
Listen for a clicking sound. That rattle indicates the O-ring seal has shifted or worn out. A compromised seal lets air escape, reducing velocity and causing erratic flight paths.
Check the hopper feed neck specifically. Look for gaps between the plastic housing and the rubber seal. Debris like dried gel residue often builds up here, preventing a snug fit.
Clean this area thoroughly before assuming mechanical failure. Sometimes, the "wobble" is just dirt acting as a spacer. Use a bright flashlight to inspect the interior threads for stripping.
Cross-threaded screws create permanent angular offsets that no amount of tightening will fix.
Step-by-Step Fix: Shimming, Tightening, and Aligning the Feed Neck
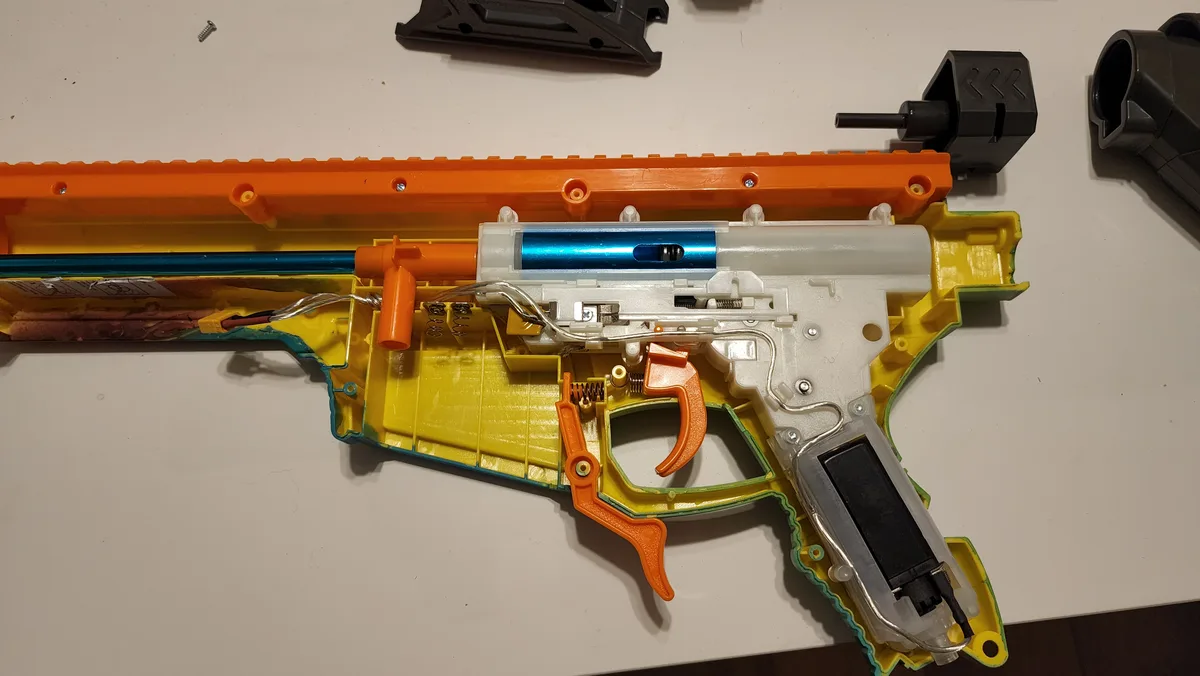
Begin by disassembling the front end. Unscrew the muzzle cap carefully. Note the orientation of any washers or spacers.
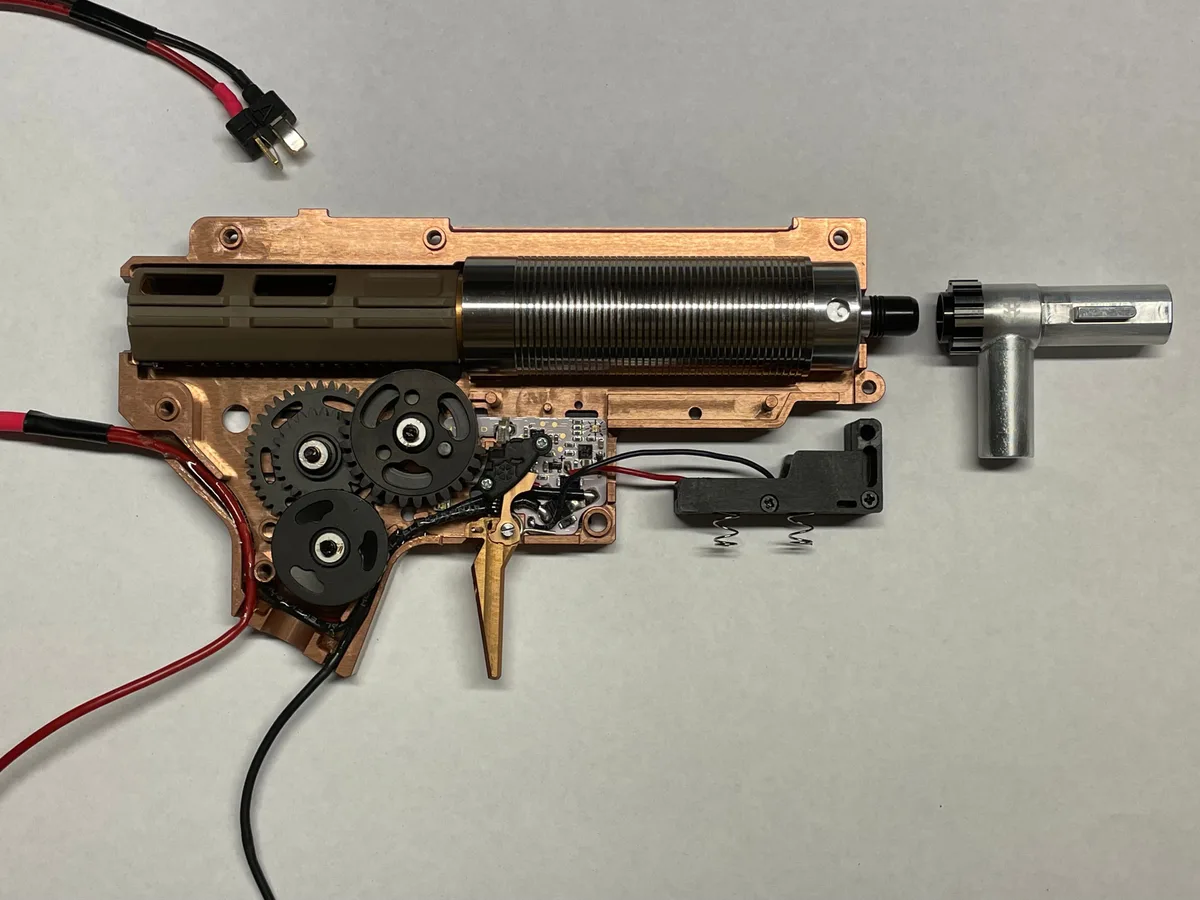
Remove the inner barrel from the housing. Inspect the base where it meets the gearbox or motor unit. This is the critical contact point.
If there’s visible space, you need shims. Thin brass or plastic washers work best. Stack them behind the barrel base until the fit is snug but not forced.
Over-tightening cracks plastic housings. Aim for zero lateral movement while allowing smooth rotation if needed.
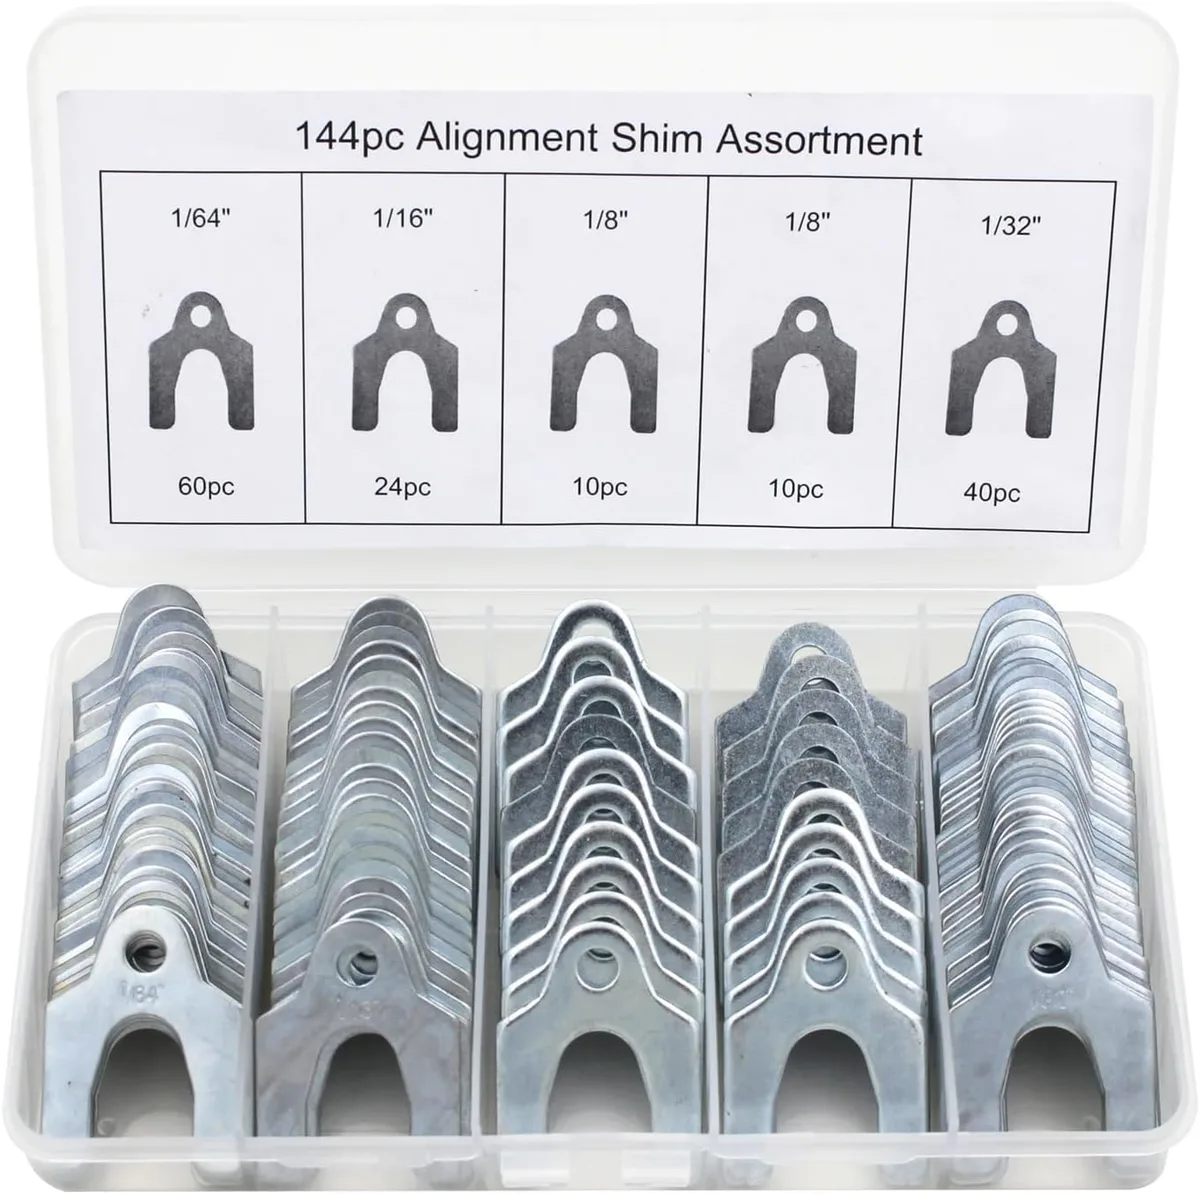
Reassemble the unit. Apply a small amount of silicone grease to the O-ring. This ensures a proper air seal and reduces friction wear.
Screw the muzzle cap back on hand-tight plus a quarter turn. Do not use power tools. They strip threads easily.
Test the alignment again by looking down the bore. The inner tube should appear perfectly circular within the outer housing. Fire a few test shots at a paper target from ten feet away.
Check for consistent grouping. If the spread is still wide, repeat the shimming process with thinner layers. Precision takes patience.
Common Visual Mistakes That Make the Wobble Worse
Many users make things worse by forcing parts together. Don’t hammer the barrel into place. This deforms the plastic lip and creates permanent warping.
Another mistake is using superglue to fill gaps. Glue bonds rigidly. When the barrel heats up or cools down, the stress cracks the housing.
You’ll end up replacing the entire upper assembly.
Ignoring debris is another common error. Gel residue hardens quickly. It acts like cement, holding the barrel off-center.
Always clean the feed ramp before reassembly. Skipping the O-ring inspection leads to air leaks. A leaking seal mimics wobble symptoms because the pellet loses stabilization mid-flight.
You might think the barrel is loose when it’s actually just losing pressure.
Finally, don’t overtighten the set screws on aftermarket kits. These screws dig into soft aluminum or plastic. Stripping the screw head makes future adjustments impossible.
Use the correct hex key size. If a screw feels resistant, stop. Back it out and check for cross-threading.
Rushing repairs usually doubles the workload later. Take your time to ensure every component sits flush and true.
When to Replace vs. Repair: Stock Plastic vs. Aftermarket Aluminum

Image source: Bing (Web (fair-use with source credit))
Sometimes shimming isn’t enough. If the stock plastic barrel is cracked or severely warped, replacement is necessary. However, upgrading to aluminum offers distinct advantages.
Aluminum maintains its shape better under heat and impact. It also provides a heavier front end, which can stabilize aim naturally.
| Feature | Stock Plastic Barrel | Aftermarket Aluminum Barrel |
|---|---|---|
| Durability | Low; prone to cracking | High; resists deformation |
| Weight | Light; may feel unbalanced | Heavier; improves stability |
| Cost | Included with gun | $10–$25 USD additional |
| Fixability | Difficult once warped | Easy to shim/adjust |
For budget-conscious users, repairing the stock barrel is smarter. Most wobbles are fitment issues, not material failures. Only upgrade if you plan to modify internals significantly.
Aluminum barrels require compatible seals. Using standard rubber O-rings with metal can cause faster wear. Check manufacturer specifications for recommended lubricants.
Consider your usage frequency. Casual backyard shooters rarely need aluminum durability. Competitive skirmishers benefit from the consistency metal provides.
Weigh the cost against expected lifespan. A $15 repair kit often lasts longer than a cheap $30 barrel swap. Choose based on how hard you push your gear.
Regular maintenance extends life regardless of material choice.
Maintenance Routine to Prevent Future Barrel Sag
Prevention beats repair every time. After each skirmish session, wipe down the barrel exterior with a dry microfiber cloth. Moisture left on metal components causes corrosion, which loosens threads over months.
Check the O-ring seal for cracks or flattening. A compressed seal loses its springback ability. Replace it if it looks permanently squashed.
This costs pennies but saves your accuracy.
Store your blaster in a cool, dry place. Avoid leaving it in direct sunlight for extended periods. UV radiation degrades plastic housings, making them brittle and prone to warping.
Heat expansion cycles weaken adhesive bonds inside the receiver. If you’re not using the gun for weeks, remove the battery. This prevents potential leakage damage near sensitive electronics.
Keep spare shims in your kit. Having 0.1mm and 0.2mm washers ready means quick fixes in the field. Regular inspection takes five minutes.
It keeps your splatter ball gun barrel wobbles from returning unexpectedly. Consistency is key here. Don’t wait for the problem to become noticeable.
Small adjustments prevent major misalignments later on.
FAQs: Troubleshooting Persistent Alignment Issues
Can I fix a bent inner barrel myself?
No. Metal fatigue makes bent barrels unsafe. Attempting to straighten them often creates weak spots that snap under pressure.
The structural integrity is compromised beyond repair. Replace the entire inner tube immediately. Do not try heat treatments or bending tools.
These methods rarely restore true concentricity. You risk damaging the gearbox further if fragments break off internally. Buy a new replacement part instead.
It’s cheaper than fixing downstream damage. Safety first always.
Why does my barrel wobble only when firing rapidly?
Vibration resonance amplifies minor fitment gaps. At slow rates, friction holds parts steady. Rapid fire shakes loose connections apart temporarily.
This suggests insufficient shim thickness at the base. Add a slightly thicker washer to dampen movement. Tighten the muzzle cap just enough to eliminate play without stripping threads.
Dynamic forces expose static weaknesses. Your initial alignment check might have missed subtle looseness. Re-test after adjusting for high-speed conditions.
Ensure all set screws are secure against vibration.
Does upgrading to aluminum stop wobble permanently?
Not necessarily. Aluminum is stiffer, so it resists bending better than plastic. However, poor assembly still causes wobble.
If the interface tolerances are wide, metal won’t help. You still need precise shimming and tight threading. Aluminum transfers vibration differently too.
It can feel harsher if not damped properly. Focus on fitment quality first. Material choice is secondary to mechanical precision.
Many users swap materials unnecessarily while ignoring basic alignment steps. Fix the root cause before buying upgrades.
How tight should I screw the muzzle cap?
Hand-tight plus a quarter turn is the golden rule. Over-torquing strips plastic threads instantly. Under-torquing allows air leaks and movement.
Use a torque driver if available for consistency. Aim for snugness without force. If you hear cracking sounds, stop immediately.
Inspect for cross-threading. Proper tension ensures the O-ring seals effectively. It also stabilizes the barrel axis.
Check this setting after every cleaning cycle. Wear changes thread engagement over time. Adjust accordingly to maintain zero play.

Similar Posts