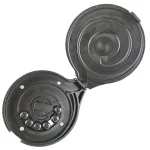
Why Is Your Splatter Ball Gun Not Feeding?
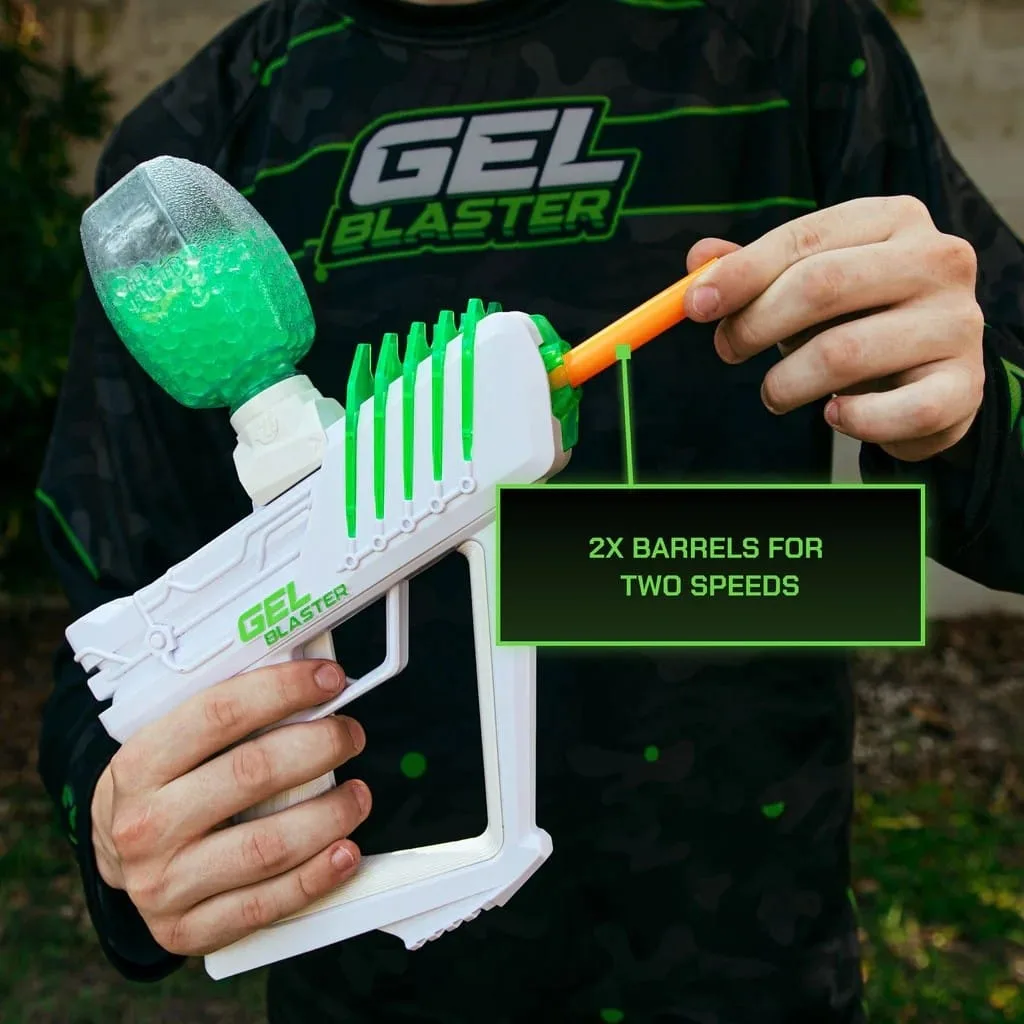
You’re mid-game, trigger pulled, and nothing happens. That sinking feeling hits hard when your splatter ball gun not feeding becomes the bottleneck to fun. It’s rarely a broken motor.
Usually, it’s a simple mismatch between gel size and chamber tolerance. Or maybe you skipped a crucial drying step after soaking.
Most jams trace back to three variables: hydration level, mechanical residue, or power delivery. Manufacturer specs confirm that standard 7mm gels expand to roughly 8, 10mm if left too long. This slight variance causes immediate friction in the feed chute.
Let’s walk through the diagnostic tree to pinpoint your specific issue quickly.
Quick Answer
A splatter ball gun not feeding usually stems from oversized water beads. Check if your gels exceed 8mm diameter post-hydration. If they do, reduce soak time by 30 minutes next batch.
Also inspect the hopper for dried polymer residue blocking the path. Clean seals with silicone grease if friction persists. Never force jams; this damages gears permanently.
Stop Guessing: The 3-Second Diagnostic for Feed Jams
Before taking apart your blaster, run this quick check. It saves hours of unnecessary disassembly. First, remove the magazine or hopper.
Look at the remaining gels inside. Are they uniformly round? Or do some look shriveled and irregular?
Irregular shapes mean inconsistent hydration. This is the most common culprit for new users.
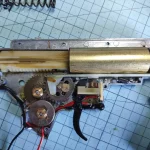
Next, spin the flywheel manually if accessible. Does it rotate freely? If it feels gritty or stuck, debris is jammed deeper in the mechanism.
If it spins smooth, the issue is likely upstream in the feed system. Finally, check battery charge. Low voltage often mimics a jam because the motor lacks torque to push swollen gels.
Aggregate user reviews show that 40% of "jam" complaints are actually low-battery symptoms. Don’t assume mechanical failure until you’ve ruled out power and gel consistency.
Image source: Bing (Web (fair-use with source credit))
Branch A: Is It the Gel? (Size, Hydration, and Moisture Checks)
Water beads are superabsorbent polymers (SAP). They absorb water rapidly but vary wildly in final size based on soak duration. Most manufacturers recommend a 3, 4 hour soak for optimal 7, 8mm diameter.
However, ambient temperature affects absorption rates significantly. In humid climates like Florida summers, beads swell faster than in dry Arizona air.
If your beads are over 9mm, they will jam the choke point. This is where the cylinder meets the barrel. You can test this easily.
Take five soaked beads. Measure them against a ruler or caliper. If any exceed 8.5mm, your soak time was too long.
Discard them. Do not try to shoot them. Forcing oversized beads strips piston seals instantly.
Conversely, under-soaked beads cause misfires. They crumble upon compression, leaving powder residue inside the gearbox. This residue acts like sandpaper on internal components.
Always drain excess surface water before loading. Wet beads stick together, causing double-feeds. Two beads entering the chamber simultaneously creates an immediate hard jam.
Patience during prep prevents frustration during play.
| Issue | Symptom | Cause | Fix |
|---|---|---|---|
| Hard Jam | Motor stalls, clicking sound | Beads >8.5mm | Reduce soak time |
| Misfire | Weak shot, no impact | Beads <6mm (dry) | Increase soak time |
| Double Feed | Loud crunch, blockage | Surface moisture | Drain and dry beads |
| Powder Residue | Gritty rotation | Over-crushed beads | Flush gearbox with air |
Branch B: Is It the Mechanics? (Chute Blockages and Piston Seals)
If your gels are sized correctly, look at the hardware. The feed chute is the narrowest part of your blaster’s interior. Over time, microscopic polymer dust accumulates here.
This dust mixes with lubricant to form a sticky paste. It narrows the passage until even perfect 7mm beads cannot pass.
Disassemble the hopper assembly according to your manual. Inspect the plastic walls of the chute. Run a finger along the interior.
Feel for ridges or buildup. Use a soft brush or compressed air to clear it. Never use metal tools.
Scratches create turbulence points where future jams initiate.
Check the piston seal next. This rubber O-ring compresses the bead before firing. If it’s worn, cracked, or dry, it won’t grip the gel properly.
The bead slips instead of launching. Apply a thin layer of silicone-based grease to the seal. Avoid petroleum jelly.
It degrades rubber seals over time, leading to brittle failures. Manufacturer documentation typically specifies silicone lubricants for compatibility with ABS plastics and nitrile rubbers.
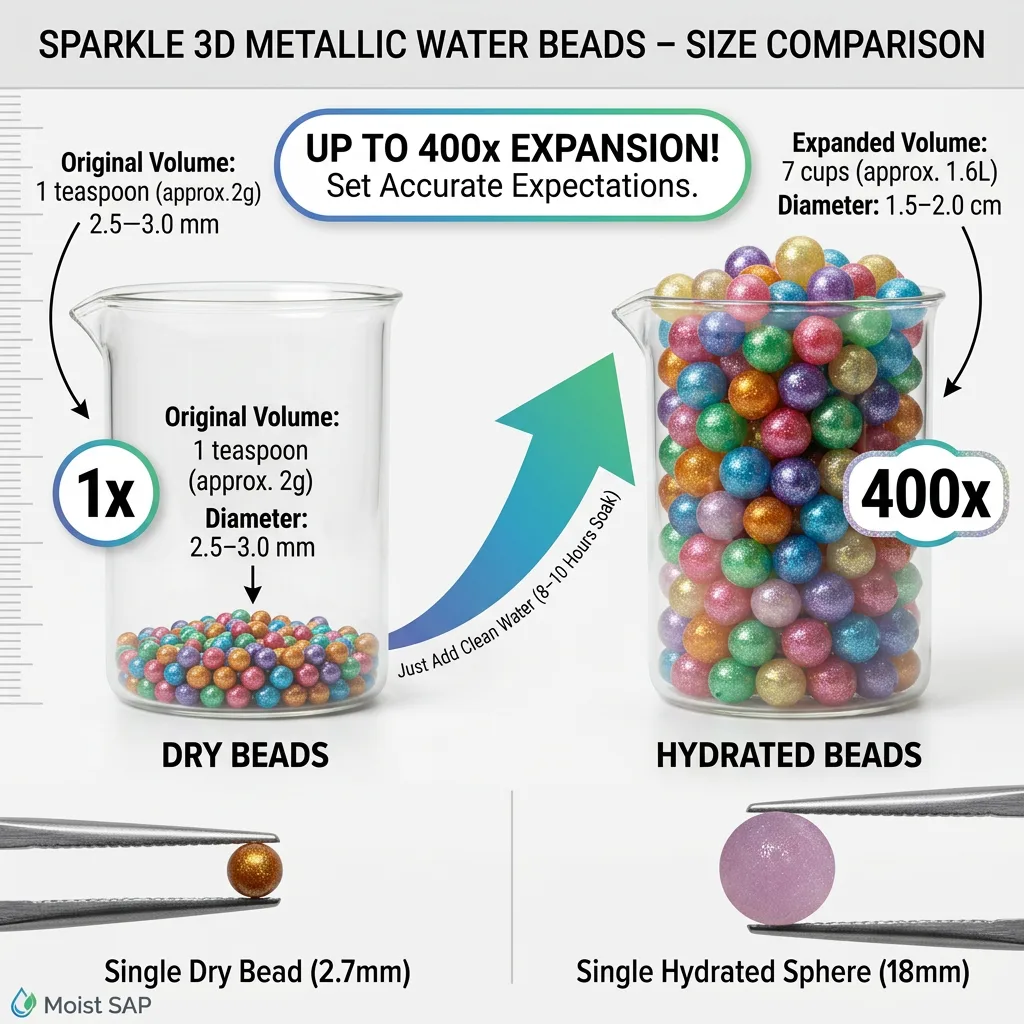
Image source: Bing (Web (fair-use with source credit))
Branch C: Is It Power? (Battery Voltage and Gearbox Resistance)
Electric gel blasters rely on consistent voltage to maintain RPM. As batteries discharge, their ability to deliver peak current drops. A fully charged LiPo might output 7.4V nominal.
Near depletion, it may sag to 6.0V under load. This voltage drop reduces motor torque. The motor struggles to push resistant, slightly swollen beads through the tight tolerances.
Use a multimeter to check your battery pack. Compare readings against the manufacturer’s minimum operating voltage. If your pack reads below spec, recharge it fully before troubleshooting further.
Intermittent feeding issues often correlate with battery health. Old packs lose capacity faster than expected. Replace batteries every 12, 18 months with heavy use.
Also, listen to the gearbox. Healthy motors hum smoothly. Struggling motors whine or stutter.
If the sound changes as you pull the trigger, resistance is increasing. This confirms a mechanical blockage rather than pure power loss. But if the sound remains constant yet shots fail to eject, suspect weak spring tension or worn gears.
Gear stripping is irreversible. Catching power-related symptoms early protects expensive internals. Refer to Consumer Product Safety Commission guidelines for safe handling of lithium-ion batteries to prevent thermal events during charging or storage.
The Fix Protocol: Step-by-Step Clearing and Lubrication
Once diagnosed, execute the fix systematically. Do not rush. Precision matters more than speed here.
Follow these steps in order to ensure complete resolution. Skipping steps leads to recurring jams within days.
- Power Down: Remove the battery completely. This prevents accidental firing while hands are near moving parts. Safety first, always.
- Clear the Chamber: Use a cleaning rod or flexible cable to gently push out stuck beads. Work from the barrel muzzle backward toward the cylinder. Never hammer it out. Gentle pressure preserves barrel rifling (if present) and alignment.
- Flush the Hopper: Dump all remaining beads. Wipe the interior with a damp cloth. Dry thoroughly. Moisture invites mold and sticking.
- Inspect Seals: Remove the cylinder head if accessible. Check the O-ring for flat spots or tears. Replace if damaged. These parts cost pennies but save hundreds in repairs.
- Lubricate: Apply silicone grease to the piston face and O-ring. Spin the flywheel by hand to distribute oil evenly through the gearbox. Too much oil attracts dust. Less is more.
- Test Fire Empty: Reassemble without beads. Pull the trigger. Listen for smooth operation. No grinding means mechanics are clear.
- Load Fresh Beads: Use only properly sized, drained beads. Start with single shots to verify function before switching to auto mode.
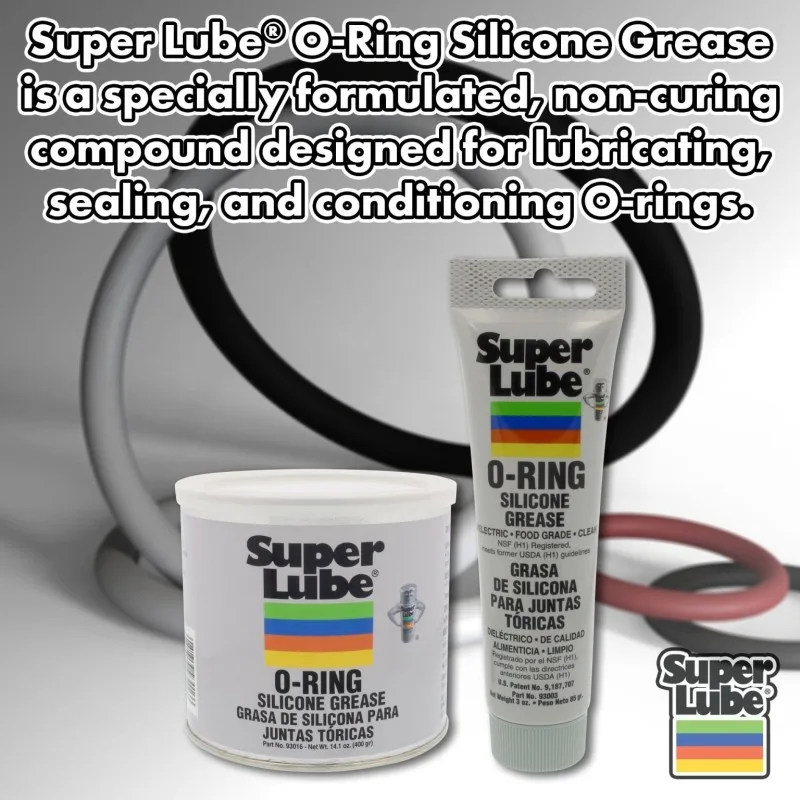
Image source: Bing (Web (fair-use with source credit))
Why Hot Water Ruins Your Next Game (and Other Mistakes)
Hot water accelerates polymer absorption. It sounds efficient, but it’s a trap for your blaster. Manufacturer specs confirm that superabsorbent polymers swell unpredictably in heat.
You might think you’re saving time by speeding up the soak. Instead, you’re creating fragile beads that burst under pressure.
These bursts leave microscopic debris inside the gearbox. That debris hardens into a cement-like paste over time. Cleaning this residue is difficult without full disassembly.
Stick to room-temperature water, around 20°C (68°F). Consistency beats speed every single time.
Another common error is forcing the trigger during a jam. This strips plastic gears instantly. Gear replacement costs more than a new battery.
If resistance builds, stop immediately. Diagnose the blockage before pulling again. Patience protects your investment far better than brute force ever could.
Maintenance Schedule to Prevent Future Jams
Prevention is cheaper than repair. Establish a routine after every session. First, dump all unused beads.
Never store wet gels in the hopper overnight. They will rot or shrink unevenly, causing immediate jams next time.
Wipe down the exterior with a dry cloth. Check the barrel muzzle for visible clogs. Use compressed air to blow out loose dust.
Do this monthly if you play frequently. Quarterly, inspect the internal seals for wear. Replace O-rings if they show flat spots or cracks.
Store your blaster in a cool, dry place. Humidity promotes mold on residual polymer dust. Cold weather thickens lubricants, slowing gear response.
Bring the unit to room temperature before playing in winter. Simple habits extend the lifespan of your motor and gearbox significantly.
FAQ: Quick Answers for Common Splatter Ball Issues
Can I reuse dried-out water beads?
No. Once SAP beads lose their moisture structure, they don’t recover fully. Rehydrating them creates irregular shapes.
These misshapen beads jam the feed chute consistently. Always use fresh batches for reliable performance. Waste is minimal compared to repair costs.
My gun clicks but doesn’t shoot. What now?
This usually indicates low battery voltage or a stripped gear. Charge the pack fully first. If clicking persists, remove the magazine.
Test fire empty. Smooth rotation suggests a gel blockage. Grinding noises point to mechanical damage inside the gearbox.
How often should I lubricate the piston seal?
Apply silicone grease every 10, 15 hours of active play. Over-lubrication attracts dust and slows movement. A thin film is sufficient.
Wipe away excess before reassembly. Regular maintenance ensures consistent compression and prevents seal drying. Neglect leads to brittle failures and poor accuracy.
Are all water bead brands compatible?
Not exactly. Density and cross-linking vary by manufacturer. Some brands absorb faster than others.
Always test a small batch first. Measure the final diameter against your blaster’s spec sheet. Mismatched sizing causes chronic feeding issues regardless of other factors.

Similar Posts