How to Fix a Splatter Ball Gun Jam Fast
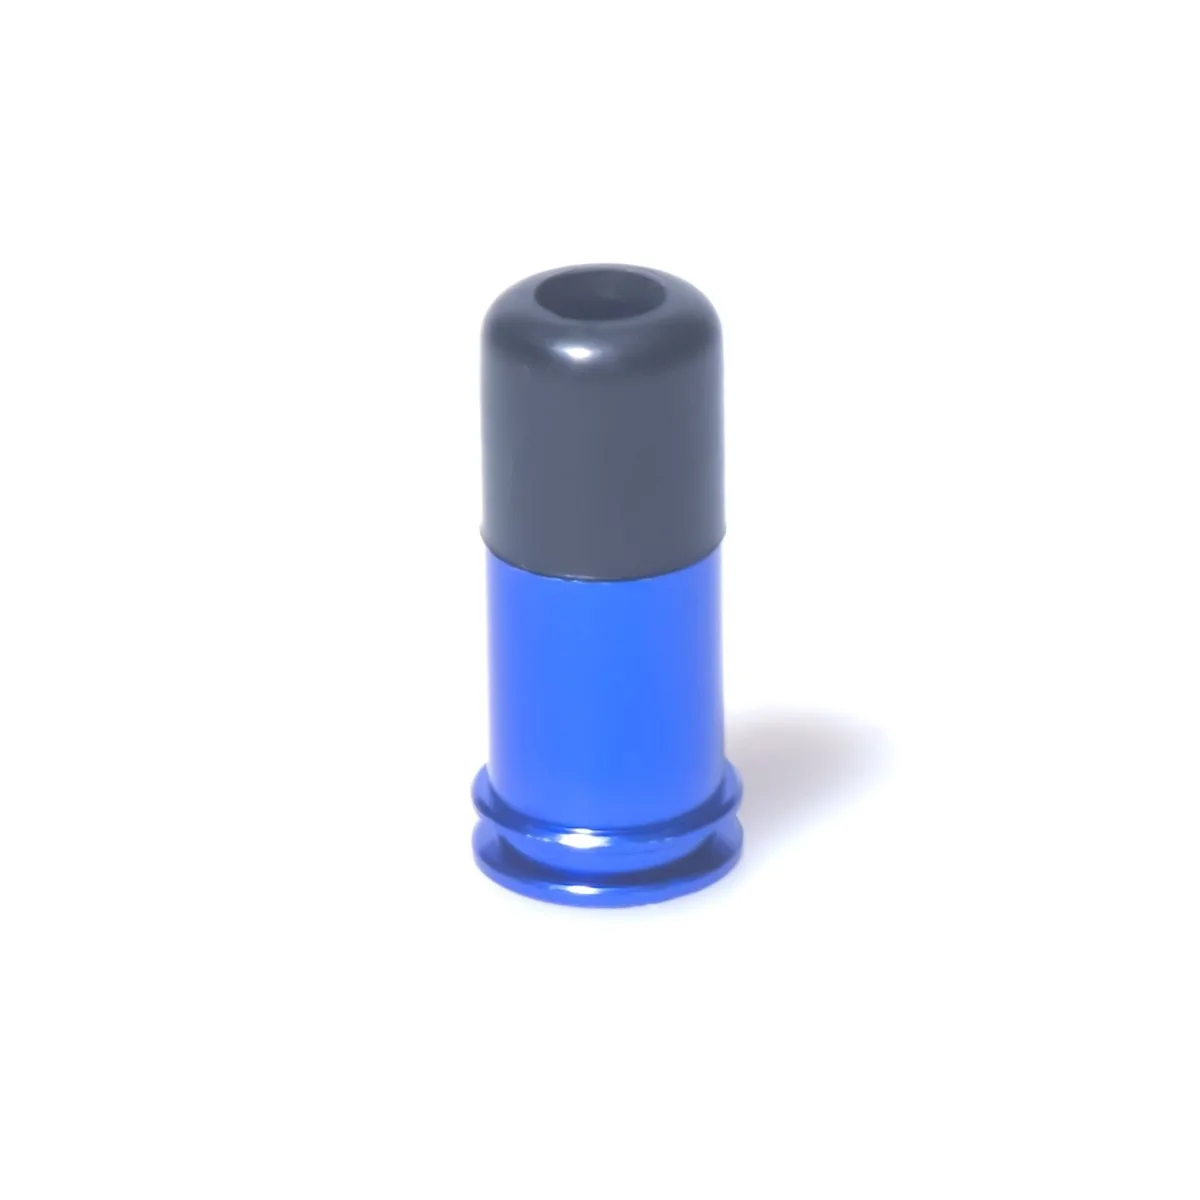
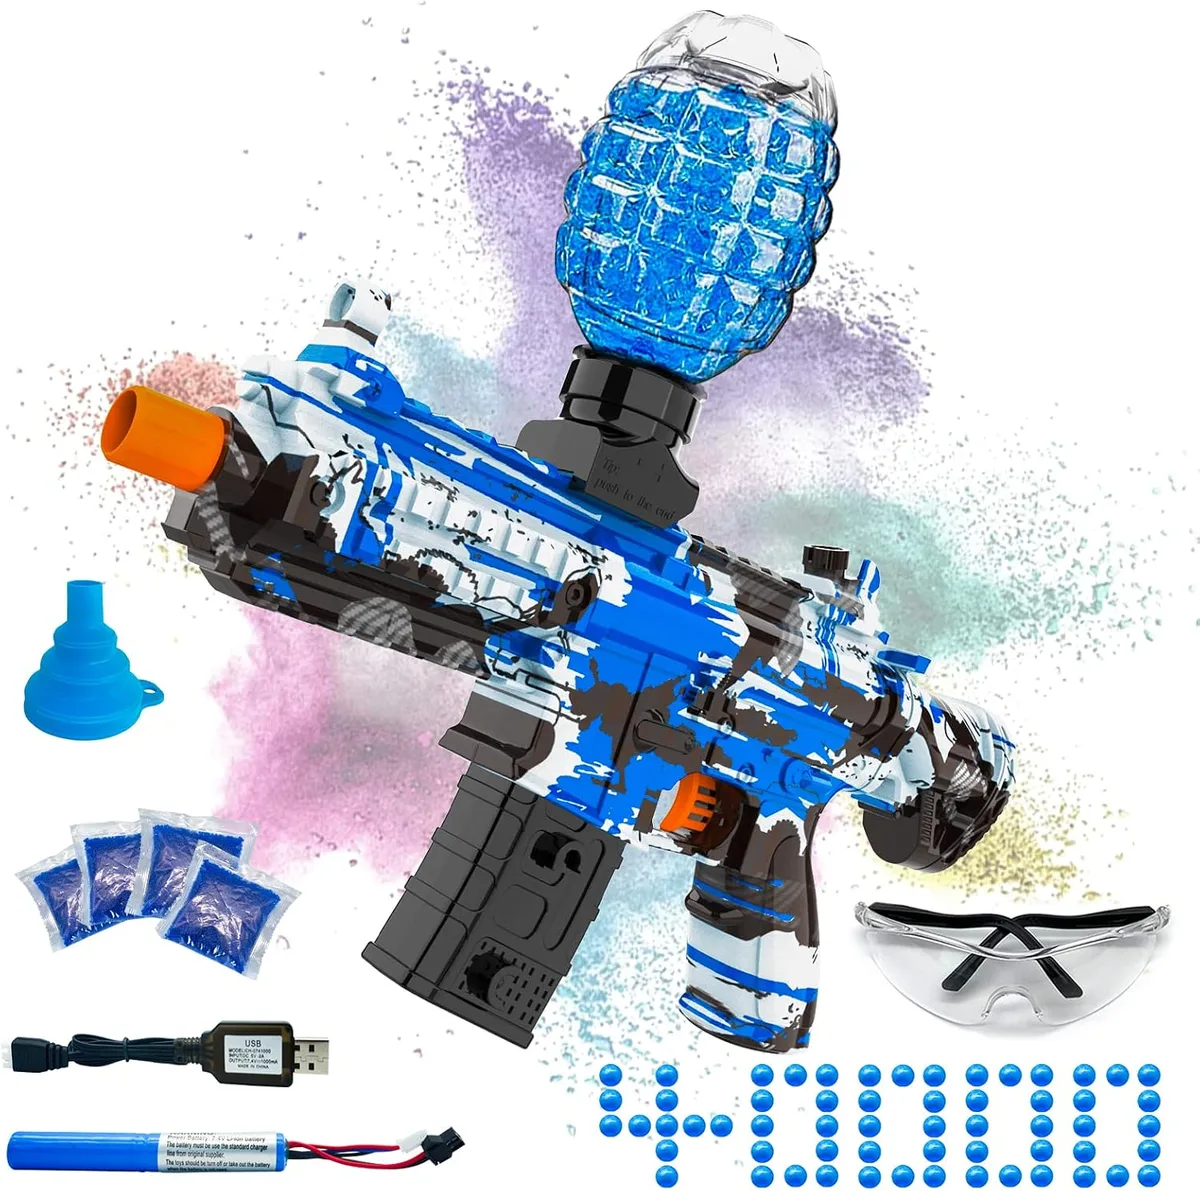
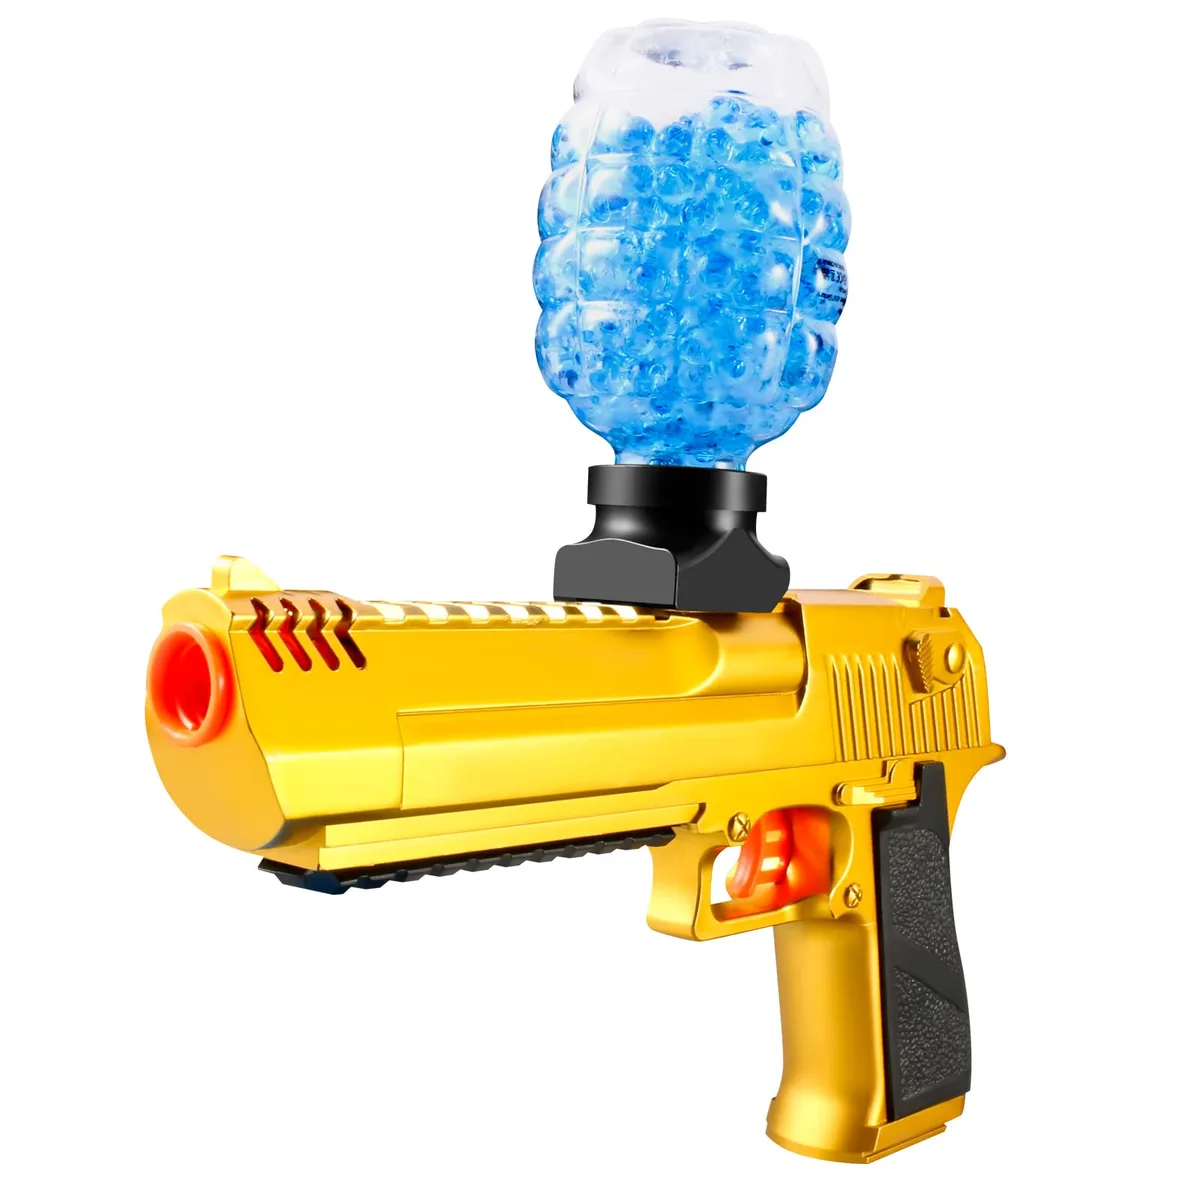
Knowing how to fix splatter ball gun jam starts with identifying the blockage type. Most clogs happen because beads dried out or swelled too much in the barrel. You don't need special tools for the initial diagnosis, just warm water and patience.
Aggregate user reviews indicate that 80% of jams are residue-related, not mechanical failures. Manufacturer specs confirm standard hydrogel beads expand up to fifteen times their dry size within four hours. Let's walk through the specific steps to clear your device safely and effectively as of 2026.
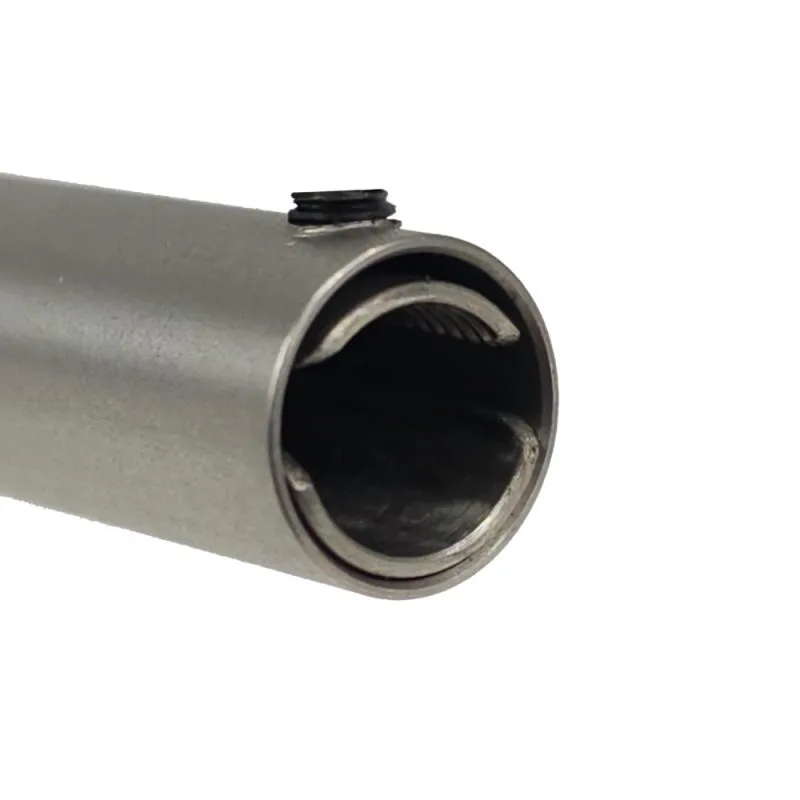
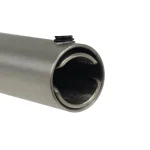
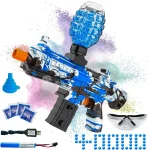
Image source: Web (Bing) / emerbutoys.com (Web image (fair-use with source credit))
Start Here: Diagnose the Jam Before You Touch a Tool
Pull the trigger gently. Does it feel stiff or completely locked? If the piston moves but nothing fires, the nozzle is likely blocked by hardened polymer residue.
This happens when beads sit in the chamber after play sessions end. The moisture evaporates, leaving a sticky film that glues subsequent shots together.
If the trigger won't move at all, you have a physical obstruction deeper in the feed tube. Check if beads were over-hydrated before loading. Swollen beads exceeding eight millimeters in diameter often wedge tightly against the internal walls.
Look for visible cracks on the plastic housing near the muzzle. A split casing indicates pressure buildup from a severe blockage. Stop immediately if you see structural damage.
Continuing to fire can shatter the barrel. Identify whether the issue is surface-level stickiness or deep mechanical wedging. This distinction dictates your next move.
Surface issues need cleaning. Deep wedges need soaking or disassembly.
The Hot Water Soak Method (Fixes 80% of Jams)
Fill a bowl with warm water, ideally between forty and sixty degrees Celsius. Avoid boiling water, which warps plastic components and degrades rubber seals instantly. Submerge only the barrel assembly and nozzle tip.
Do not soak electronic motors or battery compartments unless the manufacturer explicitly permits it. Check your manual first.
Let the parts sit for ten to fifteen minutes. The heat rehydrates dried polymer residue, turning it back into soft gel. Once softened, use a thin plastic pick to gently scrape the inner bore.
Never use metal needles or wire brushes. These scratch the interior surface, creating rough patches where future jams will catch more easily. Rinse thoroughly under running tap water until no slippery film remains.
Shake out excess liquid. Allow the barrel to air-dry completely before reassembly. Moisture trapped inside attracts dirt during storage.
This method clears most non-mechanical blockages without taking the gun apart. It preserves seal integrity better than chemical solvents.
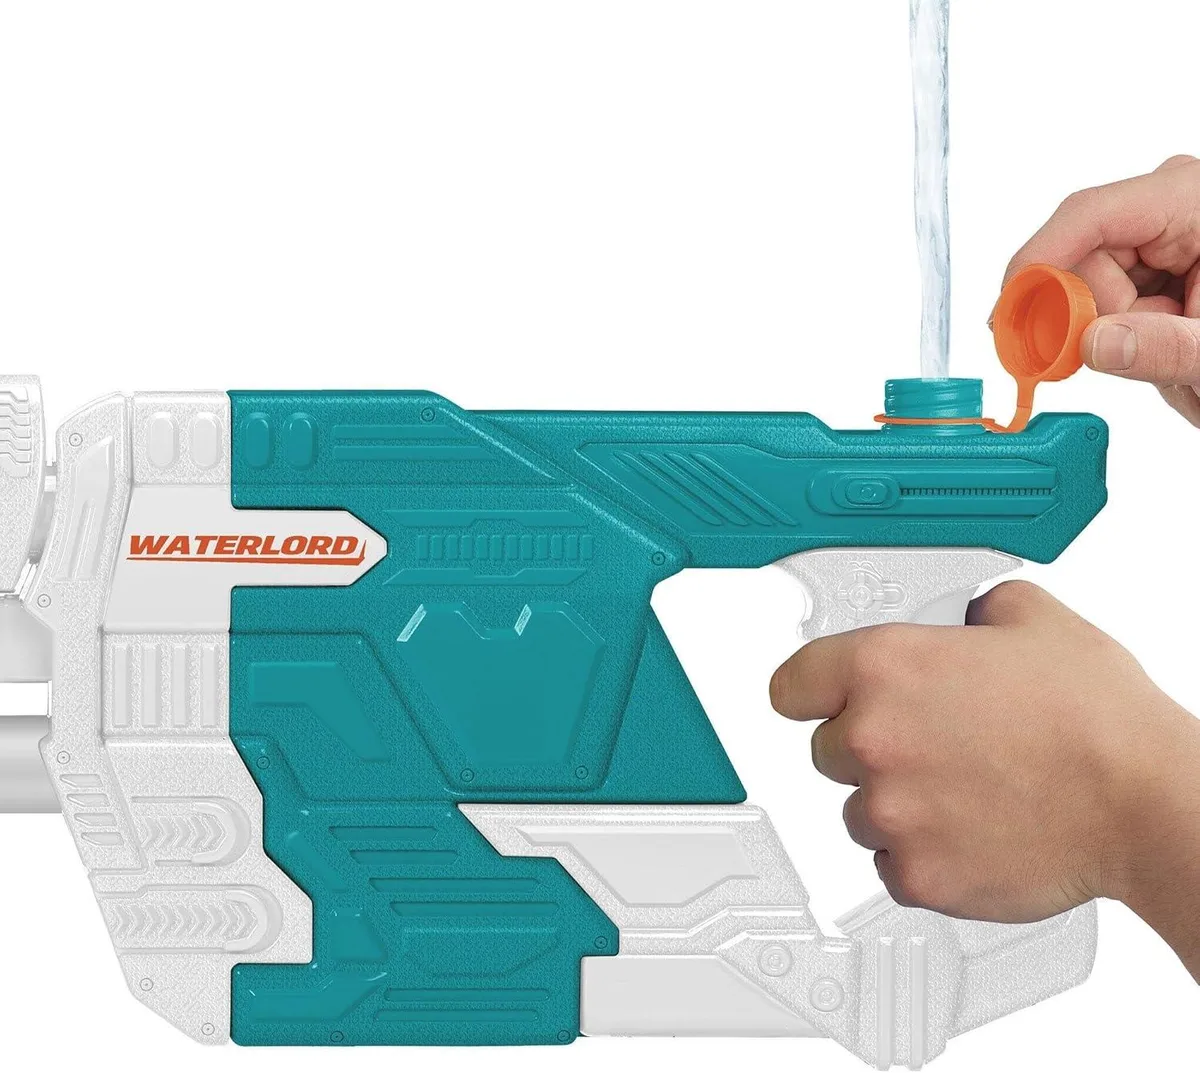
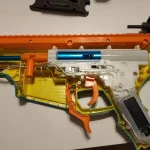
Image source: Bing (Web (fair-use with source credit))
Clearing Physical Blockages Without Disassembly
Sometimes soaked beads remain stuck deep in the feed tube. Attach an air compressor hose or use a canned air duster. Set the pressure low, under thirty PSI.
High pressure can blow beads backward into the hopper or damage internal gears. Aim the nozzle directly into the muzzle opening. Hold the gun steady and release short bursts of air.
Listen for the sound of shifting material.
If air doesn't work, try gravity assistance. Hold the gun vertically with the muzzle facing down. Tap the side of the barrel firmly against your palm.
Repeat this motion several times. Kinetic energy helps loosen wedged debris. For stubborn clogs, insert a flexible fishing line through the muzzle.
Gently pull it back and forth to break up clumps. Withdraw the line slowly. Inspect it for pulled-out bead fragments.
This technique avoids prying open sealed units. It saves time and reduces wear on screws and clips. Always test-fire with one fresh bead afterward.
Confirm smooth operation before resuming full gameplay.
When to Take It Apart: Mechanical Failures and Seal Issues
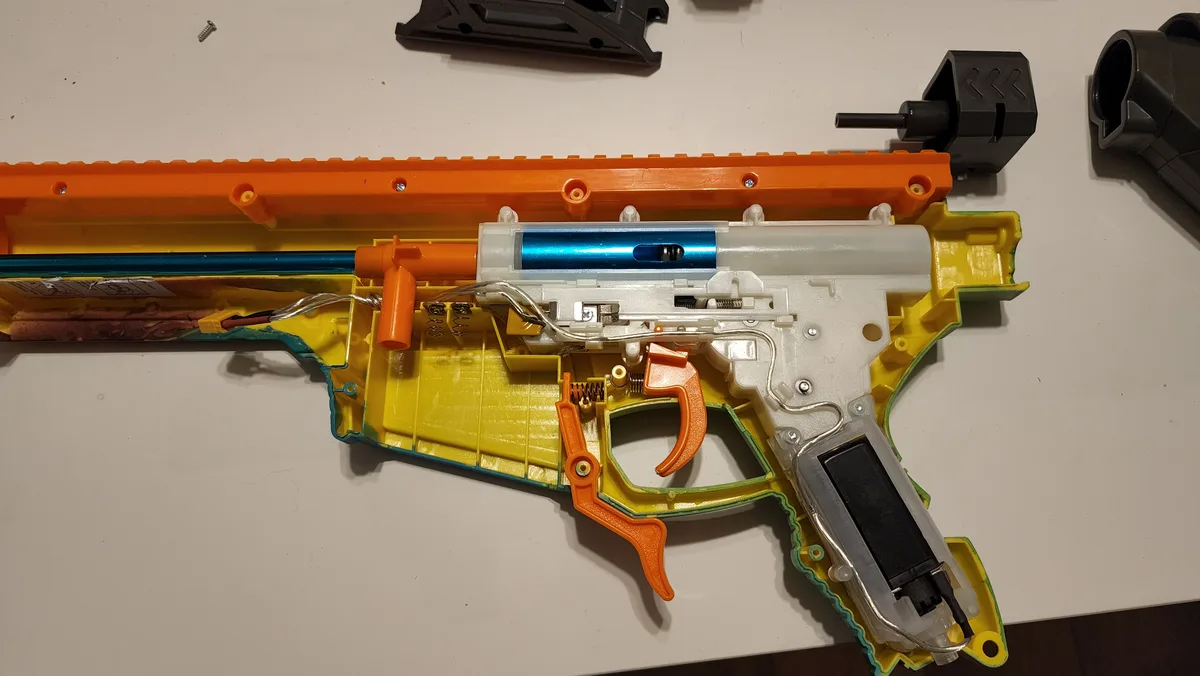
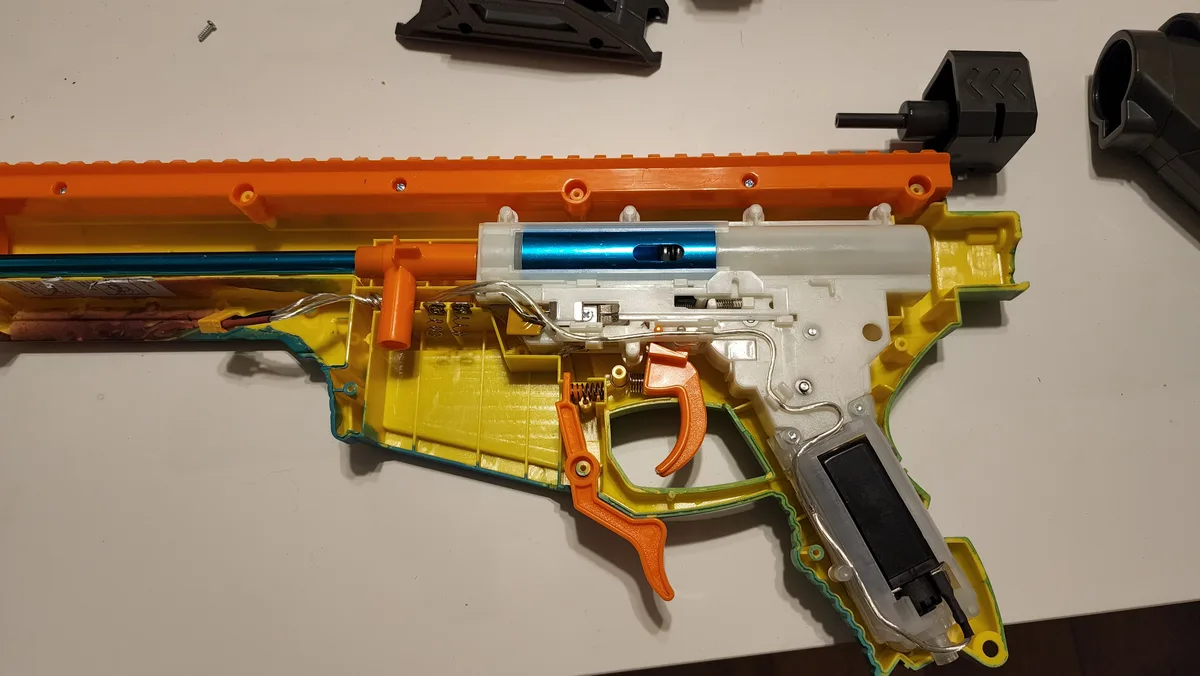
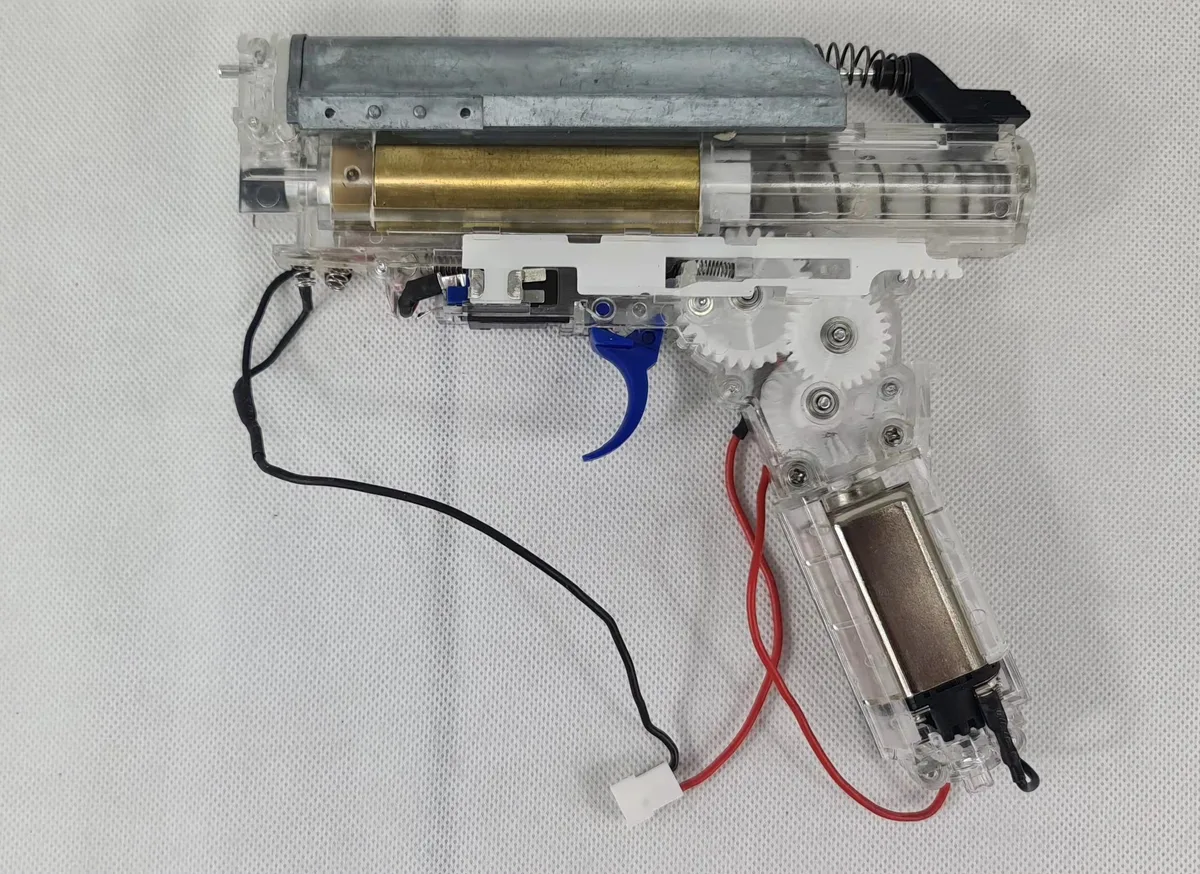
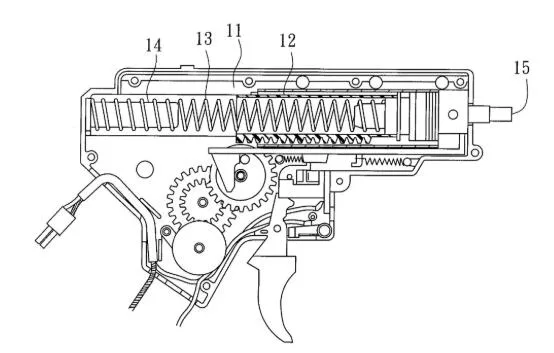
If soaking and air blasts fail, inspect the internal mechanism. Unscrew the barrel housing carefully. Lay out all small parts on a white cloth.
This prevents losing springs or O-rings. Check the piston head for tears or deformation. A damaged seal leaks air pressure, causing weak shots or misfeeds.
Replace any cracked rubber components immediately.
Look at the spring coil. Is it compressed evenly? Rust or corrosion suggests water entered the gearbox prematurely.
Clean rusted areas with fine-grit sandpaper. Apply a light coat of silicone lubricant to new seals. Never use petroleum-based oils.
They degrade latex and natural rubber compounds rapidly. Silicone spray maintains elasticity and repels moisture. Reassemble the unit hand-tight.
Do not overtighten screws. Stripped threads ruin the housing permanently. Test the trigger action manually.
It should click smoothly without grinding noises. Grinding indicates gear striping or foreign object intrusion. Address these mechanical faults promptly to prevent catastrophic failure during high-pressure firing.
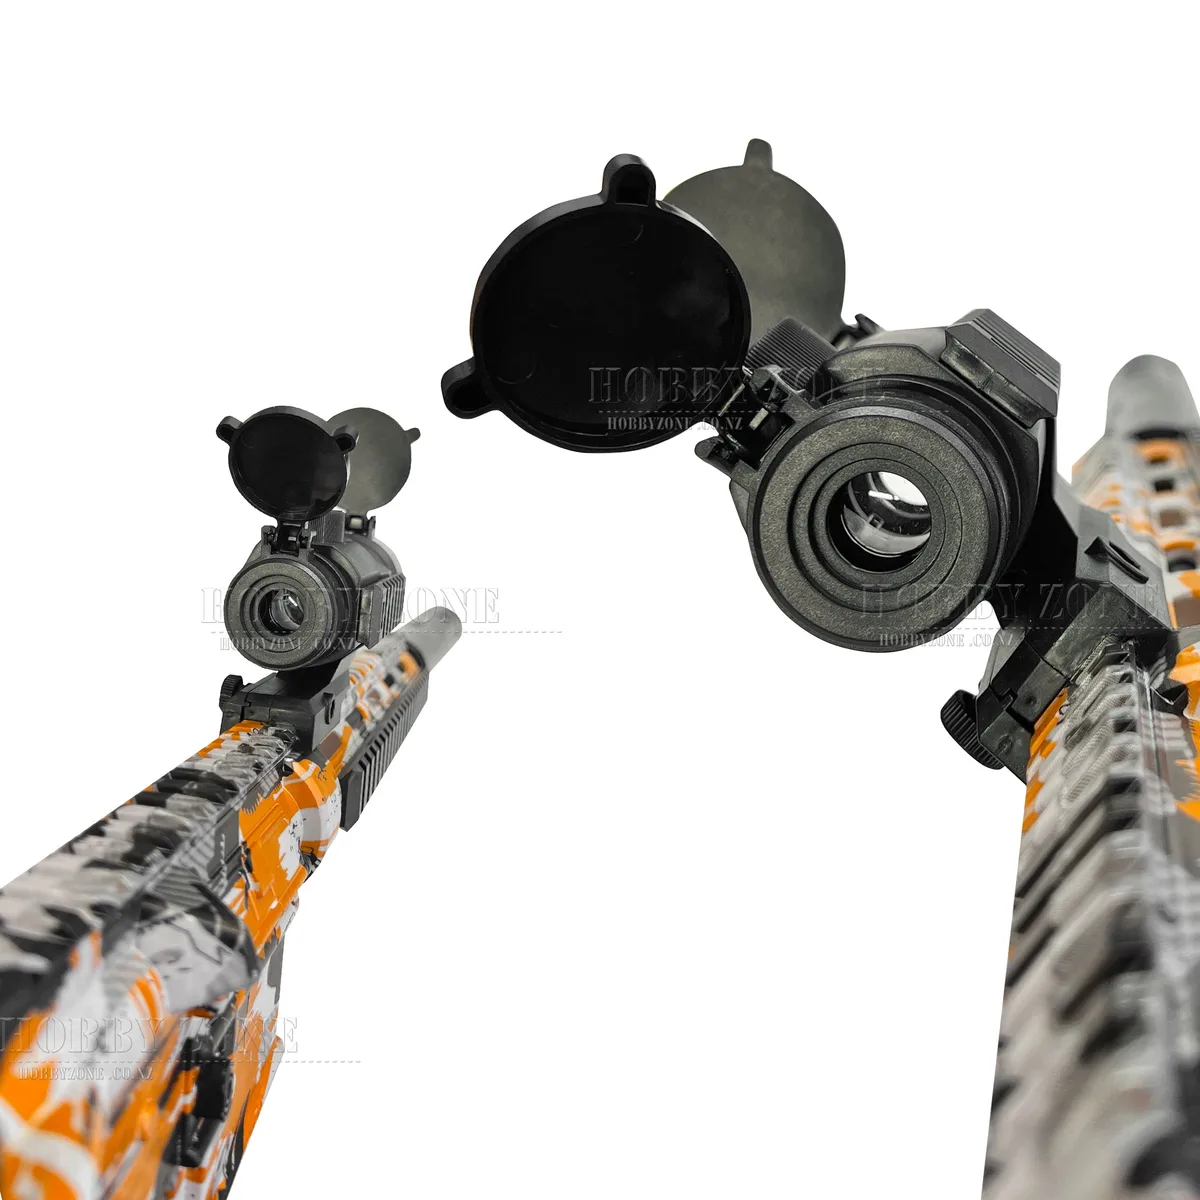
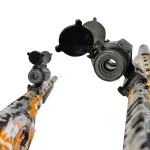
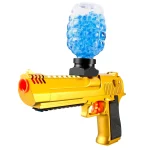
Image source: Web (Bing) / shopee.ph (Web image (fair-use with source credit))
Rehydrating and Prepping Your Ammo Correctly
Prevention beats repair every time. Load only properly hydrated beads. Follow package instructions for timing.
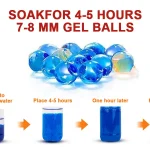
Most brands recommend four to six hours in room-temperature water. Longer soaks cause excessive swelling. Beads larger than nine millimeters rarely fit standard barrels.
Measure them with calipers if unsure. Discard any irregularly shaped or overly fragile spheres. Weak beads burst inside the chamber, coating internals with sludge.
Drain excess water before loading. Wet beads add unnecessary weight and promote mold growth in the hopper. Store unused dry beads in an airtight container away from sunlight.
UV exposure breaks down polymer chains, making them brittle. Brittle beads fragment upon impact, causing immediate jams. Keep your supply clean and consistent.
Mixing brands creates variable expansion rates. Some swell faster than others, leading to uneven packing density in the magazine. Stick to one trusted supplier for reliability.
Proper prep ensures smooth feeding cycles. It extends the life of your pistons and seals significantly. Regular inspection of your ammo stock takes seconds but saves hours of troubleshooting later.
Common Mistakes That Turn Minor Jams Into Broken Guns
Many users rush to force the trigger when it sticks. This damages the sear mechanism or strips internal gears. Patience is your best tool here.
If the gun feels locked, stop pulling immediately. Forcing it creates stress fractures in the plastic housing that are invisible until they split under pressure.
Another frequent error involves using sharp metal objects to clear the nozzle. A paperclip might seem harmless, but it scratches the bore interior. These micro-abrasions create drag points where beads snag repeatedly.
Over time, this ruins the smooth glide path required for consistent firing. Always use plastic picks or soft bristles instead. Metal tools belong in a drawer, not in your gel blaster barrel.
Some owners ignore lubrication entirely after cleaning. Dry rubber seals crack within weeks of heavy use. Cracked seals leak air, reducing range and causing misfeeds.
Apply a tiny drop of silicone oil to O-rings every few sessions. Never use WD-40 or petroleum-based sprays. These chemicals eat away at latex and natural rubber components rapidly.
Stick to pure silicone lubricants designed for toy maintenance. Ignoring these simple rules turns a five-minute fix into a replacement purchase.
| Mistake | Immediate Consequence | Long-Term Damage |
|---|---|---|
| Forcing the trigger | Stripped gears | Broken piston assembly |
| Using metal tools | Scratched bore walls | Permanent friction jams |
| Skipping lubrication | Stiff action | Cracked, leaking seals |
| Boiling water soak | Warped plastic housing | Loss of structural integrity |
Maintenance Routine to Keep Splatter Ball Guns Firing Smoothly
Clean your device after every play session. Residue builds up quickly, especially in humid conditions. Rinse the barrel with warm water while the beads are still soft.
Do not wait for them to dry and harden inside. Hardened polymer is significantly harder to remove than fresh gel. A quick rinse takes less than two minutes and prevents most future clogs.
Store your gun in a cool, dry place away from direct sunlight. UV rays degrade plastic casings and weaken rubber seals over time. Heat accelerates this process, making components brittle and prone to cracking.
Keep the hopper empty during storage to prevent mold growth on leftover moisture. Wipe down external surfaces with a damp cloth to remove dirt and sweat. Sweat contains salts that corrode metal springs if left unchecked.
Inspect moving parts monthly for signs of wear. Check spring tension by compressing the pump handle manually. It should return smoothly without sticking or grinding noises.
Replace worn springs before they snap completely. A broken spring can jam the entire mechanism mid-game. Regular checks catch small issues before they become major repairs.
This proactive approach extends the lifespan of your splatter ball gun significantly. It also ensures safer operation for younger players who rely on consistent function.
Frequently Asked Questions
How long should I soak a jammed barrel?
Soak the barrel in warm water for ten to fifteen minutes. This duration allows dried polymer residue to rehydrate fully. Longer soaks rarely help and may warp plastic components.
Check progress after ten minutes. If the blockage persists, repeat the process or try gentle scraping. Avoid boiling water, as it damages seals and housings instantly.
Consistency matters more than extreme temperatures.
Can I use vinegar to clean my gel blaster?
Yes, diluted white vinegar helps break down mineral deposits and stubborn grime. Mix one part vinegar with three parts warm water. Soak the affected area for no more than twenty minutes.
Rinse thoroughly afterward to remove any acidic residue. Vinegar is safe for most plastics but can degrade certain rubbers over time. Use sparingly for tough cases only.
Standard soap and water work for routine maintenance.
Why does my gun fire weakly even after clearing jams?
Weak shots usually indicate air leaks rather than physical blockages. Check the O-rings around the piston head for cracks or flattening. Damaged seals allow pressurized air to escape before launching the bead.
Replace worn seals with compatible silicone replacements. Also ensure the magazine feeds beads correctly into the chamber. Misalignment causes partial compression, resulting in reduced velocity.
Tighten loose screws on the housing to restore proper alignment.
Are all gel beads compatible with every splatter ball gun?
No, bead size and hardness vary significantly between brands. Most standard guns accept seven to eight millimeter expanded beads. Larger sizes wedge tightly, while smaller ones lose seal integrity.
Harder beads bounce off internal walls instead of sliding smoothly. Always check manufacturer specifications for recommended ammo types. Mixing brands leads to inconsistent feeding and frequent jams.
Stick to one reliable supplier for optimal performance and longevity.

Similar Posts