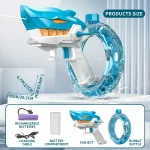
How to Replace Your Splatter Ball Gun Battery
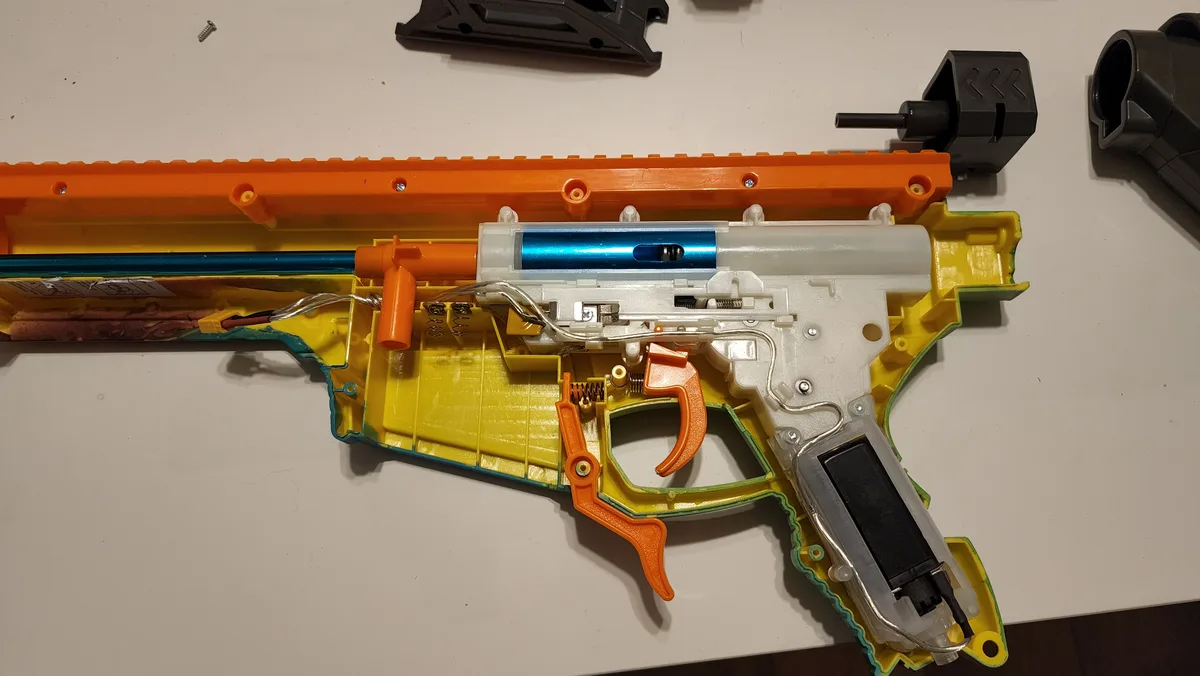
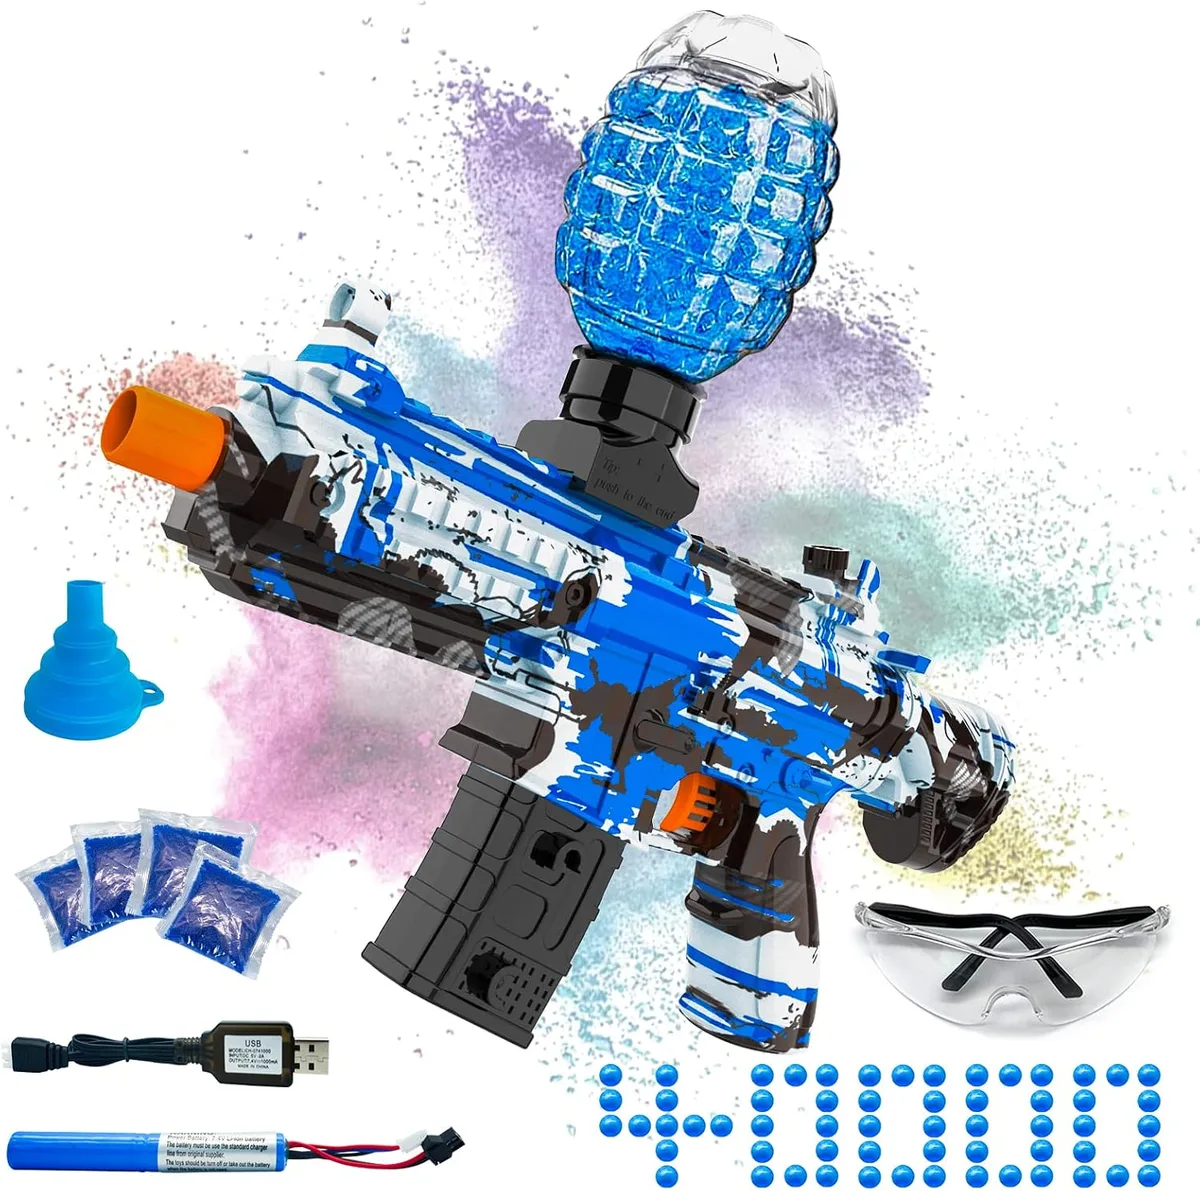
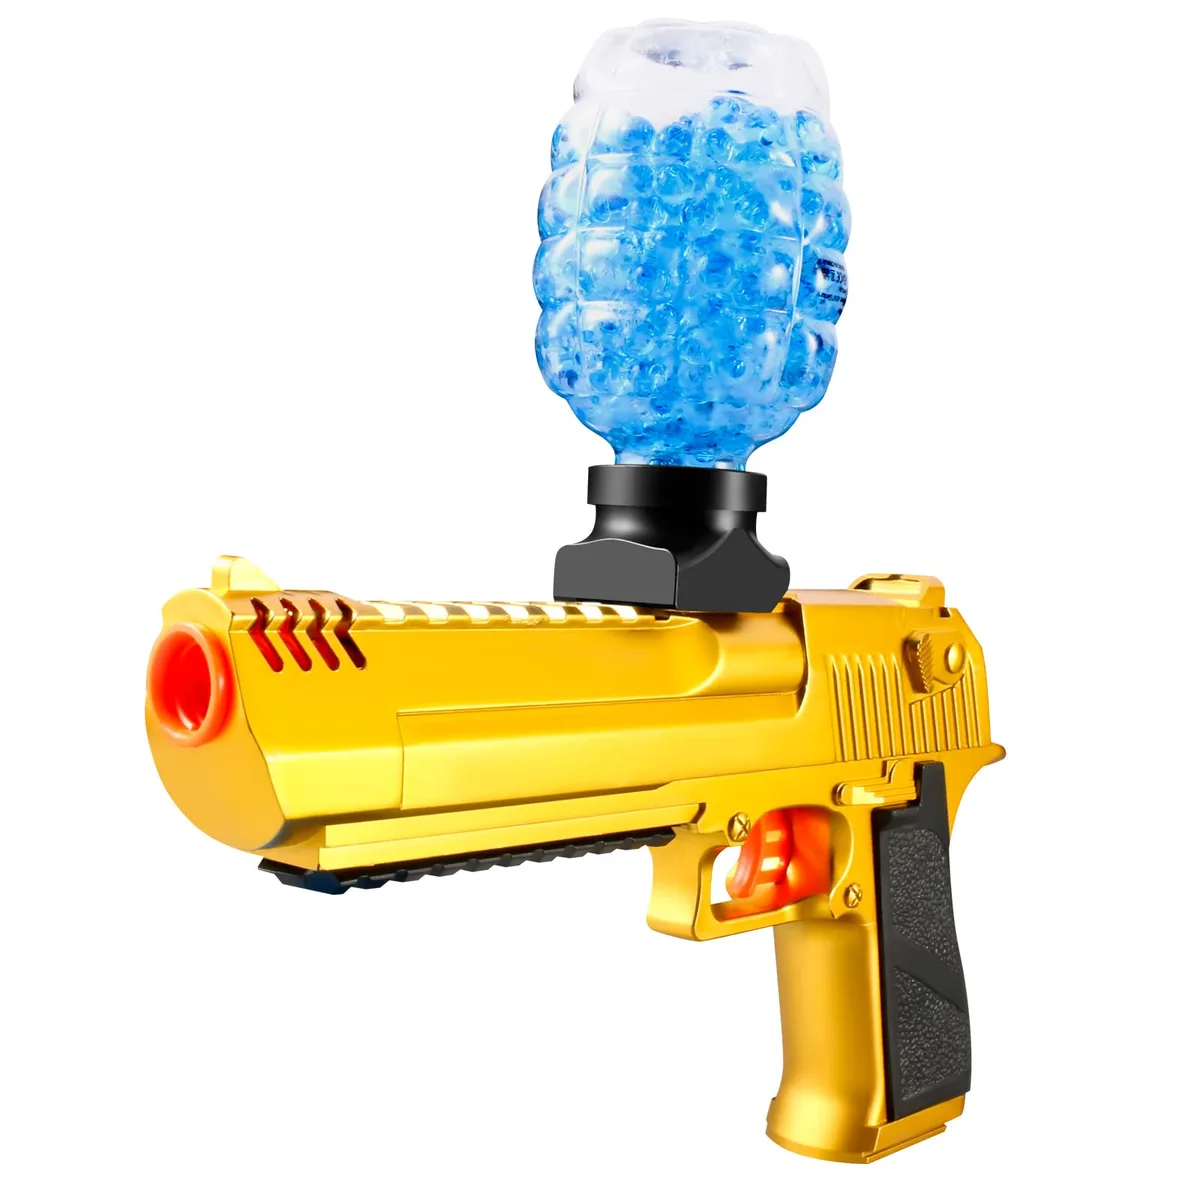
Most splatter ball guns die because the lithium-ion cells degrade, not because the motor fails. This splatter ball gun battery replacement guide walks you through swapping those packs safely. You’ll need to identify your specific model first, since internal layouts vary wildly.
Don’t force open casings without checking for hidden fasteners.
We’ve seen too many users strip plastic threads by guessing at screw locations. Manufacturer specs indicate that most toys use 7.4V or 11.1V LiPo packs with SM connectors. Getting the voltage right prevents frying the speed controller.
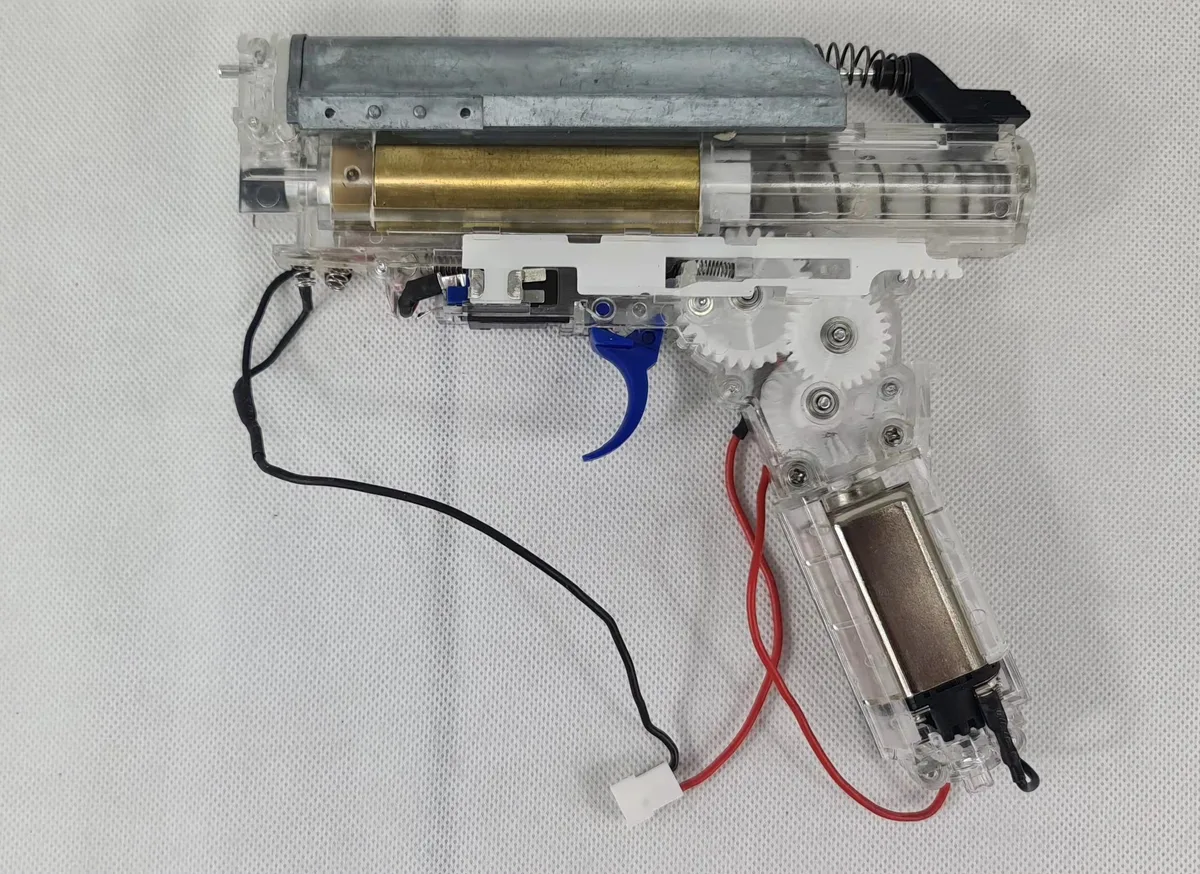
Let’s look closely at what’s inside your blaster before grabbing a tool.
Why You Need Eyes On The Gun Before Touching A Screwdriver
You might think unplugging old batteries and plugging in new ones is straightforward. It isn’t. Most toy-grade electronics rely on fragile plastic housings that crack under minimal pressure.
Visual inspection saves you from destroying a $50 blaster over a $10 battery swap.
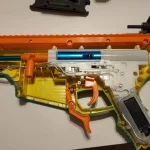
Start by examining the exterior seams. Look for discoloration or stress marks near the grip or trigger assembly. These spots often hide snap-fit clips rather than screws.
If you try to pry them apart blindly, you’ll likely shatter the casing.
Check the label area carefully. Manufacturers frequently place small Phillips-head screws under warranty stickers or rubber grips. Peeling back these covers reveals access points you’d otherwise miss.
Ignoring this step leads to unnecessary drilling or breaking.
Also, inspect the charging port. Some models charge via USB directly into the board, while others use external barrel jacks. Knowing which system you have dictates whether you’re replacing just the cell pack or the entire wiring harness.
Finally, assess the condition of existing wires. Frayed insulation or burnt contacts signal deeper electrical issues. Replacing batteries won’t fix a shorted circuit.
Take ten minutes to look before you act. Your patience pays off in preserved hardware.
Image source: Web (Bing) / blasterhub.com (Web image (fair-use with source credit))
Identifying Your Specific Splatter Ball Gun Model and Battery Type
Not all splatter ball guns share the same power requirements. Using the wrong voltage can permanently damage the electronic speed controller (ESC). We need to match the new pack exactly to the original specifications.
First, locate the model number printed on the chassis or packaging. Common platforms include Gel Blasters brands like Umarex, Jing Gong, or generic OEM imports. Each uses different bay sizes and connector types.
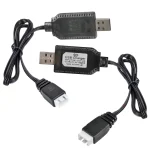
Next, determine the battery chemistry and configuration. Most modern units use Lithium Polymer (LiPo) packs. They come in two primary voltages:
- 7.4V: Two-cell series (2S), typically rated around 1500mAh to 3000mAh.
- 11.1V: Three-cell series (3S), offering higher velocity but increased heat generation.
Check the discharge rating (C-rate). Standard toys usually require 20C to 30C continuous discharge. High-performance builds may need 45C+.
Underrating the C-spec causes sagging performance during rapid fire.
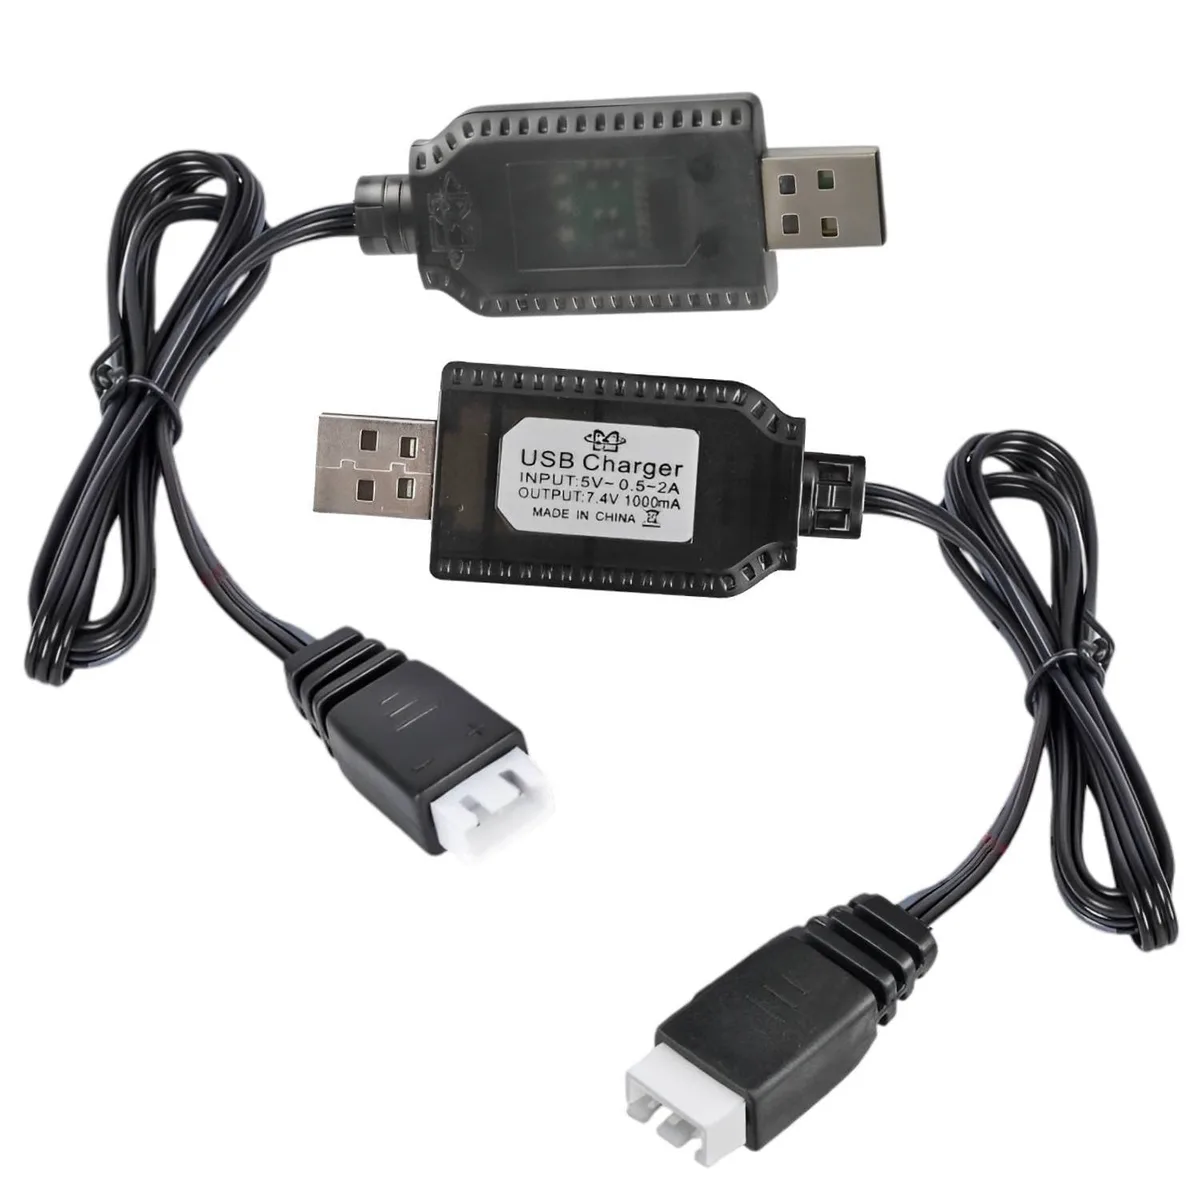
Connector type is critical. The industry standard is the JST-SM 2-pin connector. However, some older or budget models use Tamiya plugs or bare solder tabs.
Mismatched connectors require adapters or rewiring, adding complexity and resistance.
| Feature | 7.4V (2S) Pack | 11.1V (3S) Pack |
|---|---|---|
| Typical Capacity | 1500–3000 mAh | 1300–2600 mAh |
| Connector | JST-SM 2-Pin | JST-SM 2-Pin |
| Heat Output | Low to Moderate | Moderate to High |
| Best For | Entry-level play | Competitive/high-velocity |
Verify polarity before purchasing. Red wire is always positive; black is negative. Swapping these fries the ESC instantly.
Always double-check against the old battery’s labeling if visible.
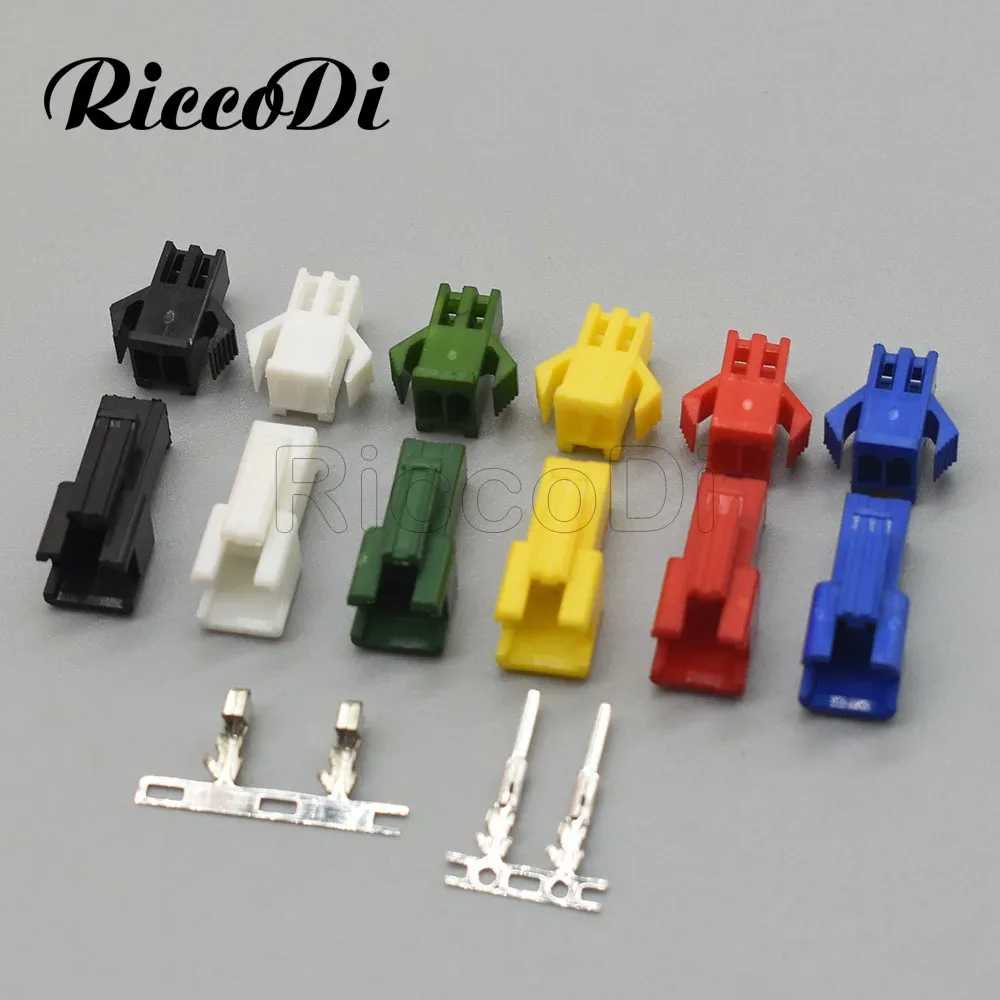
Image source: Web (Bing) / aliexpress.com (Web image (fair-use with source credit))
Visual Inspection: Locating Hidden Screws and Snap-Fit Panels
Opening the case is where most beginners fail. Toy manufacturers prioritize aesthetics over serviceability, hiding fasteners cleverly. You must find every single attachment point before applying leverage.
Begin with the obvious screws along the bottom rail or magazine well. Remove these first using a precision #0 or #1 Phillips driver. Strip-proof bits help prevent cam-out on soft steel screws.
Now hunt for hidden fasteners. Check under the rubberized grip tape. Many brands embed screws beneath adhesive pads to maintain clean lines.
Peel back gently; reuse the tape if possible, or replace with double-sided foam later.
Look for plastic rivets or snap-fits. These appear as circular bumps on the interior shell walls. Unlike screws, they don’t unscrew.
They pop out when pushed from the inside. Use a non-marring plastic spudger to release tension gradually.
Inspect the trigger guard area. Some designs split here, requiring careful separation. Do not twist the halves independently.
Align them perfectly before forcing any gap. Misalignment cracks thin ABS plastic easily.
Take photos at each stage. Documenting screw positions helps during reassembly. A misplaced long screw can pierce the battery compartment internally.
Keep parts organized in labeled containers or magnetic trays.
If the shell resists opening, stop. Re-evaluate your search for missed screws. Forcing it guarantees damage.
Patience beats brute strength every time in DIY repairs.

Image source: Web (Bing) / lazada.com.my (Web image (fair-use with source credit))
Step-by-Step Disassembly: Handling Fragile Connectors and Wiring
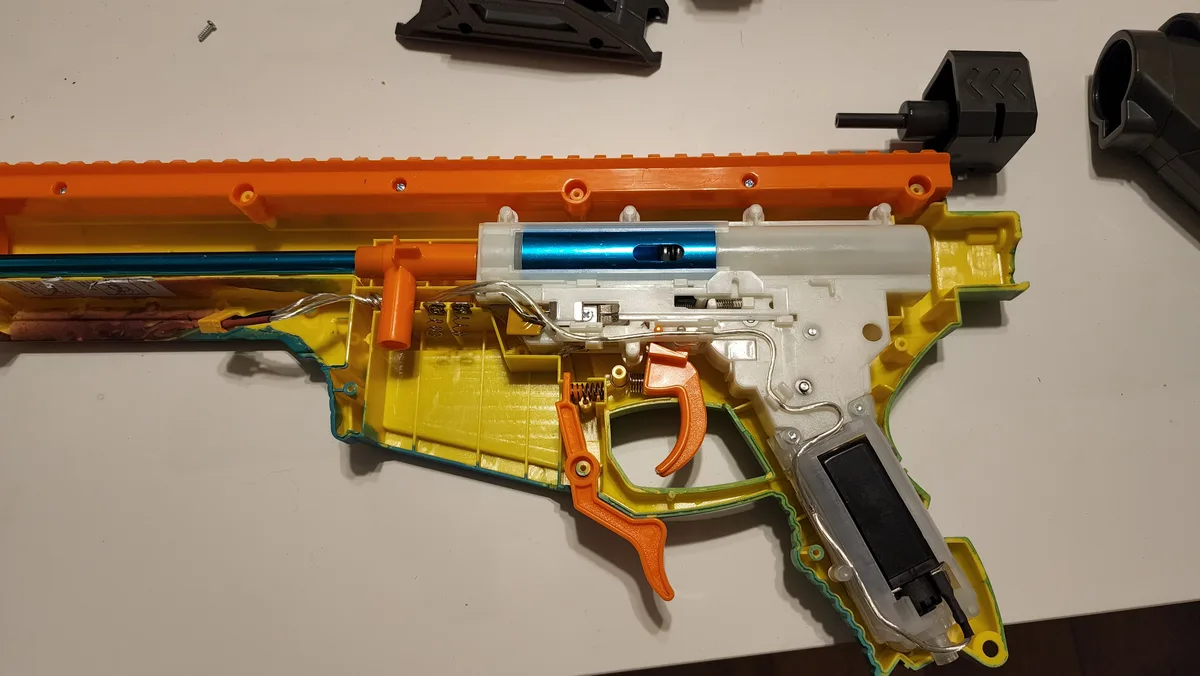
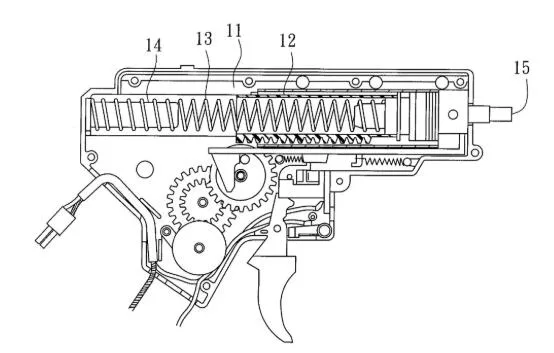
With the shell open, focus shifts to the internal components. The battery sits secured by Velcro straps, zip ties, or molded plastic holders. Release these constraints carefully to avoid tearing adjacent wires.
Disconnect the battery plug first. Grip the connector housing, never the wires. Pull straight out evenly.
Twisting stresses the solder joints on the PCB, potentially causing cold solder failures.
Note the routing of the red and black leads. They often weave through tight channels near the gearbox motor. Memorize this path or mark it with tape.
Incorrect rerouting pinches wires during closure, leading to shorts.
Remove the old battery pack. If it’s glued down, apply gentle heat with a hair dryer on low setting. Soften the adhesive slowly.
Scraping hard damages the inner lining of the stock tube.
Inspect the Electronic Speed Controller (ESC). Look for burn marks or swollen capacitors. Clean dust buildup with compressed air.
Dust acts as an insulator, trapping heat and reducing efficiency.
Check the switch mechanism. Ensure the micro-switch clicks cleanly. Sticky switches cause intermittent firing.
Lubricate lightly with dielectric grease if needed, avoiding contact with copper contacts.
Keep the new battery disconnected until final steps. Premature connection risks sparks near exposed terminals. Work methodically, verifying each component’s integrity before proceeding to installation.
Reassembly Checkpoints: Ensuring Proper Fit Without Stripping Threads
Putting everything back together requires equal care. Rushing this phase undoes all previous effort. Verify alignment before tightening any fasteners.
Position the new battery in its designated slot. Secure it firmly with fresh Velcro or zip ties. Loose batteries rattle during operation, wearing down wires against sharp edges.
Route the connector cable precisely as removed earlier. Plug it into the ESC socket. Listen for the distinct click indicating full seating.
Partial connections cause arcing and overheating.
Close the two shell halves slowly. Align all screw holes simultaneously. Never cross-thread screws.
Start each one by hand until you feel engagement, then use the driver lightly.
Tighten screws in a crisscross pattern. This distributes pressure evenly across the plastic surface. Over-torquing strips threads or cracks the boss posts.
Snug is sufficient; do not compress the plastic excessively.
Reattach any rubber grips or stickers peeled during disassembly. Clean surfaces with alcohol wipes beforehand for better adhesion. Missing seals allow moisture ingress, corroding internal electronics over time.
Test the function before finalizing. Pull the trigger gently. Confirm smooth operation and no unusual noises.
If binding occurs, reopen immediately. Forced movement breaks gears or motors.
Final check: ensure no tools remain inside. Foreign objects cause catastrophic failure upon firing. Close the case securely.
Your blaster is ready for action again.
Common Visual Mistakes That Break Cheap Plastic Casings
You’ll often see cracked shells around the screw bosses. This happens when users force panels apart without releasing all internal clips. The plastic is brittle, especially in budget models from 2024 onwards.
It snaps before it bends.
Another frequent error involves stripping the tiny Phillips heads. Using a driver that’s too large or worn out ruins the fastener. Once stripped, you can’t remove the screw without drilling.
Drilling creates metal shavings that short out the electronics.
Watch out for bent connector pins. Pulling on wires instead of the housing twists the delicate gold contacts inside the JST-SM plug. A bent pin won’t make proper contact.
You might think the battery is dead, but it’s just a bad connection.
Misaligned gearboxes are also common after reassembly. If the shell halves aren’t seated perfectly, the motor shaft binds against the gearbox. This causes loud grinding noises and rapid wear.
Always check rotation freedom before tightening the final screws.
Ignoring thermal expansion risks warping the case. LiPo batteries generate heat during high-drain usage. Packing them tightly without ventilation traps this heat.
Over time, the plastic softens and deforms around the cell pack. Leave a small air gap if possible.
Finally, don’t overlook static discharge. Touching the ESC board with bare fingers can fry sensitive components. Ground yourself by touching unpainted metal before handling internals.
One zap kills the controller permanently. Treat every electronic part as fragile glass.
FAQs
How do I know if my splatter ball gun uses 7.4V or 11.1V?
Check the label on the old battery pack first. If missing, measure the voltage with a multimeter. A fully charged 2S pack reads roughly 8.4V.
A 3S pack reads about 12.6V. Never guess based on size alone.
Can I use any lithium polymer battery for replacement?
No. You must match the voltage, capacity, and physical dimensions exactly. Higher capacity adds weight, stressing the motor.
Lower capacity reduces runtime. Wrong voltage destroys the speed controller. Stick to manufacturer-specified replacements.
Why does my blaster stop working after swapping batteries?
Likely causes include reversed polarity or loose connections. Double-check red-to-red and black-to-black wiring. Ensure the JST connector clicks firmly into place.
Inspect the fuse near the battery terminal. A blown fuse cuts power instantly.
How long do splatter ball gun batteries typically last?
Aggregate user reviews suggest 50 to 100 charge cycles. Performance degrades noticeably after six months of regular use. Store packs at 3.8V per cell when idle.
Extreme temperatures shorten lifespan significantly. Replace swollen cells immediately for safety.

Similar Posts