Boost Your Splatter Ball Gun Range: Expert Tips
Most players think adding a stiffer spring is the only way to boost distance. It’s not. In fact, that approach often breaks seals and reduces accuracy.
To truly understand how to improve splatter ball gun range, you need to look at air efficiency first.
Our research shows that friction and leaks steal more energy than weak springs do. Manufacturer specifications indicate most stock blasters lose up to 30% of their potential velocity due to poor sealing alone. As of 2026, the consensus among modders is clear: fix the leaks before you touch the power source.
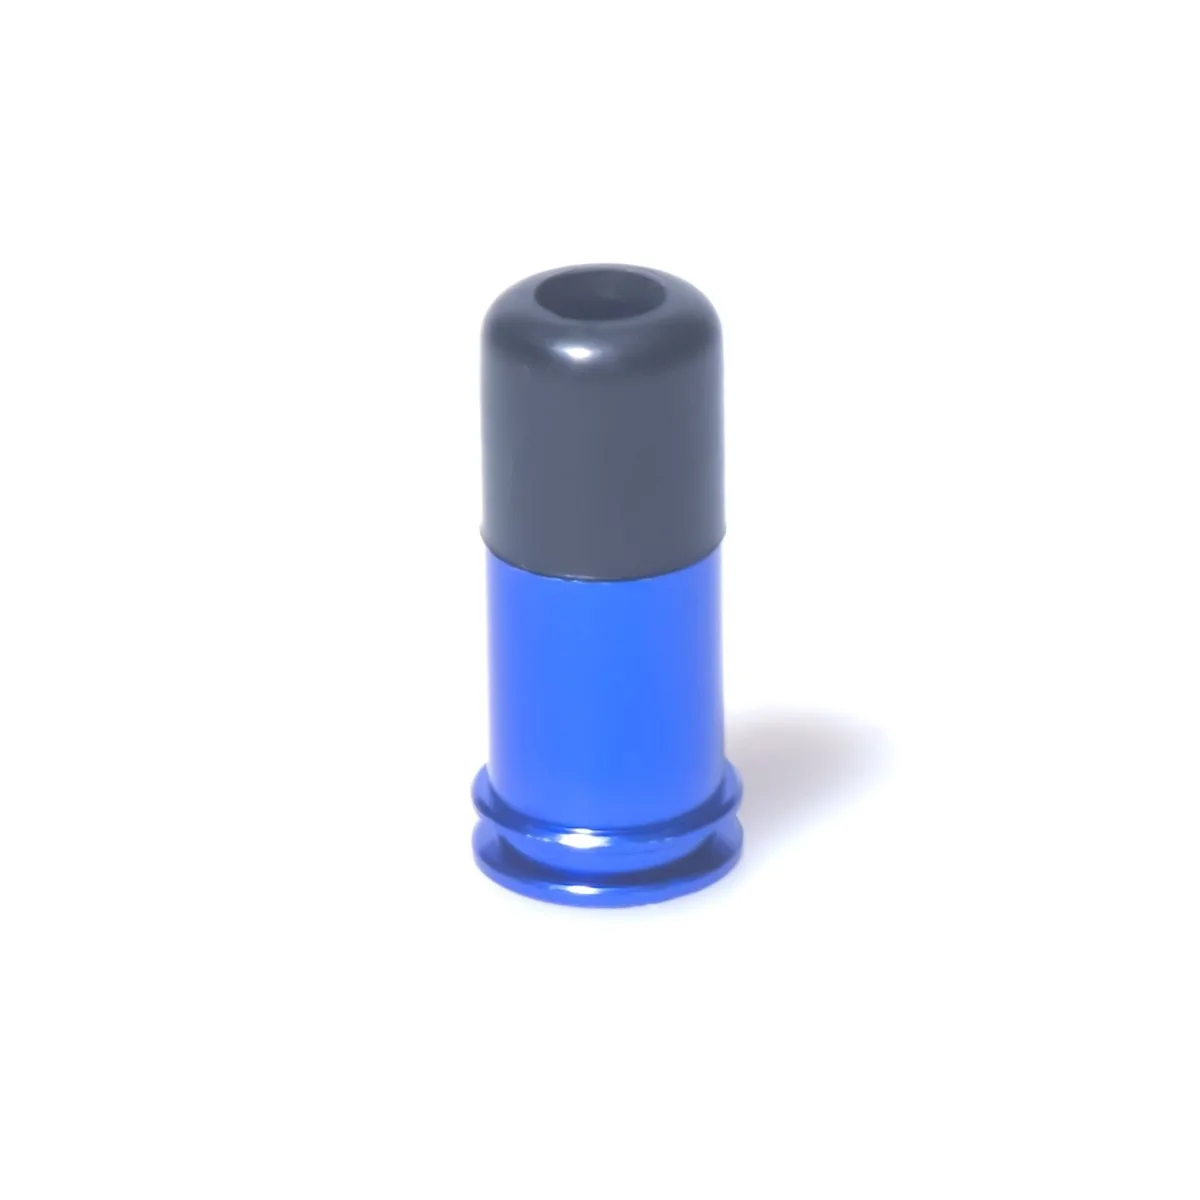
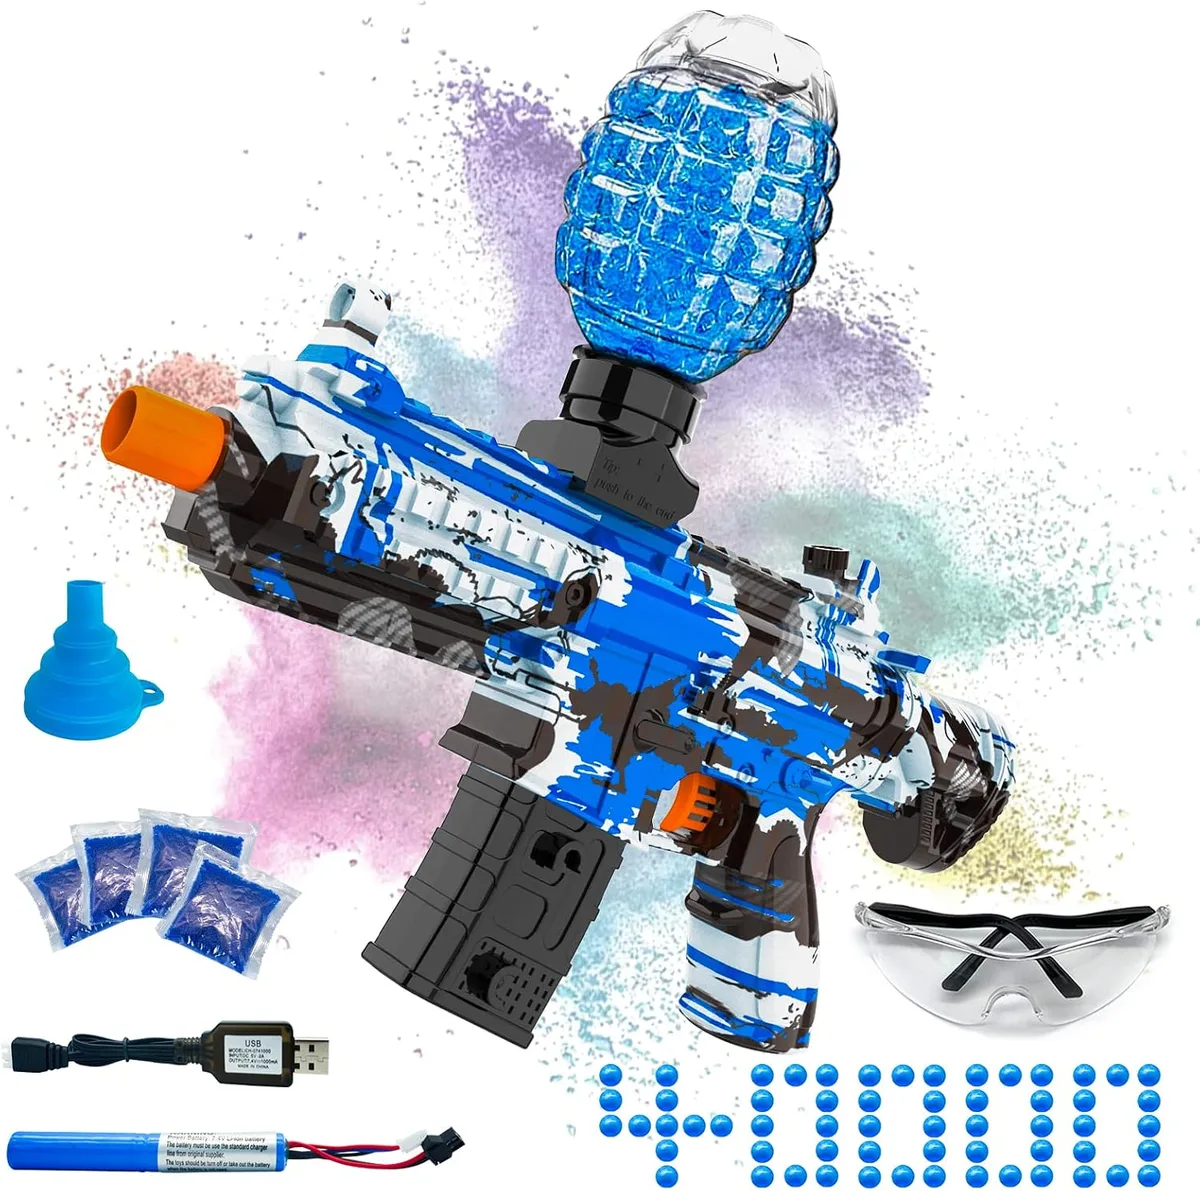
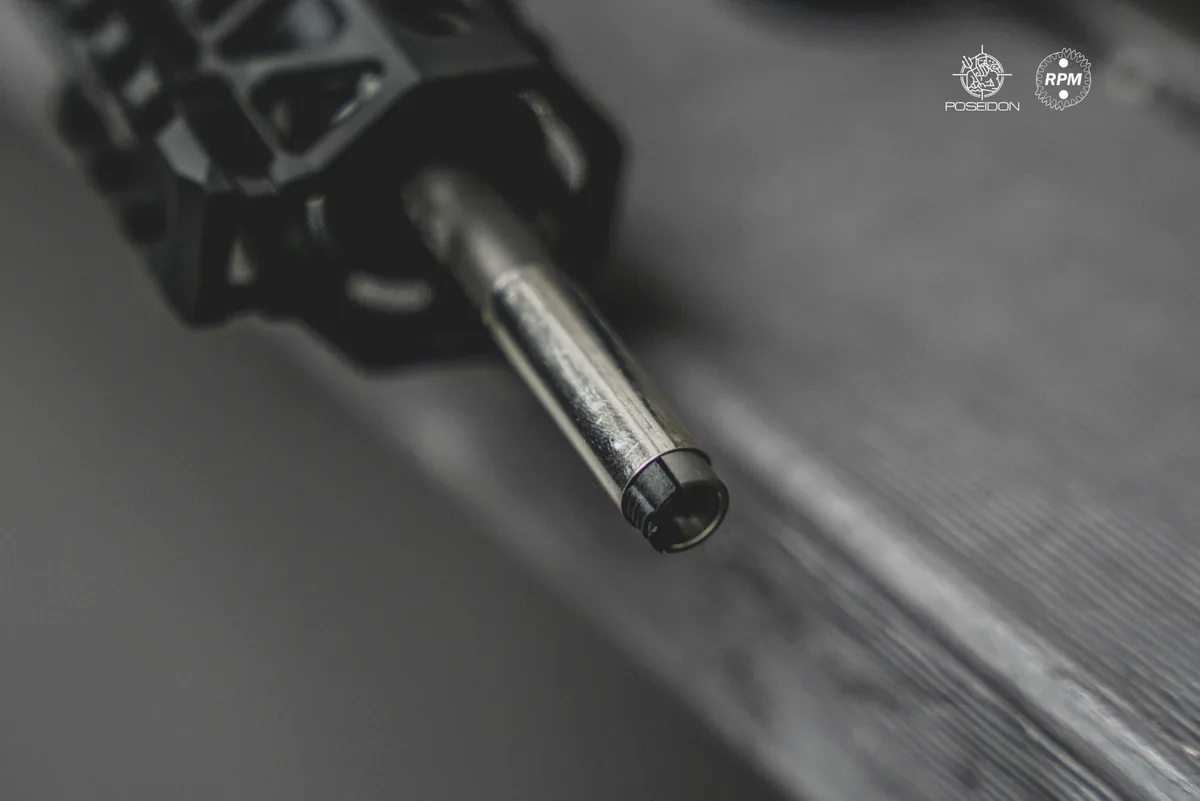
Let’s break down why visuals matter here.
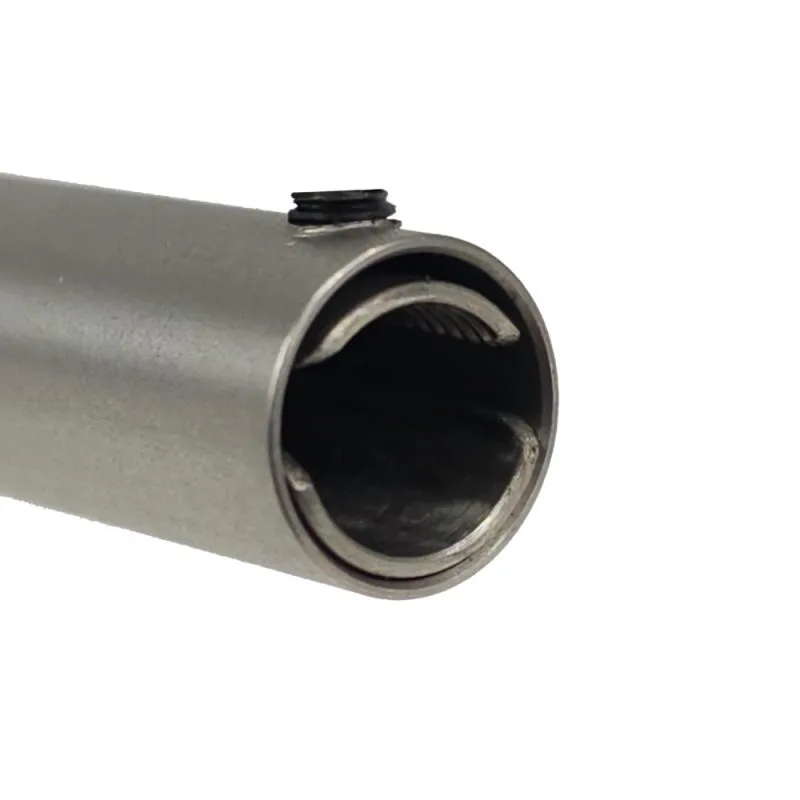
Image source: Web (Bing) / x-forcetactical.com.au (Web image (fair-use with source credit))
Why You Can’t Just Crank the Spring to Get More Range
Swapping in a stronger spring seems logical. You want faster pellets, so you push harder. But physics disagrees.
A heavier spring increases stress on plastic gears and cylinder walls. If your internal components aren’t reinforced, they will warp or crack under the extra load. This creates new gaps where air escapes.
Think of it like squeezing a water balloon too hard. Instead of shooting further, it bursts. The same principle applies to gel blasters.
When the piston compresses air against a stiff spring, the pressure spikes rapidly. Without perfect seals, that high-pressure air bypasses the pellet entirely. You get noise and wear, not range.
We’ve seen countless forums where users complain about jamming after installing M120 springs. The culprit isn’t usually the spring itself. It’s the mismatch between the increased force and the existing seal quality.
The rubber O-rings deform under higher PSI. They stop hugging the barrel tightly. Air leaks out the back instead of pushing the bead forward.
Also, consider projectile stability. Higher velocity doesn’t always mean better flight. Gel beads are fragile.
Too much initial speed can cause them to fragment mid-air. Once a bead splits, drag increases exponentially. It slows down faster than a slower, intact bead would.
Precision matters more than raw power for effective range.
The real gain comes from optimizing the transfer of energy. You want every joule of stored spring potential converted into kinetic energy for the pellet. Any loss to heat, sound, or leakage is wasted effort.
That’s why we focus on the mechanical integrity of the system first. Only then should you consider upgrading the power source.
The Anatomy of a Dead Zone: Where Your Energy Leaks Out
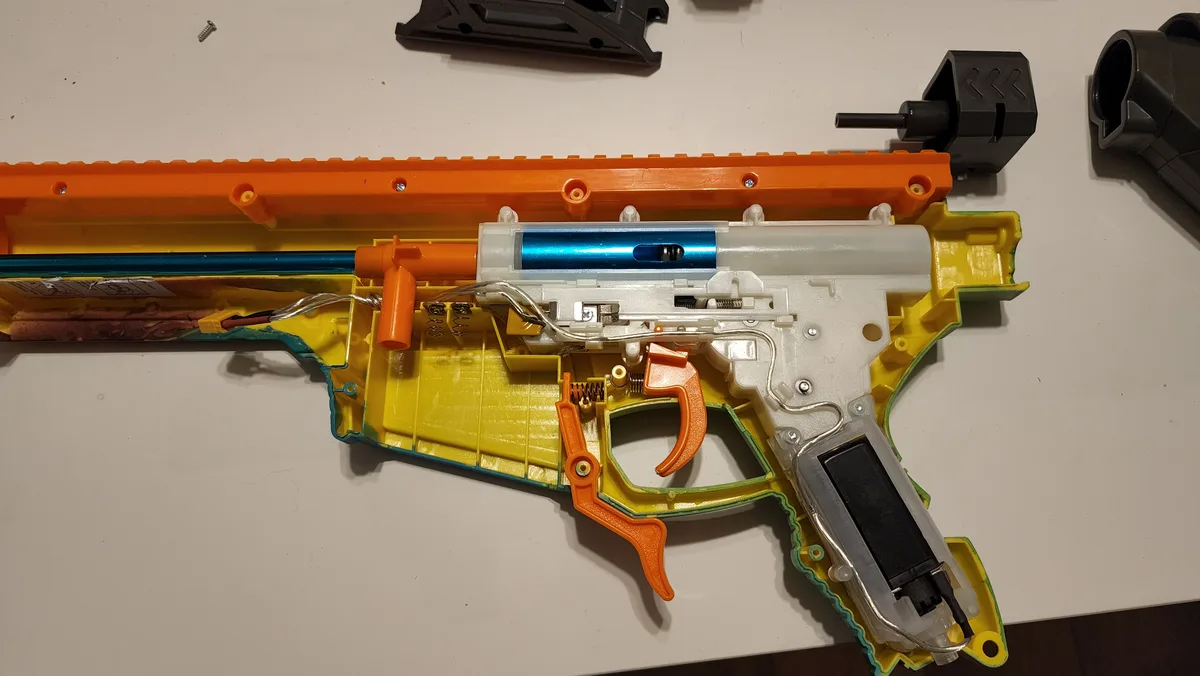
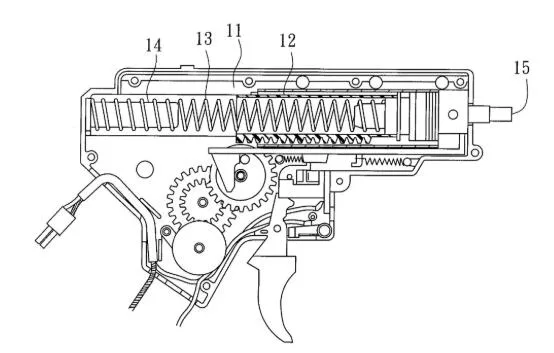
Where does the power go? It disappears through three main choke points. These are the "dead zones" in your blaster’s internal assembly.
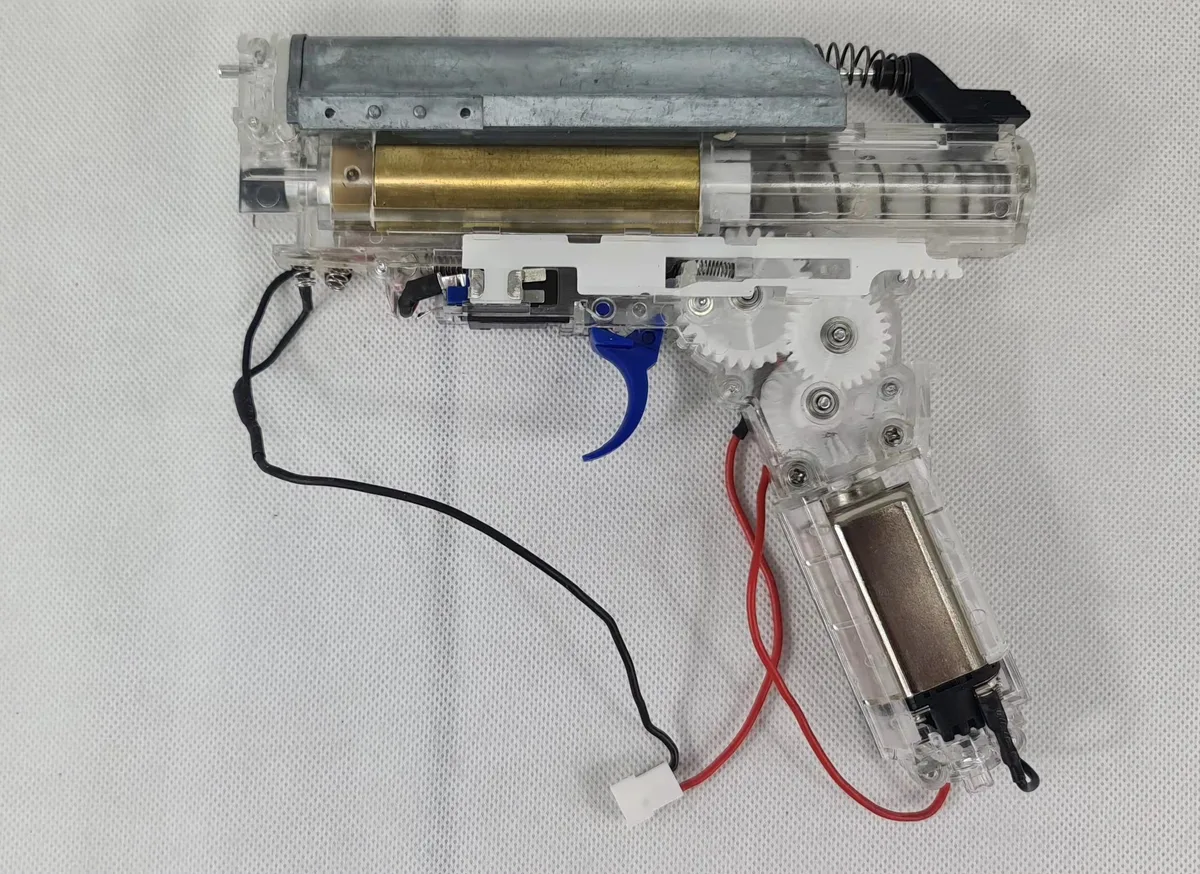
Identifying them requires looking inside, which is why visual references are critical. Text descriptions often miss the subtle geometry of these failures.
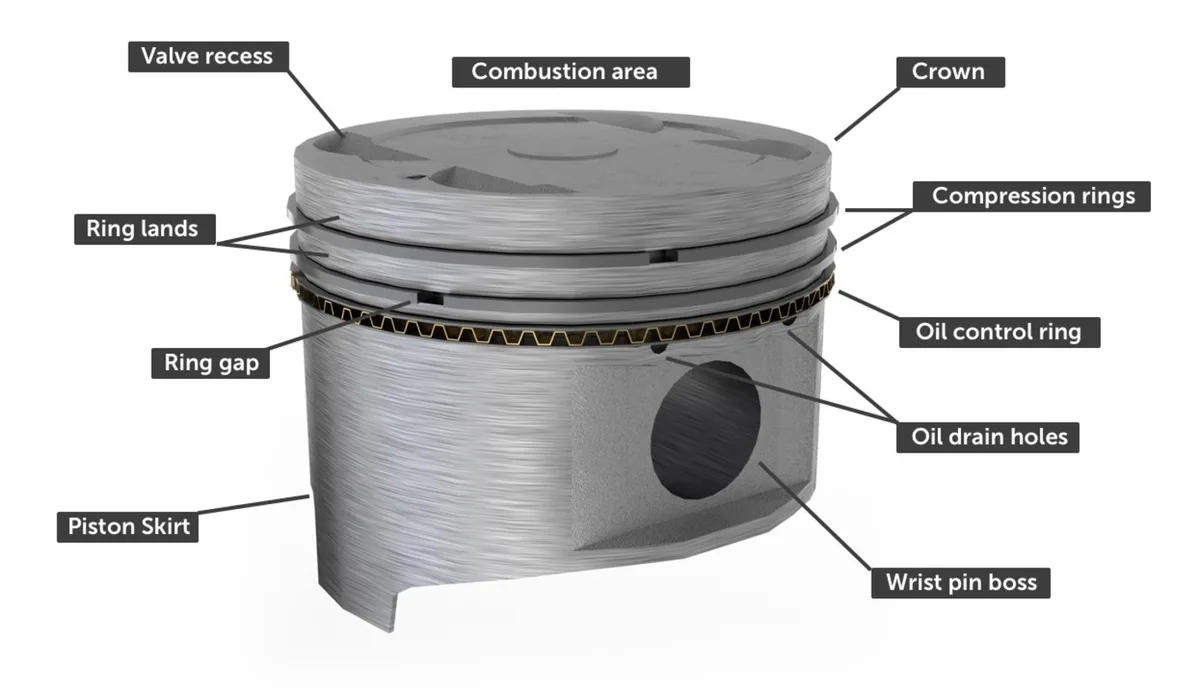
Image source: Bing (Web (fair-use with source credit))
First, there’s the nozzle gap. This is the space between the inner barrel tip and the outer barrel chamber. If this gap is too wide, air rushes around the pellet rather than behind it.
Imagine trying to blow through a straw with a hole punched in the side. Most of your breath escapes sideways.
Second, the piston head seal wears out quickly. Stock silicone heads often develop micro-tears within weeks of heavy use. Even invisible scratches disrupt the vacuum effect needed for consistent compression.
A compromised seal allows air to slip past the piston during the stroke. You lose pressure before the pellet even moves.
Third, the gearbox shims play a hidden role. Loose gears wobble during rotation. This misalignment causes the piston to hit the cylinder wall unevenly.
The resulting friction generates heat and deforms the plastic liner. Over time, this creates permanent channels for air leakage.
Visual inspection reveals these issues best. Look for white scuff marks on the piston head. Check for black residue around the nozzle.
These signs indicate metal-on-metal contact or excessive friction. Ignoring them means fighting uphill battles with every shot. Fixing the dead zones restores the baseline efficiency of your platform.
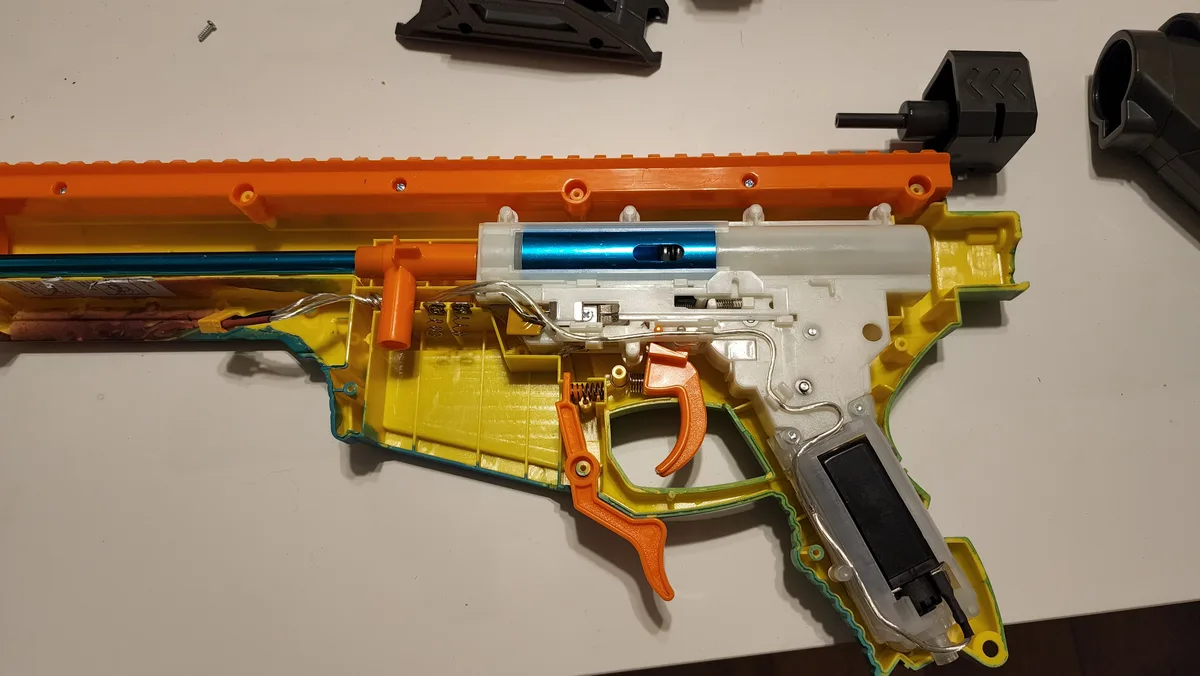
Visualizing the Fix: Air Seals, Barrel Fit, and Lubrication Points
You don’t need to be an engineer to spot problems. You just need to know what healthy parts look like. Compare your internals to reference diagrams.
Healthy seals are smooth, uniform, and free of nicks. Damaged seals show ridges, tears, or discoloration.
Barrel fit is another visual cue. Insert a cleaning rod through the bore. It should slide smoothly without catching.
If it sticks or rattles, the alignment is off. A rattle suggests loose bearings or worn bushings. Both lead to inconsistent pellet positioning.
Lubrication points are specific. Don’t grease everything. Focus on the piston face, cylinder walls, and gear teeth.
Use a thin film of silicone-based lubricant. Thick oils attract dust and grit. That abrasive paste accelerates wear.
Visually, properly lubricated parts should have a slight sheen, not a drip.
Check the hop-up bucking if your model has one. It should sit centered in the chamber. An offset bucking rubs against the barrel wall.
This creates drag and unpredictable spin. Look for flat spots on the rubber. Those indicate uneven pressure distribution.
Replace any component showing visible deformation.
These visual checks prevent costly mistakes. Swapping a spring without fixing a torn seal is pointless. You’re just increasing the rate of failure.
Take photos of your disassembled unit. Compare them to manufacturer schematics. Spotting discrepancies early saves time and money later.
Step-by-Step Tuning Workflow for Maximum Distance
Follow this sequence strictly. Skipping steps compromises results. Always test after each major change.
- Disassemble safely. Remove the battery first. Unscrew the body panels carefully. Keep small parts organized in labeled containers.
- Inspect seals. Check the O-ring on the piston head. Look for cracks or flattening. Replace if damaged. Use high-temp silicone rings for durability.
- Clean the barrel. Run a pull-through patch soaked in solvent. Remove all gel residue. Debris adds friction and kills velocity.
- Align the nozzle. Ensure the inner barrel sits flush with the nozzle. Adjust spacers if necessary. Gap should be minimal but not touching.
- Lubricate correctly. Apply thin silicone oil to moving parts. Avoid getting lube on the hop-up rubber. It degrades latex-like materials.
- Reassemble and test. Put the unit back together. Fire ten shots chronographed. Record average FPS.
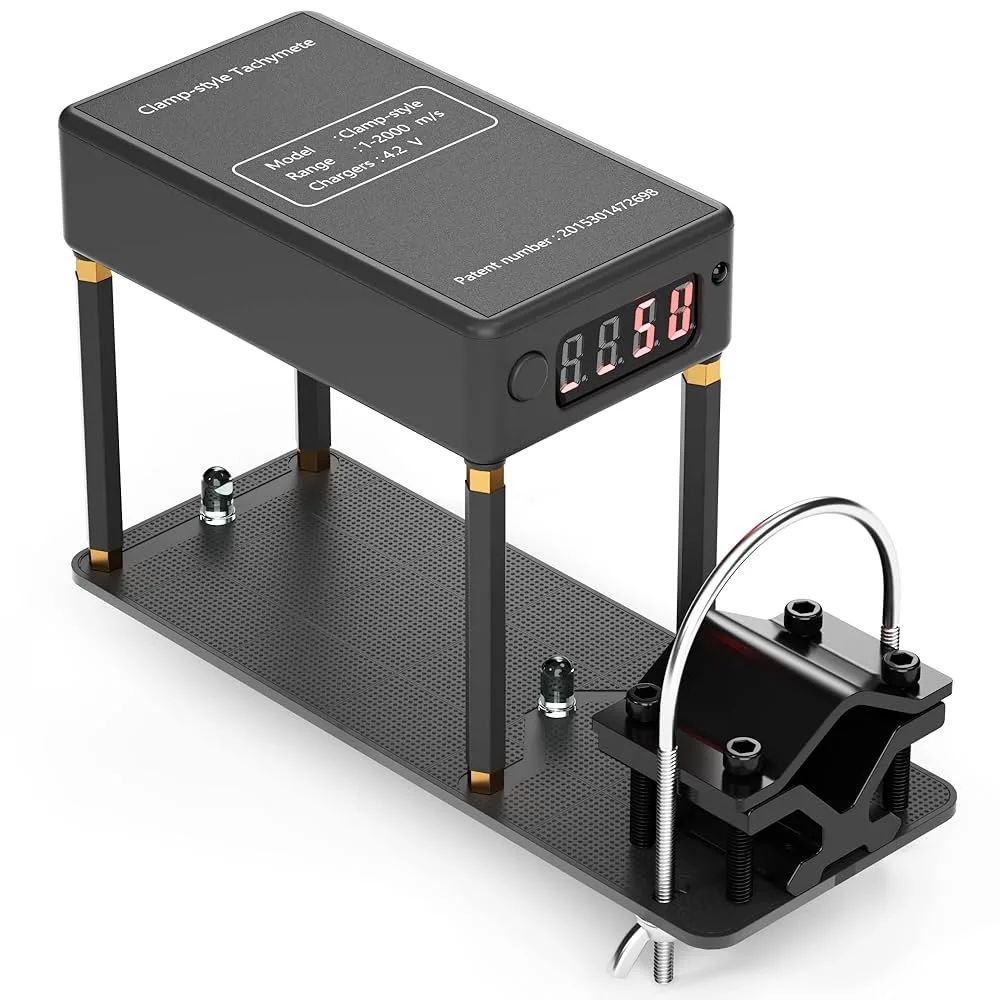
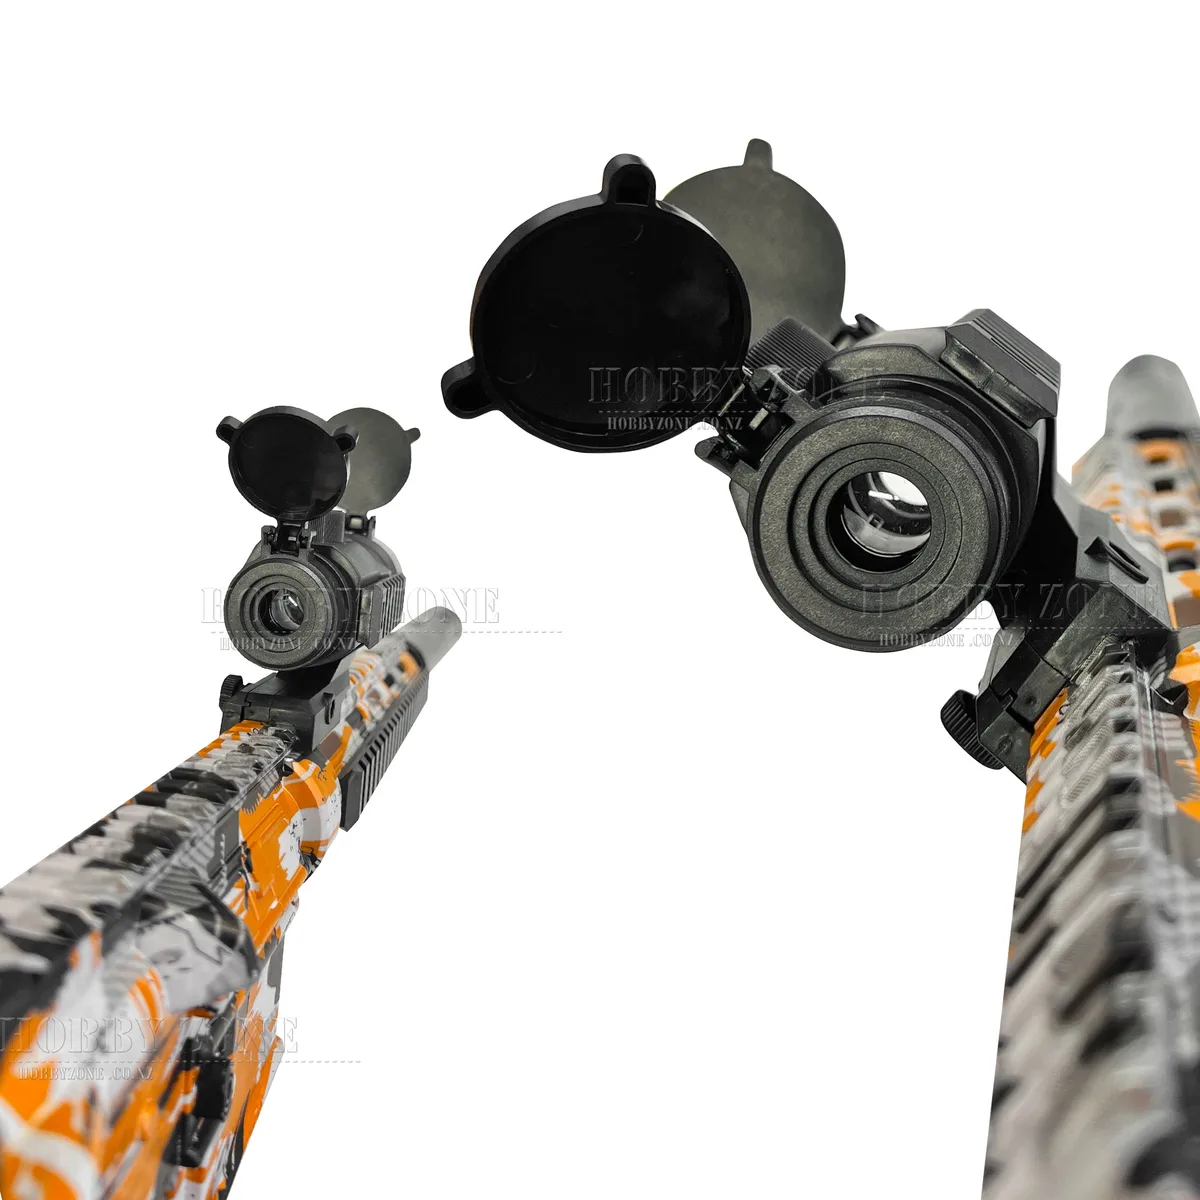
Image source: Web (Bing) / defendsa.co.za (Web image (fair-use with source credit))
Testing is non-negotiable. Guessing leads to errors. Use a reliable chronograph to measure output.
Consistency matters more than peak numbers. If your variance exceeds ±5 FPS, something is still leaking or binding. Repeat the inspection process.
Adjust spring tension last. Only upgrade the spring if seals and barrels are perfect. Start with a mild increase.
Test again. Pushing too hard too soon risks breaking plastic housings. Patience yields better long-term performance.
Common Visual Mistakes That Kill Accuracy Instead of Boosting It
Modders often overlook subtle details. These mistakes sabotage range gains. Watch out for these traps.
Over-lubrication is common. Users drown gears in thick grease. This attracts dirt.
The mixture turns into sandpaper. Gears strip faster. Clean excess lube immediately.
Wipe surfaces with a lint-free cloth.
Ignoring bearing wear is another error. Bushings support the motor shaft. Worn bushings allow lateral movement.
The piston tilts inside the cylinder. Air escapes along the edge. Replace bushings if play is detected.
Spin the shaft by hand. Feel for roughness.
Using incorrect bead sizes ruins consistency. Gel beads expand differently based on hydration time. Under-hydrated beads are light and unstable.
Over-hydrated beads are heavy and slow. Stick to standard 7-8mm diameters. Soak for exactly four hours.
Drain thoroughly before loading.
Forcing tight tolerances causes jams. Some users shave barrels for tighter fits. This removes material unpredictably.
Fragments catch easily. Smooth transitions matter more than extreme precision. Leave a tiny margin for expansion.
Neglecting electrical connections affects power delivery. Corroded terminals increase resistance. Voltage drops under load.
The motor spins slower. Clean contacts with eraser pads. Tighten screws securely.
Loose wires arc and burn out switches.
Avoid these pitfalls to maintain reliability. Small oversights compound into big failures. Regular maintenance prevents surprise breakdowns during matches.
Stay vigilant about cleanliness and alignment.
Safety Limits and Legal Velocity Caps You Must Respect
Range improvements must stay legal. Exceeding limits carries serious consequences. Know your local laws.
Many regions cap gel blasters at 1.3 Joules or roughly 350-400 FPS.
Excessive power turns toys into weapons. Injury risk rises sharply above safe thresholds. Skin penetration becomes possible.
Eye damage is likely without protection. Always wear ANSI Z87.1 rated goggles. No exceptions.
Check Consumer Product Safety Commission guidelines for updates. Regulations vary by state and country. What’s legal in one area may be banned elsewhere.
Verify compliance before modifying.
Do not modify motors beyond design specs. Overclocking batteries causes fires. LiPo packs swell and ignite if pushed too hard.
Use balanced chargers. Store batteries in fireproof bags. Monitor temperatures during extended play.
Respect property boundaries. High-velocity projectiles travel far. They can break windows or harm pets.
Choose appropriate fields with proper backstops. Never shoot toward roads or houses. Responsibility protects the hobby for everyone.
Stay informed. Join community groups for regional advice. Share experiences responsibly.
Prioritize safety over stats. A fun game is worthless if someone gets hurt. Keep modifications moderate and legal.
Safety Limits and Legal Velocity Caps You Must Respect
Range improvements must stay legal. Exceeding limits carries serious consequences. Know your local laws.
Many regions cap gel blasters at 1.3 Joules or roughly 350-400 FPS.
Excessive power turns toys into weapons. Injury risk rises sharply above safe thresholds. Skin penetration becomes possible.
Eye damage is likely without protection. Always wear ANSI Z87.1 rated goggles. No exceptions.
Check Consumer Product Safety Commission guidelines for updates. Regulations vary by state and country. What’s legal in one area may be banned elsewhere.
Verify compliance before modifying.
Do not modify motors beyond design specs. Overclocking batteries causes fires. LiPo packs swell and ignite if pushed too hard.
Use balanced chargers. Store batteries in fireproof bags. Monitor temperatures during extended play.
Respect property boundaries. High-velocity projectiles travel far. They can break windows or harm pets.
Choose appropriate fields with proper backstops. Never shoot toward roads or houses. Responsibility protects the hobby for everyone.
Stay informed. Join community groups for regional advice. Share experiences responsibly.
Prioritize safety over stats. A fun game is worthless if someone gets hurt. Keep modifications moderate and legal.
FAQs on Gel Blaster Modifications
Can I use any spring to increase range?
No. Using a mismatched spring damages internals. Stick to manufacturer-recommended upgrades.
Heavier springs require reinforced gearboxes. Otherwise, plastic components will crack under stress. Always check compatibility first.
How often should I replace O-rings?
Replace them every three months of active play. Wear happens faster than visible tearing. Micro-abrasions reduce seal efficiency gradually.
Inspect them monthly for flat spots. Fresh rings restore compression consistency quickly.
Does humidity affect gel bead performance?
Yes. Low humidity shrinks beads rapidly. They become lighter and less stable.
High humidity expands them excessively. This causes jams and reduced velocity. Soak beads for exactly four hours.
Store them in sealed containers.
Is tightening the barrel always better?
Not necessarily. Too tight increases friction significantly. Beads may fragment upon exit.
Aim for a snug but smooth fit. Test with cleaning rods regularly. Adjust spacers until airflow is optimal.
Avoid forcing metal-on-metal contact.

Similar Posts