Boost Splatter Ball Gun Accuracy: Pro Tips
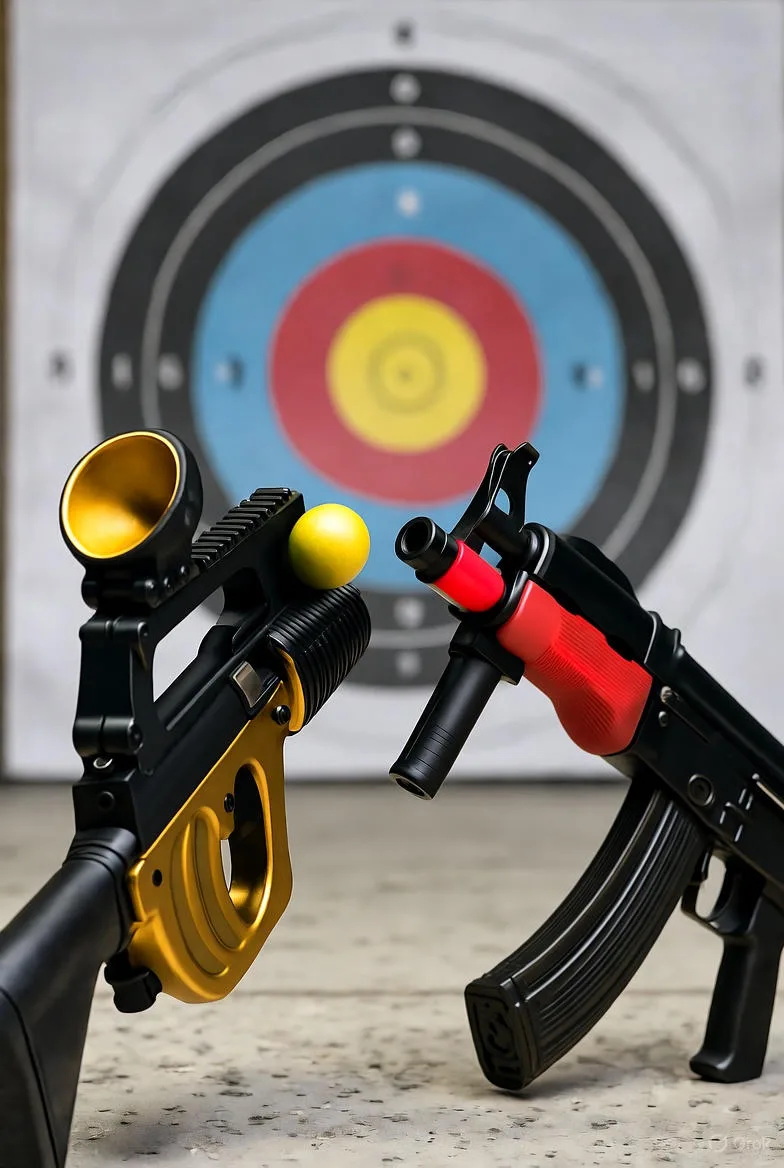
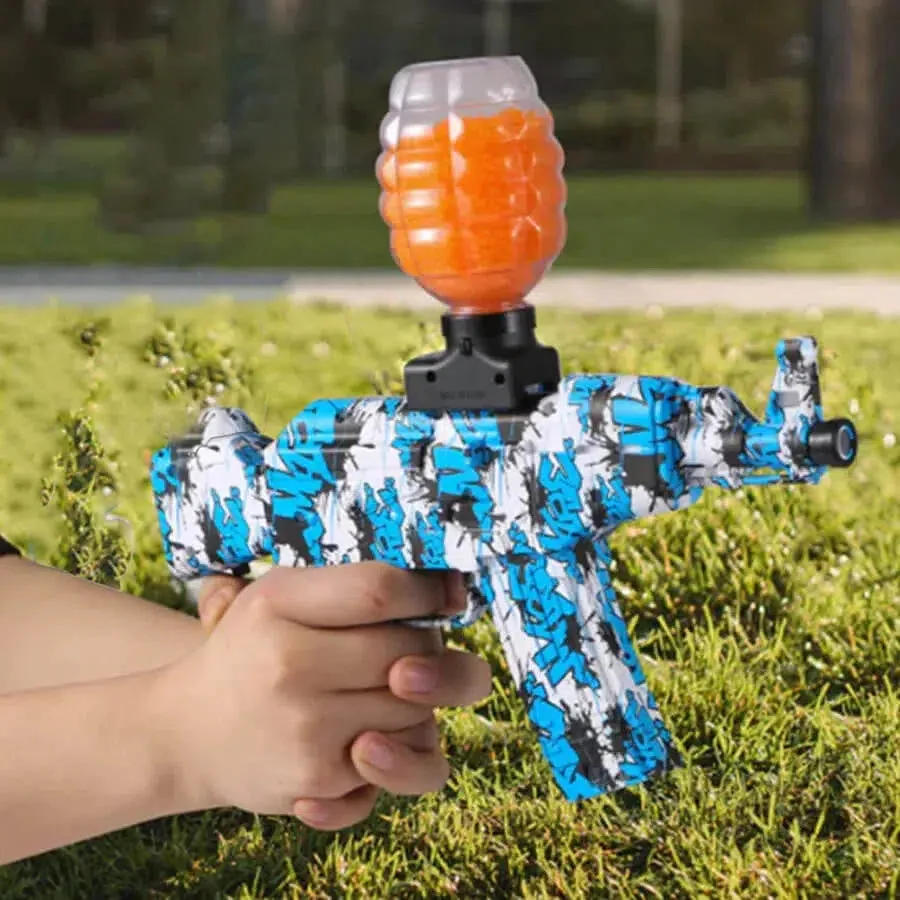
Figuring out how to improve splatter ball gun accuracy starts with realizing the problem isn't usually your aim. Most players blame their hands, but the issue lies in inconsistent projectile size or poor air sealing. These soft gel blasters rely on perfect compression to fire straight.
If your shots drift left or right, check your bead hydration first. Manufacturer specs indicate that even a 0.5mm variance causes significant deviation at range. We'll walk through the visual checks you need to perform as of 2026 to fix this.
Quick Answer
To improve splatter ball gun accuracy, ensure beads hydrate to exactly 7-8mm. Clean the inner barrel regularly to remove residue. Replace worn O-rings to maintain air seal integrity.
Adjust hop-up settings for backspin consistency. Use silicone-based lubricants only. Avoid petroleum products that degrade polymer seals.
Why Your Splatter Ball Gun Isn’t Shooting Straight (It’s Not Just Aim)
Most users assume bad grouping means they're holding the blaster wrong. That's rarely the truth. The core issue is almost always mechanical inconsistency within the firing cycle.
When a super absorbent polymer bead enters the chamber, it must fit perfectly.
If the bead is too small, air escapes around it. This reduces muzzle velocity and causes random trajectory shifts. If it's too large, it jams or deforms unpredictably upon exit.
Both scenarios ruin precision. You aren't missing because you're shaky. You're missing because the physics of the shot are flawed before you even pull the trigger.
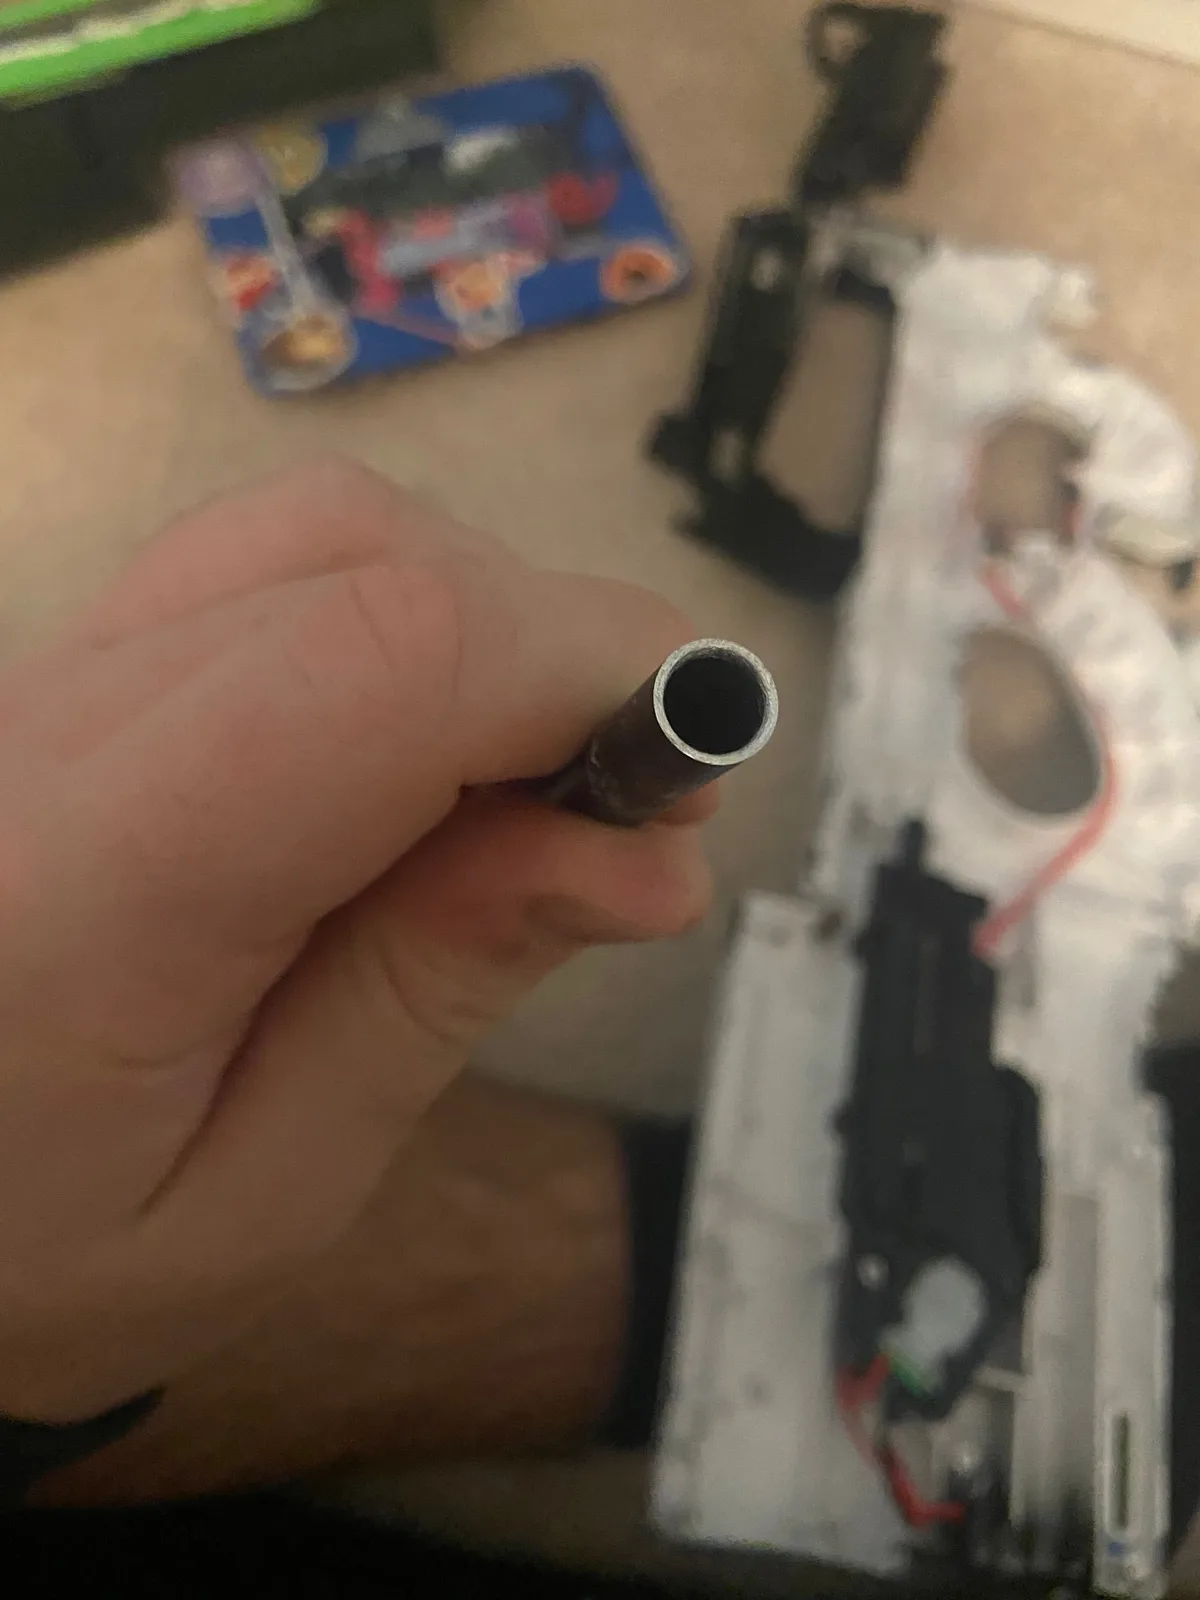
Visualizing the internal path helps clarify why alignment matters so much. Imagine the bead traveling through a narrow tube. Any wobble from improper sizing amplifies over distance.
At thirty feet, a tiny initial deviation becomes a foot-wide spread. Fixing the source eliminates the need for compensation. Stop adjusting your grip.
Start inspecting the ammo feed.
The Visual Check: Inspecting the Barrel and Hop-Up Chamber
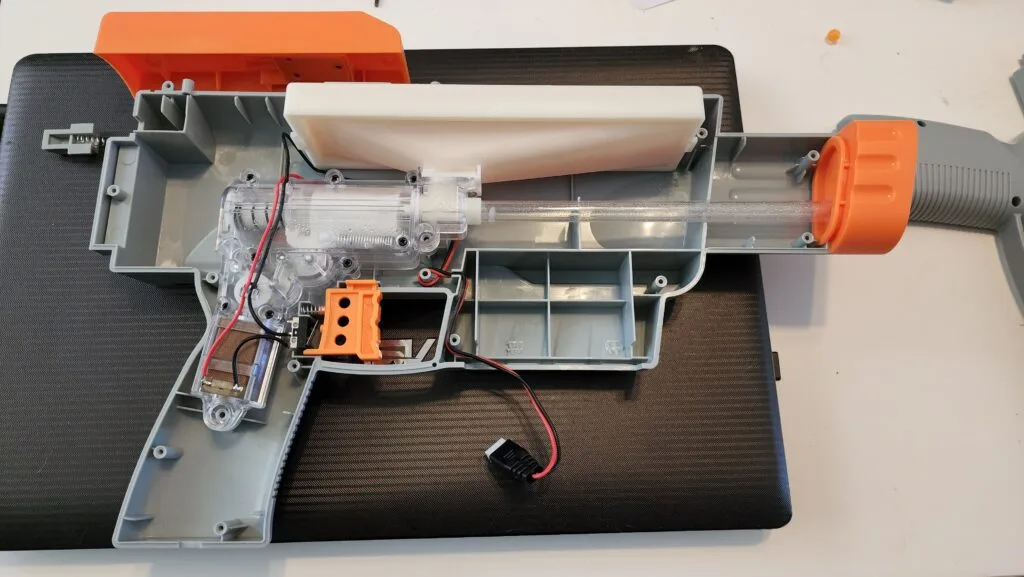
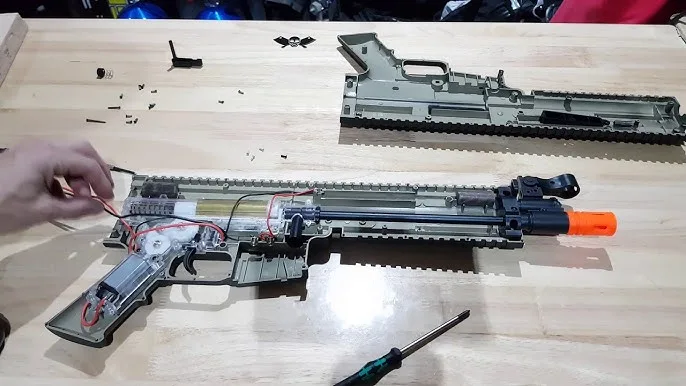
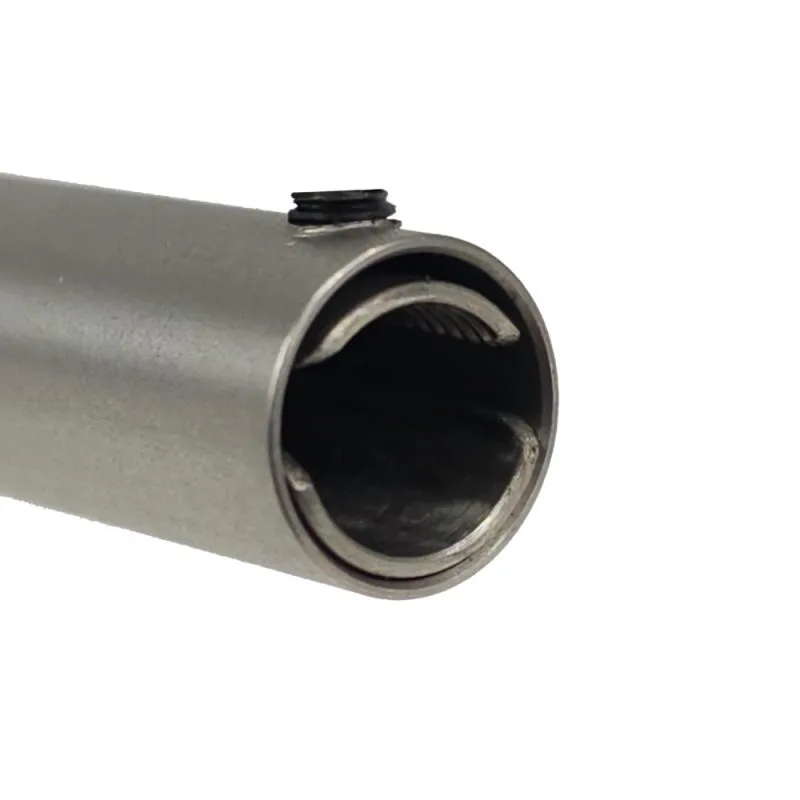
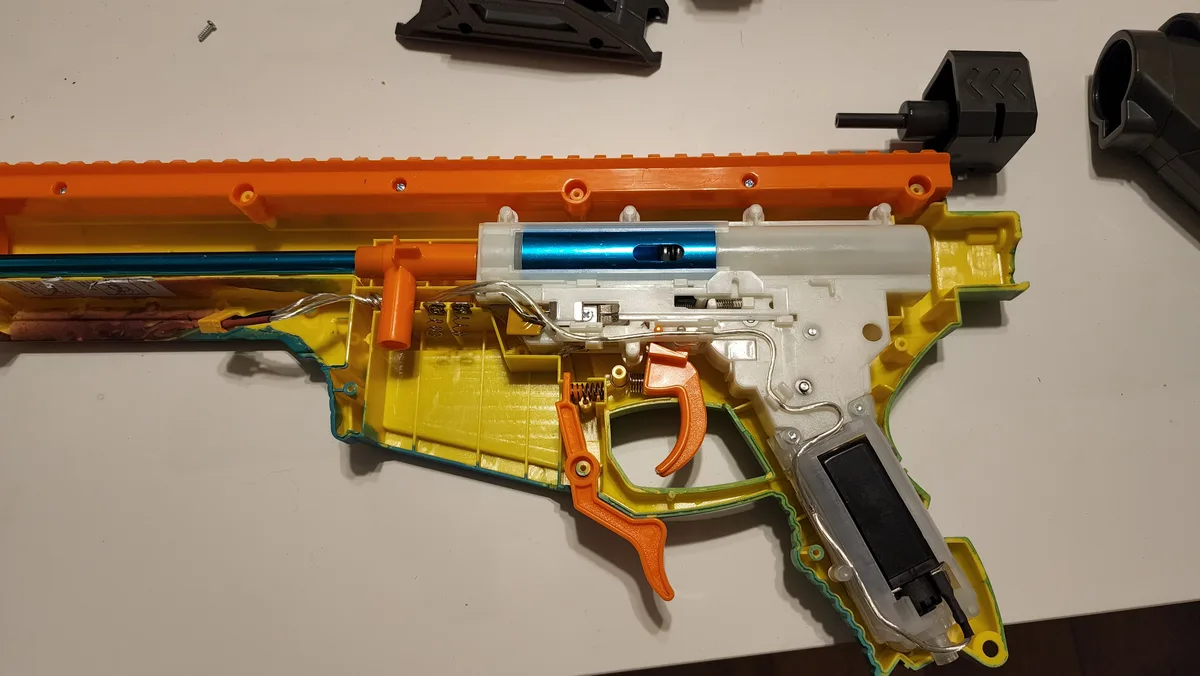
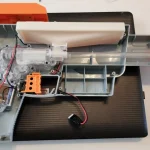
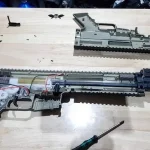
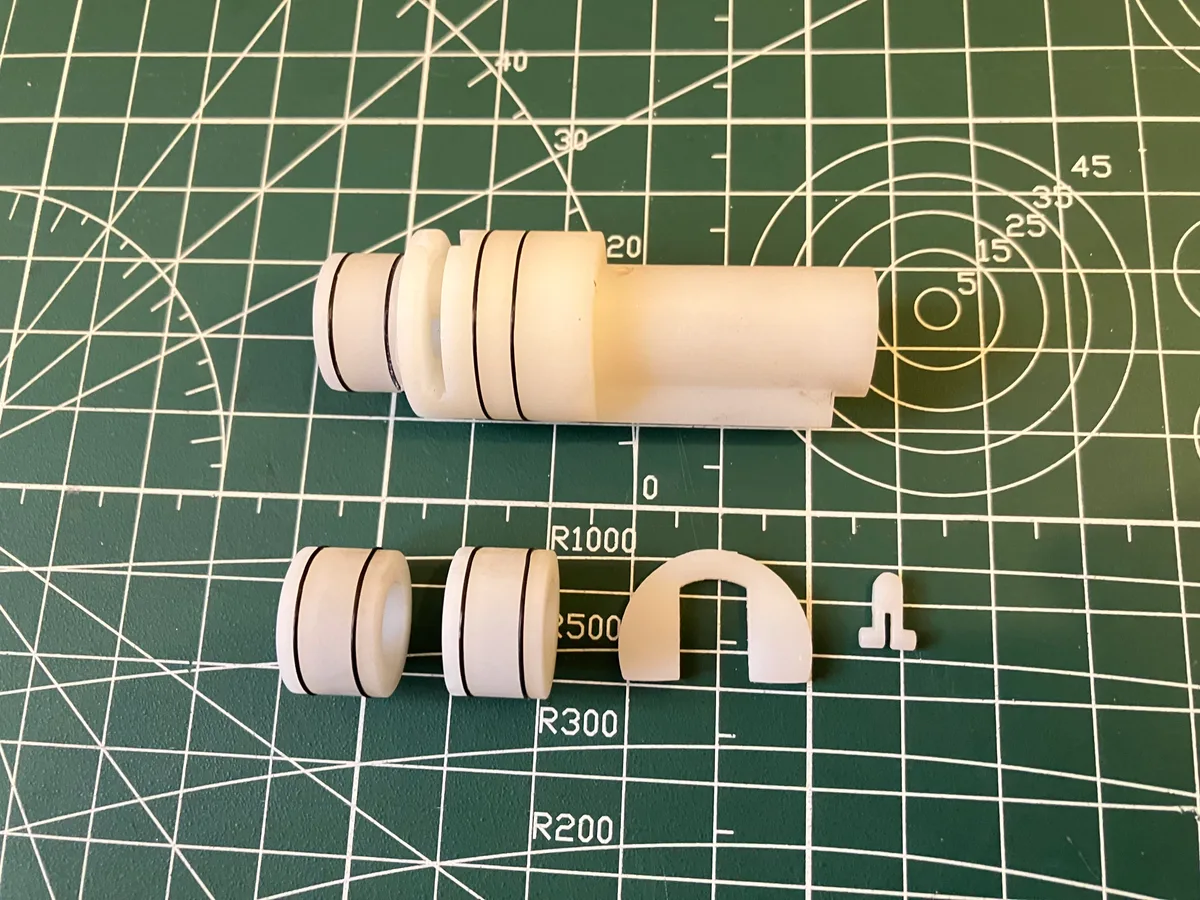
You can't fix what you can't see. Disassembly reveals the hidden culprits behind erratic flight paths. Focus your inspection on three critical zones: the inner barrel, the bucking, and the nozzle interface.
Each plays a distinct role in stabilizing the projectile.
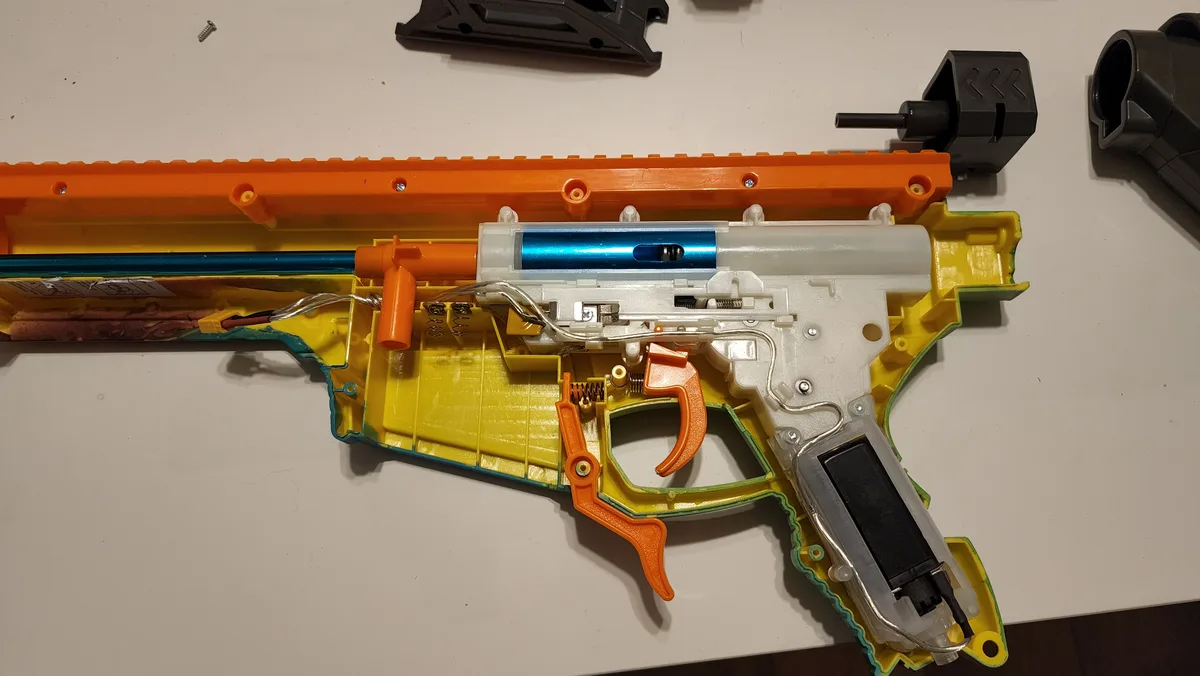
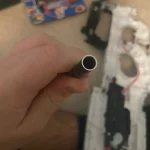
Start by removing the magazine and clearing any remaining beads. Unscrew the handguard or front assembly according to your model's manual. Look closely at the inner barrel entrance.
Is there visible scoring or debris buildup? Rough spots catch the soft gel surface, altering its spin axis immediately.
Next, examine the hop-up rubber bucking. This component presses against the top of the bead to impart backspin. Check for flat spots or tears.
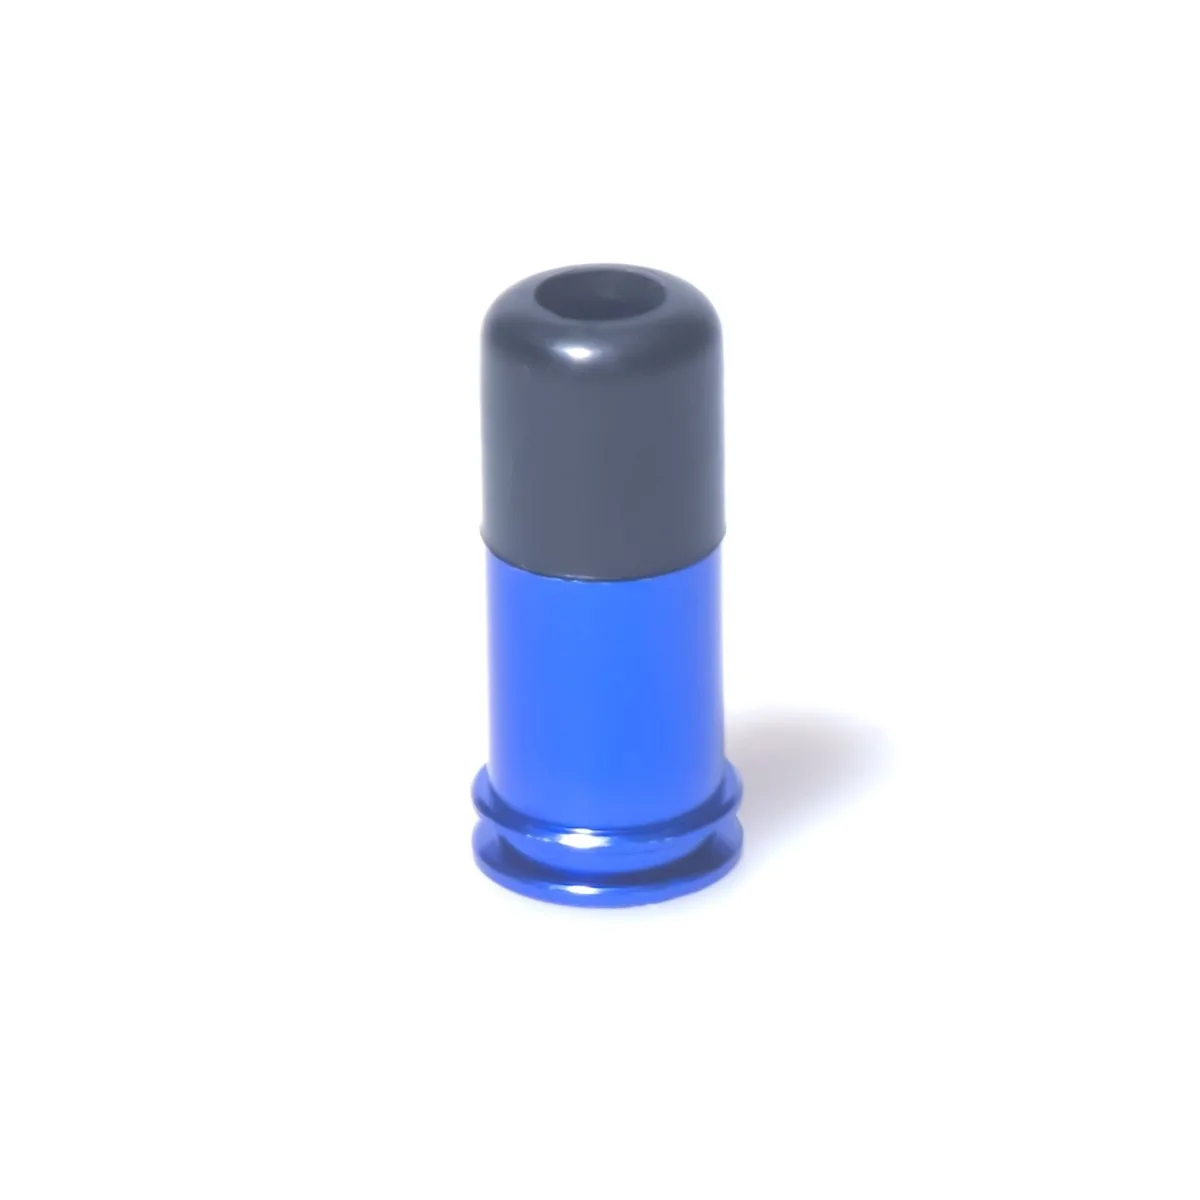
A damaged bucking applies uneven pressure, causing the bead to corkscrew instead of flying true. Finally, inspect the nozzle tip where it meets the cylinder head. Air leaks here steal power directly from the shot.
| Component | Visual Defect Sign | Impact on Accuracy |
|---|---|---|
| Inner Barrel | Scratches, dried residue | Unstable launch angle |
| Hop-Up Bucking | Flat spots, cracks | Inconsistent backspin |
| Nozzle Tip | Misalignment, gap | Pressure loss, low FPS |
Identifying Deformation vs. Jamming in Hydrated Beads
How do you tell if a bead is defective or just stuck? Deformed beads often look oval rather than spherical. They may also feel tacky or overly fragile.
Jams typically involve multiple beads compressed together in the feed mechanism.
Pull a few samples from your storage container. Roll them between your fingers. Perfect spheres roll smoothly.
Irregular shapes wobble visibly. If you find many misshapen units, discard the batch. Using compromised ammo guarantees poor groupings regardless of how well-tuned your blaster is.
Consistency begins with the raw material.
Spotting Worn O-Rings and Air Leaks Without Disassembly
Sometimes you don't need tools to spot trouble. Listen to the firing sound. A sharp, crisp "pop" indicates good seal integrity.
A hissing noise suggests air escaping past the piston head or nozzle.
Feel the rear stock during operation. Excessive vibration points to loose internal components. Check for moisture accumulation near the charging handle area.
Condensation can seep into electronics or corrode metal springs. Early detection prevents minor wear from becoming major failure. Trust your senses alongside visual inspections.
Step-by-Step Accuracy Tuning Guide with Visual Cues
Tuning requires methodical changes. Alter one variable at a time to isolate effects. Rushing leads to confusion and wasted effort.
Follow this sequence for optimal results.
First, address ammunition quality. Second, clean the system. Third, adjust mechanical settings.
Fourth, verify performance. Skipping steps creates compounding errors that are hard to diagnose later. Patience pays off in tighter groups.
Proper Hydration Protocol for Consistent Diameter
Hydration determines bead size, which dictates fitment. Too little water leaves beads undersized. Too much makes them burst-prone.
Manufacturers recommend soaking dry pellets for two to four hours in room temperature water.
Use a calibrated measuring cup. Ratio matters more than volume alone. Typically, one part pellet to twenty parts water works best.
After soaking, drain excess liquid thoroughly. Let them air-dry slightly on a towel. They should be firm but not sticky.
Measure ten random beads with calipers. Calculate the average diameter. Aim for 7.5mm to 8mm for most standard barrels.
If the average falls outside this range, adjust soak time next batch. Consistency here solves half your accuracy problems instantly.

Lubrication Points That Actually Matter (and Which to Avoid)
Lubrication reduces friction and protects seals. However, using the wrong product destroys components. Never use petroleum-based oils like WD-40.
These chemicals degrade silicone rubbers and ABS plastics rapidly.
Stick strictly to light silicone oil. Apply sparingly to the inner barrel walls. One drop per ten inches suffices.
Also lubricate the O-ring on the piston head lightly. Avoid getting oil on the hop-up bucking unless specified by the maker. Excess grease attracts dust and dirt.
Wipe away any surplus fluid before reassembly. Residual oil can cause hydro-locking in electric gearboxes. Clean application ensures smooth operation without contamination risks.
Less is definitely more here.
Aligning Iron Sights or Optics Using Reference Targets
Mechanical tuning prepares the platform. Sighting aligns your eye with the bore. Set up a target at twenty-five feet.
Fire five shots aiming at the center dot.
Observe the impact pattern. If hits cluster high, lower the rear sight. If they shift left, adjust windage accordingly.
Repeat until the group centers on the aim point. Don't chase individual flyers. Focus on the average impact location.
Once zeroed, test at longer ranges like fifty feet. Verify the holdover remains manageable. Minor adjustments might be needed for elevation due to gravity drop.
Record these settings for future reference.
Common Visual Mistakes That Ruin Grouping
Even with perfect tuning, user error creeps in. Recognizing these pitfalls saves frustration. Many beginners overlook subtle details that derail performance.
Watch for handling inconsistencies. Gripping the blaster tightly distorts the frame. This flex alters barrel alignment mid-shot.
Maintain a relaxed, consistent hold every time. Muscle memory builds reliability faster than hardware tweaks.
Another frequent mistake involves rapid-fire spamming. Overheating the gearbox affects motor response times. Wait a few seconds between bursts to let components cool.
Thermal expansion changes tolerances temporarily. Give your equipment breathing room.
Over-Hydrated "Mush" vs. Under-Hydrated Hard Pellets
Over-hydration turns beads into fragile mush. They deform under pressure, leaking air internally. Shots lose power and stability immediately.
Under-hydration leaves beads rock-hard. These damage barrels and bounce unpredictably off targets.
Find the sweet spot. Beads should yield slightly to finger pressure but retain shape. Test squeeze resistance regularly.
Adjust soak duration based on ambient humidity levels. Dry climates require longer immersion. Humid environments need less time.
Adaptability ensures consistent ammo quality year-round.
Incorrect Bore-to-Bead Fitment Signs
Fitment issues manifest clearly during firing. Watch for excessive kickback or unusual noise patterns. Tight fits cause jamming.
Loose fits result in weak, wandering shots.
Inspect fired beads recovered from the field. Uniform deformation suggests correct sizing. Ragged edges indicate mismatched diameters.
Compare recovered specimens against fresh stock. Identify trends early to prevent chronic wear on expensive internals. Precision fitting extends component life significantly.
Maintenance Routine to Keep Accuracy High Long-Term
Accuracy fades without care. Establish a regular schedule to preserve performance. Treat maintenance as part of the hobby, not a chore.
Neglect invites gradual degradation that surprises you mid-game.
After every session, clear unused beads from the magazine. Moisture breeds mold and stickiness. Wipe down external surfaces to remove sweat and grime.
Store the blaster in a cool, dry place away from direct sunlight. UV exposure embrittles plastics over time.
Every month, perform a deep clean. Remove the barrel assembly. Soak it in warm soapy water.
Rinse thoroughly and dry completely. Inspect O-rings for cracking or flattening. Replace them annually or sooner if signs appear.
Proactive replacement beats reactive repair every single time.
Safety and Legal Considerations Before You Start Modding
Before you tweak internal components, check your local laws. Many jurisdictions classify gel blasters similarly to airsoft or firearms. This means strict age limits and usage restrictions apply.
In some US states, public discharge is illegal without supervision. Always verify municipal codes before heading outdoors.
Eye protection isn't optional. It’s mandatory. Per ANSI Z87.1 standards, wear certified safety goggles at all times.
Splatter beads travel fast enough to cause permanent vision damage. Even low-powered spring models pose risks. Never aim at faces or pets.
Treat every shot with respect.
Modifications can void warranties and increase legal liability. Increasing muzzle velocity beyond manufacturer limits may reclassify the device as a firearm. This triggers background checks and registration requirements in certain areas.
Stick to accuracy improvements that don’t boost power. Keep FPS under 2 joules where required by law. Ignorance of these rules leads to fines or confiscation.
Play smart, stay compliant, and protect yourself.
Frequently Asked Questions About Gel Blaster Precision
How often should I clean my splatter ball gun barrel?
Clean it after every ten magazines fired. Residue builds up quickly from hydrated beads. Use a cleaning rod with microfiber patches.
Avoid harsh chemicals that degrade plastic. Regular maintenance prevents jams and maintains consistent bore diameter. Neglecting this step causes immediate accuracy drops.
Make it part of your post-game routine for best results.
Can I use any water for hydrating the beads?
No. Use distilled or filtered water only. Tap water contains minerals that leave deposits inside the barrel.
These residues alter bead size and create friction points. Distilled water ensures pure hydration without chemical interference. This simple swap extends component life significantly.
Check your local water hardness if unsure. Pure input equals predictable output every time.
Why do my shots curve unexpectedly even after tuning?
Wind is likely the culprit. Gel beads are light and susceptible to drift. Indoor testing eliminates this variable.
Outdoors, shoot on calm days for practice. Also, check for uneven hop-up pressure. A tilted bucking imparts lateral spin.
Re-center the adjustment dial carefully. Environmental factors matter more than mechanics here sometimes. Adjust technique accordingly.
Do red-dot sights improve accuracy more than iron sights?
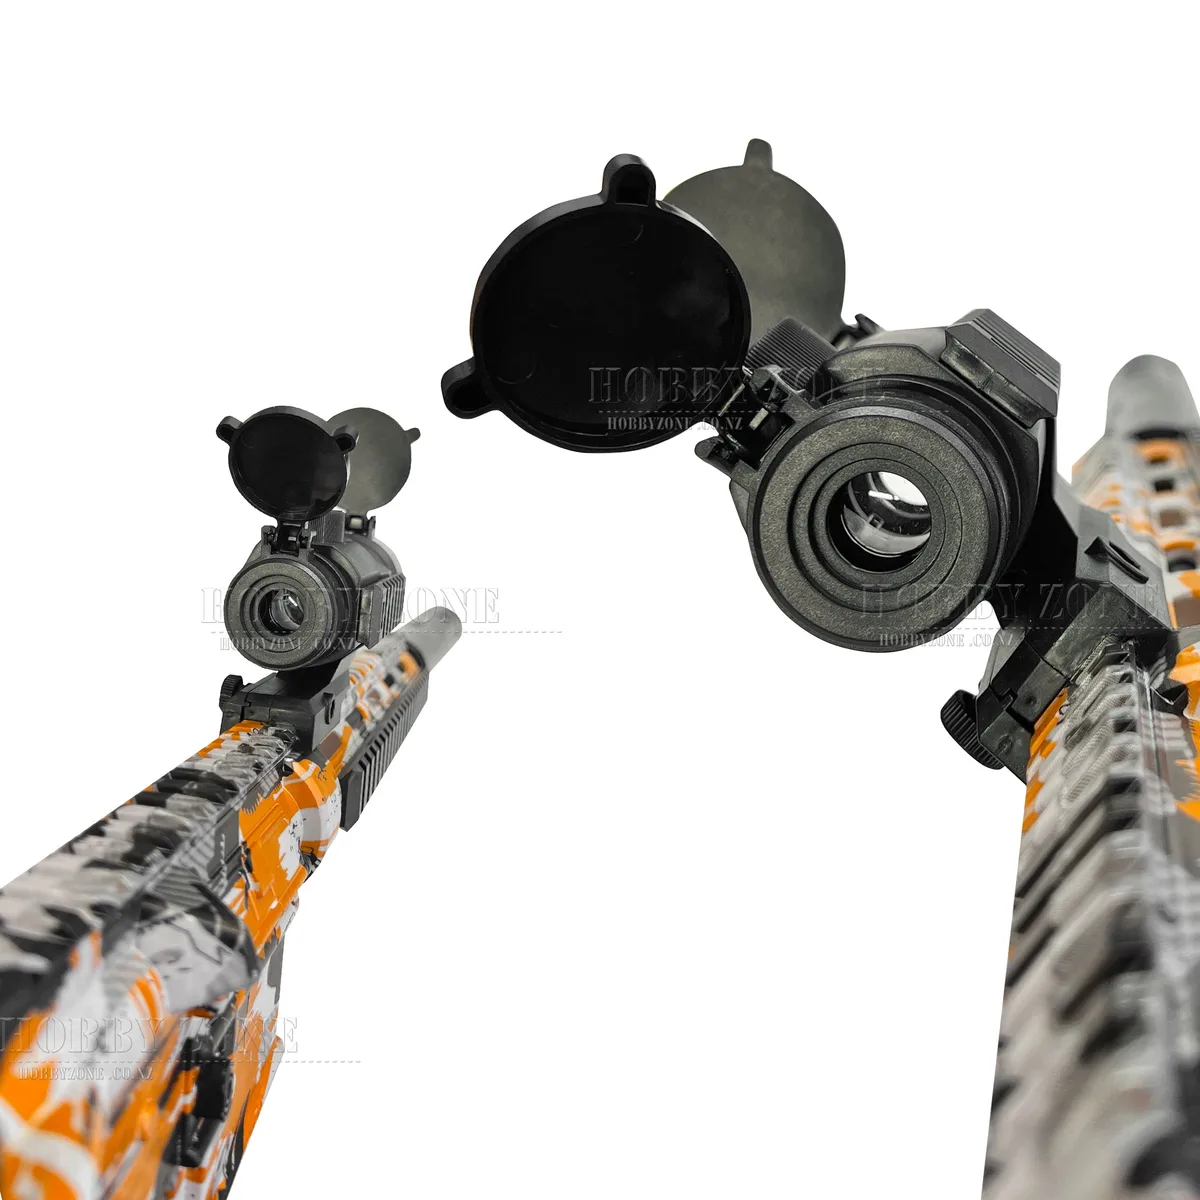
Yes, for most users. Red dots offer faster target acquisition and clearer sight pictures. Iron sights require precise alignment which slows reaction time.
However, ensure the optic sits flush against the rail. Loose mounts cause zero shift during recoil. Secure attachment is critical for maintaining consistency.
Upgrade optics only after mastering basic marksmanship fundamentals first.

Similar Posts