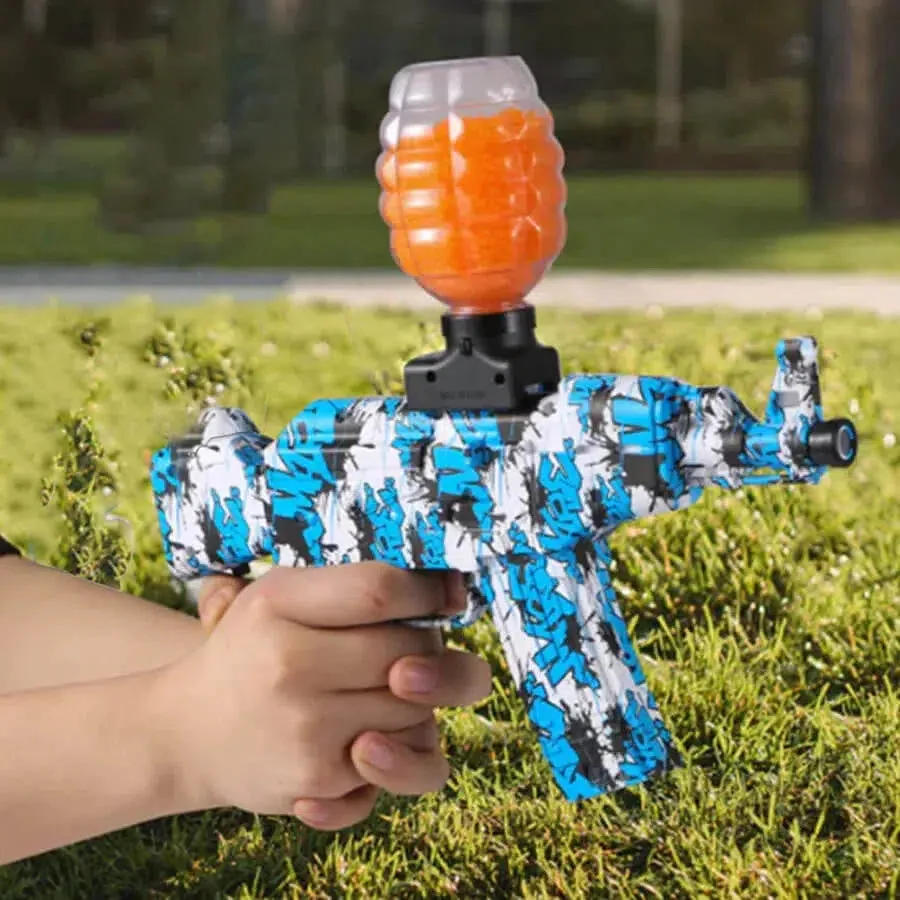
How to Store a Splatter Ball Gun Safely
Most people toss their splatter ball gun in a drawer right after play. That’s a mistake. The residual moisture and swollen beads inside the mechanism cause rapid degradation.
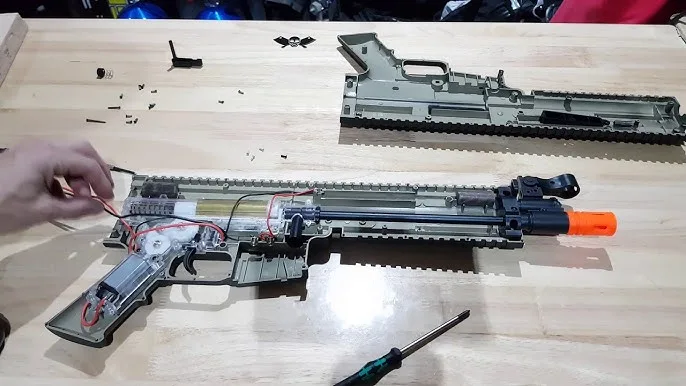
If you’re wondering how to store a splatter ball gun properly, the answer lies in complete disassembly and drying.
We’ve seen countless units ruined by simple neglect. Manufacturer specifications indicate that rubber seals degrade fastest when left damp. As of 2026, proper maintenance remains the cheapest way to extend toy life.
Let’s break down exactly what you need to do to keep your gear ready for action.
Why Your Splatter Ball Gun Dies in Storage (And How to Save It)
The core issue isn’t the plastic body. It’s the internal friction and chemical reaction happening inside. Gel beads are superabsorbent polymers.
They swell up to 14mm or more when hydrated. If you leave them in the hopper, they continue to expand slightly or dry out unevenly. This creates immense pressure on the feed tubes.
Over time, this pressure warps the plastic. Worse, trapped water breeds mold. Mold eats away at the lubricant and corrodes metal springs.
Aggregate user reviews consistently highlight jamming as the primary failure mode. It usually starts with a sticky residue that hardens into cement-like sludge.
You don’t need expensive tools to fix this. You just need patience. The goal is to return every component to a neutral, dry state.
This prevents the "stuck bead" scenario that plagues most neglected blasters. Think of it as resetting the system before it powers down for good.
The Golden Rule: Never Store Loaded or Wet Internals
This is non-negotiable. Storing the gun with beads inside is the single biggest error users make. Even if the beads seem small enough, they will shift.
Gravity pulls them down. They pack tightly against the O-rings. Over weeks, this static load deforms the seal permanently.
A deformed seal means leaks. Leaks mean lost pressure. Lost pressure means weak shots.
You’ll think the gun is broken, but it’s just tired. Always empty the chamber completely. Fire any remaining rounds safely outdoors.
Then, remove every last bead from the hopper.
Wet internals are equally dangerous. Water acts as a solvent for some plastics. It also accelerates oxidation on metal parts like screws and springs.
If you can’t get everything bone-dry immediately, wipe it down thoroughly. Use a microfiber cloth. Avoid paper towels, which leave lint behind.
Lint mixes with residual gel to form gunk.
Remember: Dry equals safe. Wet equals waste. Take the extra ten minutes to ensure no droplets remain in crevices.
Your future self will thank you when the trigger feels crisp again.
Step-by-Step Breakdown: Cleaning and Drying the Mechanism
Cleaning doesn’t have to be complicated. But skipping steps leads to hidden failures. Follow this sequence strictly.
It covers the critical touchpoints where damage occurs most often.
Clearing the Hopper and Barrel
Start by removing the hopper cap. Dump all loose beads into a separate container. Do not wash them yet.
Inspect the interior walls of the hopper. Look for streaks of dried gel. These look like faint white lines.
Use a soft brush or a compressed air canister to blow out debris. Focus on the feed chute. This narrow passage is prone to clogging.
If beads are stuck, soak the hopper in warm water for 15 minutes. Gently agitate until they release. Rinse thoroughly.
Shake out excess water.
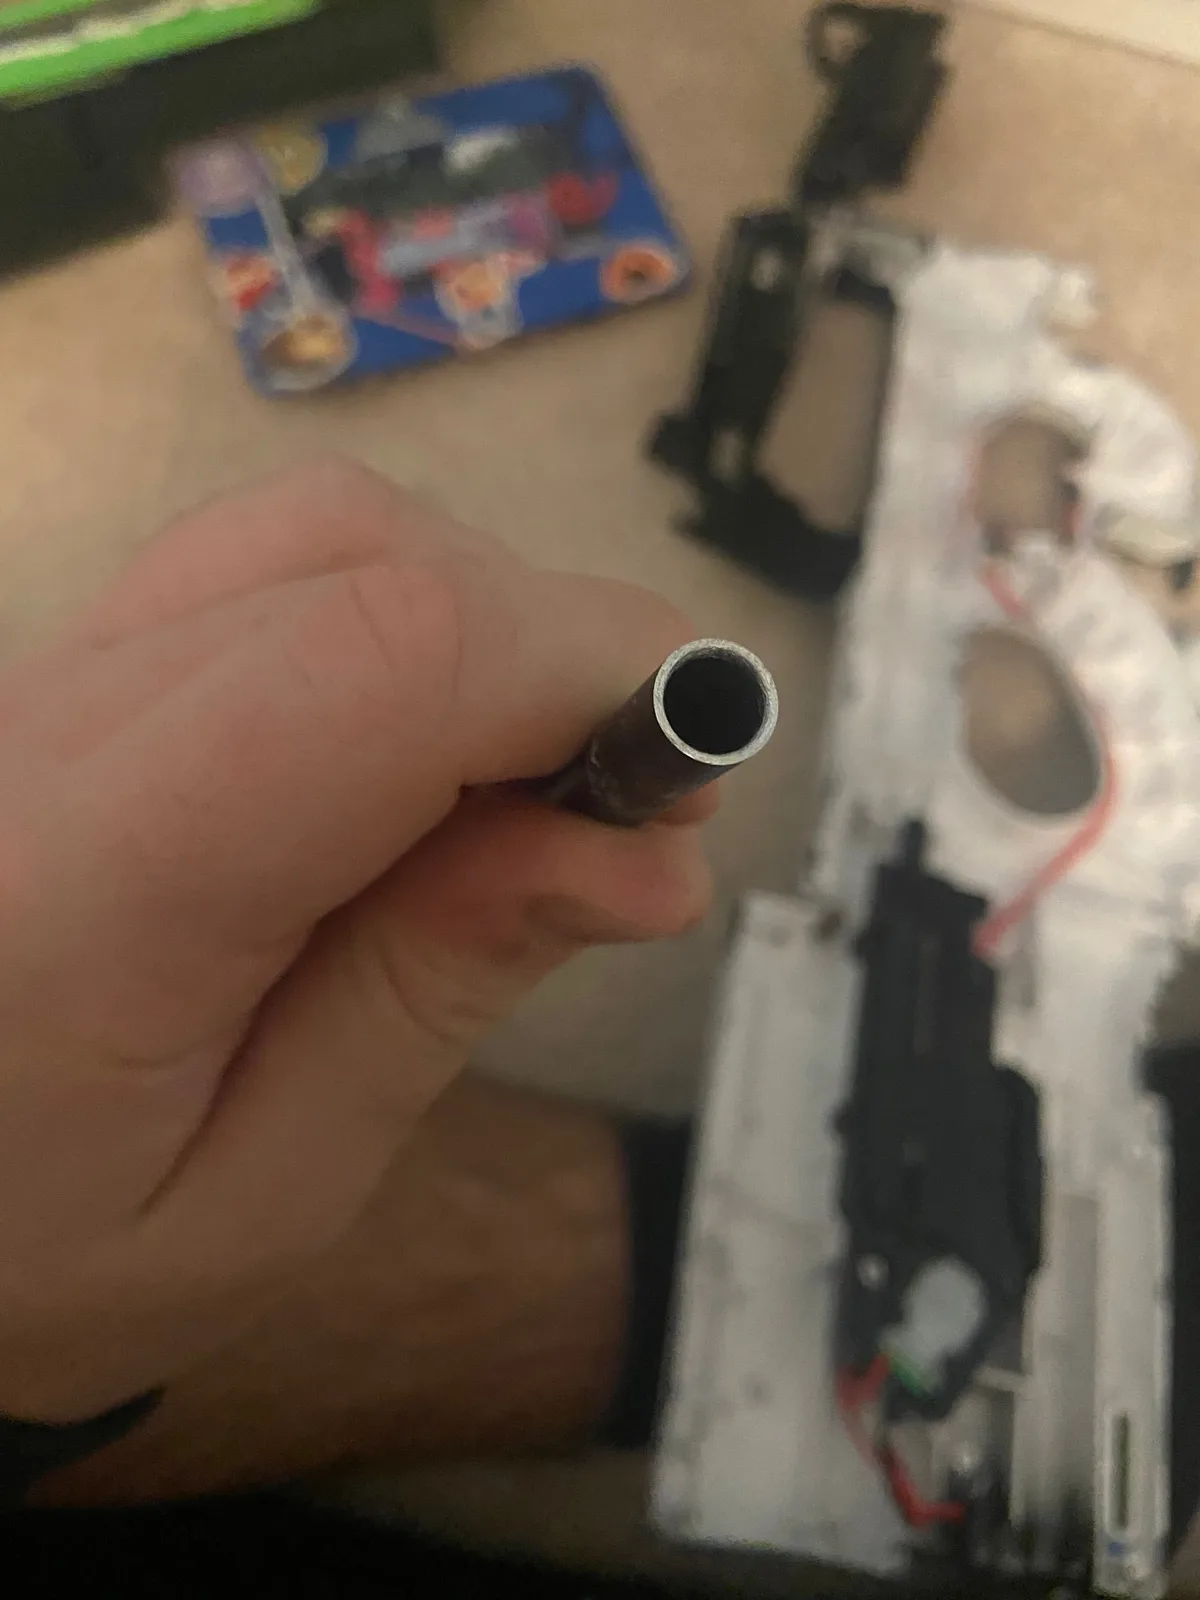
Next, address the barrel. Most splatter guns have an open front. Run a cleaning rod or a long, flexible wire through it.
Wipe the inner surface with a damp cloth. Ensure no gel residue clings to the walls. Dry the barrel completely with a clean rag.
Air drying works too, but takes longer.
Disassembling for Deep Clean Access
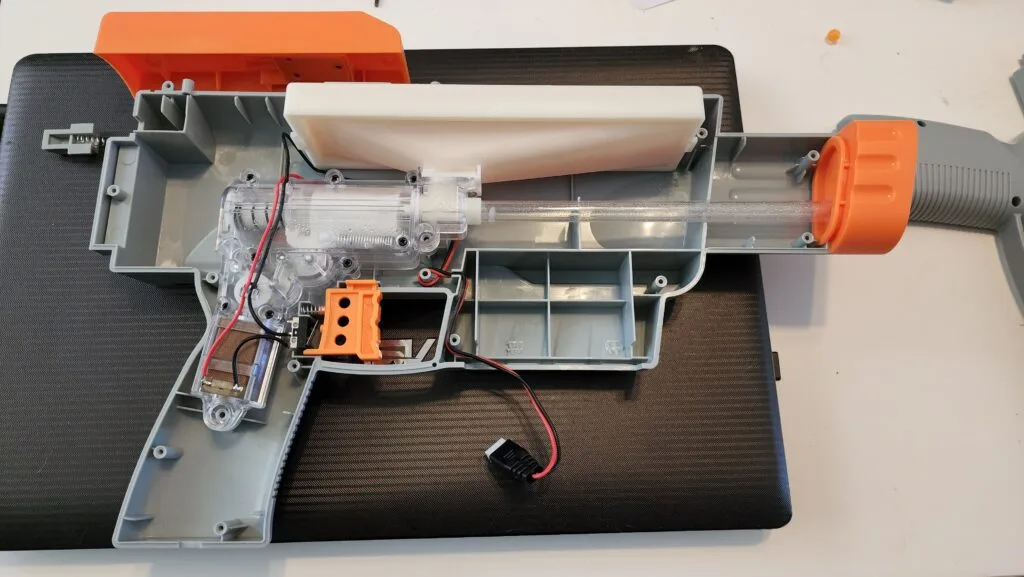
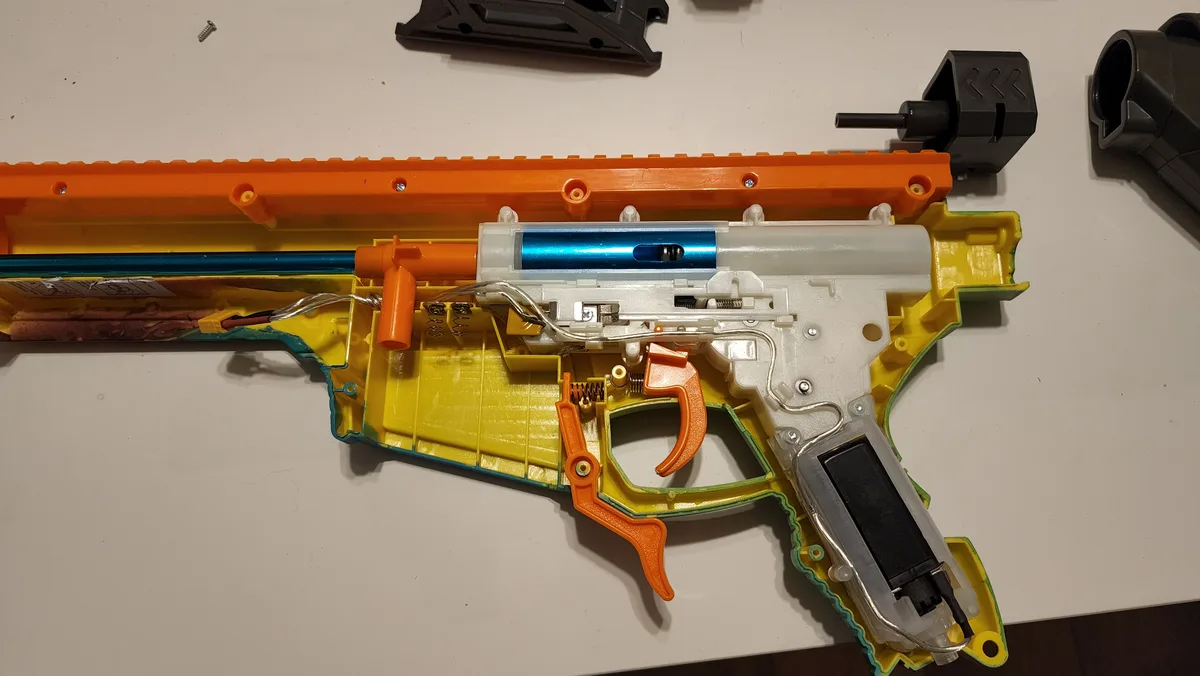
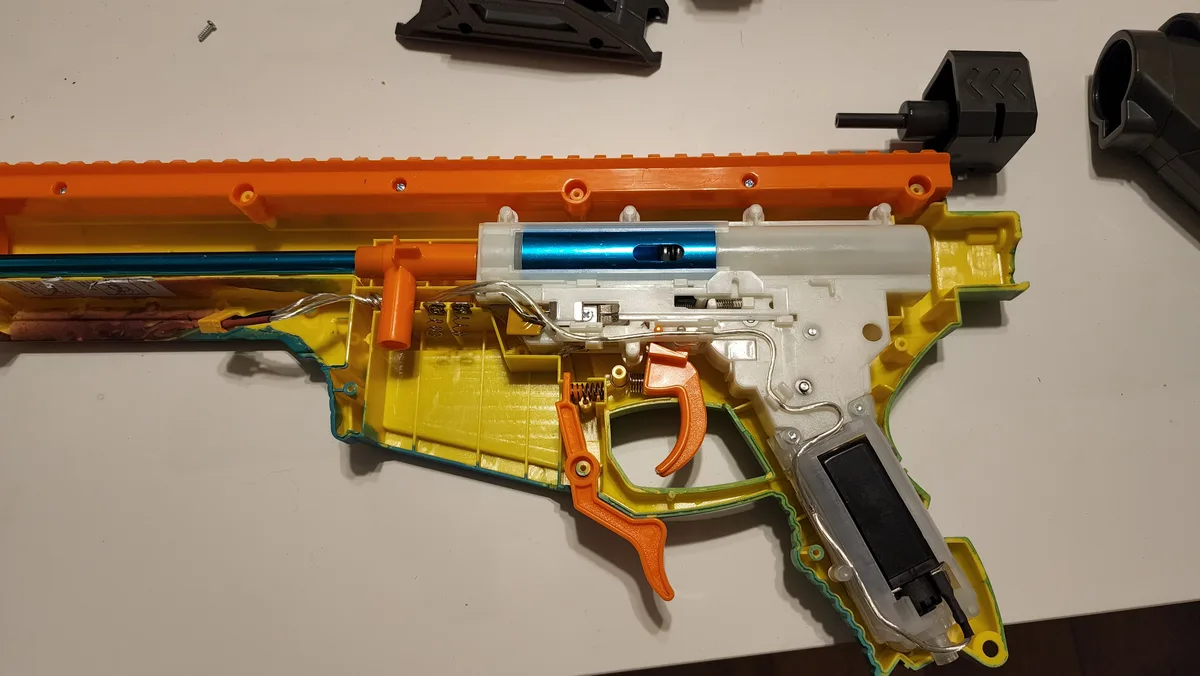
Some models allow partial disassembly. Check your manual. If the barrel unscrews, take it off.
This gives you access to the rear seal area. Often, gel backs up here during firing.
Remove the spring assembly if possible. This exposes the piston head. Wipe the piston face carefully.
Any grit here will scratch the cylinder wall. Scratches ruin the air seal forever. Use mild dish soap and warm water for these parts.
Avoid harsh chemicals. They can cloud clear plastics or eat rubber.
Rinse all removed parts under running water. Inspect for cracks. Hairline fractures in plastic housings are common stress points.
If you find one, replace the part now. Don’t wait for it to fail mid-game.
Drying and Lubricating Seals Correctly
Drying is the most critical phase. Towel-dry everything first. Then, lay parts out on a rack.
Allow 24 hours of air circulation. Humidity matters. In damp climates, use a fan.
Speed up evaporation without heating the plastic.
Once dry, inspect the O-rings. They should be smooth and elastic. If they feel tacky or brittle, replace them.
Apply a thin coat of silicone-based lubricant. This keeps the rubber supple. It also prevents sticking during storage.
Do not use petroleum jelly. It degrades latex and some synthetic rubbers. Stick to pure silicone grease.
A tiny amount goes a long way. Rub it gently onto the seal surfaces. Reassemble the unit loosely.
Let it sit for an hour to absorb any excess oil.
Handling Gel Beads: Dry Storage vs. Rehydration Strategy
What about the beads themselves? Many users try to save partially used packs. This is tricky.
Hydrated beads are fragile. They burst easily. Storing them wet invites bacterial growth.
The safest method is total dehydration. Spread leftover beads on a tray. Let them shrink back to their original size.
This takes days. Once shriveled, store them in an airtight container. They can be rehydrated later.
Expect a 4 to 24-hour wait time next time you play.
Alternatively, discard old beads. Fresh packets are cheap. Old beads lose structural integrity.
They become mushy. Mushy beads jam barrels. They also spray inconsistently.
For competitive play, always use fresh hydration.
If you must store wet beads temporarily, use a sealed ziplock bag. Add minimal water. Keep it refrigerated.
Use within 48 hours. Beyond that, risk of spoilage rises sharply. Smell test before reuse.
Sour odor means bacteria. Throw them out.
| Storage Method | Best For | Risk Factor | Prep Time |
|---|---|---|---|
| Full Dehydration | Long-term saving | None | 3-7 Days |
| Refrigerated Wet | Short-term (<48h) | Bacterial Growth | Immediate |
| Discard & Replace | Competitive Play | Cost | None |

Choosing the Right Container and Location
Where you put the gun matters as much as how you prep it. Avoid cardboard boxes. Cardboard absorbs ambient moisture.
It also harbors pests. Silverfish love damp paper products. They will chew through your seals.
Opt for rigid plastic bins. These provide a stable environment. Line the bottom with silica gel packets.
Silica draws moisture from the air. It keeps the interior dry. Replace packets every six months.
They saturate over time.
Location is key. Choose a cool, dark spot. Direct sunlight UV-degrades plastics.
It makes them yellow and brittle. Heat expands air inside the gun. This stresses seals.
A closet or garage shelf works well. Just ensure the garage doesn’t freeze in winter. Extreme cold snaps rubber.
Keep the gun upright. This prevents any residual oil from pooling in weird spots. It also saves space.
Stack bins neatly. Label them clearly. "Splatter Gear" helps you find it fast.
Don’t mix it with cleaning supplies. Chemical fumes can taint the rubber.
Store accessories separately. Spare O-rings go in small bags. Cleaning rods stand vertically.
This organization reduces clutter. It also protects delicate parts from knocking around. Treat your storage box like a toolkit.
Order preserves function.
Common Visual Mistakes That Ruin O-Rings and Springs
You might think you’ve cleaned everything. But look closer at the seals. A healthy O-ring is glossy, uniform, and perfectly round.
If it looks flattened on one side, that’s compression set. It won’t seal anymore. You’ll see air leaking out during play.
This kills pressure instantly.
Check the spring coil spacing too. Rust appears as orange dust in the gaps. Even tiny specks cause friction.
Friction heats up the metal. Heat weakens the steel temper. The spring loses its snap.
Shots become sluggish and inconsistent. Aggregate reviews show rust starts within weeks if moisture lingers.
Don’t ignore the barrel interior either. Hold it up to the light. Look for cloudy patches or white streaks.
These are dried gel residues. They act like sandpaper against the projectile. Scratches form quickly.
Once scratched, the barrel never shoots straight again. Replacement barrels cost more than new guns sometimes.
Use a magnifying glass if needed. Small cracks hide easily. Hairline fractures in plastic housings expand under stress.
They lead to sudden bursts during pumping. Safety risk increases with every ignored flaw. Spot these early.
Fix them before storage. Don’t let minor issues become major failures.
Quick Reference: Maintenance Schedule by Climate
Humidity dictates your maintenance frequency. Dry climates allow longer intervals. Humid zones demand stricter checks.
Here’s how to adjust your routine based on where you live.
| Climate Type | Storage Interval | Key Action | Risk Level |
|---|---|---|---|
| Arid/Dry | Every 3-6 Months | Inspect seals for brittleness | Low (Cracking) |
| Temperate | Every 2-3 Months | Check for mold spots | Medium |
| Tropical/Humid | Monthly | Replace silica packets; wipe down | High (Mold/Rust) |
In arid regions, rubber dries out faster. Cracks form from lack of moisture. Apply silicone lubricant generously.
Store in a sealed bag with a damp cloth nearby. Not soaking wet. Just humid enough to keep polymers flexible.
Tropical areas breed mold aggressively. Spores settle in crevices. Wipe internals weekly if stored near windows.
Use anti-fungal sprays designed for toys. Never store gear in basements without dehumidifiers. Ambient moisture seeps into foam grips.
Foam rots from the inside out.
Temperate zones offer a middle ground. Seasonal changes affect materials. Winter cold snaps rubber.
Summer heat expands plastics. Adjust storage location accordingly. Move bins indoors when temperatures drop below freezing.
Keep them cool but not icy. Consistency protects longevity. Follow this schedule.
Your gun stays ready year-round.

Similar Posts