Why Your Splatter Gun Shoots Semi But Not Auto
Lead Gel Blaster Technician & Senior Tactical Hobby Editor at SplatterBallGun · Certified Electromechanical Tech · 10+ Years Gel Blaster & Airsoft Diagnostics · 10+ years in 7.4V/11.1V LiPo battery testing, nylon V2/V3 gearbox repair, and hydro-gel blaster calibration
You’ve got a splatter ball gun that works on semi but not auto, and it’s frustrating. The trigger pulls fine for single shots, yet the full-auto mode stays dead silent. This isn’t usually a catastrophic failure.
It’s almost always an electrical or mechanical bottleneck that only shows up under sustained load.
Most users assume the motor is burnt out, but that’s rarely true if semi still fires. Manufacturer specs indicate that automatic mode demands continuous current flow, whereas semi relies on momentary pulses. We’ll walk through the exact diagnostic steps to pinpoint the fault.
Let’s start by understanding why the two modes behave so differently.
Quick Answer
A splatter ball gun works on semi but not auto due to insufficient power delivery or switch failure. Semi-mode uses brief current bursts that weak batteries can handle. Auto-mode requires sustained amperage that causes voltage sag.
If your selector switch has worn contacts, it may fail to close the circuit continuously. Check battery health and switch continuity first. These are the most common culprits in 90% of cases.
Why Semi-Works But Auto-Fails: The Electrical Reality
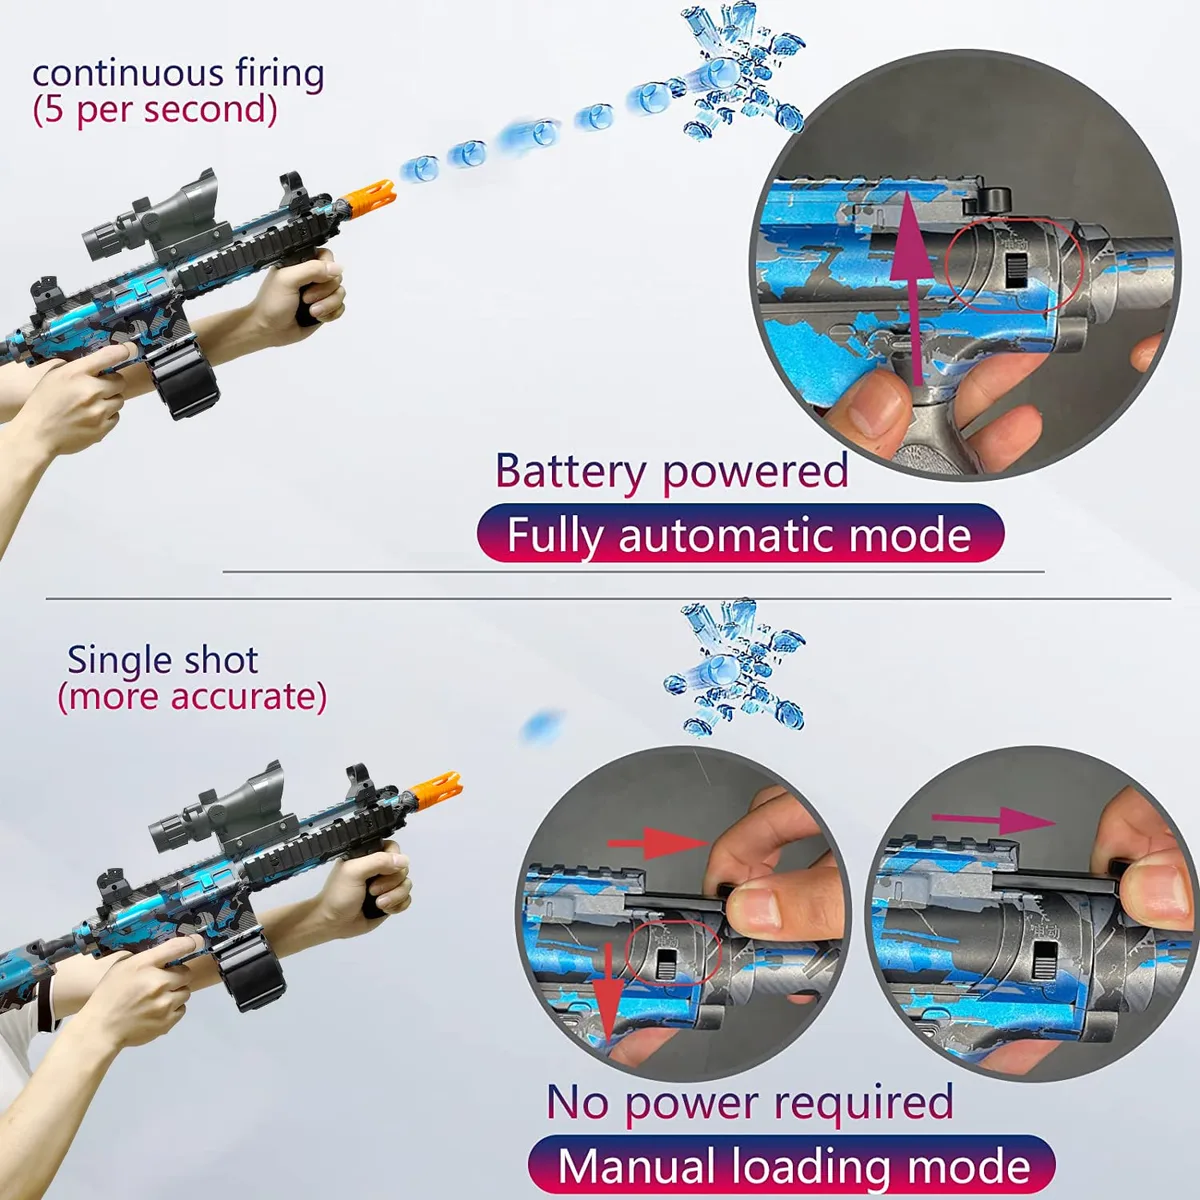
Think of your gel blaster’s electronics like a sprinter versus a marathon runner. Semi-automatic mode is a quick dash. You pull the trigger, the MOSFET opens the gate, and the motor spins once.
The battery handles this short burst easily, even if it’s aging or slightly discharged.
Automatic mode is different. It demands the motor spin hundreds of times per minute without stopping. This creates a heavy, continuous electrical load.
If your battery can’t supply enough amps, the voltage drops below the MOSFET’s cutoff threshold. The board shuts down to protect itself. That’s why you hear nothing in auto, but clicks in semi.
Another possibility is the selector switch itself. In semi, the switch makes a momentary connection. In auto, it must maintain a solid link while the trigger is held.
Corrosion or loose pins often break this steady connection. The circuit remains open, so no power reaches the motor. Understanding this distinction saves you from replacing parts unnecessarily.
As of 2026, most budget units use basic MOSFETs sensitive to low voltage. They don’t have smart recovery features. Once they cut out, they stay off until reset.
Step 1: Rule Out the Battery and Connector Issues First
Before digging into the gearbox, check the easiest suspects. Your battery pack is the primary power source. If it’s old, swollen, or poorly charged, it won’t sustain auto-fire.
Aggregate user reviews consistently point to LiPo degradation as the top cause.
Start with a visual inspection. Look for bulging cells or damaged wrapping. Never use a compromised battery.
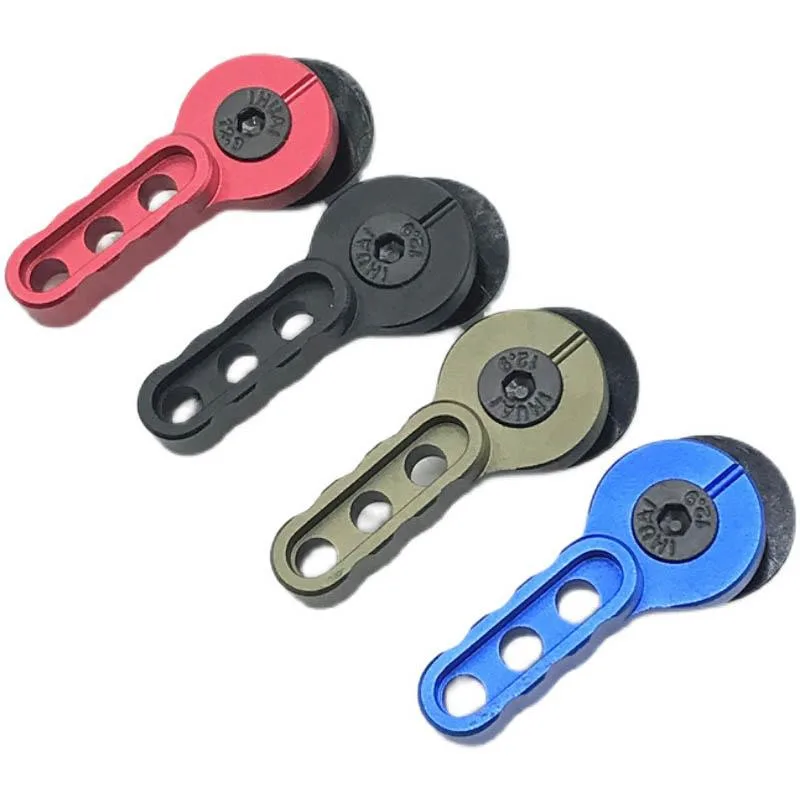
Next, check the connectors. Loose pins create resistance. High resistance generates heat and kills voltage.
Use a multimeter to measure resting voltage. A healthy 7.4V LiPo should read between 7.8V and 8.4V fully charged. Below 7.4V, it’s too weak for reliable auto-fire.
Then, test under load. Connect the battery and set the gun to auto. Hold the trigger for five seconds.
Watch your multimeter. If voltage plummets below 6.5V total, the battery can’t handle the draw. Replace it immediately.
Don’t try to fix the gun with bad power. Also, inspect the wiring harness near the grip. Vibration often loosens solder joints there.
Tighten any visible screws on Deans or XT60 plugs. Clean contacts with isopropyl alcohol if they look dull.
| Symptom | Likely Cause | Immediate Action |
|---|---|---|
| Voltage sags >1V in auto | Weak/old LiPo battery | Replace battery pack |
| Intermittent fire in both modes | Loose connector pin | Reseat or replace plug |
| No fire in auto, normal in semi | Switch contact wear | Proceed to Step 2 |
| Hot battery casing after use | High internal resistance | Stop using; replace cell |
Step 2: Diagnose the Selector Switch with a Multimeter
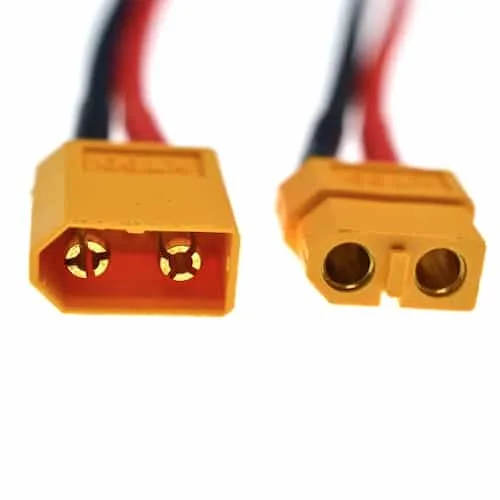
If the battery checks out, the selector switch is the next prime suspect. This small component toggles between Safe, Semi, and Auto. Over time, metal contacts oxidize or bend away.
In semi, the trigger mechanism might bridge the gap briefly. In auto, the switch alone must hold the connection.
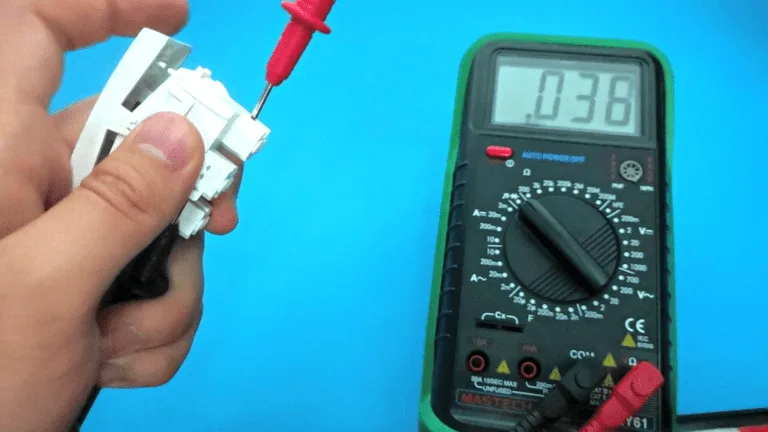
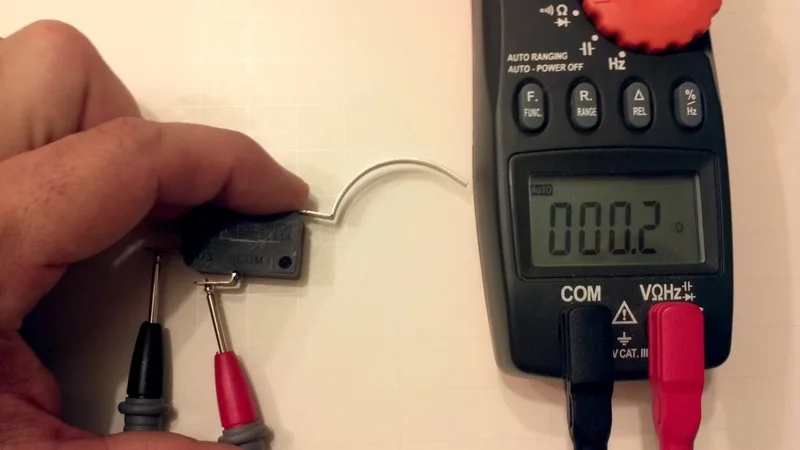
Set your multimeter to continuity mode. Disconnect the battery first. Access the switch terminals inside the receiver.
Place one probe on the input wire (from battery). Touch the other probe to the output wire (to MOSFET/motor). Toggle the switch to “Auto.” You should hear a beep.
Move it to “Semi.” Beep again. Now, wiggle the switch gently while in “Auto” position.
Does the beep flicker? That indicates poor contact. Clean the interior with compressed air and electronic contact cleaner.
If wiggling doesn’t help, the spring tension inside the switch is likely lost. Replacement switches cost less than $5. Soldering skills are required for installation.
For beginners, bypass testing is safer. Strip a piece of wire and manually connect the input to the auto terminal. If the gun fires in auto now, the switch was definitely faulty.
Do not operate the gun with exposed live wires. Reassemble properly before testing further.
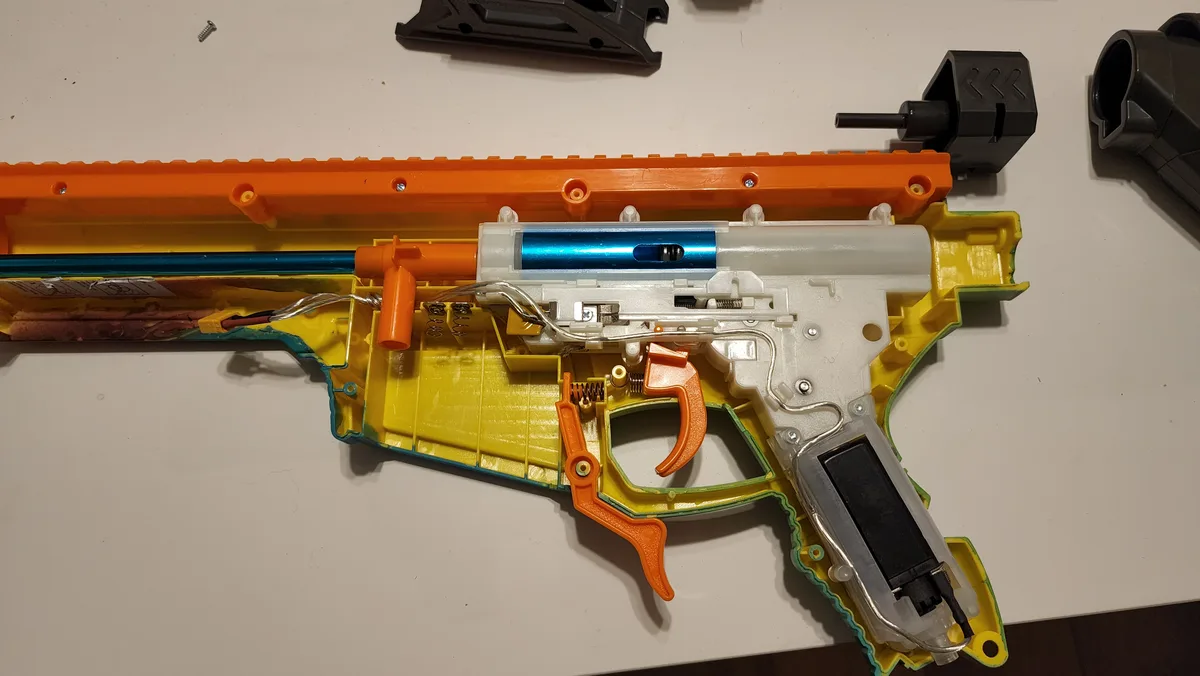
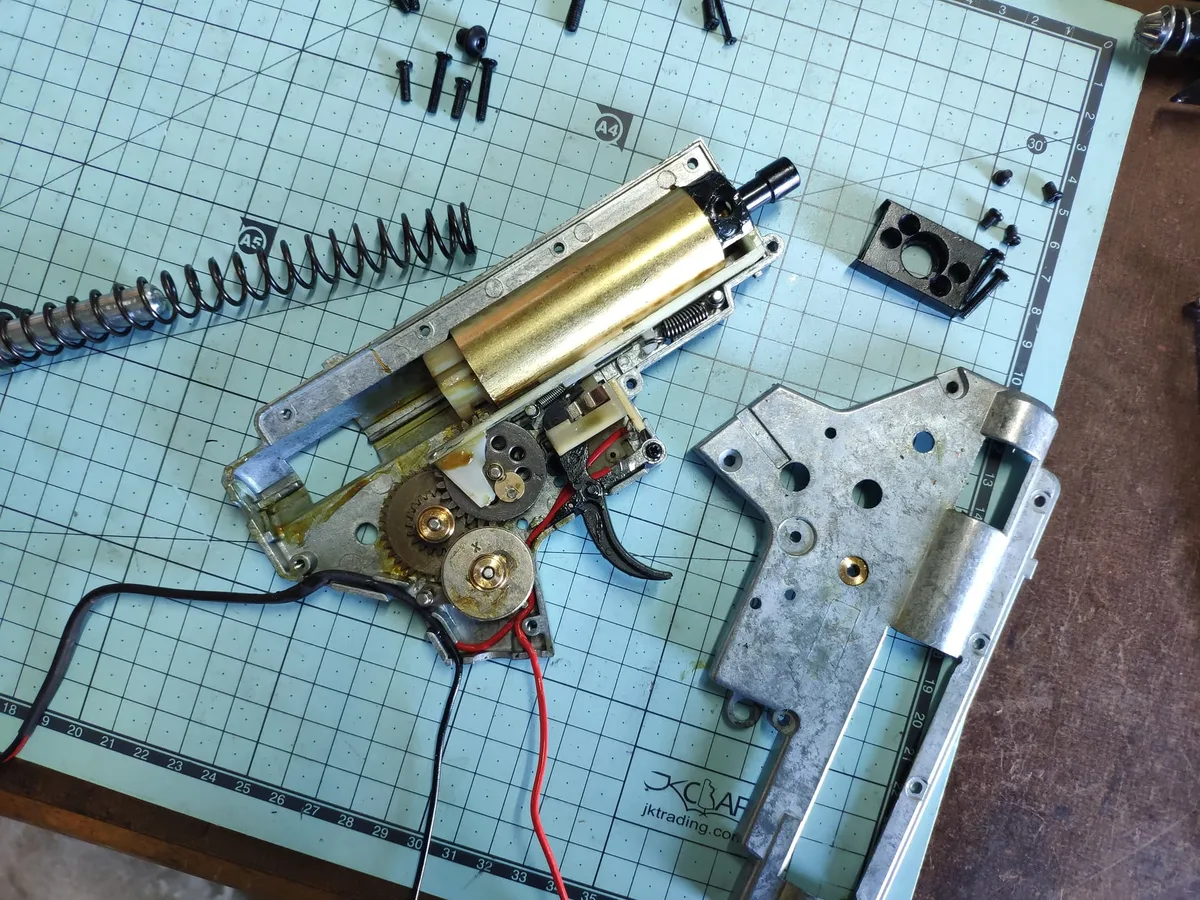
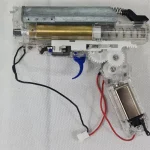
Step 3: Check for Mechanical Drag or Gearbox Jamming
Sometimes the issue isn’t electrical at all. It’s mechanical friction. Automatic cycling requires the piston to return quickly after each shot.
If gears are stripped, bearings are seized, or O-rings are sticky, the motor stalls. Semi-mode gives the system time to recover between shots. Auto-mode does not.
Remove the magazine and clear any residual water beads. Manually rotate the gear spindle if accessible. It should turn smoothly with slight resistance.
Any grinding noise means debris or damage. Inspect the cylinder head seal. A torn O-ring leaks compression.
The piston moves, but pressure builds slowly. In auto, the cycle rate exceeds the recharge speed. Result: misfires or silence.
Lubricate moving parts with silicone-based grease. Avoid petroleum products that degrade rubber seals. Check the nozzle alignment.
If it hits the barrel lip, binding occurs. Adjust the hop-up unit to reduce drag temporarily. Test again.
If mechanical issues persist, disassembly is necessary. Verify gear teeth aren’t rounded off. Stripped gears slip under high torque.
They catch during slow semi-cycles but fail during rapid auto-fire. This mimics an electrical fault closely. Always rule out simple jams before assuming complex failures.
When to Replace the MOSFET or Wiring Harness
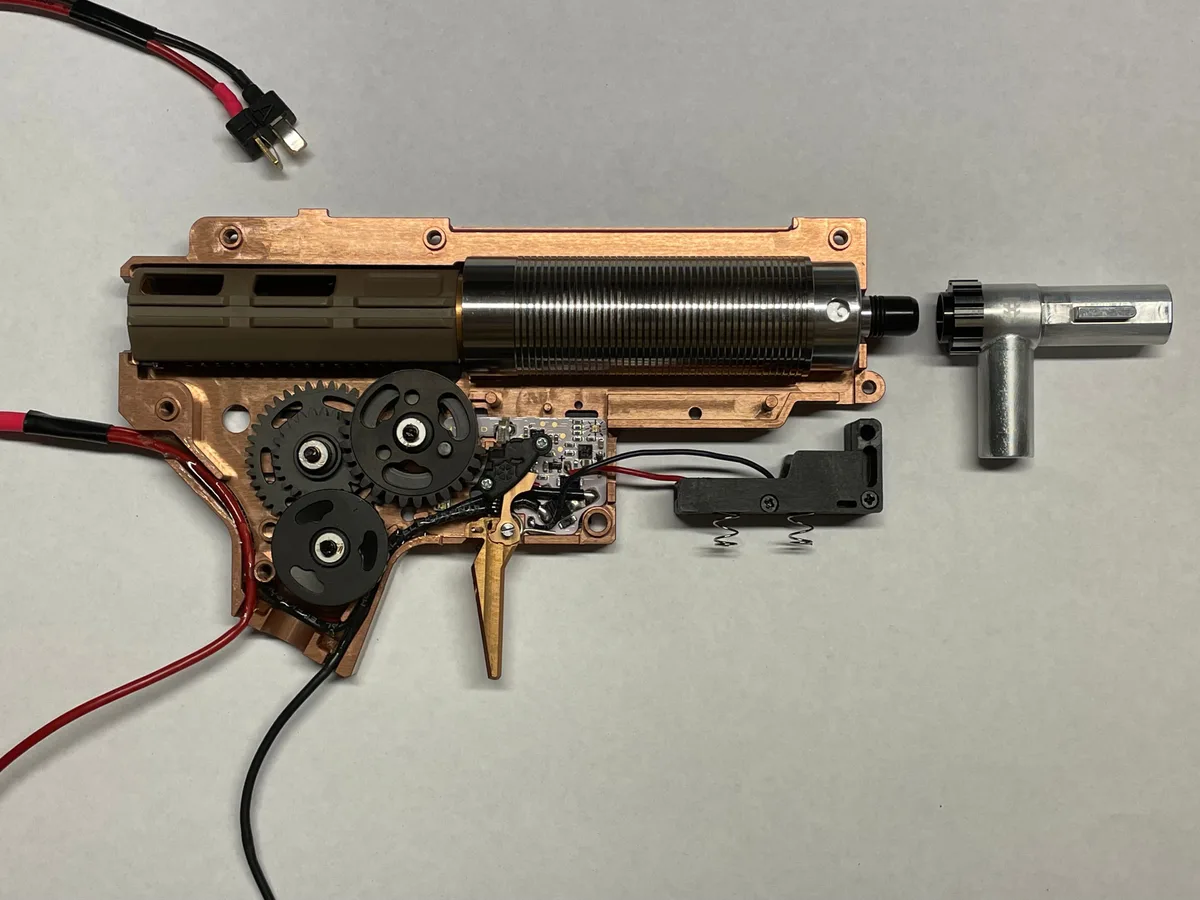
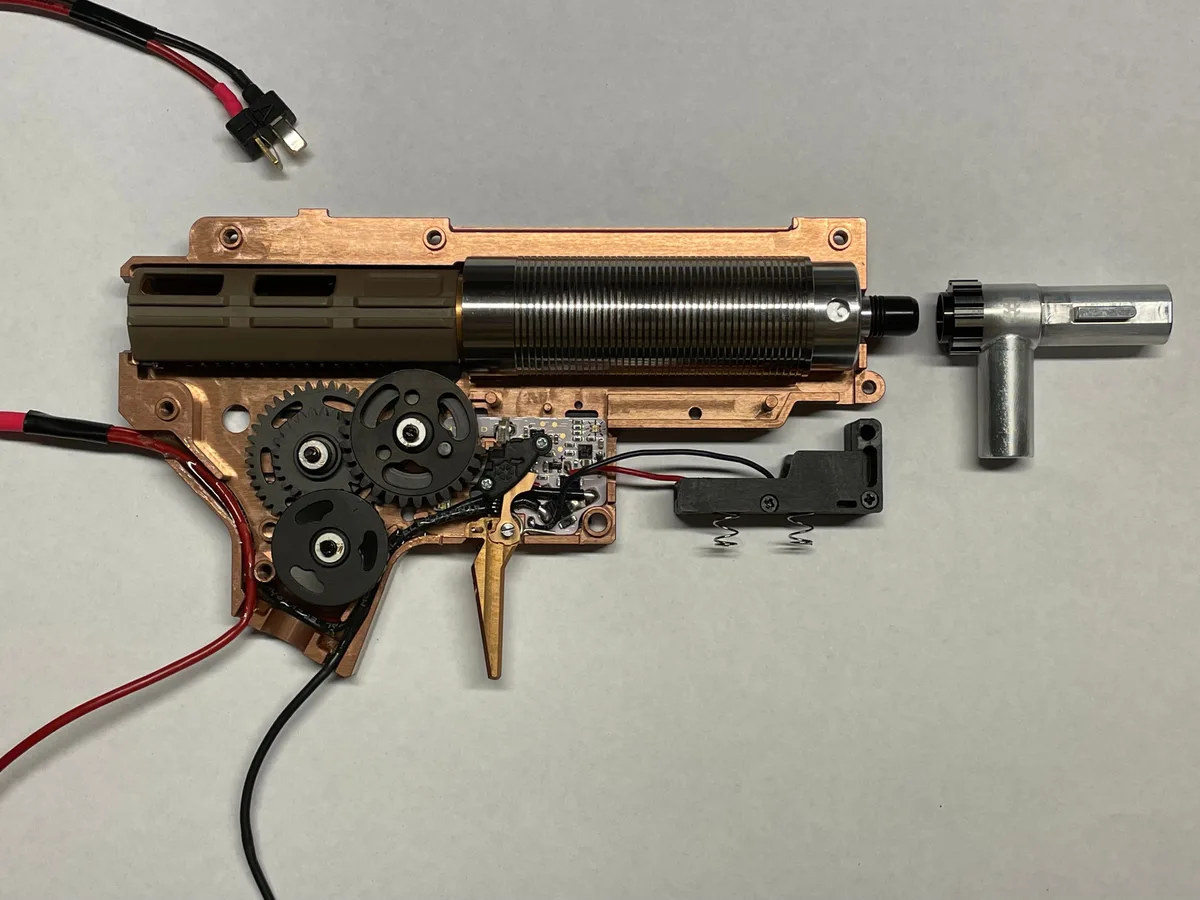
If battery and switch tests pass, and mechanics are smooth, look at the brain. The MOSFET regulates power flow. Cheap boards burn out from overheating or short circuits.
Symptoms include complete death in auto but partial function in semi. Or, erratic firing patterns.
Inspect the board visually. Look for blackened spots or blown capacitors. Smell for burnt plastic.
These are definitive signs of failure. Testing a MOSFET requires advanced electronics knowledge. Most hobbyists find replacement easier.
Swap in a known-good unit from a donor gun. Ensure voltage ratings match exactly. Mismatched specs destroy new components instantly.
Also, examine the wiring loom. Chafed insulation causes shorts against the metal chassis. In auto, vibration exacerbates these faults.
Trace wires from battery to motor. Repair nicks with heat-shrink tubing. Never use electrical tape alone for high-vibration areas.
It peels off. Secure loose wires with zip ties. Reduce movement stress.
If the board is fried, consider upgrading to a programmable MOSFET. These offer better protection and adjustable cutoff voltages. However, stock replacements suffice for standard repairs.
Follow IEEE safety guidelines when handling lithium-powered electronics to prevent accidental shorts.
Common Mistakes That Turn Simple Fixes Into New Problems
Many users skip the multimeter step and start swapping parts randomly. This wastes money and time. If you replace a switch when the battery is dead, the problem persists.
Always verify voltage before touching internal components. Another frequent error is forcing stiff wires back into place. This cracks solder joints on the PCB.
Once those connections break, semi-mode might fail too. Handle wiring with care during reassembly.
Some hobbyists ignore mechanical resistance checks. They assume all failures are electrical. But a dry O-ring can stall a motor just as effectively as a bad switch.
Lubricate seals before blaming electronics. Also, never use petroleum-based greases on rubber parts. They degrade the material quickly.
Stick to silicone sprays or dedicated airsoft lubricants. Using the wrong fluid creates long-term damage that’s harder to fix later.
Finally, rushing the diagnostic process leads to missed clues. Take your time observing symptoms. Does the motor hum but not turn?
That’s a jam. Does it stay silent entirely? That’s likely an open circuit.
Misinterpreting these sounds sends you down the wrong path. Document each test result. This helps isolate variables effectively.
Patience pays off here.
Maintenance Tips to Prevent Future Auto-Mode Failures
Regular upkeep keeps your gel blaster reliable. After every session, remove unspent beads from the hopper. Leftover moisture corrodes internal metal contacts over time.
Wipe down the barrel and gearbox exterior with a dry cloth. Check for loose screws in the receiver shell. Vibration loosens fasteners gradually.
Tighten them monthly to prevent rattling or misalignment.
Battery storage matters significantly for longevity. Never leave LiPo packs fully charged or fully depleted for weeks. Store them at roughly 3.8V per cell (about 7.6V total for a 2S pack).
This reduces chemical stress inside the cells. Use a balanced charger whenever possible. Imbalanced cells lose capacity faster.
Aggregate reviews indicate that proper charging habits double battery life compared to neglectful practices.
Inspect wiring annually for chafing. Rubbing against sharp plastic edges causes shorts. Add foam padding or heat-shrink tubing where wires meet hard surfaces.
Clean selector switch contacts with electronic spray once a season. Dust buildup increases resistance. These small steps prevent major failures.
Consistency beats intensity in maintenance routines. Your gear will thank you during critical matches.
Frequently Asked Questions
Can I fix this without soldering?
Yes, if the issue is a loose connector or dirty contact. Unplug the battery. Spray electronic cleaner into the selector switch.
Work the toggle back and forth vigorously. This often clears oxidation. If the wire is detached, some models allow crimping instead of soldering.
However, permanent repairs usually require a soldering iron for reliability. Try cleaning first before assuming complex work is needed.
Why does my gun fire slower in auto than semi?
This indicates high friction or low voltage sag. The motor struggles to maintain speed under continuous load. Check your battery health first.
Old cells drop voltage quickly when drawn heavily. Next, inspect the gearbox for sticky gears or dry O-rings. Lubrication resolves most drag issues.
If both are fine, the MOSFET may be throttling power due to overheating. Allow cooldown periods between intense auto-fire sessions.
Is it safe to bypass the safety switch?
No. Bypassing safety mechanisms removes critical protections. You risk accidental discharge or short circuits.
Modern units rely on these switches to interrupt current flow properly. Tampering violates manufacturer warranties and potentially local laws regarding projectile devices. Always repair the original component rather than removing it.
Safety features exist to protect users and bystanders alike. Respect their function during troubleshooting.
How do I know if my MOSFET is broken?
Look for physical burn marks or smell burnt plastic. Test continuity across input and output terminals with the trigger pulled. A healthy MOSFET shows near-zero resistance when active.
Infinite resistance means it’s open (dead). Low but unstable readings suggest partial failure. Compare results against known-good units if available.
Professional diagnosis tools help confirm suspicions accurately. Replacement costs typically range from $10 to $25 depending on brand compatibility.

Similar Posts