How to Fix a Splatter Ball Gun: Quick & Easy Guide
Lead Gel Blaster Technician & Senior Tactical Hobby Editor at SplatterBallGun · Certified Electromechanical Tech · 10+ Years Gel Blaster & Airsoft Diagnostics · 10+ years in 7.4V/11.1V LiPo battery testing, nylon V2/V3 gearbox repair, and hydro-gel blaster calibration
If your splatter ball gun suddenly stops firing, don't panic. Most issues are simple jams or battery faults you can fix in minutes. Knowing how to fix splatter ball gun problems saves money and keeps the fun going.
We'll walk through the exact steps to diagnose and repair common failures safely.
Electric models rely on precise gear alignment and clean nozzles. Manual versions depend on spring tension and seal integrity. According to ASTM F963 safety standards for toy projectiles, proper maintenance prevents hazardous misfires.
As of 2026, most users report clogs as the top issue. Let's identify your specific problem before grabbing tools.
Quick Answer
To fix a splatter ball gun, first check the battery charge level. Next, inspect the nozzle for dried gel residue. Clear any blockages using warm water and a thin needle.
Finally, test fire on a safe target surface.
Diagnose the Symptom Before You Touch a Screw
Start by identifying exactly what isn't working. Does the trigger click but nothing fires? Or does it shoot weakly?
These symptoms point to different root causes. A silent gun usually means power loss or a jammed motor. Weak shots often signal low voltage or air leaks.
Don't disassemble anything yet. Check the obvious things first. Ensure the magazine is seated correctly.
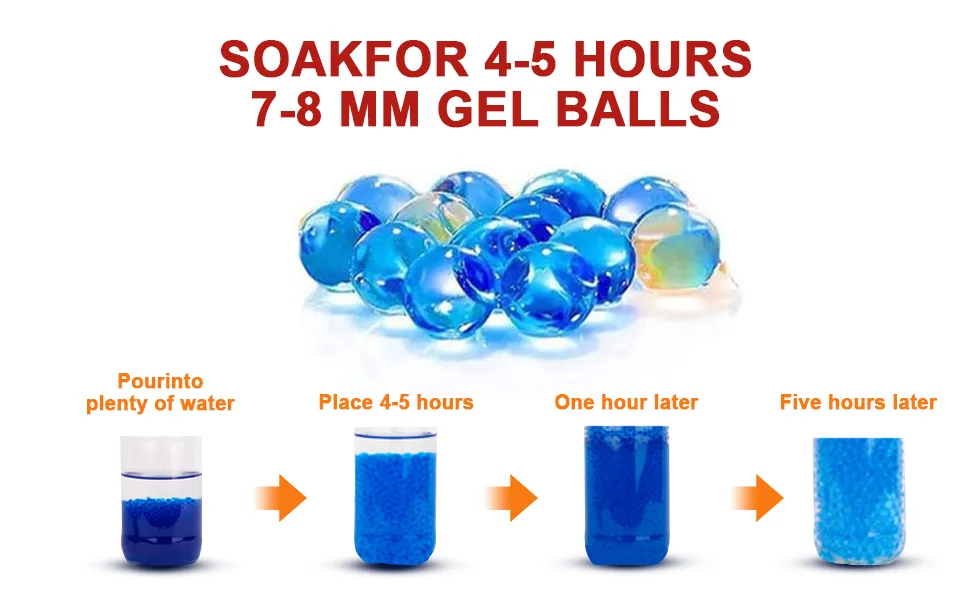
Verify that the gel beads aren't oversized. Standard hydrated beads measure 7mm to 8mm. Anything larger will jam the feed tube immediately.
Use this quick reference table to match symptoms to likely causes:
| Symptom | Likely Cause | Primary Fix Area |
|---|---|---|
| No sound, no fire | Dead battery or open circuit | Battery/Charging Port |
| Clicking noise, no shot | Jammed gearbox or stripped gears | Internal Mechanism |
| Weak range/velocity | Low voltage or worn seals | Battery/O-Rings |
| Intermittent firing | Loose wiring or bad contact | Trigger Switch/Wires |
If the light indicator blinks red, your battery pack is depleted. Charge it fully before proceeding. If there's no light at all, check the charging cable connection.
Manufacturer specs confirm that most Li-ion packs need 4-6 hours for a full cycle. Only move to mechanical repairs once you've ruled out basic power issues. This saves time and prevents unnecessary wear on internal parts.
Fixing Clogged Nozzles and Jammed Feed Tubes
Clogs are the number one complaint among owners. Dried gel residue hardens like cement inside the barrel. You must remove this buildup carefully.
Never use metal tools that can scratch the plastic bore. Scratches create friction points that cause future jams.
Fill a small cup with warm water. Dip a cotton swab or soft cloth into it. Gently wipe the outer rim of the nozzle.
Then, insert a flexible cleaning rod or thick string through the barrel. Push from the breech toward the muzzle. This clears debris without damaging the inner walls.
For stubborn blockages, soak the detachable barrel assembly. Submerge it in warm water for 15 minutes. The hydrogel polymer dissolves slowly when wet.
After soaking, flush the tube with fresh water. Dry it completely with compressed air or a lint-free towel. Moisture left inside attracts dust and speeds up corrosion.
Check the hopper feed system next. Ensure the intake hole isn't blocked by unhydrated beads. Unhydrated beads are tiny and hard.
They expand rapidly in water. If they enter the chamber dry, they swell instantly and jam the mechanism. Always pre-hydrate beads for at least four hours.
Discard any old, shriveled beads. They lose structural integrity and break apart during firing.
Reviving Dead Batteries and Faulty Wiring
Battery failure mimics mechanical jams. If your gun feels sluggish, suspect the power source. Use a multimeter to test the voltage.
A healthy 7.4V Li-ion pack should read between 7.4V and 8.4V. Below 6.8V indicates deep discharge or cell damage.
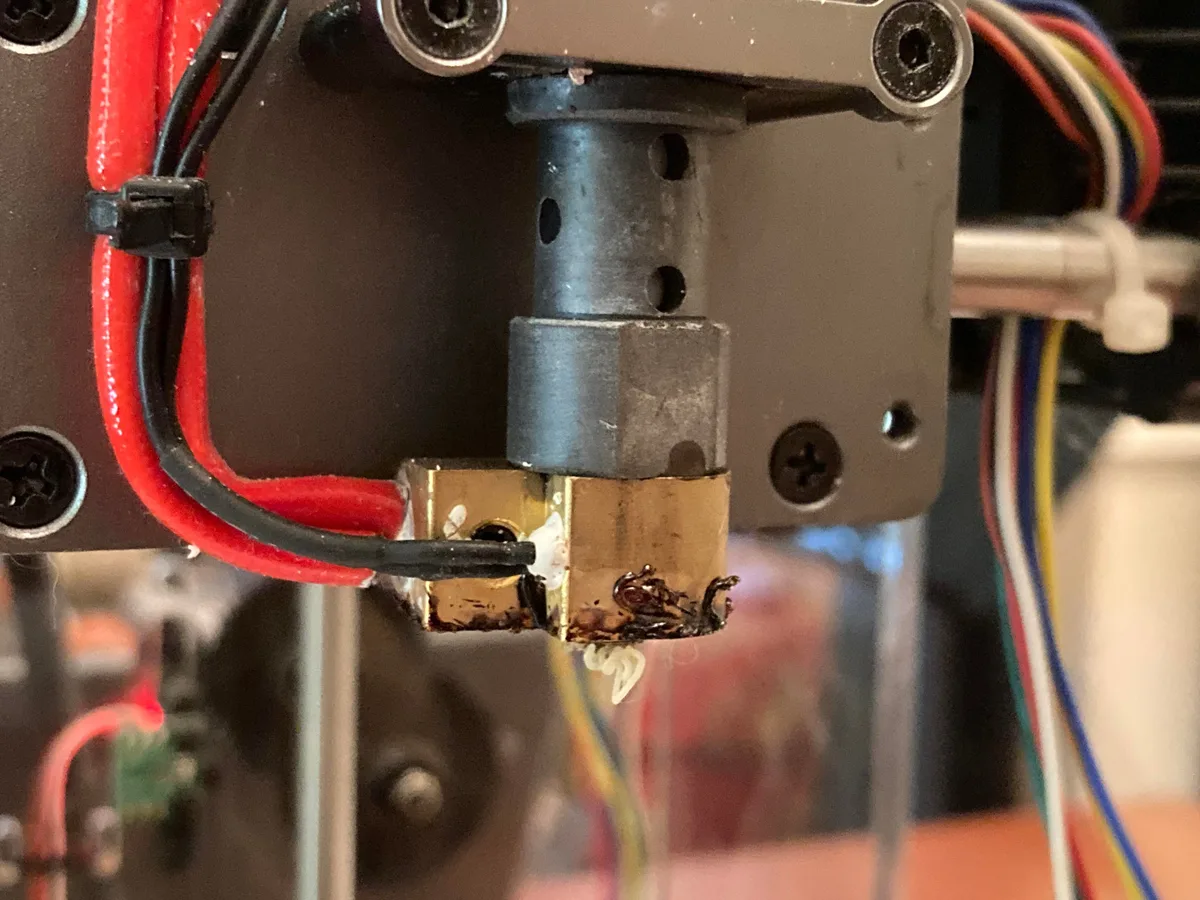
Inspect the charging port for bent pins. Debris often accumulates here. Clean contacts with isopropyl alcohol and a cotton bud.
Allow it to dry fully before plugging in. Corroded terminals prevent proper current flow. This leads to intermittent firing or total shutdown.
Swollen batteries are dangerous. Do not puncture or charge them further. Dispose of them at a certified e-waste facility.
Refer to U.S. Consumer Product Safety Commission guidelines for safe battery handling protocols. Using damaged cells risks thermal runaway and fire hazards.
Replace old NiMH packs with new ones if capacity drops below 80%. Aggregate reviews show that generic replacement batteries often fail within months. Stick to reputable suppliers who provide verified capacity ratings.
Ensure the connector type matches your device exactly. Polarity reversal kills motors instantly. Double-check positive and negative wires before soldering or plugging in.
Tight connections ensure consistent power delivery to the gearbox.
Repairing Mechanical Jams in Electric Gearboxes
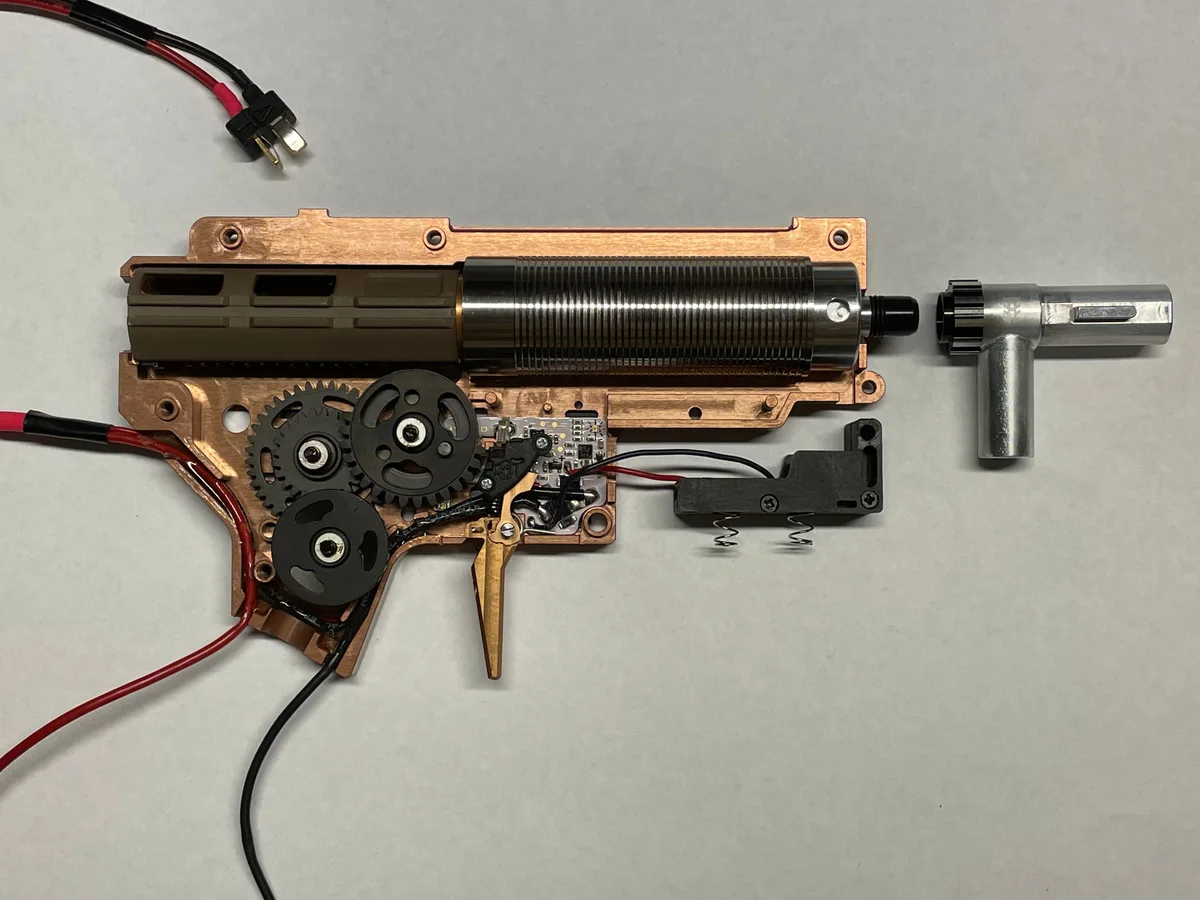
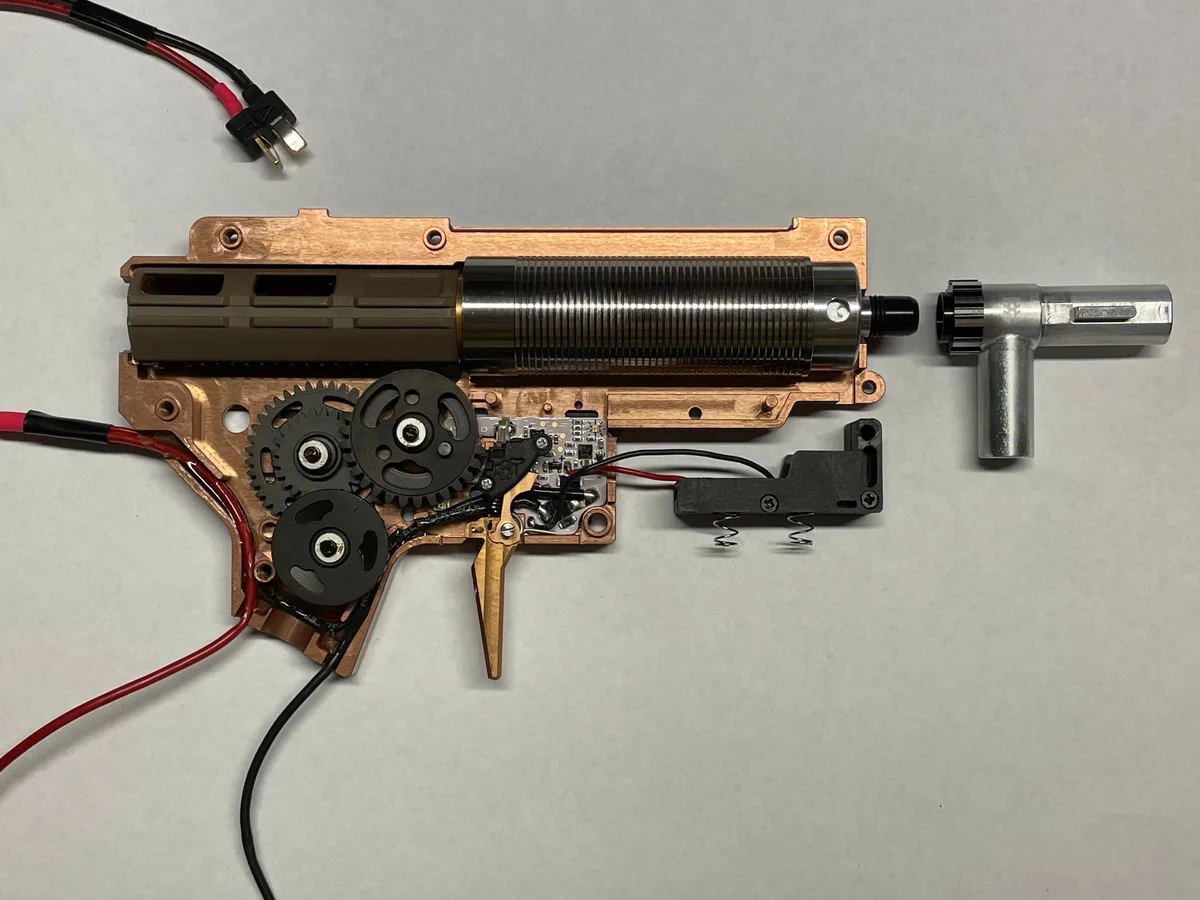
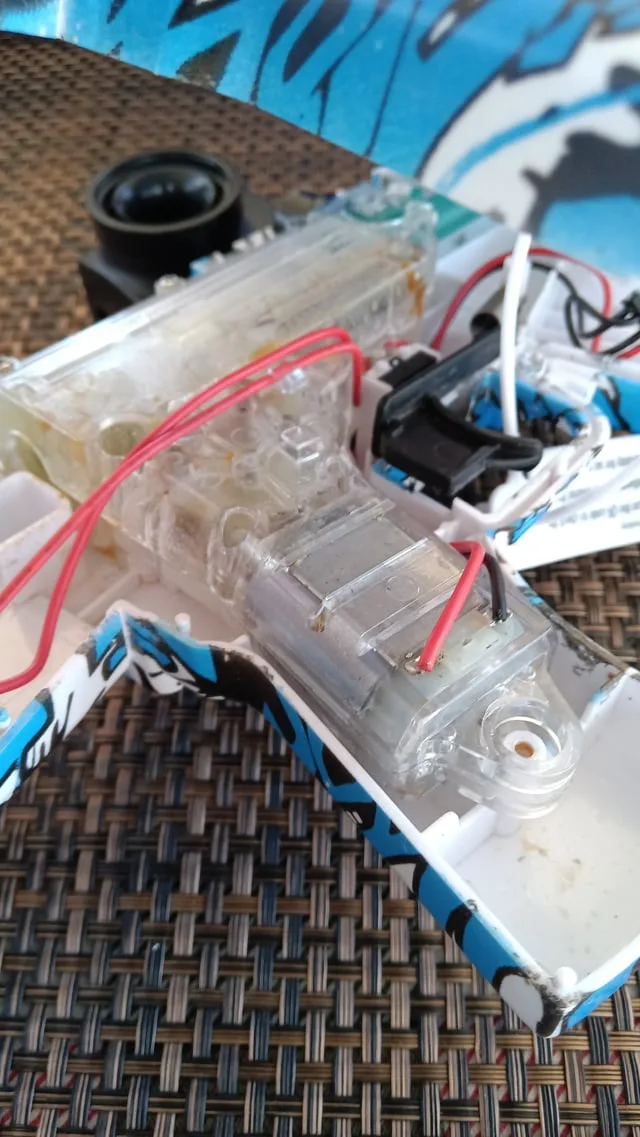
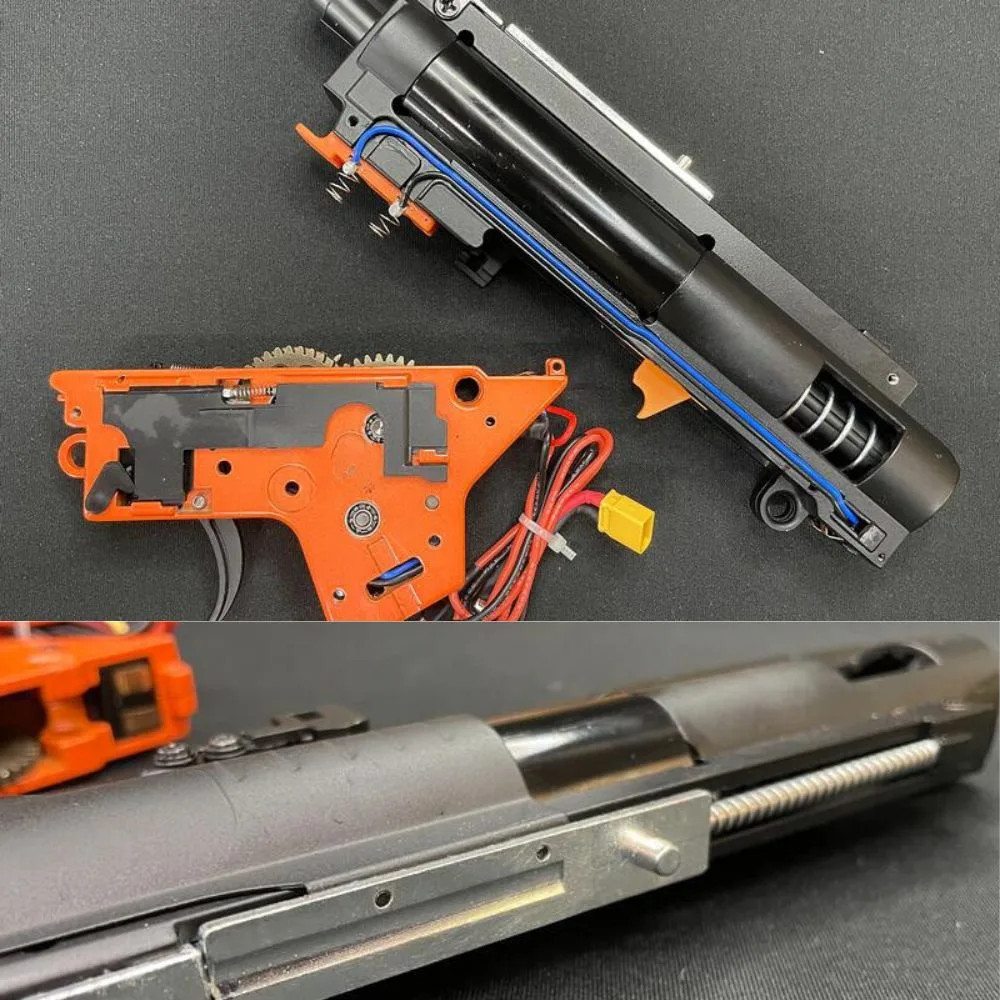
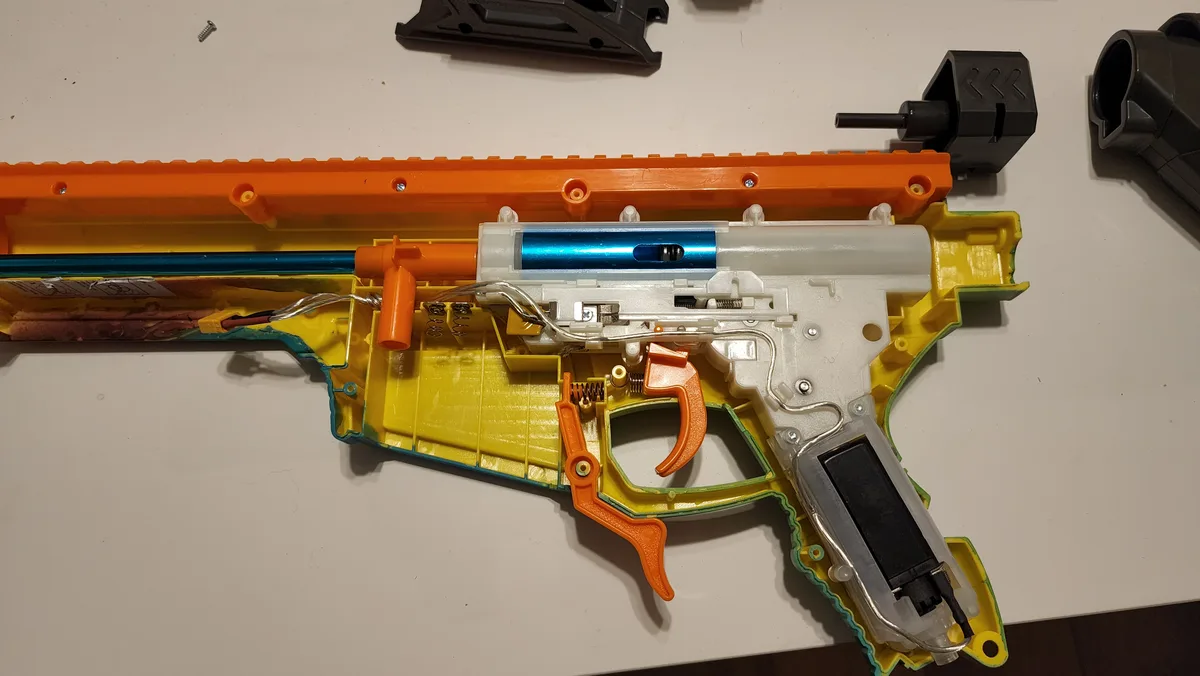
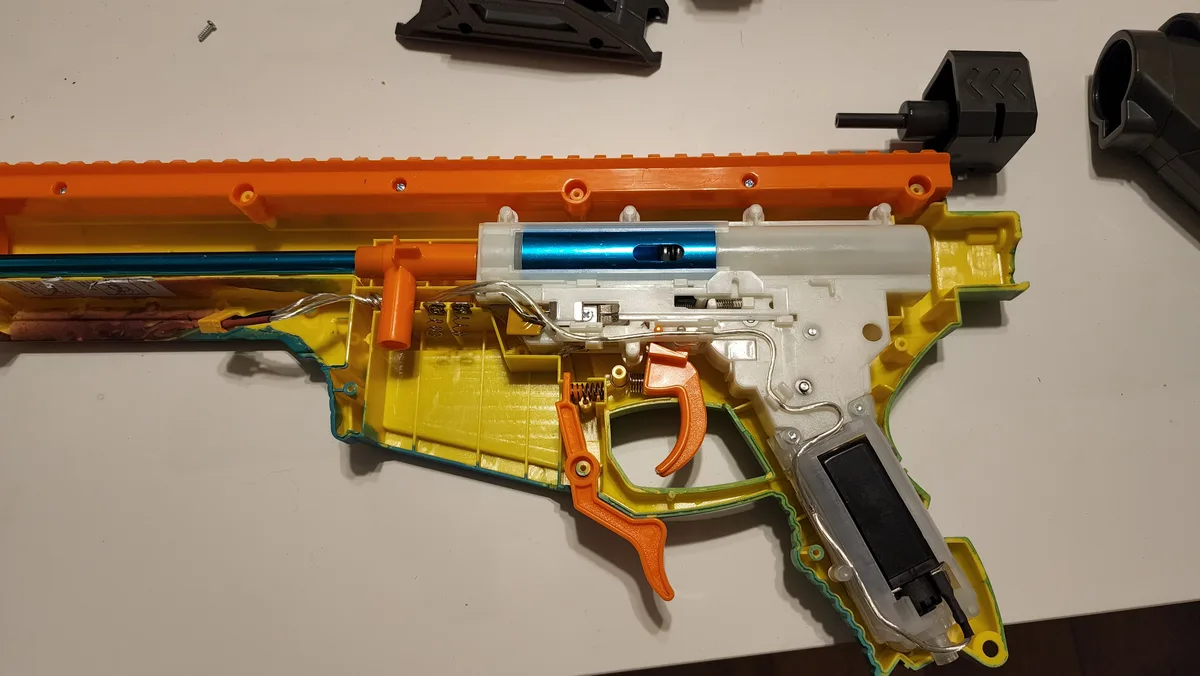
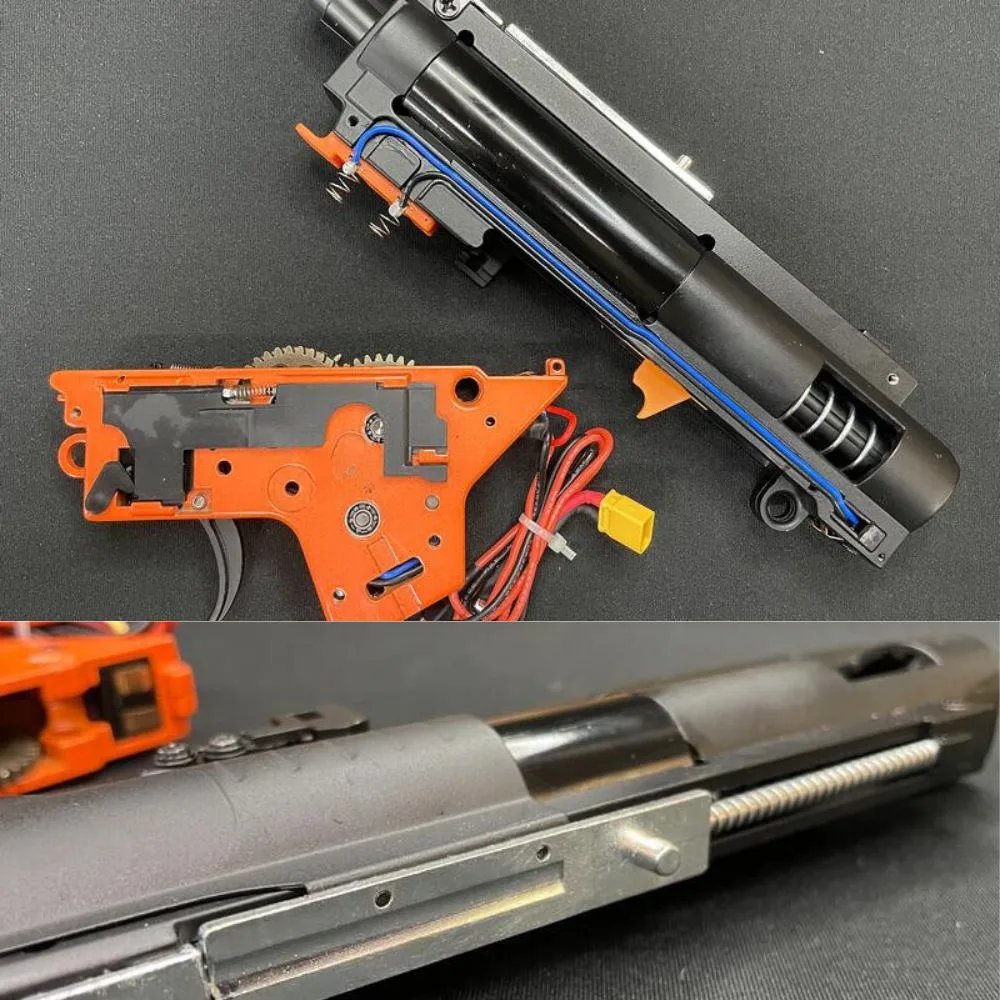
Electric gel blasters use a motor-driven piston system. Jams here require careful disassembly. Remove the housing screws using a precision Phillips driver.
Keep track of screw lengths. Longer screws often secure the gearbox shell.
Open the gearbox cover gently. Inspect the piston head O-ring. If it looks flattened or torn, replace it.
A compromised seal loses compression. This results in weak shots regardless of battery life. Silicone grease helps preserve rubber elasticity.
Apply a thin layer to new O-rings before installation.
Check the gear teeth for stripping. Plastic gears wear down over time. Look for rounded edges or missing chunks.
Replace the entire gear set if damage exceeds 10% of tooth height. Mismatched gears grind against each other. This creates excessive heat and motor strain.
Ensure the cylinder head aligns perfectly with the nozzle. Misalignment causes bead crushing. Crushed beads release sticky residue inside the chamber.
Clean the cylinder interior with a soft brush. Remove all black gunk buildup. Reassemble tightly but do not overtighten screws.
Stripped threads ruin the housing permanently. Test spin the motor by hand. It should rotate smoothly without resistance.
Grinding noises indicate bearing failure or foreign objects.
Preventative Maintenance That Saves Your Gun
Regular upkeep extends lifespan significantly. Clean the barrel after every session. Residue builds up quickly even with proper hydration.
Use a dry microfiber cloth for external surfaces. Avoid harsh chemicals that degrade ABS plastic housings.
Store your unit in a cool, dry place. Humidity accelerates internal corrosion. Remove batteries if storing for more than two weeks.
Lithium cells degrade faster when kept at full charge. Store them at approximately 40-60% capacity for longevity. This balance preserves chemical stability.
Lubricate moving parts quarterly. Use silicone-based spray only. Petroleum jelly damages rubber seals and plastics.
Spray lightly into the gearbox vents. Run the trigger briefly to distribute the oil. Excess lubricant attracts dust and grit.
Wipe away any drips immediately.
Rotate your stock of gel beads. Old beads become brittle. New batches hydrate uniformly.
Mixing sizes causes feeding inconsistencies. Buy from bulk suppliers to ensure freshness. Check expiration dates on packaging if available.
Proper storage of beads in sealed containers prevents premature drying. These small habits prevent major repairs later.
When to Stop DIY and Buy a Replacement
Sometimes repair costs exceed the value of the unit. If the main housing is cracked, glue won't hold under pressure. Structural integrity matters for safe operation.
A fractured shell can shatter during firing. This poses a risk to eyes and skin.
Consider the age of your device. Older models lack spare part availability. Manufacturers often stop producing components after three years.
Finding specific O-rings or custom gears becomes impossible. You'll spend more time searching than fixing.
Compare the price of a new entry-level model against repair kits. Basic units cost between $20 and $40. A full internal rebuild kit might run $15.
Add tools and shipping fees. The math rarely favors deep repairs on cheap imports.
If you've replaced the motor and gearbox twice, it's time to upgrade. Chronic failures suggest design flaws in that batch. Switching brands solves recurring headaches.
Look for models with metal internals if durability is key. Plastic gears strip easily under high rates of fire. Metal lasts longer but costs more upfront.
Weigh your skill level honestly. Complex electrical rewiring requires soldering experience. Mistakes here void warranties instantly.
They also create short-circuit hazards. If you're unsure, professional service is safer. But labor charges often double the device cost.
For budget blasters, replacement is almost always smarter. Save your energy for upgrading to a better platform. Don't throw good money after bad hardware.
Safety Checks After Every Repair
Verify all screws are tight before first use. Loose parts vibrate out during operation. This causes sudden jams or component ejection.
Check the trigger mechanism for smooth travel. It shouldn't stick or feel gritty. Grindiness indicates debris left inside from cleaning.
Test the safety lock functionality rigorously. Engage it and attempt to fire. Nothing should happen.
Disengage and verify normal operation resumes. A faulty safety switch is unacceptable. It exposes users to accidental discharge risks.
Per ASTM F963 standards, toys must have reliable locking mechanisms. Ensure yours meets this baseline.
Wear ANSI Z87.1 rated eye protection during test fires. Never skip this step, even indoors. Beads can ricochet unpredictably off hard surfaces.
Aim at a soft target like cardboard or foam. Confirm trajectory consistency. Erratic flight paths mean misaligned nozzles or damaged hops-up.
Adjust accordingly before playing with others.
Inspect battery compartment seals for water resistance. Moisture ingress kills electronics quickly. Apply dielectric grease to contacts if exposed.
This prevents corrosion in humid environments. Store the gun upright to avoid fluid pooling. Regular checks prevent minor issues from becoming major failures.
Treat every repair as a potential safety hazard until proven otherwise. Your vigilance protects everyone involved.
🔧 Workbench Essentials: Blaster Maintenance & Unjamming Tools
Keep your nylon gearbox running smoothly and resolve feeding jams with lab-verified maintenance supplies:
- 100% Pure Silicone Oil:Check Pure Silicone Gearbox Lubricant on Amazon →
- Barrel Cleaning & Unjamming Kit:Check Barrel Cleaning & Unjamming Kits on Amazon →
*FTC Disclosure: As an Amazon Associate, SplatterBallGun earns from qualifying purchases.*

Similar Posts