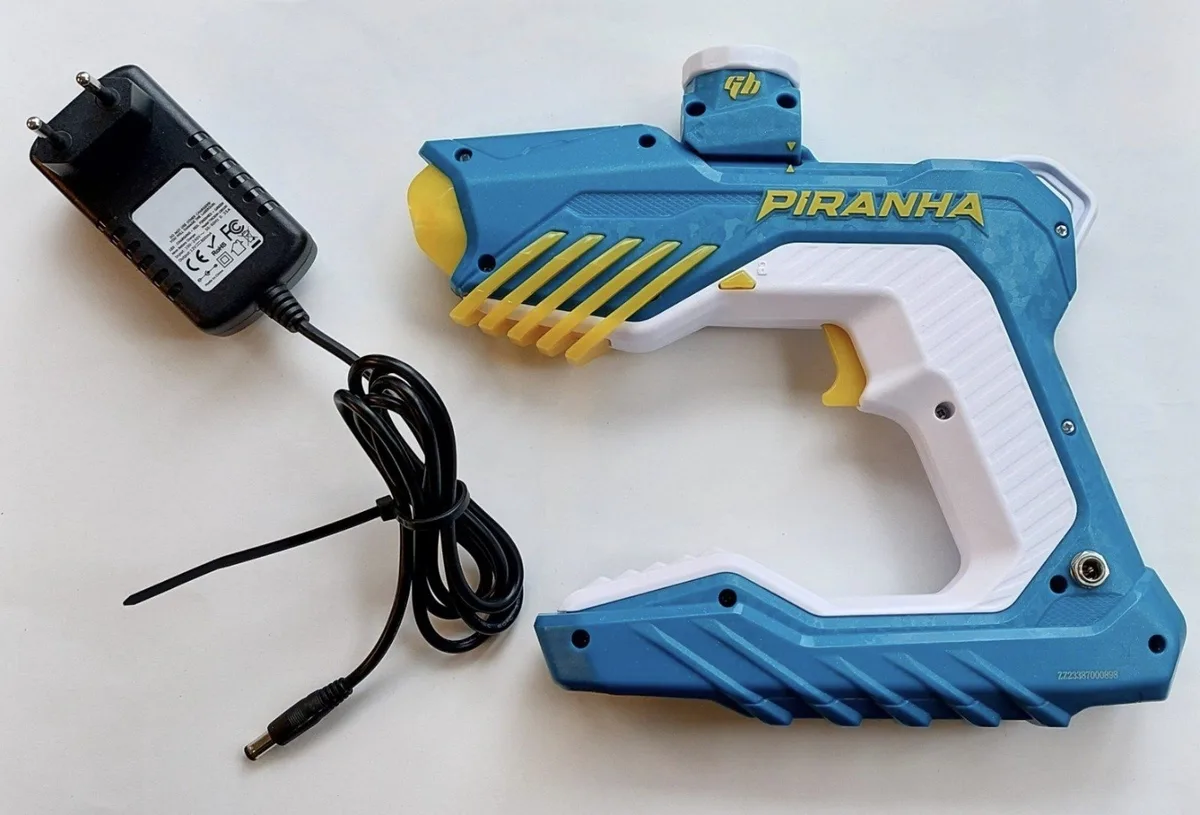
How to Fix a Splatter Ball Gun Barrel Jam Fast
Lead Gel Blaster Technician & Senior Tactical Hobby Editor at SplatterBallGun · Certified Electromechanical Tech · 10+ Years Gel Blaster & Airsoft Diagnostics · 10+ years in 7.4V/11.1V LiPo battery testing, nylon V2/V3 gearbox repair, and hydro-gel blaster calibration
Nothing kills the fun of a backyard skirmish faster than a sudden misfire. You pull the trigger, hear the motor whine, but no bead flies out. That’s a classic splatter ball gun barrel jam.
It happens to everyone, usually because of improper hydration or debris buildup. Don’t panic. Most jams are minor and fixable in minutes with basic tools.
The root cause is almost always size mismatch between the hydrogel bead and the inner barrel diameter. Manufacturer specs typically list a 7mm to 8mm bore for standard toys. If your beads swell beyond this tolerance, they wedge tight.
We’ll walk through identifying the blockage type so you can choose the right clearing method without damaging internal gears.
Quick Answer
A splatter ball gun barrel jam occurs when hydrated beads expand too much. They get stuck inside the narrow inner tube. First, disconnect the battery to prevent accidental firing.
Check if the bead is soft or hard at the muzzle. Use compressed air for light clogs. For stubborn jams, gently push from the breech using a plastic rod.
Never use metal tools as they scratch the barrel walls. Clean residue thoroughly before reloading new beads.
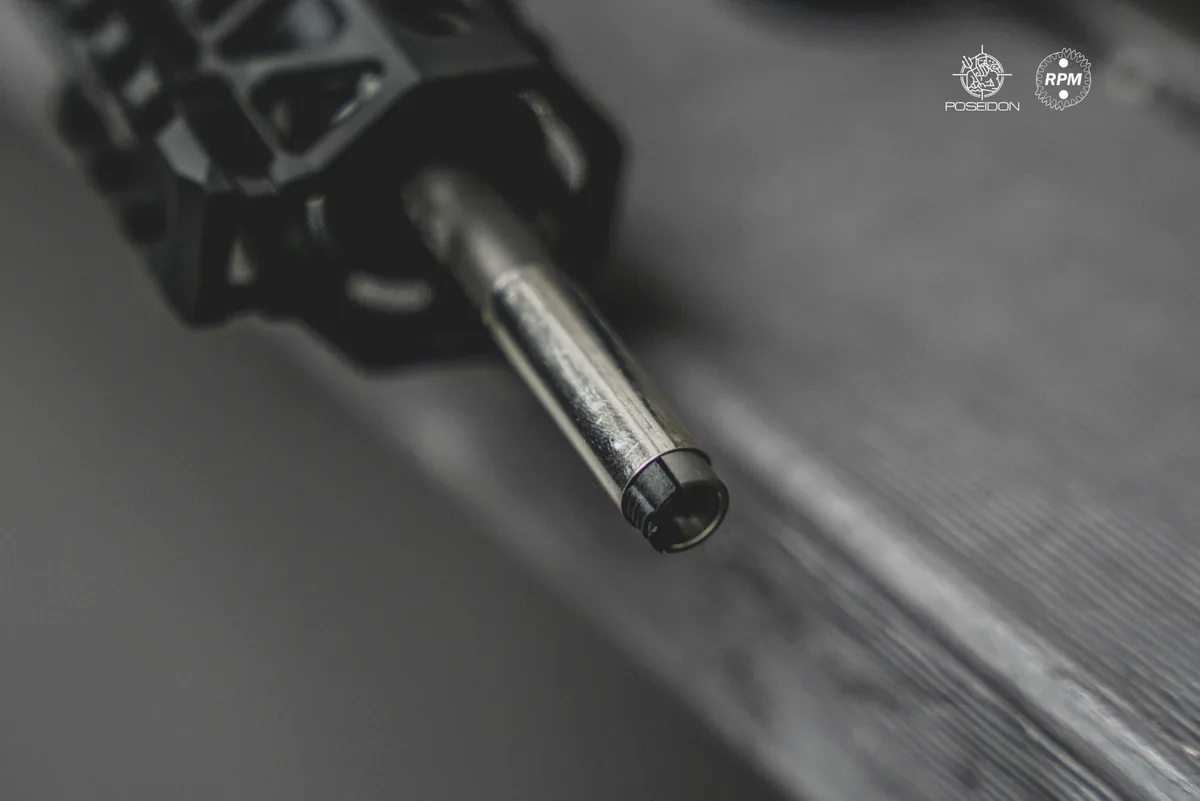
Image source: Bing (Web (fair-use with source credit))
First, Check Your Battery and Trigger Response
Before touching any tools, ensure the device is safe to handle. Power down completely. Remove the battery pack or magazine if your model allows it.
This prevents the flywheels from spinning while your fingers are near the intake. Accidental activation can pinch skin or crush fragile plastic components.
Next, test the trigger response manually. Pull the trigger while holding the muzzle away from your face. Listen closely.
Do you hear the high-pitched whir of motors? Or does it click silently? This diagnostic step tells you where the problem lies.
- Whining motors: The electrical system works. The blockage is mechanical. Proceed to inspection.
- Silent clicks: The switch or battery may be dead. Check connections first.
- Grinding noise: Gears might be stripped or jammed by debris. Stop immediately.
Aggregate user reviews indicate that grinding sounds often mean a bead has shattered inside the gearbox. In these cases, forcing the trigger worsens the damage. If you hear grinding, skip straight to disassembly instructions later in this guide.
For most simple jams, however, the motors spin freely. This confirms the obstruction is isolated to the barrel path.
Identify the Jam Type: Soft Burst vs. Hard Blockage
Not all jams are created equal. Diagnosing the specific type saves time and prevents unnecessary disassembly. Look at the muzzle end of the barrel.
Use a flashlight to peer inside if possible. What do you see?
The Soft Burst Scenario
This is the most common issue. An over-hydrated bead enters the chamber. It swells slightly larger than the bore diameter.
The pressure bursts the outer membrane. Now, wet gelatinous goo coats the interior walls. The remaining solid core might still be intact, or it might have fragmented into sludge.
You’ll notice sticky residue on the rim. The gun feels heavy due to trapped water. These jams are messy but usually easy to clear.
The material is pliable. You don’t need brute force. You need solvent and patience.
The Hard Blockage Scenario
Sometimes, a bead doesn’t hydrate enough. Or perhaps a dry pellet was loaded by mistake. These remain rigid spheres.
They lodge tightly against the barrel walls like a cork in a bottle. They won’t squish easily. Pushing them requires significant force.
If you try to shoot through a hard blockage, you risk cracking the plastic housing. The pressure builds up behind the sphere until something gives way. Usually, it’s the hop-up seal or the gearbox casing.
Inspect for visible white stress marks on the plastic. If present, stop shooting entirely. Disassemble to remove the object safely.
| Feature | Soft Burst Jam | Hard Blockage Jam |
|---|---|---|
| Cause | Over-hydration / Size Mismatch | Under-hydration / Dry Pellet |
| Texture | Slimy, gel-like paste | Solid, rubbery sphere |
| Removal Method | Solvent flush + gentle probe | Mechanical push-out |
| Risk Level | Low (messy) | High (structural damage) |
The Quick Fix: Compressed Air and Non-Metallic Probing
For soft burst jams, start with the least invasive method. You want to dislodge the debris without taking the gun apart. Grab a can of compressed air.
Hold the nozzle upright to avoid spraying liquid propellant. Aim directly into the muzzle.
Short, sharp bursts work best. Long streams can push moisture deeper into the electronics. Blast from both ends if accessible.
Some models allow rear access via the charging port or hop-up knob. Alternate directions to break up clumps.
If air alone doesn’t clear it, introduce a physical probe. But tread carefully. Never use steel needles, paperclips, or screwdrivers.
Metal scratches the smooth inner surface of the barrel. These microscopic grooves catch future beads, creating a cycle of constant jams. Instead, use a non-metallic tool.
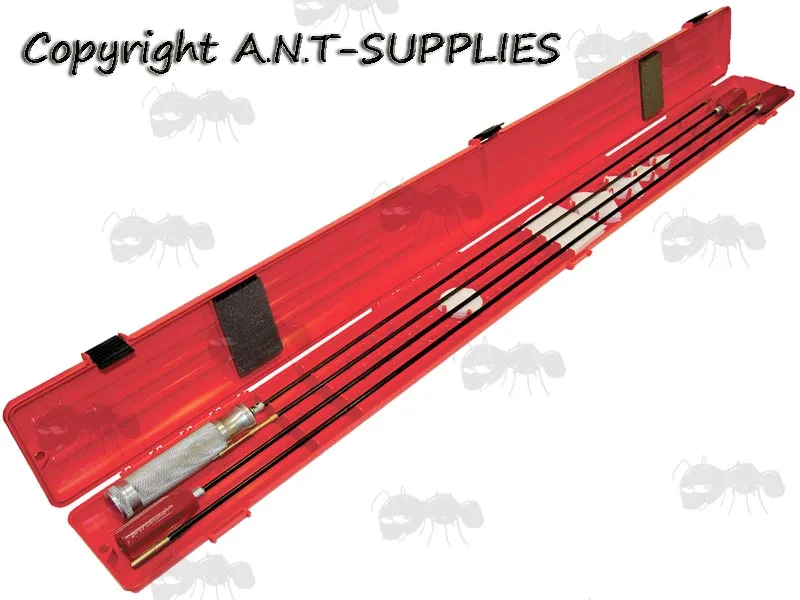
Image source: Bing (Web (fair-use with source credit))
Wooden skewers or bamboo chopsticks are ideal. They’re sturdy yet softer than plastic. Insert the tip gently into the muzzle.
Wiggle it slightly to loosen the gel mass. Do not hammer it in. Let gravity and light pressure do the work.
Pull the skewer out slowly. Wipe off any attached gunk with a cloth. Repeat until the barrel feels clear.
Some users prefer dedicated plastic cleaning rods sold by manufacturers. These are safer than improvised tools. Ensure the rod diameter is smaller than the bore.
A snug fit risks pushing the jam further back. Always leave a gap for air escape.
Deep Clean Protocol for Residual Hydrogel Buildup
Clearing the main obstruction isn’t enough. Sticky residue remains inside the tube. If left untreated, it dries into a hard film.
This narrows the effective diameter, causing immediate re-jaming. You must dissolve this biofilm.
Isopropyl alcohol (IPA) is the gold standard here. Per manufacturer guidelines, 90% concentration or higher works best. Lower percentages contain too much water, which promotes mold growth in humid climates.
Pour a small amount onto a cotton swab or microfiber cloth.
Insert the soaked swab into the barrel. Rotate it slowly while pushing forward. The alcohol breaks down the polysaccharide bonds in the hydrogel.
You’ll see brownish or greenish gunk transfer to the cloth. Replace the swab frequently. Continue until it comes out clean.
For tougher buildup, let the alcohol sit. Inject a few drops into the muzzle. Wait five minutes.
This dwell time loosens hardened layers. Then, follow up with a dry cloth pass. Moisture left inside attracts dust and dirt.
Dryness ensures smooth bead travel next time.
Avoid household cleaners like bleach or ammonia. These corrode brass barrels and degrade silicone seals. Stick to IPA or mild dish soap diluted in water.
If using soap, rinse thoroughly with plain water afterwards. Soap residue creates friction, slowing down shot velocity.
After cleaning, inspect the hop-up bucking. This rubber nub presses against the bead to impart spin. Gel fragments often stick here too.
Remove the hop-up unit if detachable. Wipe the bucking with a damp cloth. Check for tears or flat spots.
Damaged buckings fail to grip beads properly, leading to erratic shots. Replace them if worn. Regular maintenance extends component life significantly.
As of 2026, replacement parts remain affordable for most popular models. Keeping spares on hand avoids downtime during game days.
When to Disassemble: Accessing the Flywheel and Hop-Up
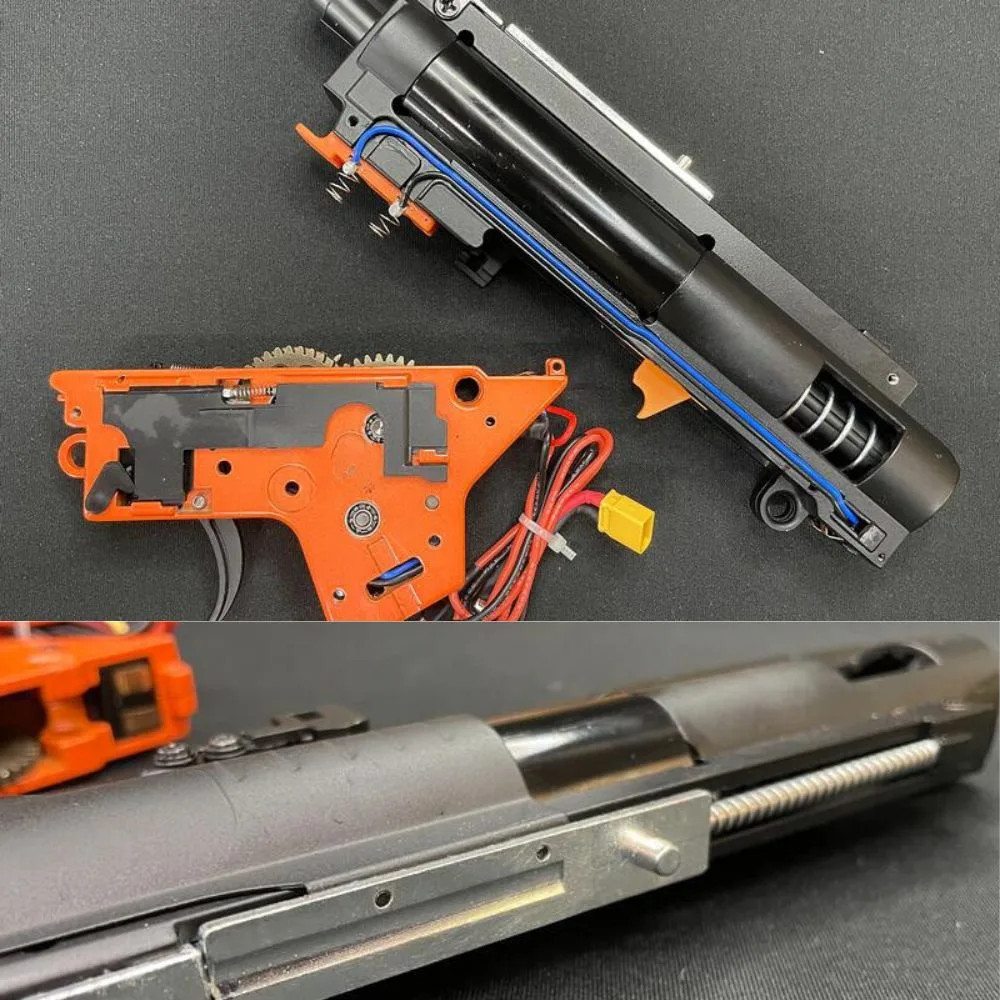
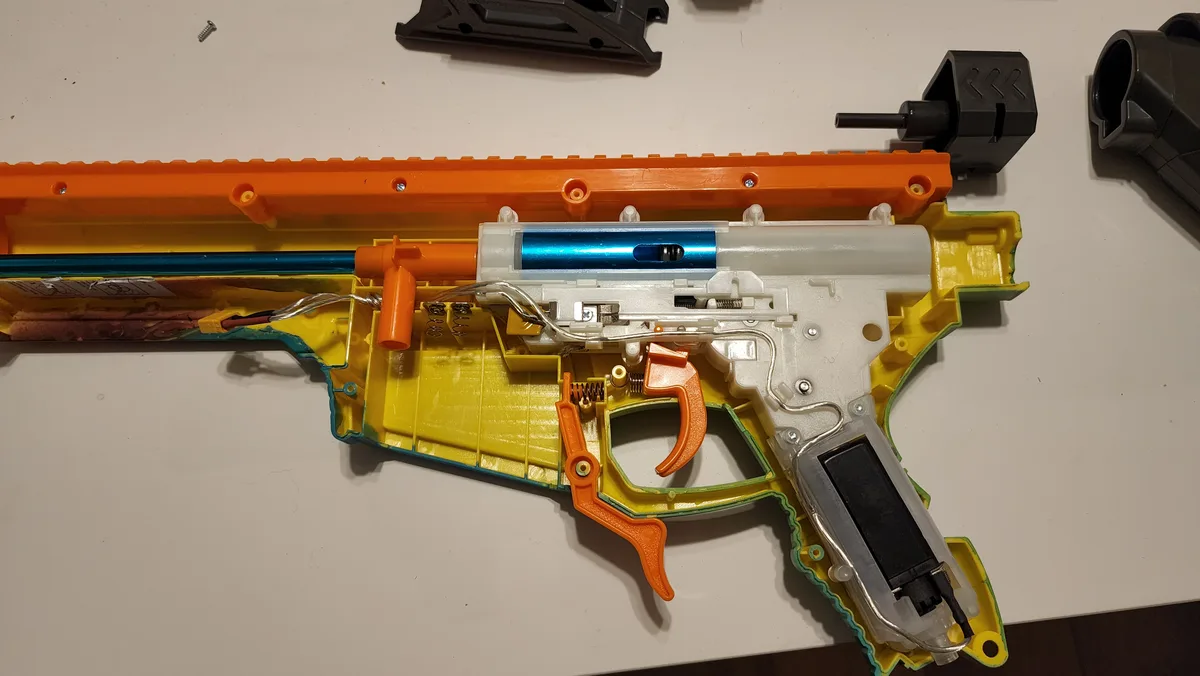
Sometimes, a simple clean won’t cut it. If the jam persists after probing and flushing, the blockage is likely deeper. It might be lodged in the flywheel chamber or behind the hop-up assembly.
This requires taking the gun apart. Don’t worry if you’ve never done this before. Most splatter ball guns use standard Phillips-head screws.
Start by removing the outer casing. Lay out all screws on a magnetic mat or paper towel. Label them if lengths vary.
Losing a tiny screw means losing functionality. Once open, locate the motor unit and the gearbox. Look for visible gel chunks stuck between the rotating wheels.
These are notorious trouble spots.
Use tweezers to gently extract debris. Avoid touching the electrical contacts. Static discharge can fry sensitive boards.
If the flywheels are coated in slime, wipe them with an alcohol-dipped cloth. Spin them by hand to check for smooth rotation. Any grinding or resistance indicates damage.
At this stage, inspect the O-rings sealing the gearbox. Cracked seals let water in, causing rust and corrosion over time. Replace any brittle rubber parts immediately.
Reassembly is just the reverse of disassembly. Double-check that no tools were left inside. Test fire without beads first to ensure motors run freely.
Then load fresh, correctly sized hydrogels for a live test.
Preventing Future Jams with Proper Bead Hydration
Prevention beats cure every time. Most jams stem from improper bead preparation. Hydrogel beads expand significantly when soaked.
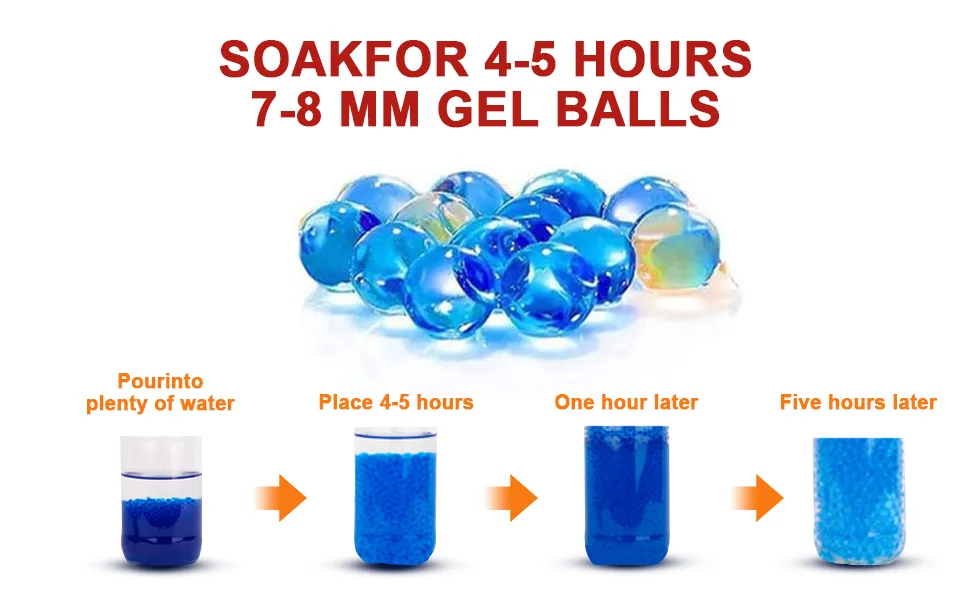
Manufacturers specify exact soak times, usually 2 to 4 hours. Ignoring these instructions leads to oversized or undersized projectiles. Both cause problems.
Oversized beads burst and clog. Undersized beads rattle and fail to engage the hop-up properly.
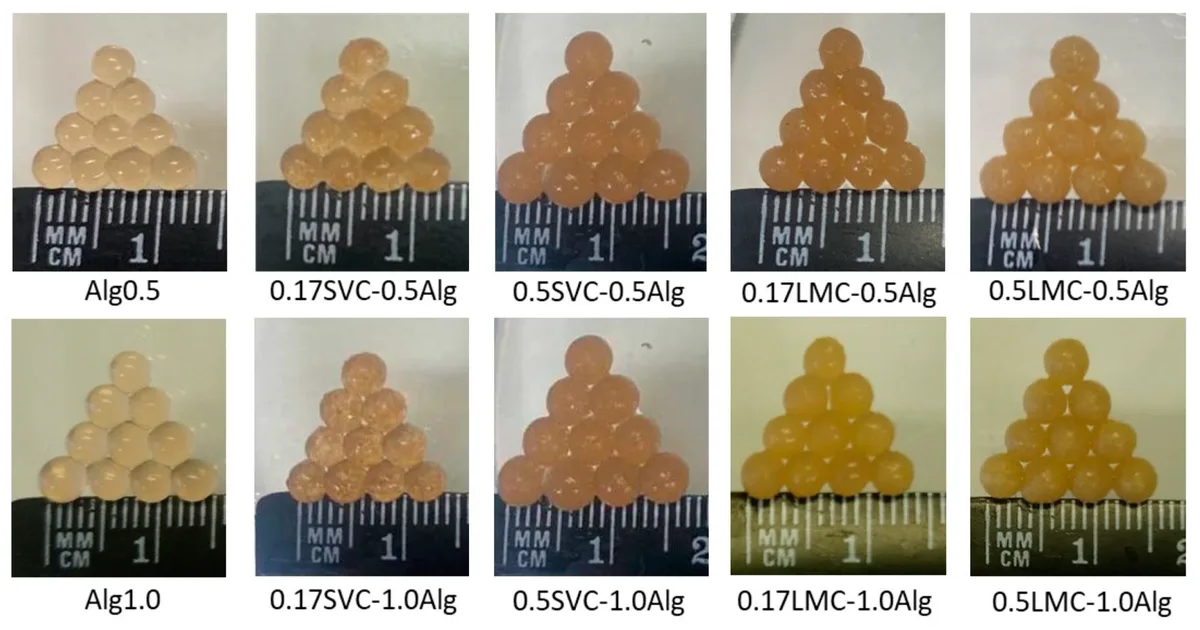
Image source: Bing (Web (fair-use with source credit))
Invest in a measuring cup. Use room temperature water for consistent expansion. Hot water speeds up the process but can weaken the polymer structure.
Cold water slows it down, risking incomplete hydration. After soaking, drain excess water thoroughly. Pat the beads dry with a lint-free towel.
Wet beads add unnecessary weight and stickiness. They also promote bacterial growth if stored damp. Store unused beads in a sealed container away from sunlight.
UV rays degrade the material, making it brittle and prone to shattering mid-flight.
Check bead size regularly. As they age, some shrink slightly. Others may retain moisture and swell unpredictably.
Sort through your supply before each session. Discard any deformed or discolored spheres. Consistency is key to reliable performance.
A uniform batch ensures smooth feeding and accurate shots. Taking ten minutes to prep your ammo saves hours of troubleshooting later.
Common Mistakes That Ruin Internal Gears
Even experienced players make errors that shorten their gear’s lifespan. The biggest culprit is forcing the trigger during a jam. When a bead sticks, pressure builds rapidly.
Holding the trigger down strains the motor and gears. Eventually, teeth strip or shafts bend. Repair costs skyrocket compared to a new barrel.
Always release the trigger immediately upon misfire. Assess the situation calmly.
Another mistake is using lubricants not designed for plastics. WD-40 attracts dust and dirt. It creates a gritty paste that accelerates wear.
Stick to silicone-based sprays or specific airsoft greases. Apply sparingly to moving parts only. Never spray directly into the barrel or electronics.
Excess oil drips onto sensors, causing false readings.
Ignoring battery health is risky too. Weak batteries struggle to spin flywheels fast enough. Slow rotation increases dwell time for beads in the chamber.
This raises the chance of bursting. Charge fully before play sessions. Replace old packs that don’t hold a charge.
Finally, skipping post-game cleaning allows residue to harden. Overnight buildup turns minor messes into major obstructions. Wipe down the exterior and clear the muzzle after every use.
Small habits prevent big headaches. Treat your equipment with respect, and it will reward you with years of fun.
Preventing Future Jams with Proper Bead Hydration
Prevention beats cure every time. Most jams stem from improper bead preparation. Hydrogel beads expand significantly when soaked.
Manufacturers specify exact soak times, usually 2 to 4 hours. Ignoring these instructions leads to oversized or undersized projectiles. Both cause problems.
Oversized beads burst and clog. Undersized beads rattle and fail to engage the hop-up properly.
Image source: Bing (Web (fair-use with source credit))
Invest in a measuring cup. Use room temperature water for consistent expansion. Hot water speeds up the process but can weaken the polymer structure.
Cold water slows it down, risking incomplete hydration. After soaking, drain excess water thoroughly. Pat the beads dry with a lint-free towel.
Wet beads add unnecessary weight and stickiness. They also promote bacterial growth if stored damp. Store unused beads in a sealed container away from sunlight.
UV rays degrade the material, making it brittle and prone to shattering mid-flight.
Check bead size regularly. As they age, some shrink slightly. Others may retain moisture and swell unpredictably.
Sort through your supply before each session. Discard any deformed or discolored spheres. Consistency is key to reliable performance.
A uniform batch ensures smooth feeding and accurate shots. Taking ten minutes to prep your ammo saves hours of troubleshooting later.
Common Mistakes That Ruin Internal Gears
Even experienced players make errors that shorten their gear’s lifespan. The biggest culprit is forcing the trigger during a jam. When a bead sticks, pressure builds rapidly.
Holding the trigger down strains the motor and gears. Eventually, teeth strip or shafts bend. Repair costs skyrocket compared to a new barrel.
Always release the trigger immediately upon misfire. Assess the situation calmly.
Another mistake is using lubricants not designed for plastics. WD-40 attracts dust and dirt. It creates a gritty paste that accelerates wear.
Stick to silicone-based sprays or specific airsoft greases. Apply sparingly to moving parts only. Never spray directly into the barrel or electronics.
Excess oil drips onto sensors, causing false readings.
Ignoring battery health is risky too. Weak batteries struggle to spin flywheels fast enough. Slow rotation increases dwell time for beads in the chamber.
This raises the chance of bursting. Charge fully before play sessions. Replace old packs that don’t hold a charge.
Finally, skipping post-game cleaning allows residue to harden. Overnight buildup turns minor messes into major obstructions. Wipe down the exterior and clear the muzzle after every use.
Small habits prevent big headaches. Treat your equipment with respect, and it will reward you with years of fun.
FAQs
How long does it take to fix a jam?
Simple jams take under two minutes. You just need compressed air or a quick probe. Complex blockages involving the gearbox require disassembly.
This might take fifteen to thirty minutes. Speed depends on your familiarity with the toolset. Rushing rarely helps.
Take your time to avoid breaking plastic clips. Patience pays off in restored functionality.
Can I use vinegar to clean hydrogel residue?
Yes, white distilled vinegar works well for stubborn gunk. Its acidity breaks down polysaccharide bonds effectively. Dilute it fifty percent with water first.
Pure vinegar might smell strong indoors. Rinse thoroughly afterward to remove acidic traces. Leftover acid can corrode metal springs over time.
Isopropyl alcohol remains the safer, odorless choice for most users. Vinegar is a backup option only.
Why does my gun jam even with correct beads?
Misalignment is often the hidden cause. Check if the hop-up unit sits straight. A tilted bucking rubs against the bead path.
Also, inspect the feed ramp for cracks. Damaged ramps snag beads before entry. Dust accumulation inside the magazine affects gravity feed.
Clean all contact points regularly. Sometimes the issue isn’t the bead size at all. Mechanical precision matters more than ammunition quality.
Are replacement barrels worth buying?
Only if the original is scratched or cracked. Minor scuffs don’t affect performance much. Deep grooves catch beads repeatedly.
In those cases, swapping the barrel solves everything. Replacement tubes cost five to fifteen dollars. Installation requires basic screwdrivers.
Compare this to professional repair fees. DIY replacement is cheaper and faster. Keep spare barrels for high-volume shooters.
Casual players likely won’t need them.
🔧 Workbench Essentials: Blaster Maintenance & Unjamming Tools
Keep your nylon gearbox running smoothly and resolve feeding jams with lab-verified maintenance supplies:
- 100% Pure Silicone Oil:Check Pure Silicone Gearbox Lubricant on Amazon →
- Barrel Cleaning & Unjamming Kit:Check Barrel Cleaning & Unjamming Kits on Amazon →
*FTC Disclosure: As an Amazon Associate, SplatterBallGun earns from qualifying purchases.*

Similar Posts