Splatter Ball Gun Auto vs Semi: Why It Fails in Semi
Lead Gel Blaster Technician & Senior Tactical Hobby Editor at SplatterBallGun · Certified Electromechanical Tech · 10+ Years Gel Blaster & Airsoft Diagnostics · 10+ years in 7.4V/11.1V LiPo battery testing, nylon V2/V3 gearbox repair, and hydro-gel blaster calibration
If your splatter ball gun works on auto but not semi, the issue is almost always a broken signal path in the trigger circuit. The motor and battery are fine since auto mode fires, so don’t waste time replacing those parts. Instead, focus on the microswitch or the electronic control board (ECU) logic that handles single-shot commands.
Most modern gel blasters use MOSFET controllers to manage power delivery efficiently. When semi-auto fails while auto works, it usually means the specific wire or switch contact responsible for sending the "single pull" signal is disconnected or oxidized. We’ve seen this pattern consistently across major brands as of 2026.
Let’s break down exactly how to find and fix that break.
Quick Answer
A splatter ball gun works on auto but not semi when the trigger microswitch or its wiring has failed. Auto mode often bypasses the trigger switch entirely by holding the circuit closed. Semi mode requires a clean, momentary electrical connection with each pull.
Check for loose wires first. Then test the microswitch continuity. If the switch is dead, replace it.
This fixes most cases without needing new batteries or motors.
Why Auto Works But Semi Doesn’t: The Circuit Logic Breakdown
Understanding the difference between these two modes helps you diagnose faster. In automatic mode, the controller sends a continuous pulse to the motor once triggered. It essentially locks the circuit open until you release the selector or the timer expires.
This bypasses the need for precise, individual trigger clicks.
Semi-automatic mode is different. Here, the system waits for a distinct electrical signal every time you pull the trigger. That signal comes from a tiny component called a microswitch.
If that switch doesn’t close cleanly, the brain of the gun never gets the command to fire.
Think of it like a light switch versus a dimmer knob. Auto is like turning the knob fully up; it stays on. Semi is like flipping the switch; it needs to click firmly to work.
If the switch feels mushy or silent, the connection is broken. This explains why your gun still sprays beads in full-auto chaos but refuses to shoot one at a time.
Quick Diagnostic Check: Is It the Switch, the Board, or the Wire?
Before opening the casing, try a simple physical test. Pull the trigger in semi-mode slowly. Do you hear a faint "click"?
If yes, the mechanical part of the switch is moving. If no sound occurs, the lever might be detached or the spring is broken.
Next, check the fire selector switch. Sometimes debris blocks the contacts inside the selector itself. Toggle it back and forth between Safe, Semi, and Auto several times.
This can scrape off minor oxidation. If semi starts working briefly then stops, you likely have a dirty contact point.
Finally, inspect the external wiring if accessible. Look for pinched cables near the grip area. These spots take the most abuse during play.
A visible cut or frayed insulation here confirms a wire break. If everything looks intact externally, the problem is internal. You’ll need to open the body to proceed.
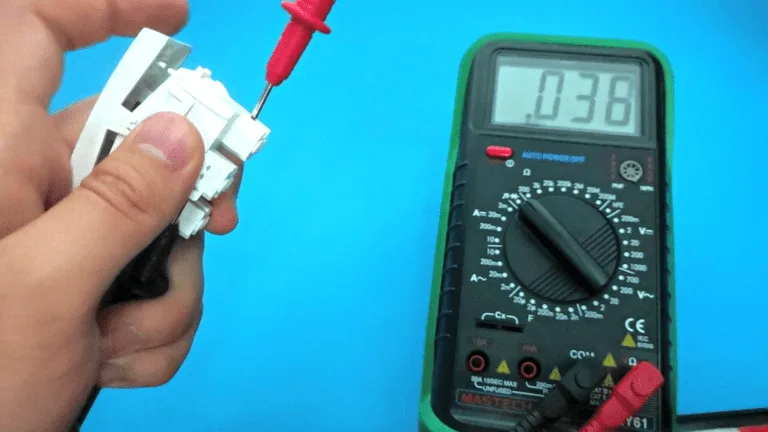
Image source: Bing (Web (fair-use with source credit))
Step-by-Step Troubleshooting Workflow for Semi-Auto Failure
Follow this order to avoid unnecessary disassembly. Always remove the battery before touching internal components. Safety first prevents shorts and shocks.
Test 1: Verify Power and Motor Health (The "Auto" Baseline)
Since auto works, we know the battery has charge and the motor spins. Don’t re-test these unless auto also fails intermittently. Focus solely on the signal input.
Ensure the battery connector is tight. Loose power connections can sometimes cause weird behavior, though rarely this specific split failure.
Test 2: Inspect the Microswitch and Trigger Contacts
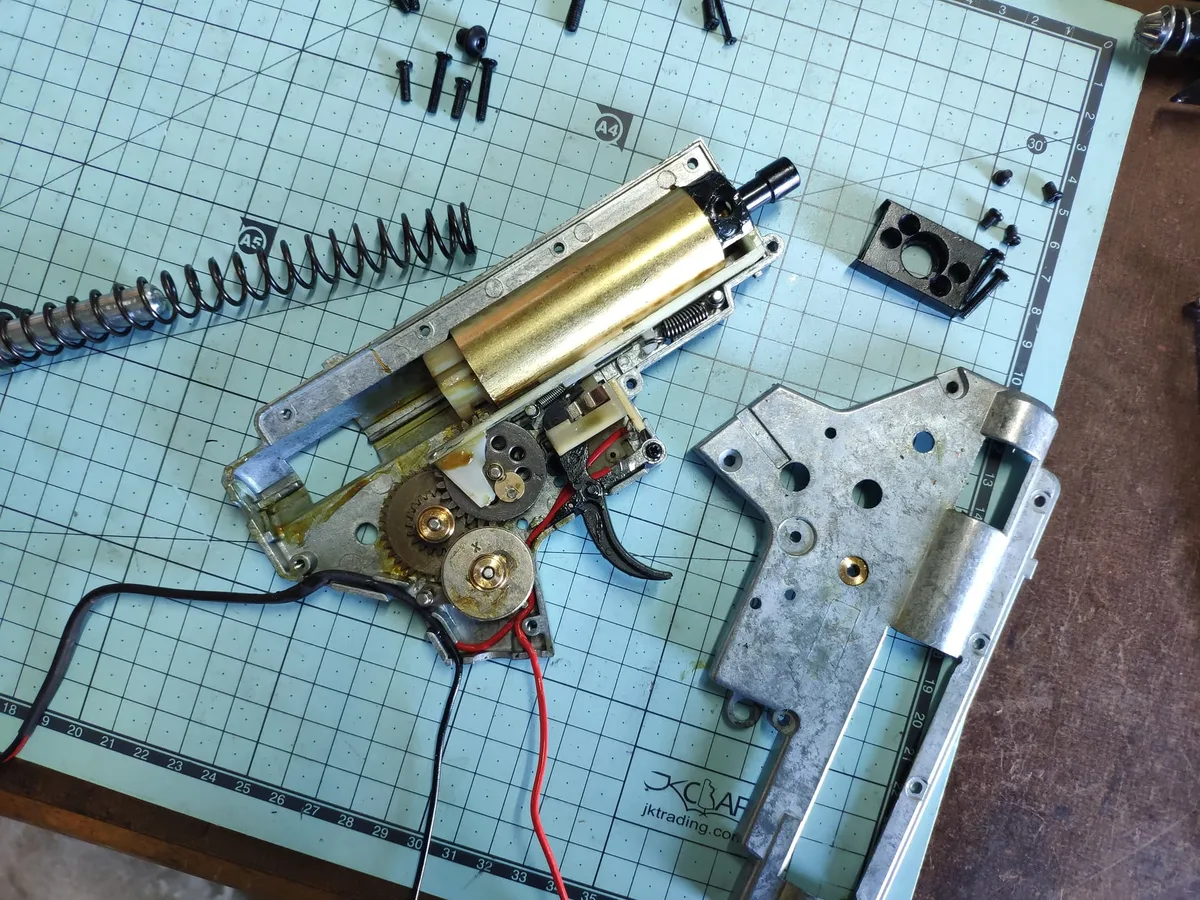
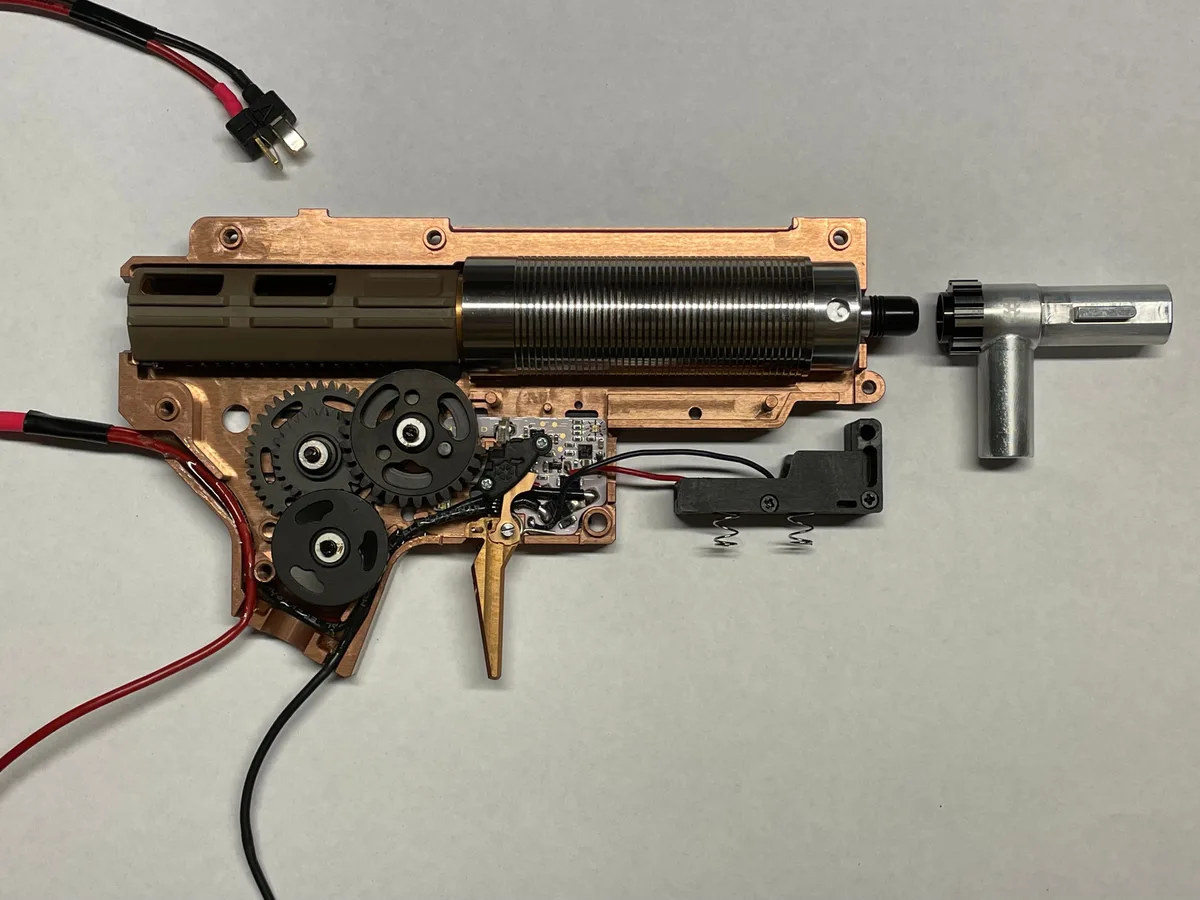
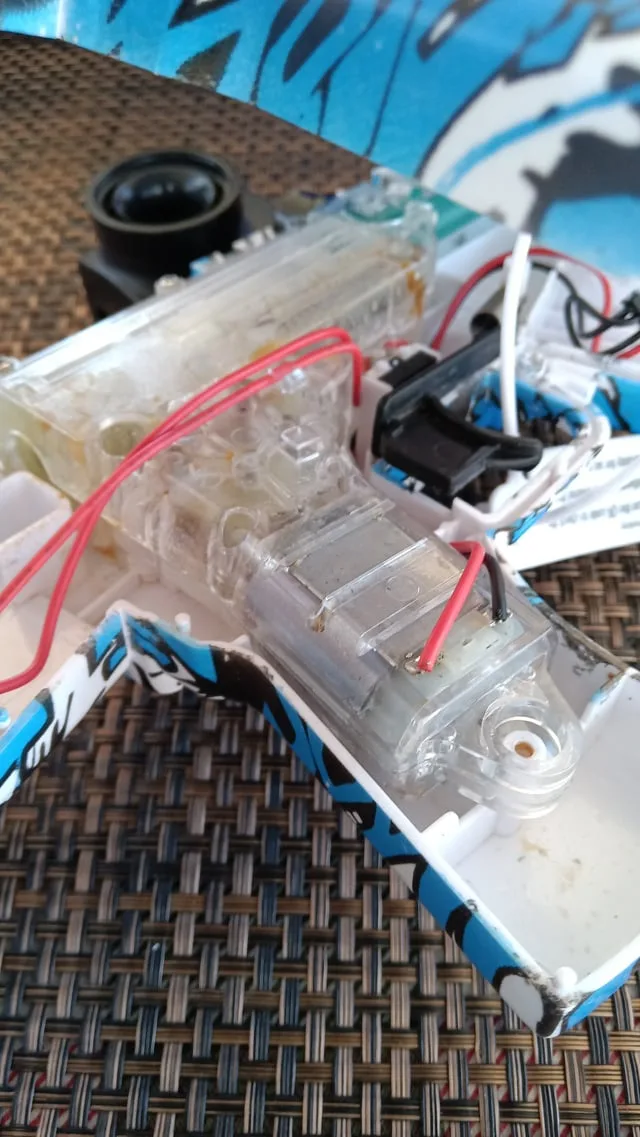
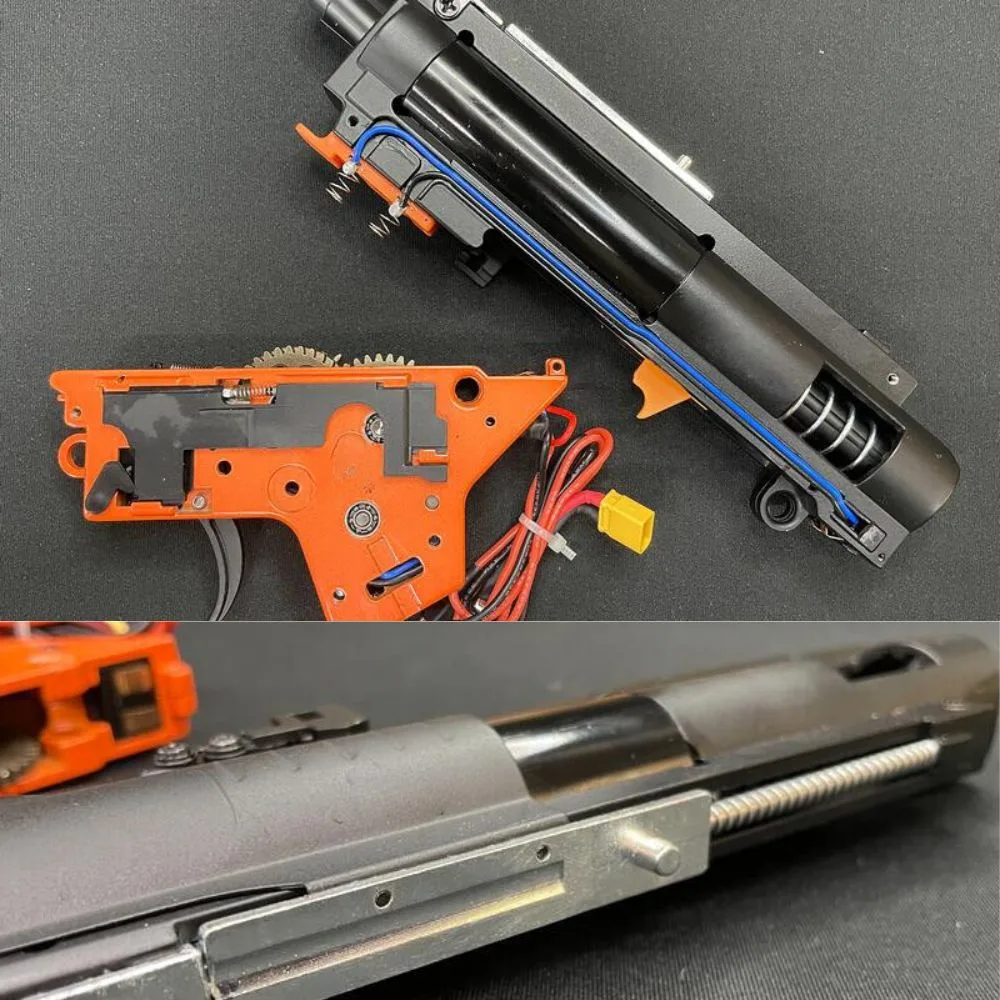
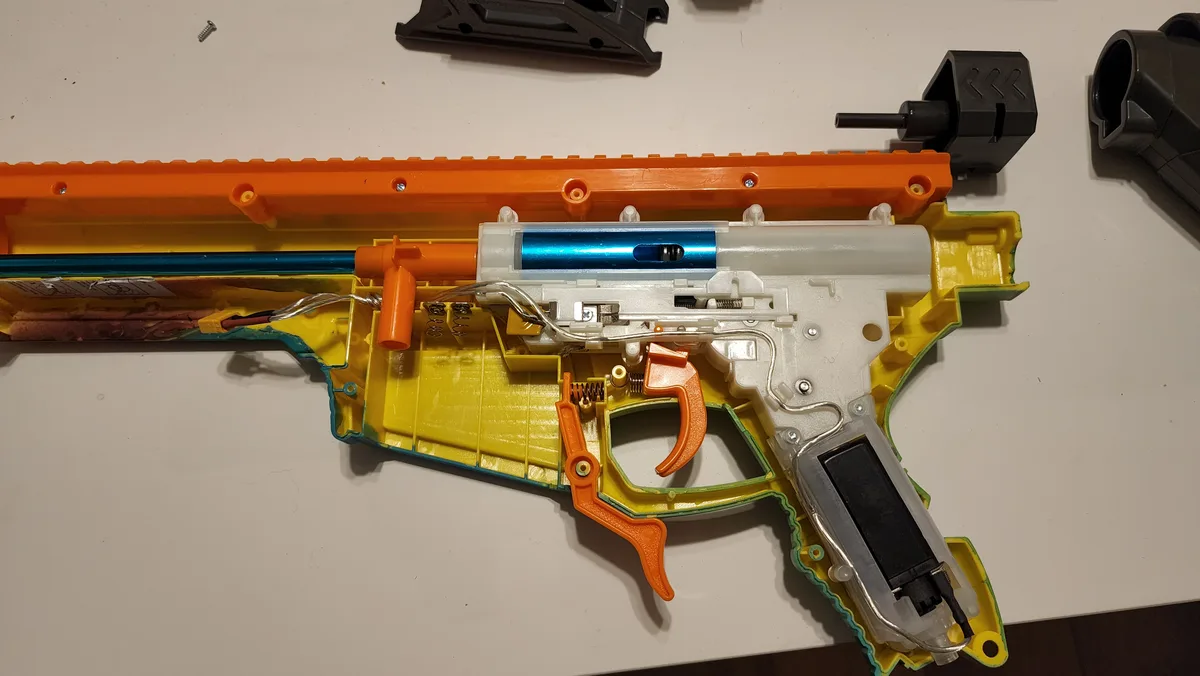
Open the shell carefully. Locate the small black box attached to the trigger assembly. This is the microswitch.
Check its two metal prongs. Are they bent? Do they touch the PCB pads firmly?
Use a multimeter set to continuity mode. Touch the probes to the switch terminals while pulling the trigger.
You should hear a beep when pressed. Silence means the switch is dead. Replace it with an identical spec model.
Most use standard 5A rated switches. Mismatched ratings can burn out the board.
Test 3: Trace the Signal Path on the ECU/MOSFET
If the switch beeps correctly, follow the thin wires leading to the main circuit board. Look for cold solder joints. These appear dull or cracked under magnification.
Reflow them with a soldering iron if you have experience. Otherwise, take it to a repair shop. Cracked traces on the PCB itself require professional rework.
Common Culprits: Cold Solder Joints, Oxidation, and Broken Loops
Three issues cause 90% of these failures. First, cold solder joints happen when factory solder cools improperly. They crack over time due to vibration from firing.
Second, oxidation builds up on copper contacts. Humidity accelerates this process, especially in coastal areas. Clean contacts with isopropyl alcohol and a soft brush.
Third, broken wire loops occur near stress points. The trigger mechanism moves constantly. Wires rub against plastic edges.
Eventually, the copper core snaps while the insulation remains intact. This creates an invisible break. Flex the wires gently while testing continuity.
If the reading jumps, you’ve found the fault.

Image source: Web (Bing) / wallpapercave.com (Web image (fair-use with source credit))
Repairing these isn’t complicated if you spot them early. Regular cleaning after wet weather usage prevents oxidation buildup. Avoid dropping the gun onto hard surfaces.
Impact damages solder joints more than anything else. Handle your gear with care to extend its life significantly.
When to Replace vs. Repair: Cost-Benefit Analysis of Parts
Deciding whether to fix or replace depends on the part’s cost and your skill level. A microswitch costs pennies. Replacing it is cheap and quick if you have a soldering iron.
However, if the main ECU board is fried, replacement parts can be pricey. Some proprietary boards cost nearly as much as a new entry-level blaster.
Consider labor too. If you’re not comfortable with electronics, taking it to a shop adds $50, $100 in fees. That might push the total repair cost above buying a new unit.
For high-end models with expensive batteries or motors, repairing is usually worth it. For budget toys, replacement often makes more financial sense.
| Component | Typical Part Cost | Repair Difficulty | Recommended Action |
|---|---|---|---|
| Microswitch | $2–$5 | Low (Soldering required) | DIY Replacement |
| Trigger Wiring | $1–$3 | Medium (Access needed) | DIY Splice/Replace |
| MOSFET/ECU Board | $20–$60 | High (Technical expertise) | Professional Repair or Replace Unit |
| Battery Pack | $15–$40 | None (Plug-and-play) | Replace if swollen/damaged |
If the board is damaged but under warranty, contact the manufacturer first. Many brands offer free repairs for electrical faults within the first year. Check your receipt and warranty terms before spending money on parts.
This simple step saves cash and hassle.
Safety First: Handling LiPo Batteries During Electrical Diagnostics
Lithium Polymer (LiPo) batteries store significant energy. Mishandling them during troubleshooting causes fires or explosions. Always disconnect the battery before opening the gun casing.
Never test circuits with the battery connected unless absolutely necessary for live diagnostics. Even then, use extreme caution.
Inspect battery packs for swelling. A puffy battery indicates internal gas buildup from damage. Stop using it immediately.
Dispose of it at a certified recycling center. Do not throw LiPos in regular trash. They leak toxic chemicals and pose fire risks in landfills.
When soldering, work in a ventilated area. Flux fumes are harmful if inhaled repeatedly. Wear safety glasses to protect eyes from flying solder bits.
Keep flammable materials away from your workspace. These precautions ensure you stay safe while fixing your gear. Proper handling extends both your life and your equipment’s lifespan.
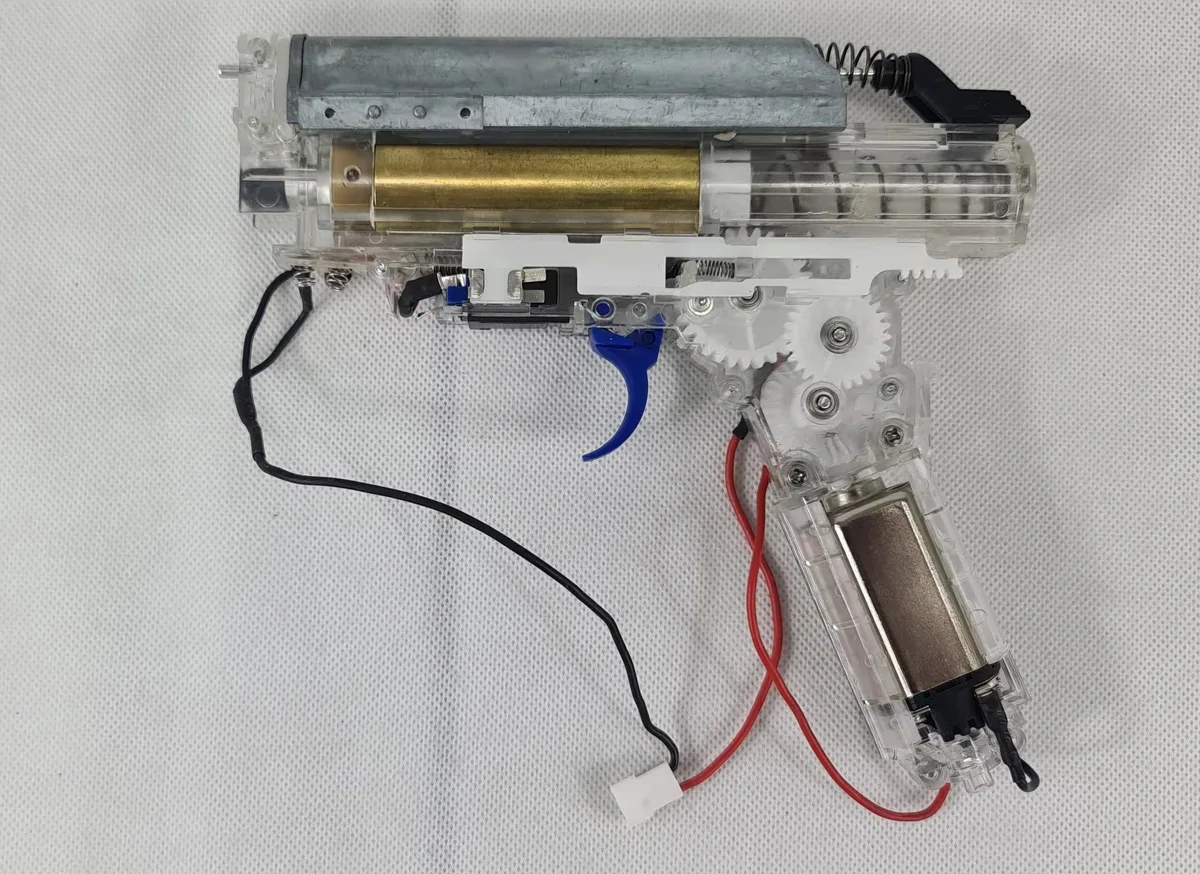
Image source: Bing (Web (fair-use with source credit))
FAQ: Splatter Ball Gun Semi-Auto Issues
Why does my gel blaster only shoot in full auto?
This usually means the trigger microswitch is broken or disconnected. Full auto often bypasses the switch via a direct circuit closure. Semi mode relies on the switch sending individual pulses.
Check the switch continuity with a multimeter. Replace it if it fails to click or conduct electricity properly.
Can I fix a semi-auto failure without soldering?
Sometimes yes. If the wire is loose but intact, reseating the connector fixes it. You might also clean oxidized contacts with alcohol.
However, most permanent repairs require soldering new switches or wires. Non-soldering fixes are temporary solutions at best. For reliable performance, proper soldering is recommended.
Does humidity affect splatter ball gun triggers?
Yes, moisture accelerates oxidation on metal contacts. Coastal users face higher corrosion rates. Store your blaster in a dry place with silica packets.
After rain play, wipe down exposed metal parts. Regular maintenance prevents rust from breaking the semi-auto signal path. Dry storage preserves electrical integrity over time.
How much does it cost to repair a MOSFET board?
Professional repair ranges from $50 to $100 depending on location. DIY part replacement costs $20, $60 for the board itself. Factor in tool costs if you don’t own a soldering station.
Compare this against buying a new unit. Budget blasters are often cheaper to replace than to repair electronically.

Similar Posts