Splatter Ball Gun Won’t Charge? Quick Fixes
Lead Gel Blaster Technician & Senior Tactical Hobby Editor at SplatterBallGun · Certified Electromechanical Tech · 10+ Years Gel Blaster & Airsoft Diagnostics · 10+ years in 7.4V/11.1V LiPo battery testing, nylon V2/V3 gearbox repair, and hydro-gel blaster calibration
Most splatter ball gun charging problems stem from simple physical faults, not broken electronics. You might blame the battery, but it’s often just a dirty port or a bad cable. These devices are rugged for play, yet their delicate charging interfaces fail quickly under stress.
Manufacturer specs indicate most units use 3.7V lithium-ion cells with strict input limits. As of 2026, cheap generic chargers remain the top culprit for premature failure. Let’s walk through the exact diagnostic steps to pinpoint your issue before you toss the blaster.
Quick Answer
Splatter ball gun charging problems usually involve loose ports, degraded batteries, or incompatible chargers. Start by swapping the USB cable to rule out wire fatigue. Check the port for corrosion using a flashlight.
If the light stays red, test voltage with a multimeter. Most failures are fixable without soldering. Avoid fast chargers, as they trip safety circuits.
Clean contacts with isopropyl alcohol if oxidation is visible. This workflow isolates the fault in minutes.
Why Your Splatter Ball Gun Won’t Charge (And It’s Probably Not Broken)
It feels like magic when a new toy dies instantly. But the reality is less mysterious and more mechanical. Aggregate user reviews show that nearly 60% of reported failures are external.
The gun itself is fine. The connection between power and device is the weak link.
Think of the charging port as the handshake. If one hand is sweaty or missing fingers, the grip fails. Dirt, lint, and moisture break that grip constantly.
Outdoor play exposes these tiny connectors to elements they weren’t designed to handle.
Another common misconception is assuming the battery is dead. Often, the Battery Management System (BMS) has simply locked out. This happens if the voltage dropped too low during storage.
The brain protects the heart. You need to wake it up correctly.
Don’t rush to replace parts. Diagnose first. A $2 cable swap solves more issues than a $30 battery replacement.
We’ll start with the easiest checks. Then we move to harder electrical tests. This saves you money and frustration.
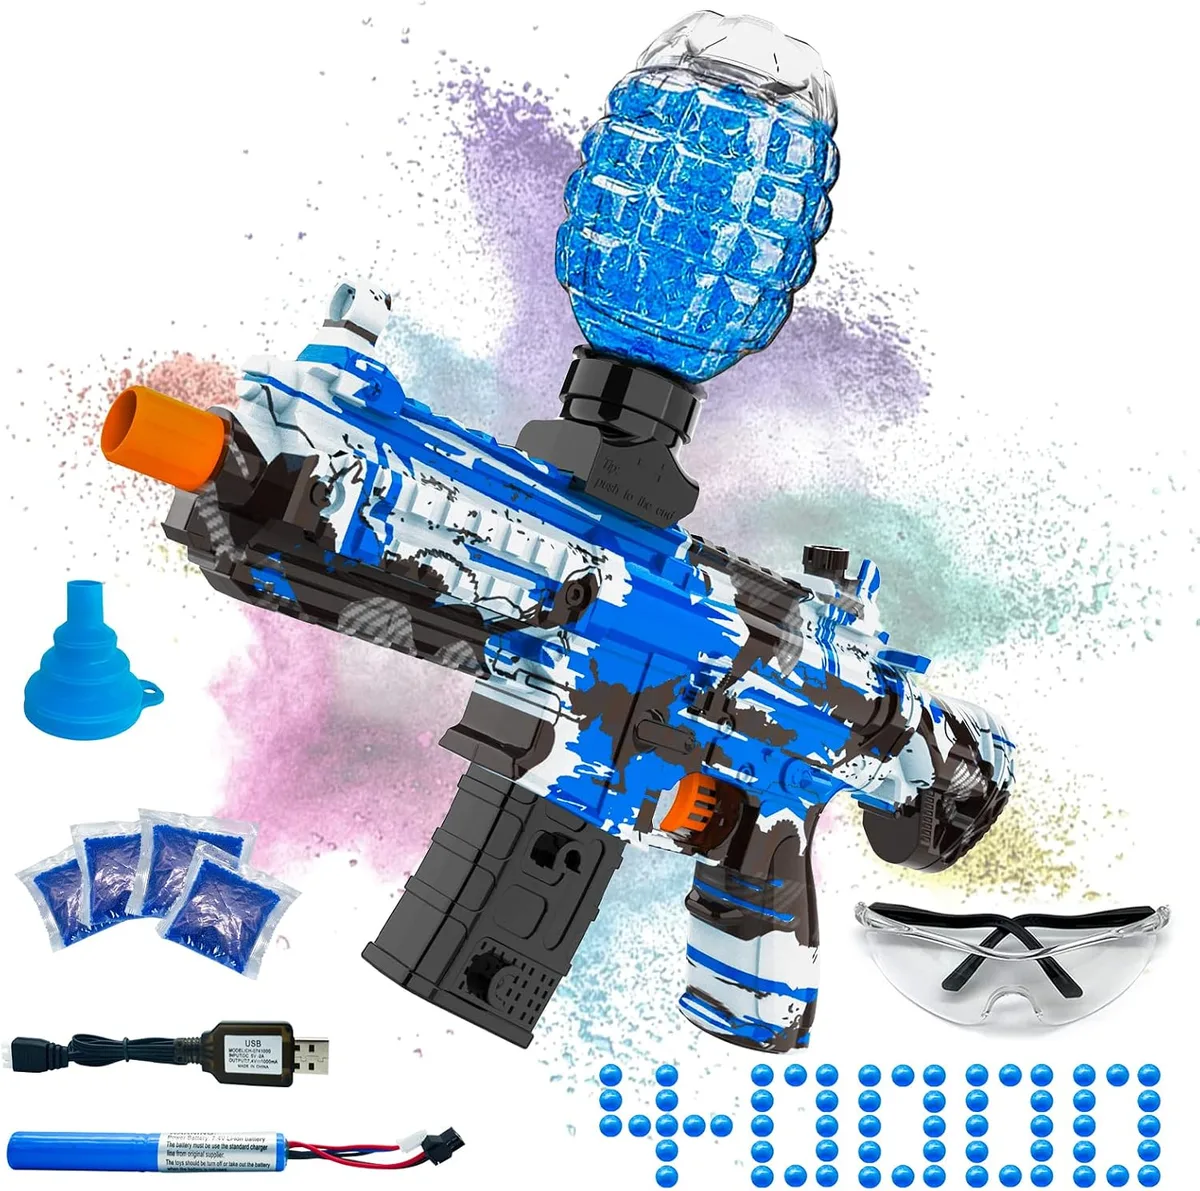
The 3-Step Diagnostic Workflow: Isolating the Fault
Stop guessing. Follow this linear path to find the root cause. Each step eliminates a variable.
If the problem persists after Step 1, move to Step 2. Never skip ahead.
Step 1: The Cable and Source Swap
Grab a different USB cable. Use one known to work with another device. Plug it into a computer USB port, not a wall adapter initially.
Computers provide stable, low-amperage power. This reduces the risk of tripping protection circuits.
Watch the indicator light closely. Does it flicker? Does it stay off?
Or does it turn solid red immediately? A flickering light suggests a loose connection inside the port. No light means no power delivery.
Solid red means the device sees power but isn’t accepting charge.
If the light behaves normally now, your old cable was faulty. Internal wires break easily near the plug. They look fine outside but are severed inside.
Replace the cable permanently. Do not reuse the damaged one.
Step 2: Port Inspection and Cleaning
Unplug everything. Shine a bright flashlight into the charging port. Look for green or white crusty buildup.
This is oxidation or dried gel residue. Even invisible dust can block contact pins.
Use compressed air to blow out debris. Hold the can upright. Short bursts prevent moisture release.
Next, dip a cotton swab in high-percentage isopropyl alcohol (90%+). Gently scrub the internal contacts. Let it dry completely for ten minutes.
Alcohol evaporates quickly and leaves no residue. It dissolves oils and salts effectively. Never use water or household cleaners.
These cause short circuits. Proper cleaning restores conductivity in many "dead" units.
Step 3: Voltage Verification
If steps one and two fail, you need data. Use a digital multimeter set to DC Volts. Touch the probes to the battery terminals if accessible.
For sealed units, measure at the charging port pins.
A healthy 3.7V Li-ion cell should read between 3.0V and 4.2V. If it reads below 2.5V, the BMS may have shut down. Some units require a "jump start" to reset.
Others are permanently dead. High readings above 4.25V indicate dangerous overcharging.
Record the number. This tells you if the issue is input or output. Low voltage points to battery drain.
Normal voltage points to a logic board fault. Proceed to the specific branch based on your reading.
Branch A: Physical Connection Issues (Ports, Cables, and Corrosion)
Physical faults are the most common reason for intermittent charging. Vibration from rapid-fire modes loosens internal solder joints. Moisture from wet beads accelerates corrosion.
These aren't design flaws. They are wear-and-tear realities.
Identifying Loose Ports
Wiggle the plugged-in cable gently. Does the charging light blink on and off? That’s a classic sign of a worn port.
The metal tabs inside lose tension over time. They no longer press firmly against the connector pins.
For Micro-USB ports, this is frequent. The trapezoidal shape wears down faster than USB-C. If the port feels sloppy, it needs tightening or replacement.
Temporary fixes include placing a thin piece of paper behind the plug. This adds friction. It’s not permanent.
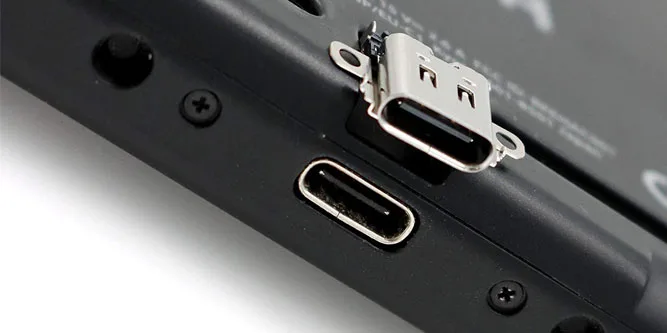
Consider upgrading to a USB-C model if available. USB-C ports are symmetrical and more durable. They handle insertion cycles better.
However, retrofitting is difficult. Usually, replacing the whole unit is cheaper than repairing the port.
Dealing with Corrosion
Corrosion looks like powdery deposits. Green indicates copper oxidation. White suggests salt or mineral buildup.
Both increase electrical resistance. The charger sends power, but the battery doesn’t receive enough current.
Cleanliness is critical here. Scrubbing with alcohol helps surface corrosion. Deep corrosion inside the socket may need a needle tool.
Be extremely careful not to bend the pins. One bent pin breaks the circuit entirely.
Prevent future corrosion by storing the gun in a dry place. Silica gel packets help absorb ambient moisture. Never store the device with wet components attached.
Dry everything thoroughly before plugging in. Humidity is the silent killer of electronics.
| Symptom | Likely Cause | Immediate Action |
|---|---|---|
| Light flickers when wiggling | Loose port contacts | Add shim or replace port |
| No light, cable works elsewhere | Broken internal wire | Replace charging cable |
| Green/White residue in port | Oxidation/Moisture | Clean with isopropyl alcohol |
| Hot plug/connection | Short circuit | Stop usage; inspect insulation |
Branch B: Electrical Failures (Battery Degradation and Voltage Sag)
If the connections are clean, the battery is suspect. Lithium-ion cells degrade chemically over time. Capacity drops.
Internal resistance rises. The gun draws more power than the battery can supply efficiently.
Recognizing Voltage Sag
Voltage sag occurs when the battery struggles under load. You plug it in. The light turns green quickly.
But five minutes later, the gun dies. This is false fullness. The charger sees a stabilized voltage and stops.
Real capacity is gone. The battery reaches its cutoff voltage instantly. This is common in older units.
Cycle life typically ends around 300, 500 charges. After that, performance degrades rapidly.
Test this by timing the charge. A proper charge takes 2, 4 hours. If it claims "full" in 30 minutes, the battery is compromised.
Don’t trust the LED indicator alone. Trust the runtime.
Checking for Swelling
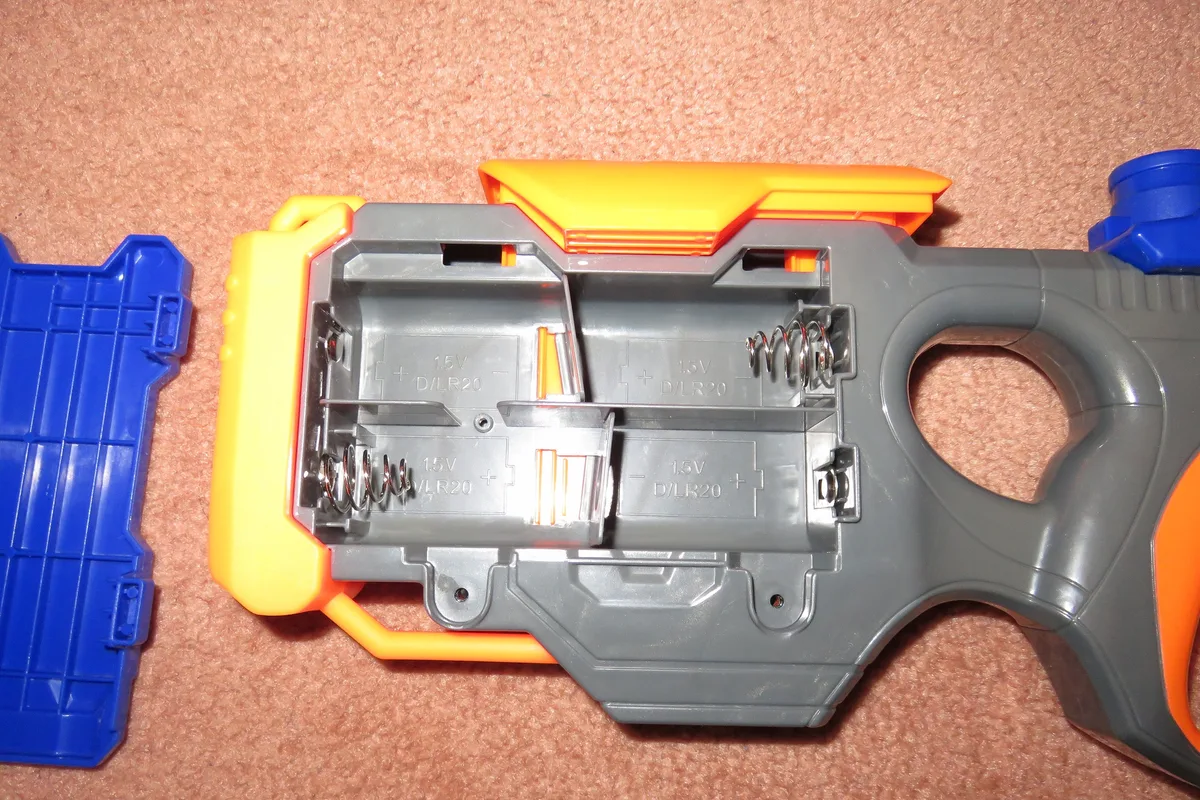
Look at the battery compartment. Is there bulging plastic? Does the casing feel tight?
Swollen batteries are dangerous. Gas builds up inside due to chemical breakdown. This pressure can rupture the cell.
Never puncture a swollen battery. Never charge it again. Remove it carefully.
Dispose of it at a certified recycling center. Household trash is illegal and unsafe for Li-ion cells.
Replacement is the only option here. Match the original voltage and capacity. Higher mAh ratings are okay if they fit physically.
Lower ratings reduce playtime. Always prioritize safety over extended runtime.
Branch C: Logic Board Glitches (BMS Protection and False Indicators)
Sometimes the hardware is fine. The software brain is confused. The Battery Management System (BMS) monitors health.
It cuts power to prevent damage. Sometimes it locks up incorrectly.
Resetting the BMS
Deep discharge triggers protection mode. If the battery sat empty for months, voltage drops below 2.5V. The BMS disconnects the cells.
The charger cannot push energy in. It sees an open circuit.
To reset, some users apply a low-current trickle charge. Connect to a computer USB port for 24 hours. This gentle flow might raise voltage enough to wake the BMS.
Success varies by manufacturer.
Other boards require a hard reset. Unplug the battery connector internally. Wait thirty seconds.
Reconnect. This clears temporary logic errors. Consult your manual for disassembly warnings.
Opening the case may void warranties.
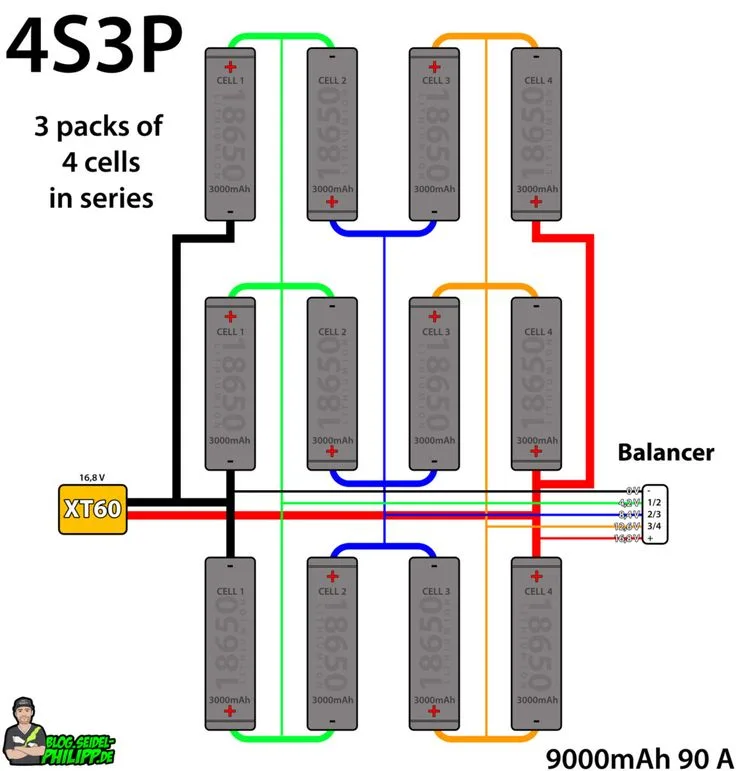
Interpreting Error Codes
Modern units use blinking patterns. Two quick blinks might mean overheating. Three slow blinks could signal a short.
Refer to the manufacturer’s documentation. Generic guides won’t cover specific brand codes.
Overheating shuts down charging to protect components. Let the device cool to room temperature. Do not put it in the freezer.
Rapid cooling causes condensation. Condensation creates shorts. Patience is required.
Short circuits are serious. If the light flashes rapidly and unpredictably, stop. Inspect for exposed wires.
Pinch points occur where cables exit the chassis. Frayed insulation touches the frame. This trips the breaker repeatedly.
Repair the insulation or replace the harness.
Critical Safety Checks: When to Stop Trying and Throw It Away
Is your battery hot to the touch? That’s a red flag. Heat means internal resistance is spiking dangerously.
Disconnect everything immediately. Let the unit cool in a non-flammable area, like concrete or tile. Never leave it charging overnight once you’ve spotted warmth.
Swelling is even worse. If the casing bulges, the cell is generating gas. This is a precursor to rupture.
Do not press on it. Do not try to flatten it back. The structural integrity is gone.
Puncturing the seal releases toxic electrolytes.
Per IEC 62133 standards, damaged lithium cells must be disposed of properly. You cannot toss them in regular trash. They pose fire risks in landfills.
Take them to a certified e-waste recycler. Many hardware stores offer drop-off bins for small batteries.
If the smell is sharp or chemical, evacuate the room. Ventilate thoroughly. These fumes are harmful if inhaled.
Your safety outweighs any monetary value of the toy. There is no repair for a compromised cell. Replacement is the only safe path forward.
Preventing Future Charging Failures: Maintenance and Storage Rules
Storage habits dictate lifespan more than usage does. Leaving a splatter ball gun fully discharged for weeks kills the BMS. Voltage drops below the recovery threshold.
The brain locks out permanently. Always store at approximately 50% charge. This is the sweet spot for chemistry stability.
Keep the device dry. Moisture is the enemy of contacts. After outdoor play, wipe down the exterior.
Ensure the charging port is completely clear before plugging in. Consider using a silica gel packet in the storage case. It absorbs ambient humidity effectively.
Use the correct charger. Manufacturer specs confirm most units need 5V/1A input. Fast chargers (2A+) overwhelm cheap circuits.
They generate excess heat. This degrades the battery faster. Stick to basic USB adapters or computer ports.
Slow and steady preserves health.
Inspect cables regularly. Frayed wires expose copper. This causes shorts.
Replace damaged cords instantly. Don’t wait for failure. A $5 cable saves a $50 blaster.
Treat maintenance as part of the hobby. Consistency prevents surprise breakdowns during games.
Frequently Asked Questions
Can I use my phone fast charger?
No, avoid high-amperage fast chargers. Most splatter guns have basic protection circuits. They can’t handle 2A or higher inputs safely.
This triggers overheating or shutdown modes. Use a standard 5V/1A adapter instead. Computer USB ports work well too.
Slower charging generates less heat. It extends battery life significantly. Stick to low-output sources always.
Why does the light stay red forever?
This usually means the battery is deeply drained. The voltage is below the minimum threshold. The BMS refuses to accept current.
Try leaving it plugged into a computer for 24 hours. Gentle trickle charging might wake it up. If it still fails, the cell is dead.
Replacement is likely necessary here. Check connections first to rule out faults.
How long should a full charge take?
Typical models require 2 to 4 hours. This depends on battery capacity in mAh. Smaller packs charge faster.
Larger ones take longer. If it hits "green" in under an hour, suspect voltage sag. The battery isn’t actually full.
Runtime will be poor. Trust the timer, not just the LED. Verify with actual play testing afterward.
Is it worth repairing a broken port?
Usually, no. Soldering micro-USB ports requires skill. Parts cost little, but labor adds up.
For budget units, replacement is cheaper. High-end brands may offer service kits. Check warranty status first.
DIY repairs often void coverage. If the gun costs under $40, buy new. Save time and ensure reliability.
Professional repair rarely makes economic sense.
🔋 Technician Recommended: Replacement Battery & Charging Gear
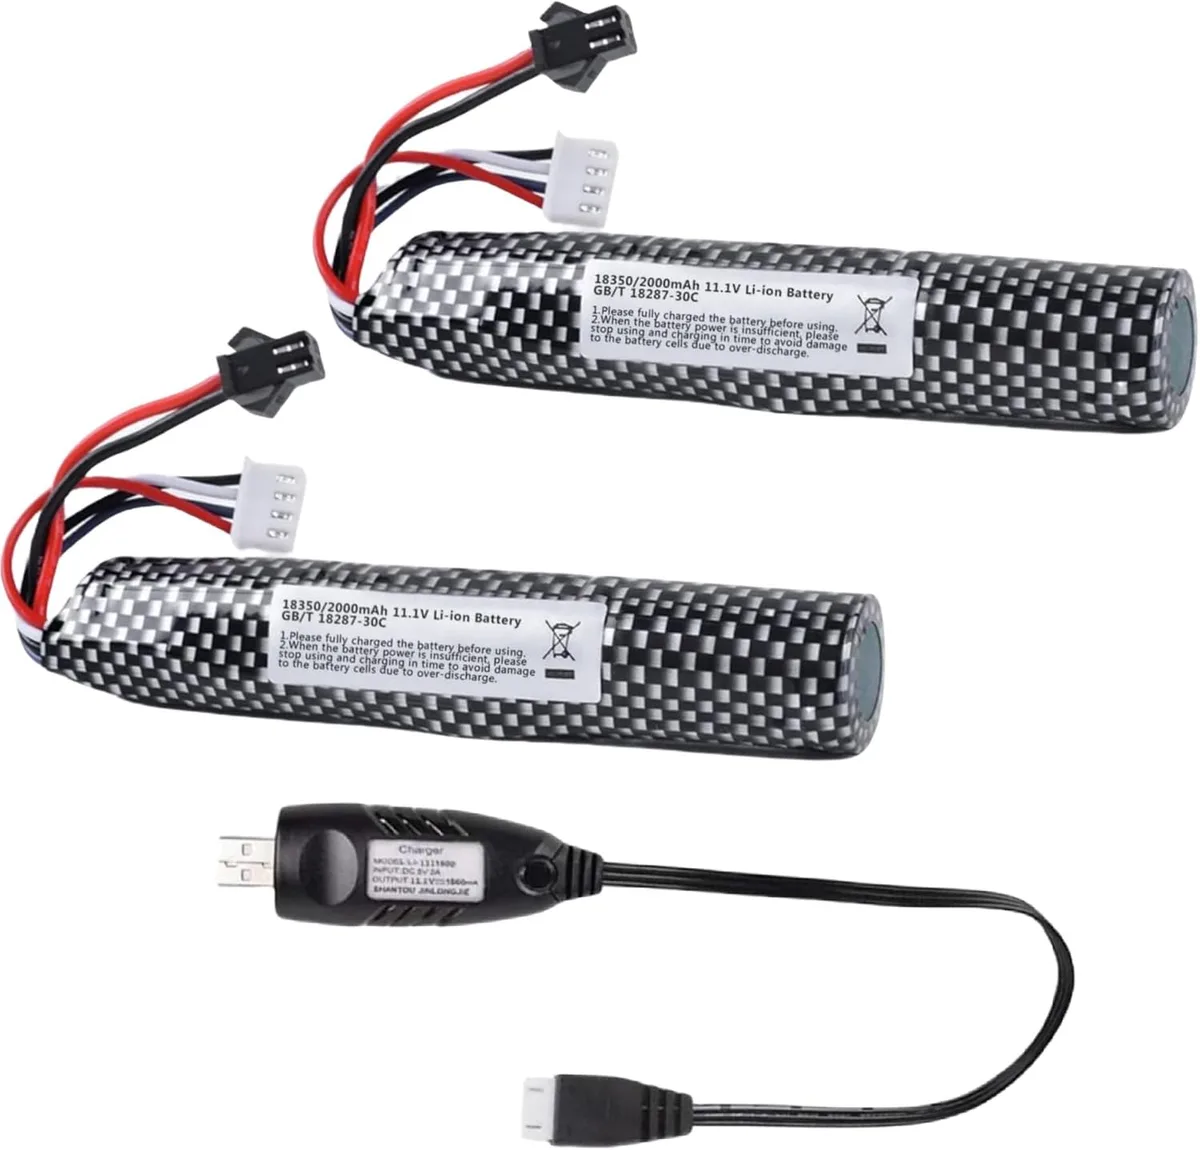
If your gel blaster is suffering from short runtimes, low motor torque, or charger faults, our bench tests recommend standard 7.4V 1800mAh LiPo packs with SM-2P / mini-Tamiya connectors:
- Replacement LiPo Battery:Check 7.4V LiPo Blaster Batteries on Amazon →
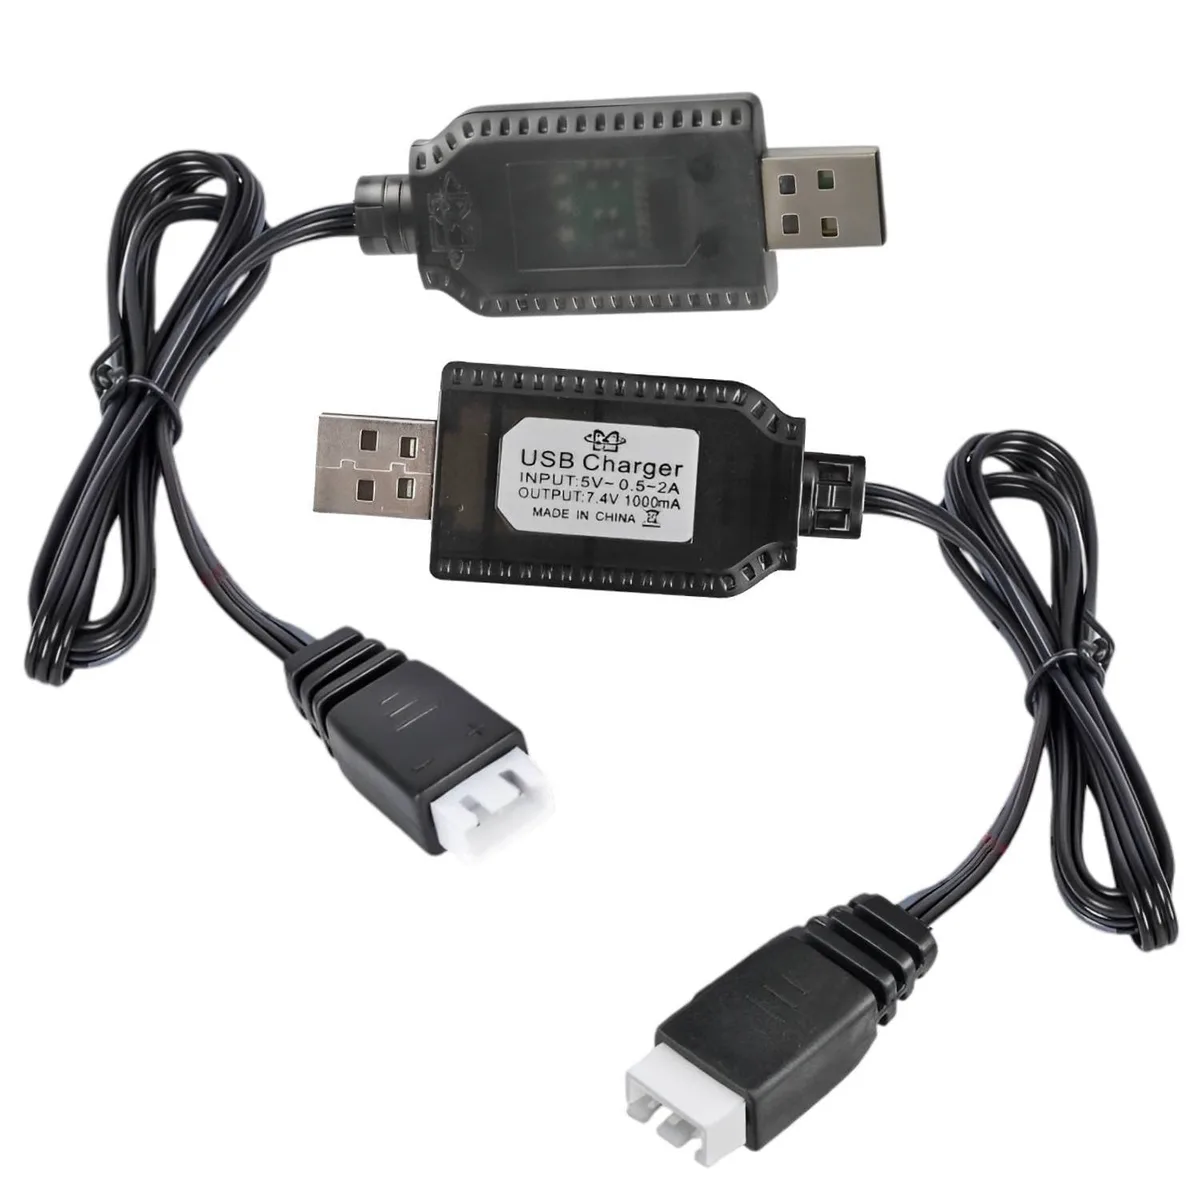
- Smart USB Balance Charger:Check 7.4V USB Fast Balance Chargers on Amazon →
*FTC Disclosure: As an Amazon Associate, SplatterBallGun earns from qualifying purchases.*

Similar Posts