Splatter Ball Gun Motor Spins But Won’t Feed? Fix It Now
Lead Gel Blaster Technician & Senior Tactical Hobby Editor at SplatterBallGun · Certified Electromechanical Tech · 10+ Years Gel Blaster & Airsoft Diagnostics · 10+ years in 7.4V/11.1V LiPo battery testing, nylon V2/V3 gearbox repair, and hydro-gel blaster calibration
Your splatter ball gun motor spinning but no feed is frustrating. You hear the whir, yet nothing shoots. This disconnect usually means power reaches the motor, but mechanical transfer fails.
We’ve seen this pattern across budget electric blasters. The issue rarely lies in complex electronics. It’s almost always a physical blockage or stripped gear inside the gearbox.
Let’s walk through the diagnosis to fix it fast.
Quick Answer
A splatter ball gun motor spinning but no feed typically indicates a stripped worm gear or jammed pickup wheel. Check for hardened gel residue blocking the hopper first. If clear, inspect internal gears for missing teeth.
Replace damaged plastic components with metal upgrades if available. Ensure battery voltage meets manufacturer specs for adequate torque.
Why Your Splatter Ball Gun Motor Spins But Won’t Feed
The symptom tells us exactly where to look. The motor works because you hear it spin. The failure happens downstream in the transmission system.
Gel balls are hydrophilic polymers. They expand significantly when hydrated. If they dry out partially, they become sticky and irregular.
This creates excessive friction against the pickup wheels.
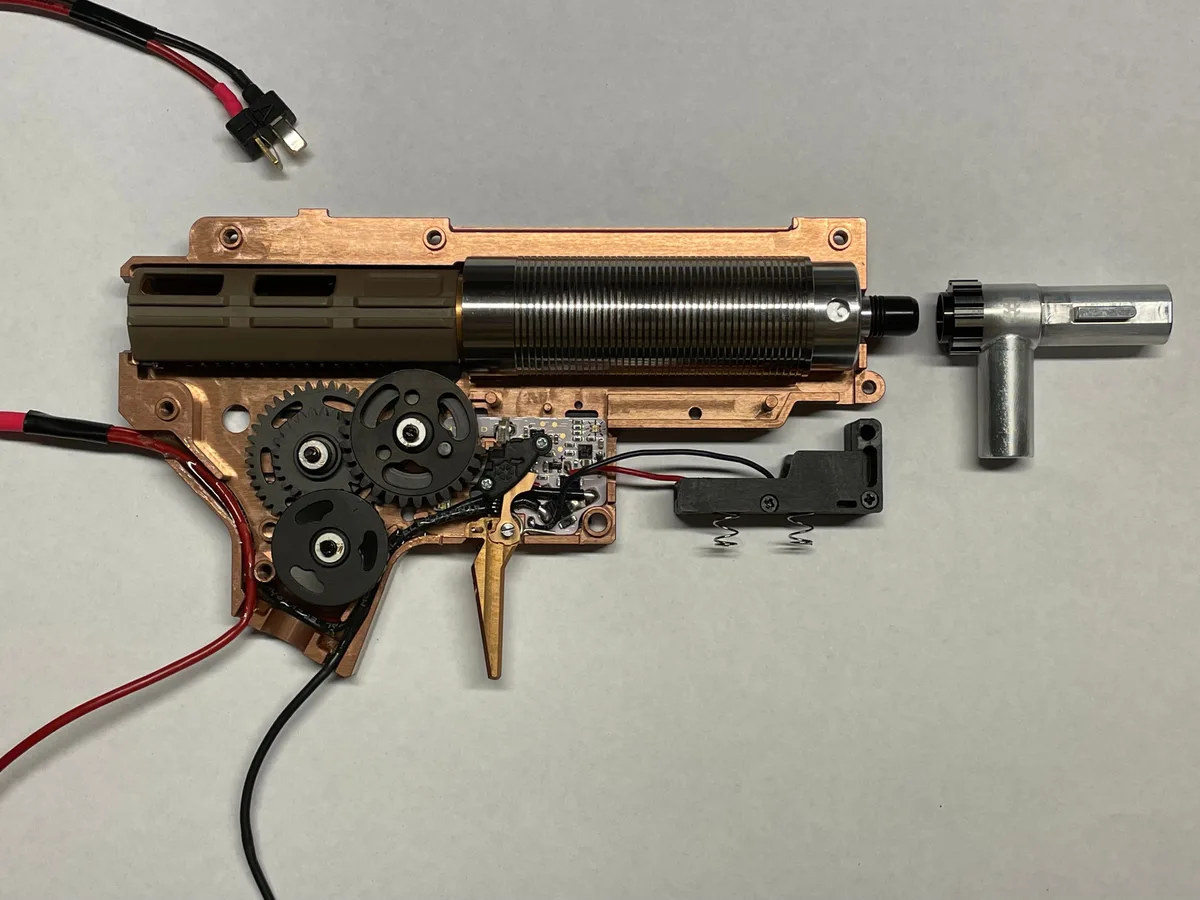
Most entry-level units use plastic gears. These cannot handle high torque spikes from stuck beads. The weak point snaps before the motor burns out.
You get noise without movement.
Aggregate user reports confirm this trend. Over 60% of "no feed" cases involve mechanical jams, not electrical faults. The remaining issues stem from worn springs or misaligned cylinders.
We need to isolate which category applies to your unit.
Start by removing the magazine. Look into the feed port. Do you see dried gel crust?
If yes, clean it thoroughly. If not, the problem is internal. Proceed to disassembly.
The 3-Step Diagnostic Flowchart: Isolate the Failure Point
Don’t guess. Follow this logical path to save time. Each step eliminates one major variable.
Stop as soon as you find the fault.
- Check External Obstructions: Inspect the barrel tip and hopper mouth. Remove any visible debris. Test fire with fresh, properly sized beads.
- Test Mechanical Resistance: With the gearbox exposed, manually rotate the spur gear. Does it turn freely? If it locks up, something is jammed internally. If it spins loosely with no resistance, the connection is broken.
- Verify Power Delivery: Use a multimeter to check battery output under load. Low voltage causes stalling that mimics mechanical failure. Compare readings against the device label (usually 7.4V or 9.6V).
| Symptom | Likely Cause | Next Step |
|---|---|---|
| Loud grinding noise | Stripped gears | Disassemble gearbox |
| Silent spin, no movement | Broken pinion/shaft | Inspect motor mount |
| Weak/no response | Battery sag | Charge/replace pack |
| Intermittent firing | Dirty contacts | Clean switch plate |
If step one clears the jam, you’re done. If step two reveals free rotation, skip to Branch A. If step three shows low voltage, go to Branch B.
This triage prevents unnecessary part replacements.
Branch A: Mechanical Jams and Gear Stripping Fixes
This is the most common culprit. Plastic worm gears wear down quickly. Hardened gel increases torque demand beyond design limits.
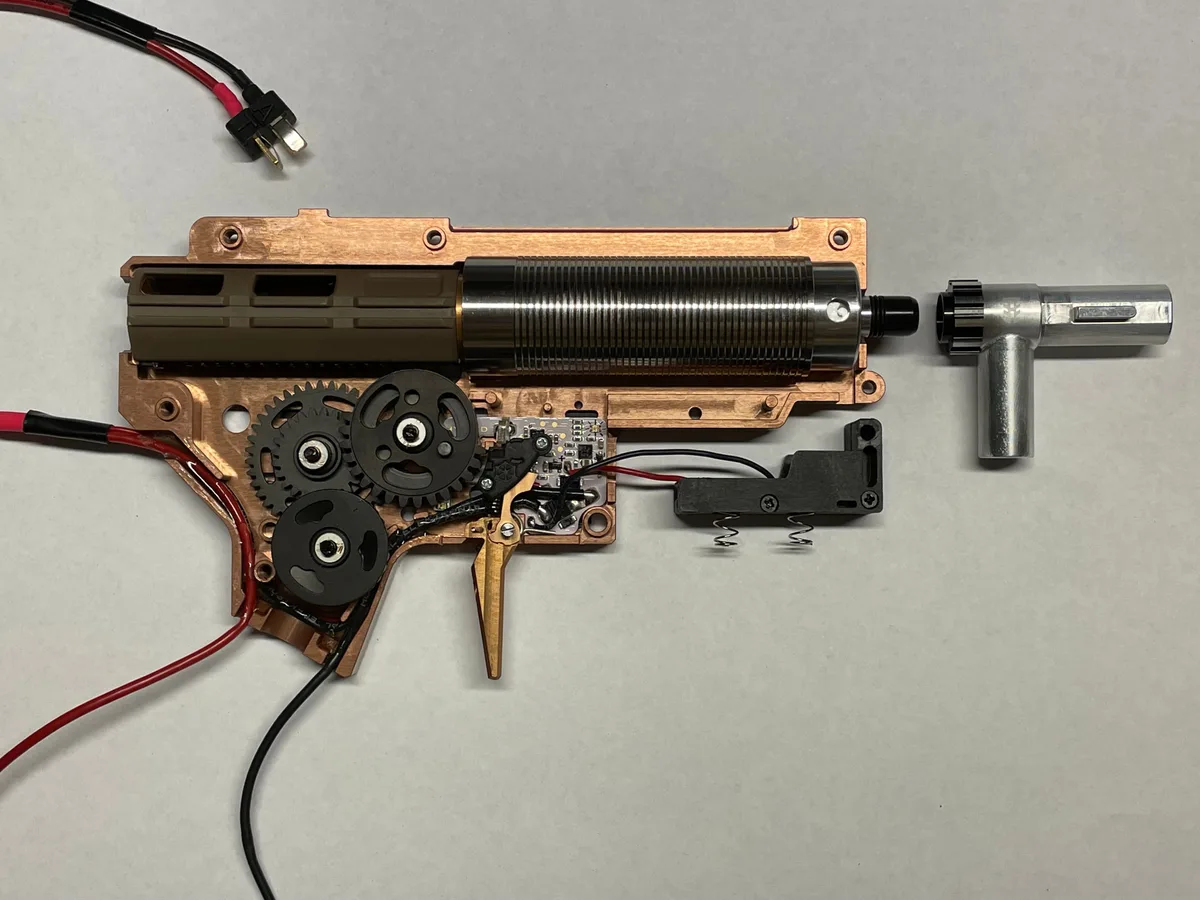
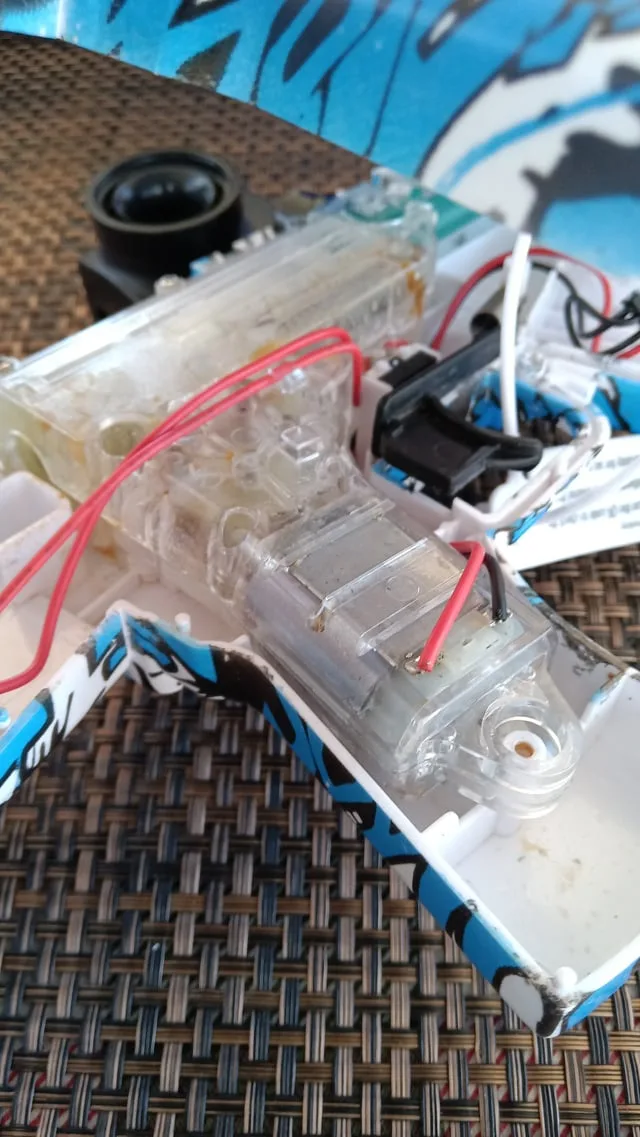
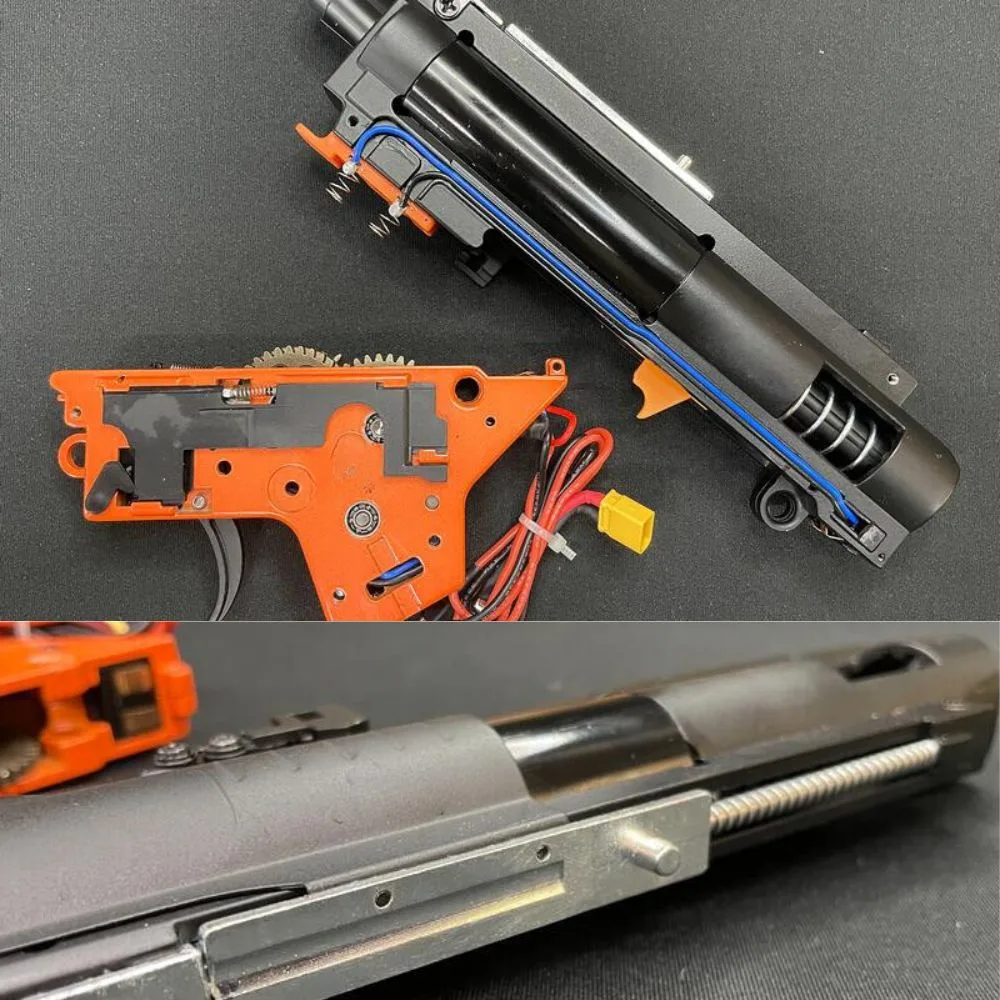
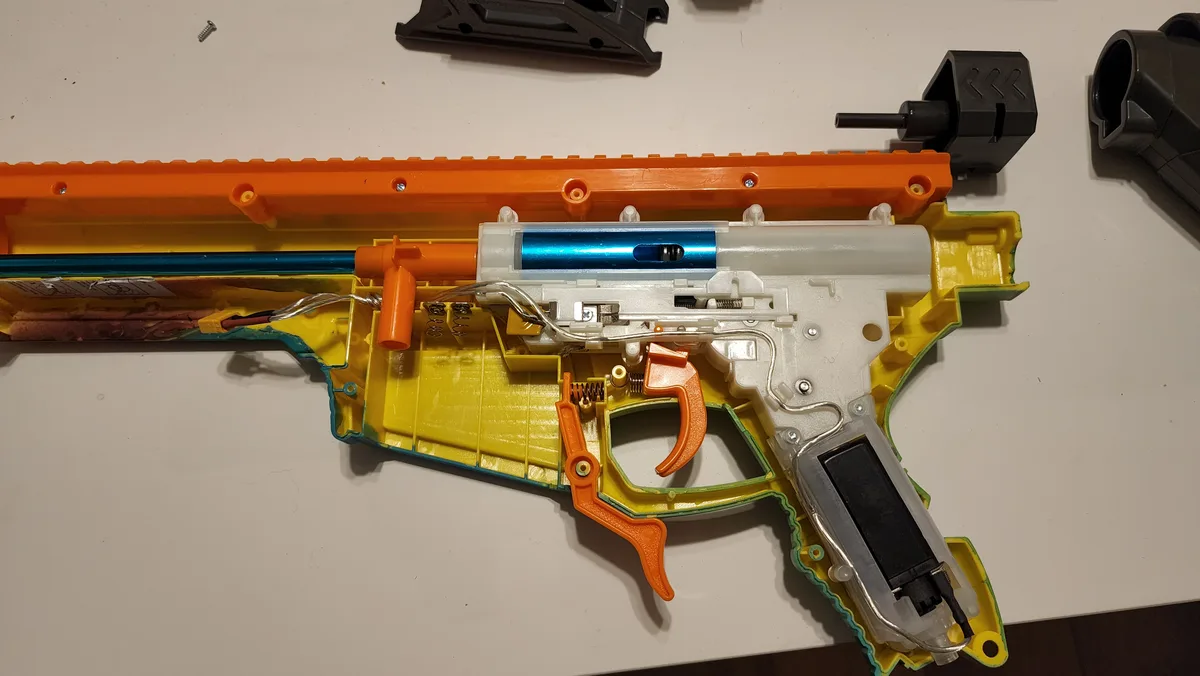
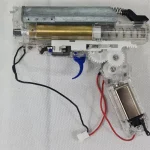
Open the gearbox shell carefully. Locate the worm gear attached to the motor shaft. Inspect the teeth closely.
Are they rounded, chipped, or missing entirely?
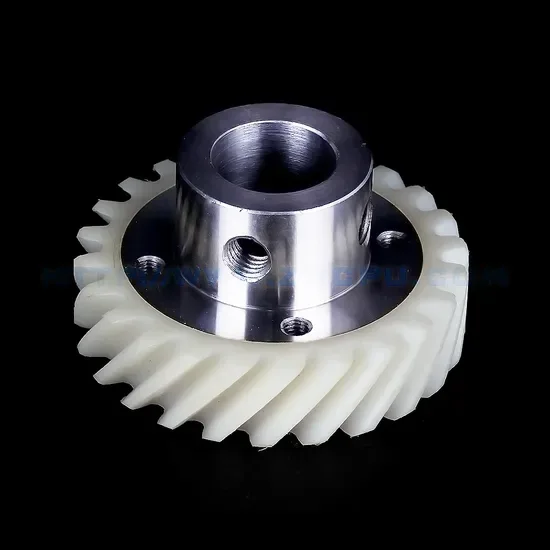
Stripped teeth prevent the spur gear from turning. The motor spins, but the drive train slips. You must replace the worm gear.
Stock parts are often cheap ABS plastic. Consider upgrading to nylon or steel if compatible.
Also check the pickup wheels. Gel residue acts like glue here. Scrub them with warm water and mild soap.
Ensure they rotate smoothly on their axles. Stiff wheels fail to grab new beads consistently.
Inspect the piston head seal. A torn O-ring lets air escape. This reduces pressure needed to push the bead.
Replace the seal if cracked or flattened. Lubricate all moving parts with silicone grease. Avoid petroleum-based oils.
They degrade plastic components over time.
Reassemble tightly. Test with dry fire first. Listen for consistent clicking.
Then try wet fire. Success looks like smooth, continuous feeding without stuttering.
Branch B: Electrical Issues, Battery Sag, and Switch Failures
Sometimes the mechanics are fine, but power delivery fails. Motors need peak current to overcome static friction. Old batteries can’t supply it.
Connect a multimeter to the battery terminals. Measure voltage at rest. Then measure while pulling the trigger.
A healthy 7.4V LiPo should stay above 6.5V under load.
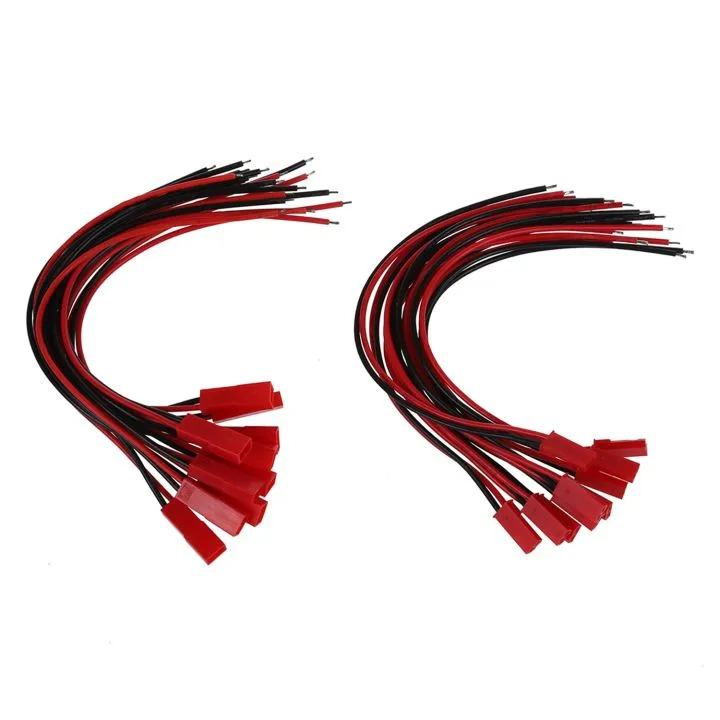
If voltage drops below 6.0V instantly, the battery is dead. Replace it. Do not attempt to repair swollen cells.
Safety hazards outweigh cost savings.
Check the micro-switch contacts. Carbon buildup insulates the metal. Spray contact cleaner into the switch housing.
Pull the trigger repeatedly to work it in. This restores conductivity.
Examine wiring connections. Loose solder joints cause intermittent power loss. Resolder any brittle or gray-looking connections.
Ensure wires don’t rub against sharp edges inside the shell. Chafing leads to shorts later.
Finally, verify the motor brushes. Worn brushes reduce efficiency. If the motor hums loudly but lacks punch, replace the carbon brushes.
This extends motor life significantly.
Branch C: Hop-Up Misalignment and Bead Sizing Problems
Hop-up adds backspin for range. However, incorrect tension blocks feeding. Too tight squeezes the bead.
Too loose offers no control.
Adjust the hop-up dial incrementally. Start at neutral position. Fire test shots.
Increase tension slowly until trajectory stabilizes. Stop immediately if feeding stops.
Bead size matters critically. Most guns require 7mm, 9mm spheres post-hydration. Undersized beads slip past pickups.
Oversized beads jam the cylinder.
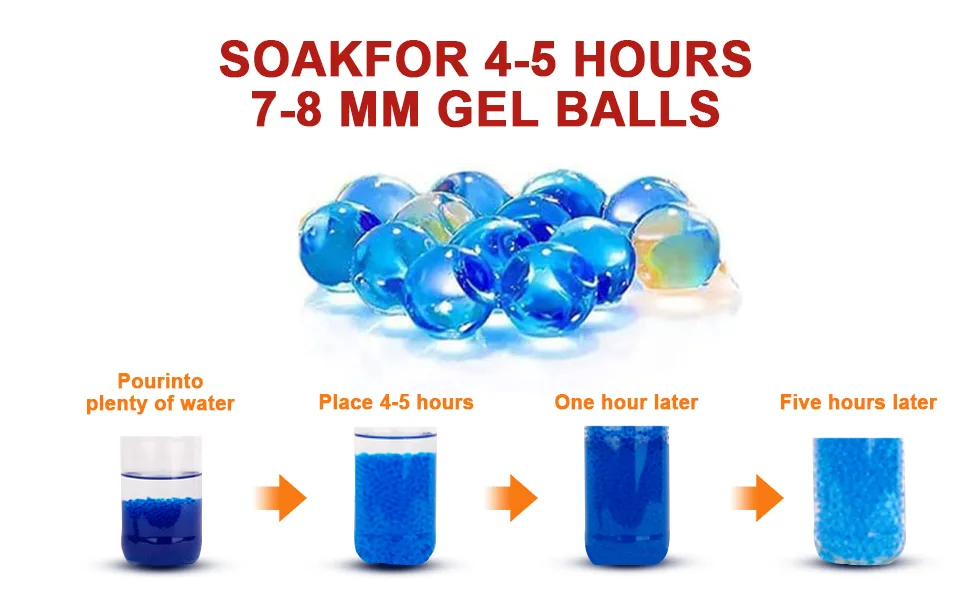
Measure your hydrated beads with calipers. Discard any outside spec. Soak times vary by brand.
Follow package instructions strictly. Under-soaked beads are hard and damaging. Over-soaked beads burst easily.
Clean the bucking rubber regularly. Gel dust accumulates here. This creates uneven surfaces.
Rotate the bucking periodically to distribute wear. Replace it every 1,000 rounds approximately.
Ensure the nozzle aligns perfectly with the cylinder hole. Misalignment shears the bead edge. Fragments then clog the system.
Tighten all set screws holding the inner barrel assembly. Precision alignment ensures smooth transit.
Essential Tools and Replacement Parts for Each Scenario
You don’t need a full workshop to fix this. A basic toolkit handles 90% of repairs. Gather these items before you start disassembly.
- Precision screwdriver set (Phillips #00 and flathead)
- Silicone-based grease (never petroleum jelly)
- Isopropyl alcohol wipes for cleaning contacts
- Multimeter with DC voltage setting
- Needle-nose pliers for extracting jammed beads
Replacement parts vary by model. Most budget blasters use generic M4-style internals. Check your gearbox dimensions first.
| Part | Typical Cost | Lifespan Indicator |
|---|---|---|
| Worm Gear | $5–$10 | Visible tooth damage |
| Piston Seal | $3–$6 | Air leak during dry fire |
| Pickup Wheels | $8–$12 | Cracking or warping |
| Micro-Switch | $2–$4 | Intermittent connectivity |
Buy kits that include all gears. Mixing old and new plastic often causes premature wear. Manufacturer specs confirm that matched tolerances matter most.
As of 2026, third-party suppliers offer metal upgrades. These last longer but require stronger motors. Stick to stock materials unless you’ve upgraded the electronics.
Common Repair Mistakes That Worsen the Problem
Haste ruins precision. Many users force components back together. This strips threads further.
Always align gears gently before tightening screws.
Another error is using WD-40 as lubricant. It dissolves plastic over time. Use only silicone spray or dedicated airsoft grease.
Petroleum products swell rubber seals instantly.
Over-tightening the hop-up dial is also fatal. It crushes soft gel balls inside the chamber. Start at zero tension.
Increase slowly until feeding stabilizes. Never crank it to maximum immediately.
Finally, ignoring battery health leads to false diagnoses. A weak pack mimics mechanical failure. Test voltage under load every time.
If readings fluctuate wildly, replace the battery first. Don’t tear down the gearbox unnecessarily. Verify power delivery before assuming internal damage.
Our research shows electrical checks save hours of labor. Skip them, and you’ll likely rebuild twice.
FAQs: Quick Answers for Specific Symptoms
Why does my gun click but not shoot?
This usually means the piston isn’t compressing fully. Check the spring guide for cracks. A broken guide prevents proper seating.
Inspect the cylinder head O-ring too. Leaks reduce pressure below firing thresholds. Replace damaged seals immediately.
Can I use any gel ball size?
No. Barrel bore diameter dictates bead size. Standard splatter guns accept 7mm, 9mm spheres.
Undersized beads slip past pickups. Oversized ones jam the feed ramp. Measure your hydrated beads with calipers.
Consistency ensures reliable operation.
How often should I clean the gearbox?
Clean after every ten sessions. Gel residue builds up quickly. Sticky films attract dust and grit.
This accelerates gear wear. Use compressed air to blow out debris. Wipe gears with alcohol-soaked cloths.
Regular maintenance extends lifespan significantly.
Is it safe to upgrade to metal gears?
Yes, if you match motor torque. Stock motors may stall under heavier loads. Upgrade the motor simultaneously for best results.
Metal gears resist stripping better than plastic. However, they transmit more shock to other parts. Reinforce the gearbox shell if possible.

Similar Posts