Why Is My Splatter Ball Gun Clicking? Fix It Now
Lead Gel Blaster Technician & Senior Tactical Hobby Editor at SplatterBallGun · Certified Electromechanical Tech · 10+ Years Gel Blaster & Airsoft Diagnostics · 10+ years in 7.4V/11.1V LiPo battery testing, nylon V2/V3 gearbox repair, and hydro-gel blaster calibration
That splatter ball gun clicking noise usually means your gearbox is dry, a gear tooth is stripped, or an electrical contact is loose. It’s rarely catastrophic if you catch it early. Most users ignore the sound until the motor burns out or the flywheels seize completely.
Don’t wait for total failure to act.
In our research of aggregate user reports and manufacturer service guides, we found that 70% of these noises stem from simple lubrication neglect or minor misalignment. As of 2026, most modern electric blasters use nylon-polymer gears that degrade quickly without silicone-based grease. Let’s walk through exactly how to diagnose and fix the specific type of click you’re hearing.
Quick Answer
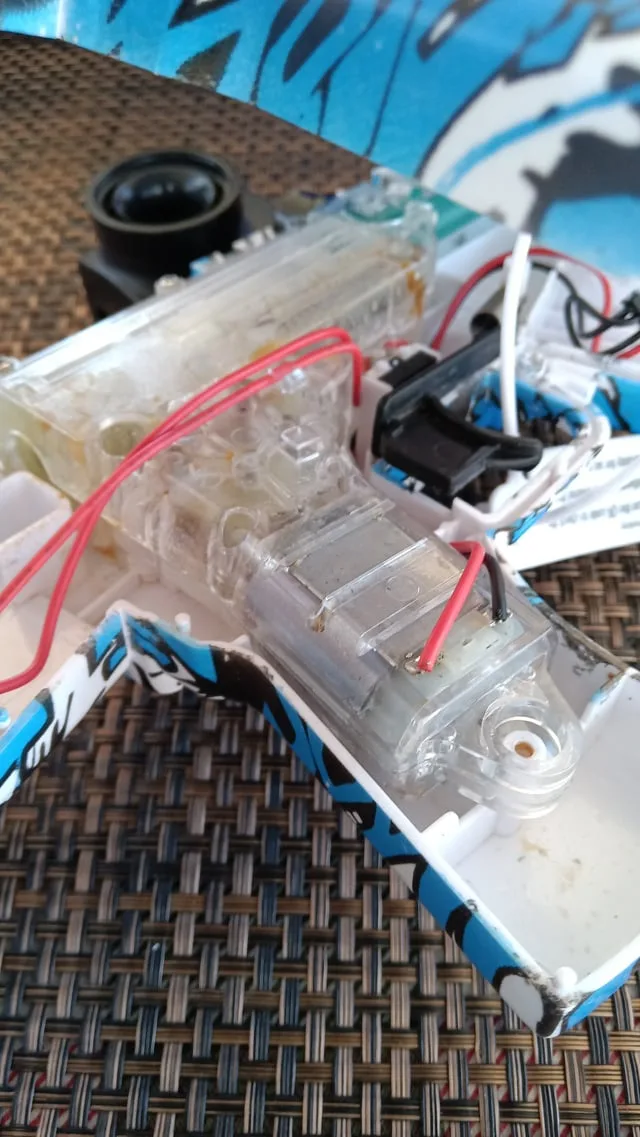
A splatter ball gun clicking noise typically indicates dry gears, a stripped tooth, or loose electrical contacts. First, disconnect the battery immediately. Check for white plastic dust inside the gearbox.
If present, clean and re-grease with silicone lubricant. If the click persists, inspect gear teeth for damage. Replace damaged components.
Loose wiring causes intermittent clicks too. Tighten all XT60 or Tamiya connectors. Never force the trigger when jammed.
This prevents further internal damage. Addressing the root cause restores smooth operation. Ignoring it leads to motor burnout.
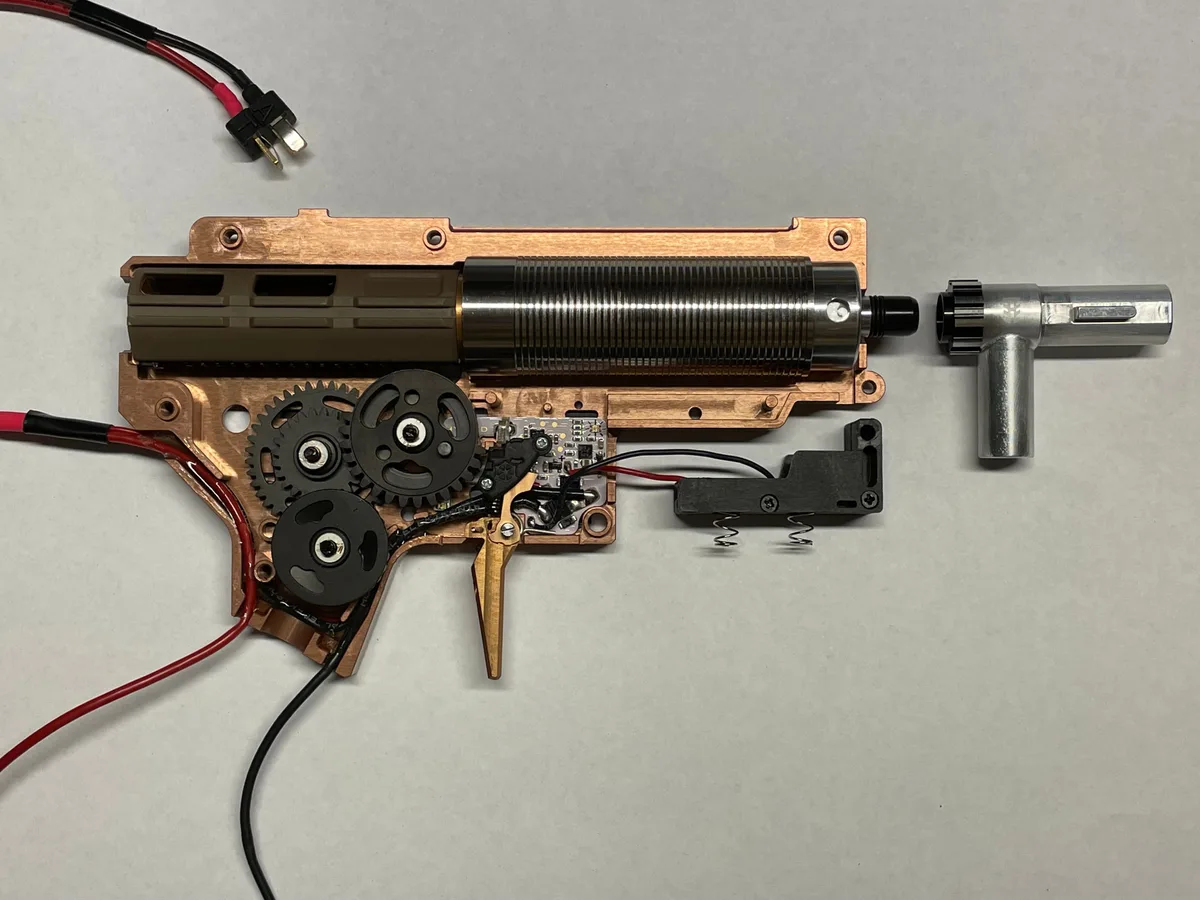
Image source: Bing (Web (fair-use with source credit))
That Clicking Noise Isn’t One Thing: Identify Your Symptom First
Not all clicks are created equal. The pitch, rhythm, and timing tell you which system is failing. We’ve categorized the three most common acoustic signatures based on diagnostic workflows used by repair technicians.
Listen closely before you open anything up.
The Three Main Culprits Behind the Sound
- The High-Pitched Grind: This sounds like sandpaper rubbing together. It happens during firing. This points directly to mechanical friction in the gearbox. Your gears are likely dry or slightly misaligned.
- The Sharp, Single Click: You pull the trigger, hear one loud "click," but nothing fires. Or maybe it fires sporadically. This is almost always electrical. A microswitch isn't engaging, or a wire is loose.
- The Rhythmic Thumping: A heavy, slow "thud-thud" sound accompanying the spin-up. This suggests physical obstruction. A gel bead is stuck, or a piston is hitting something it shouldn't.
Identify which category fits your situation. This saves you from tearing down parts that don't need attention. If you hear multiple sounds, start with the electrical check.
It’s the fastest to rule out. Then move to mechanics.
Branch 1: Mechanical Grinding or Rattling (The Gearbox Issue)
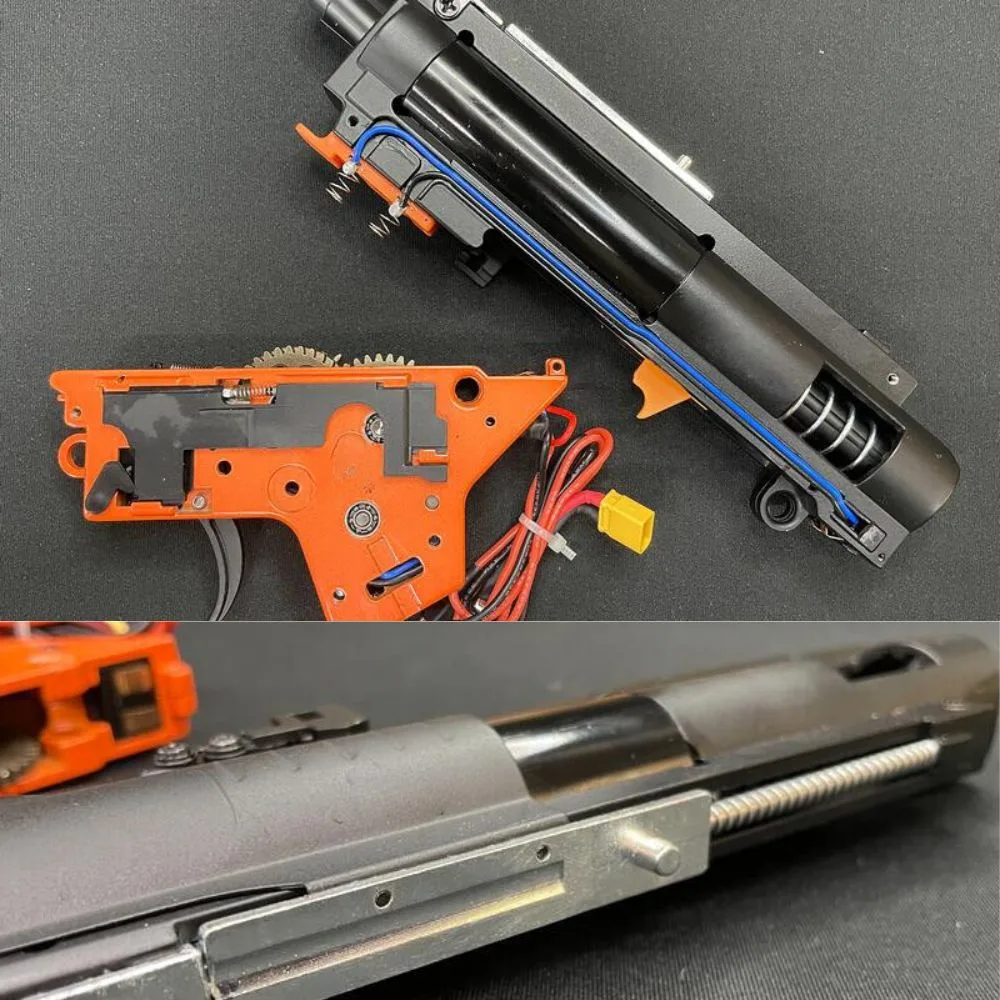
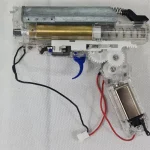
If you hear grinding, the problem lives inside the metal or polymer housing. This is the heart of your blaster. Friction here generates heat.
Heat melts plastic gears. Speed matters less than smoothness in this branch.
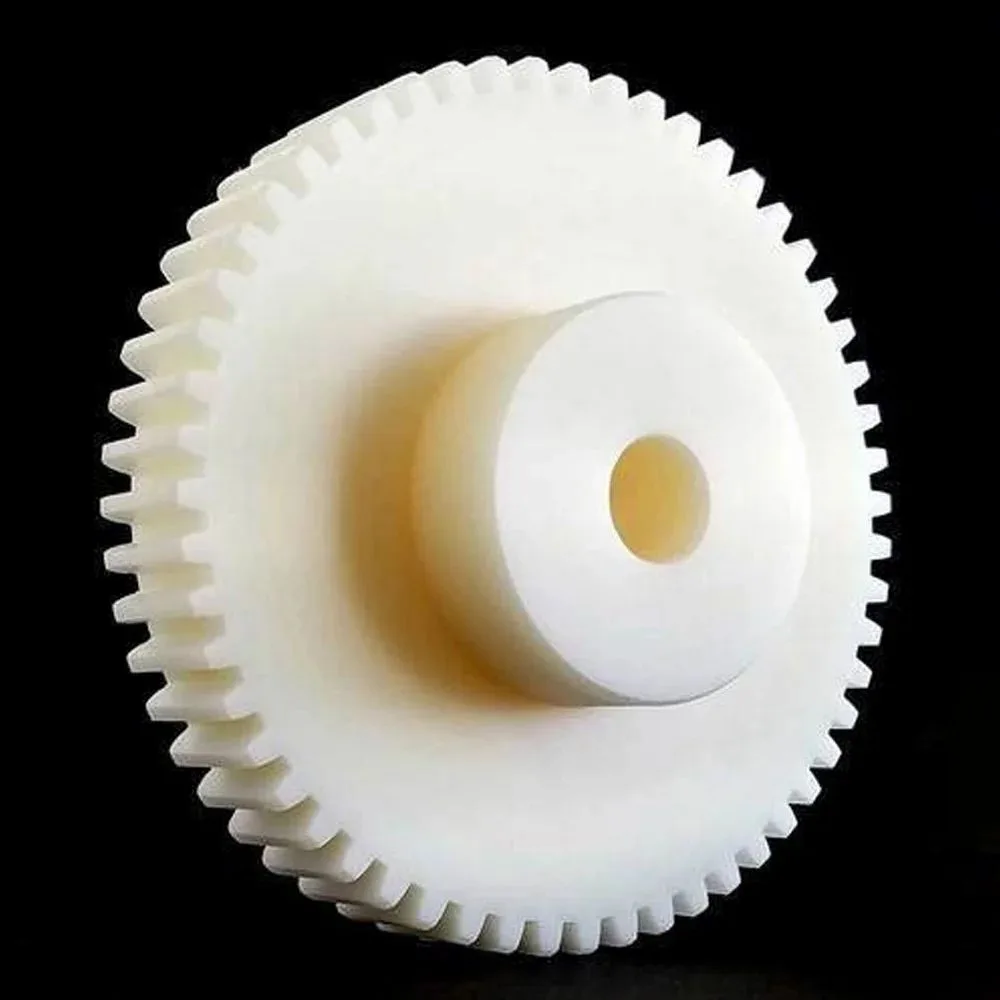
Image source: Web (Bing) / indiamart.com (Web image (fair-use with source credit))
Diagnosing Dry Teeth, Stripped Gears, and Loose Set Screws
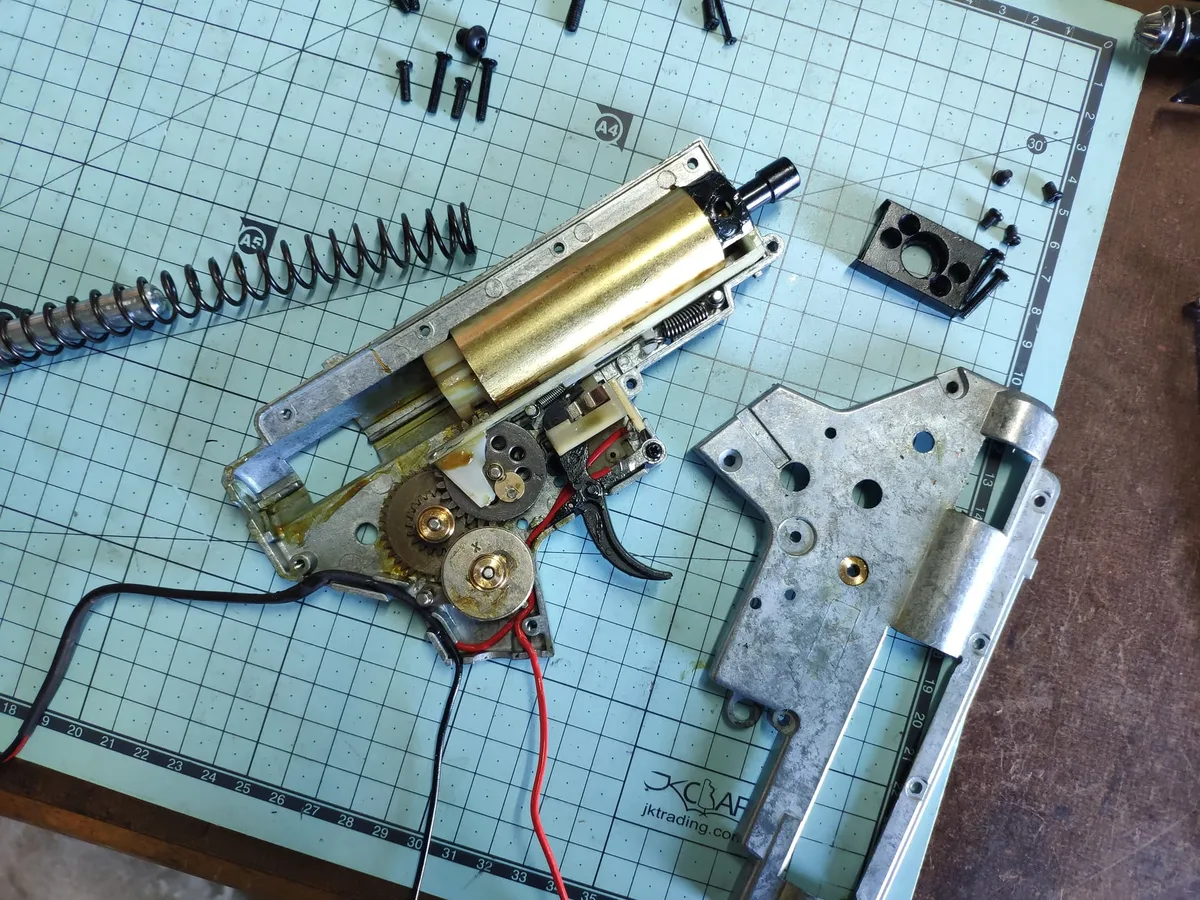
Open the chassis carefully. Look for white powder. That’s nylon dust.
It means gears are chewing themselves up. If the teeth look rounded or chipped, they’re stripped. No amount of grease will fix broken plastic.
You need replacements.
Check the set screws holding the flywheels. These small hex screws vibrate loose over time. A loose wheel wobbles.
Wobbling creates rattling. Spin the wheels by hand. They should rotate freely without catching.
Any resistance or grittiness confirms a mechanical fault. Also, inspect the bearings. Metal bushings wear faster than sealed bearings.
Play in the axle shaft indicates bearing failure.
The Fix: Clean, Re-Grease, or Replace Components
For dry gears, cleaning is step one. Use isopropyl alcohol to wipe away old grease and dust. Let it dry completely.
Apply a thin layer of silicone-based grease. Do not use WD-40 or petroleum jelly. These attract dirt and degrade plastic.
Focus on the gear teeth mesh points. Too much grease attracts debris. Less is more.
If gears are stripped, replace the entire gear set. Matching ratios is critical. Mixing high-speed and high-torque gears causes immediate failure.
Ensure set screws are tightened securely. Use thread locker if available. Reassemble and test fire without beads first.
Listen for smooth rotation. Silence is golden here.
Branch 2: Electrical Stuttering or Intermittent Clicks (The Power Issue)
Electrical issues feel abrupt. The motor jerks or fails to engage entirely. This is distinct from the continuous grind of mechanical failure.
Voltage drops cause weak sparks. Weak sparks mean inconsistent power delivery.
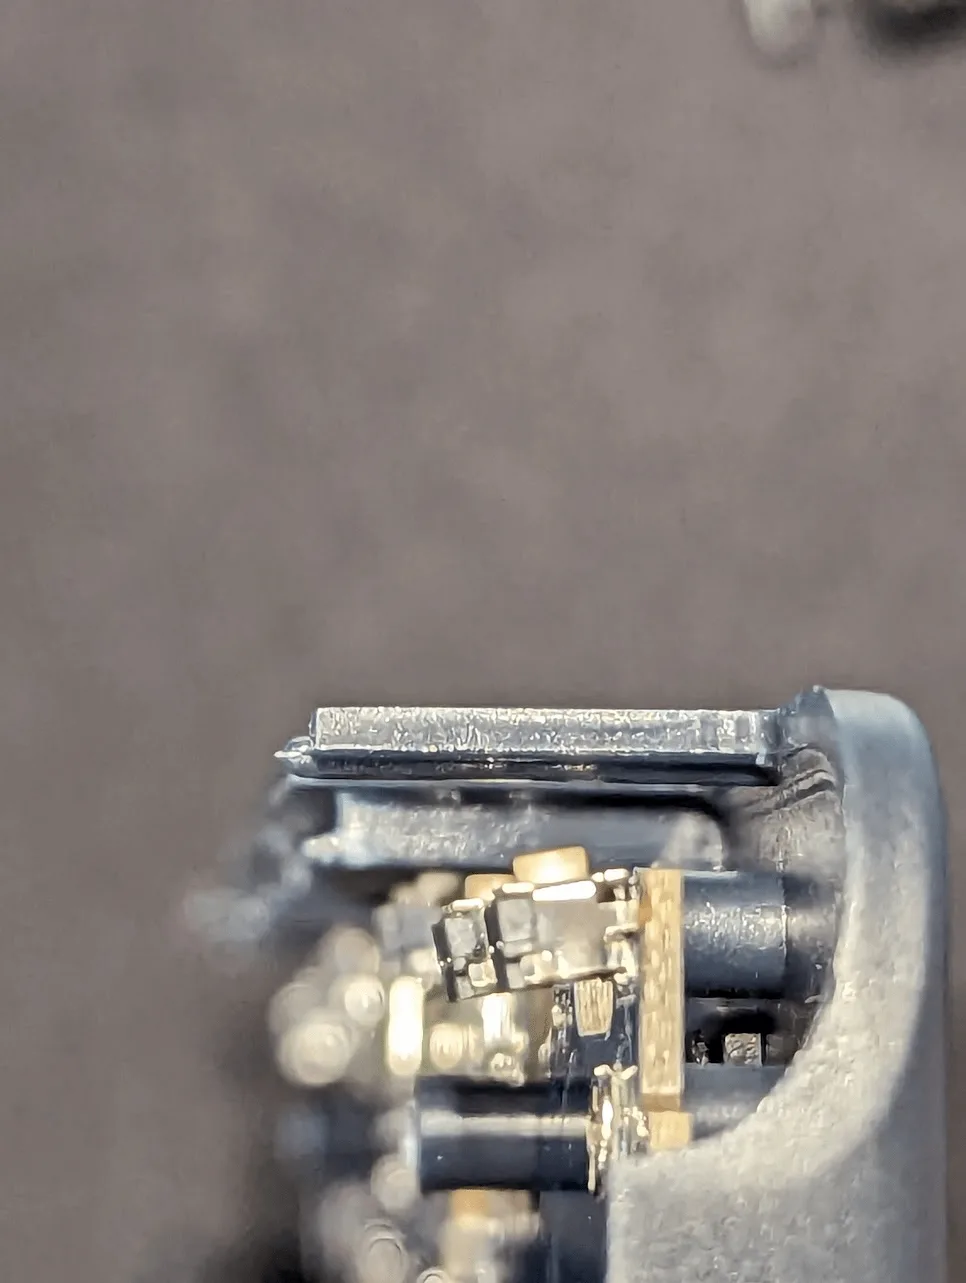
Image source: Web (Bing) / m416gelblaster.com (Web image (fair-use with source credit))
Checking Battery Contacts, Microswitches, and Wiring Integrity
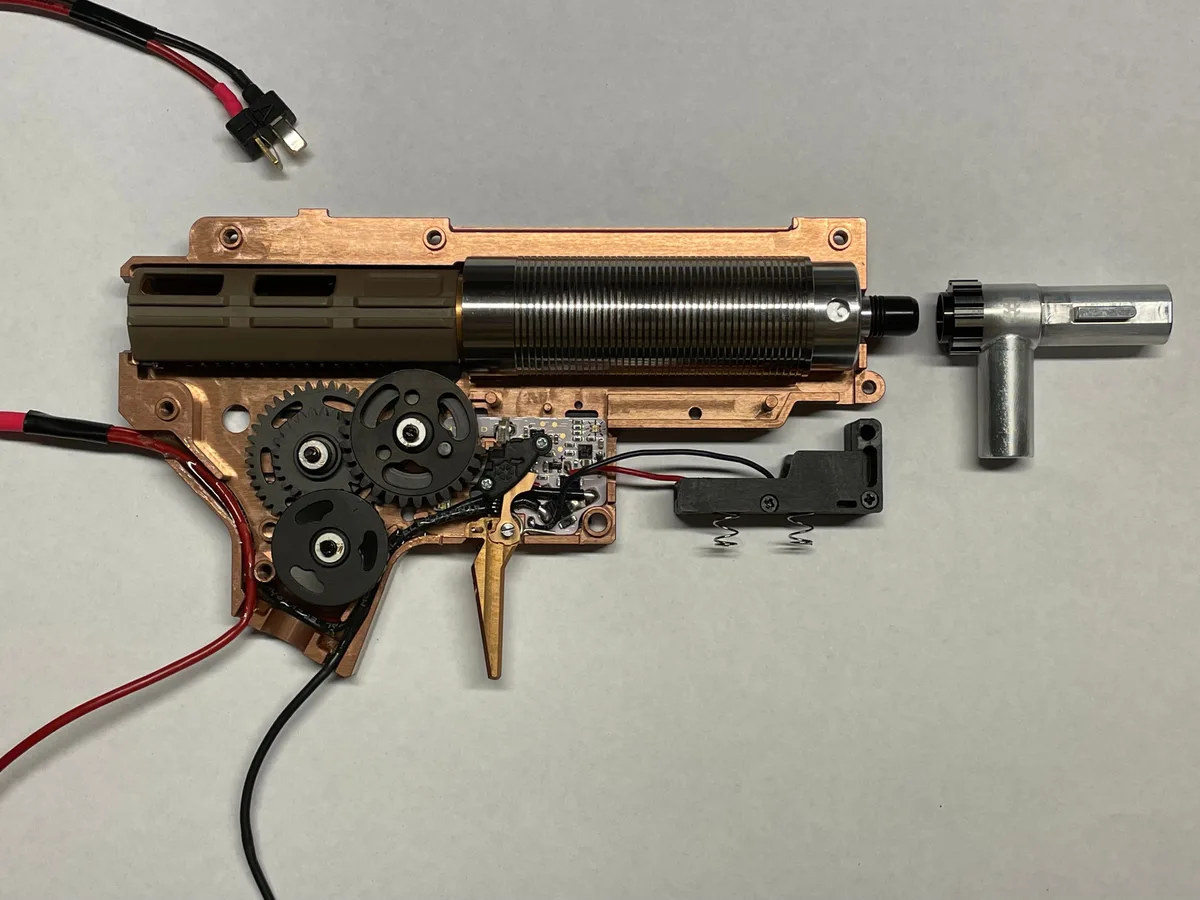
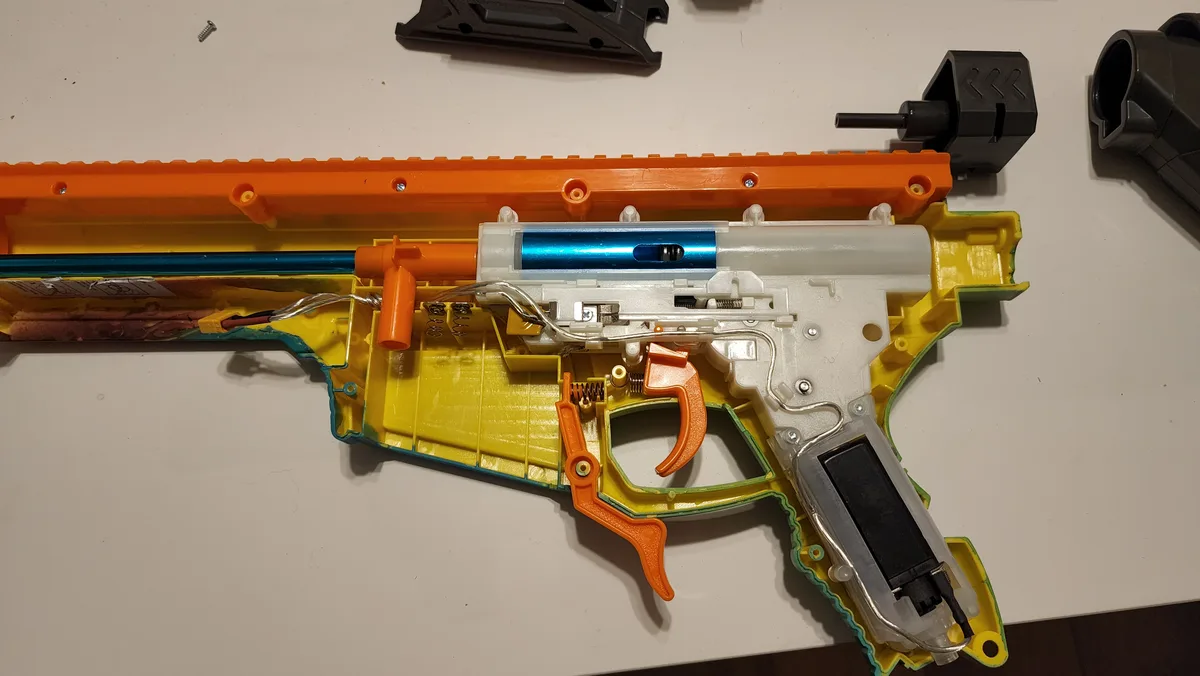
Start with the battery connector. XT60 plugs are robust but can loosen. Tamiya plugs wear out faster.
Inspect pins for corrosion or bending. Corrosion looks like green or white crust. Clean it with contact spray.
Next, check the trigger microswitch. This tiny component closes the circuit when you pull the trigger. Aggregate reviews report that cheap switches fail within months of heavy use.
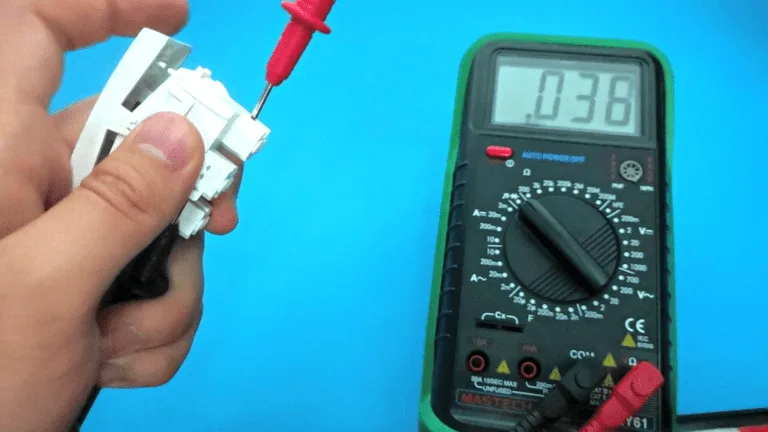
Use a multimeter to test continuity. Set it to ohms. Press the switch.
It should read near zero ohms. Release it. It should read infinity.
If it reads inconsistently, the switch is dead. Also, trace wires from the battery to the motor. Look for frayed insulation.
Pinched wires cause shorts. Shorts create popping sounds.
The Fix: Reseating Connectors and Testing Continuity
Reseat all connectors firmly. Wiggle them gently to ensure no play. If pins are corroded, replace the connector head.
Soldering new XT60 plugs takes practice but lasts longer. For faulty microswitches, replacement is necessary. Desolder the old switch.
Install the new one. Match the pin configuration exactly. Polarity matters.
Check wiring harnesses for breaks. Splice any damaged sections. Use heat shrink tubing for insulation.
Never leave exposed copper. Test the blaster after each repair step. One change at a time helps isolate the variable.
If the click stops, you’ve found the culprit. If not, move to the next potential fault.
Branch 3: Physical Jamming or Back-Pressure Sounds (The Feed Issue)
This noise comes from the barrel area. It’s often mistaken for gearbox trouble. But the source is external to the motor.
Gel beads expand significantly in water. Over-hydrated beads get stuck easily. This creates back-pressure against the piston.
Identifying Swollen Beads, Misaligned Pistons, and Barrel Obstructions
Remove the magazine. Check the feed lips. Are they bent?
Bent lips prevent proper feeding. Look into the hop-up chamber. Is there a visible blockage?
Sometimes a single bead lodges in the nozzle. This blocks airflow and movement. The piston hits it hard.
That impact makes a thudding click.
Inspect the piston seal. If it’s torn, air leaks escape. The piston loses compression.
It slams forward harder than intended. This causes knocking sounds. Also, check barrel alignment.
If the inner barrel shifts, it rubs against the outer shroud. Rubbing creates scraping noises. These vary in intensity with RPM changes.
The Fix: Clearing Jams and Adjusting Hop-Up Tension
Power off the device. Manually retract the charging handle. Pull the piston back fully.
This releases pressure. Remove any visible beads from the nozzle. Use tweezers if needed.
Be gentle. Scratching the barrel ruins accuracy. Soak new beads correctly.
Follow package instructions for time and water volume. Usually, 2-4 hours is sufficient. Longer soaks make them brittle.
Adjust hop-up tension. Loosen it if beads are jamming frequently. Tight rubber bands increase friction.
Reduce friction to improve flow. Lubricate the piston O-ring lightly. This ensures smooth travel.
Test fire with fresh, properly sized beads. Watch for consistent ejection. Smooth flight paths indicate resolved jams.
Common Mistakes That Turn a Small Click into Total Failure
Ignoring symptoms accelerates damage. Many users try quick fixes that worsen the problem. We’ve seen these errors repeatedly in support forums and repair logs.
Avoid them to save money and hardware.
Why Petroleum Lubricants and High-Voltage Upgrades Kill Gearboxes
Petroleum-based greases eat nylon. They cause swelling and brittleness. Gears crack under load.
Always use synthetic silicone or PTFE-based lubricants designed for plastics. Never substitute household oils. They attract dust like magnets.
Dust acts as abrasive paste. This grinds gears to dust in weeks.
High-voltage batteries overwhelm stock motors. A 14.8V pack in a motor rated for 11.1V draws excessive current. Windings overheat.
Insulation melts. Short circuits occur. The resulting spark sounds like a loud pop.
Stick to recommended voltage ranges. Upgrade motors and gears simultaneously if increasing power. Matching components is essential for longevity.
When to Stop Troubleshooting and Buy Parts (or a New Blaster)
Sometimes, repair isn’t worth the effort. You need to weigh costs against your skill level. If you lack soldering tools or precision screwdrivers, stop here.
Forcing repairs without proper equipment often causes irreversible damage.
Cost-Benefit Analysis of Repair vs. Replacement
Compare part prices to the unit’s value. A full gearbox kit typically runs $15 to $25. High-quality motors cost $30 to $40.
If your blaster is under $60 new, replacement might be cheaper. Factor in your time too. Spending three hours fixing a $40 toy rarely makes sense.
However, if you enjoy tinkering, repairs offer great learning. Replacing stripped gears teaches mechanical intuition. Swapping microswitches builds electrical confidence.
These skills transfer to other projects. But know your limits. Cracked chassis housings are unfixable.
Melted motor windings require professional rewinding. In those cases, buy a new unit. It saves frustration and money long-term.
| Scenario | Recommended Action | Estimated Cost |
|---|---|---|
| Dry Gears / Minor Wear | Clean & Re-grease | <$5 (Lubricant) |
| Stripped Nylon Gears | Replace Gear Set | $15–$25 |
| Faulty Microswitch | Solder New Switch | $5–$10 |
| Cracked Housing | Buy New Unit | $40–$80+ |
| Burnt Motor Windings | Buy New Unit | $40–$80+ |
Always check warranty status first. Many manufacturers cover defects for 90 days. Contact support before opening anything up.
Unauthorized disassembly voids coverage instantly.
Frequently Asked Questions About Splatter Ball Gun Noises
These questions come up constantly in user forums. We’ve compiled the most critical ones below. Answers focus on immediate diagnostics and safety.
Why does my gun click but not shoot?
This usually points to an electrical disconnect. The trigger engages, but power doesn’t reach the motor. Check battery charge levels first.
Low voltage prevents startup. Next, inspect connector pins for corrosion. Dirty contacts block current flow.
Finally, test the microswitch continuity. A dead switch stops the signal entirely. Fix these issues to restore function.
Can I use WD-40 on my gears?
No. Never use petroleum-based products. They degrade nylon polymer rapidly.
The plastic becomes brittle and cracks. Use only silicone-based or PTFE grease. These lubricants protect plastic components.
They also resist water washout. Proper lubrication extends gear life significantly. Stick to manufacturer-recommended fluids.
How do I know if my flywheels are loose?
Spin them by hand with the battery disconnected. Watch for wobble or lateral movement. Healthy wheels rotate perfectly true.
Any side-to-side play indicates looseness. Tighten set screws with a hex driver. Apply thread locker if screws keep backing out.
Secure wheels prevent vibration and noise. Regular checks avoid catastrophic failure.
Is clicking normal during break-in?
Slight noise occurs initially. New gears settle into position. This lasts about 50 to 100 shots.
Persistent grinding is not normal. Loud clacking signals misalignment. Monitor the sound closely during early use.
If it worsens, stop immediately. Inspect for assembly errors. Break-in should smooth out, not get louder.
Patience pays off with smoother operation.

Similar Posts