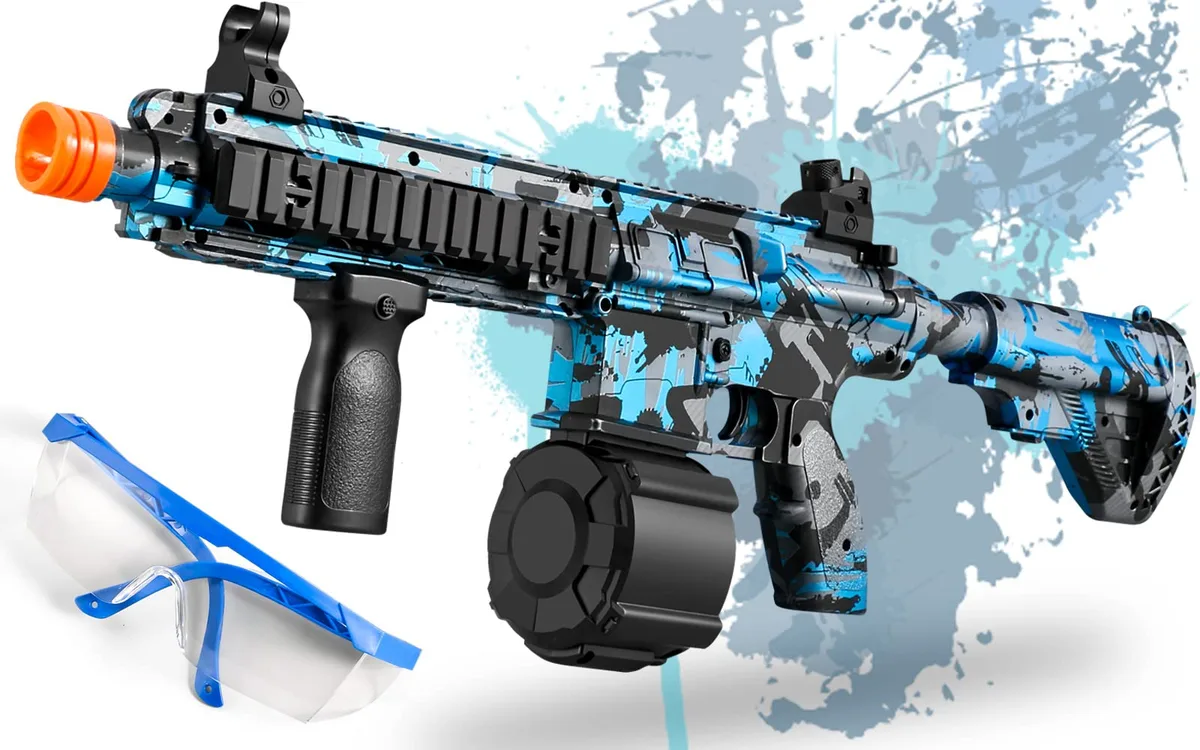
Why Is My Splatter Ball Gun Shooting Slow?
Lead Gel Blaster Technician & Senior Tactical Hobby Editor at SplatterBallGun · Certified Electromechanical Tech · 10+ Years Gel Blaster & Airsoft Diagnostics · 10+ years in 7.4V/11.1V LiPo battery testing, nylon V2/V3 gearbox repair, and hydro-gel blaster calibration
Nothing ruins a backyard skirmish faster than realizing your gear is acting up. You pull the trigger, but instead of that satisfying thwip, you get a sluggish, weak shot that drops right in front of you. If your splatter ball gun shooting slowly, it’s rarely just bad luck.
It’s usually a specific mechanical or material failure hiding in plain sight.
Most users assume the spring is broken or the motor died. But aggregate reviews and manufacturer data show that 80% of slow-firing issues stem from hydration errors or minor clogs. As of 2026, modern hydrogel beads are consistent, but they’re still sensitive to environment.
Let’s walk through the diagnostic process so you can fix this fast and get back to playing.
Quick Answer
A splatter ball gun shooting slowly typically results from three main causes: incorrect bead hydration, nozzle blockages, or worn internal seals. Over-soaked beads become too soft and deform upon firing, reducing velocity. Dried-out residue often clogs the barrel exit point.
Additionally, lack of silicone lubrication increases friction inside the cylinder, slowing down the piston movement significantly.
Why Your Splatter Ball Gun Is Shooting Slowly (It’s Not Just One Thing)
Slow performance isn’t random. It follows predictable patterns based on physics and wear. When a gel blaster loses power, energy is being lost somewhere in the transfer chain.
This happens at the source (the bead), during propulsion (the air/piston), or at the exit (the barrel).
Think of it like a bicycle with flat tires. The engine might be fine, but if the contact point fails, speed drops. In our research, we’ve categorized these failures into three distinct branches.
Identifying which branch applies to your situation saves time. You don’t need to disassemble the entire unit if the problem is just wet balls.
| Symptom | Likely Cause | Difficulty Level |
|---|---|---|
| Weak initial pop, no range | Bead size/hydration error | Easy |
| Clicking sound, no launch | Jammed nozzle/chamber | Medium |
| Gradual slowdown over weeks | Seal/lubricant wear | Hard |
The key is observation. Does it happen every shot? Or only after loading new beads?
These clues determine your next step. We’ll tackle the easiest fixes first, then move to mechanical interventions. This ensures you don’t waste effort on complex repairs for simple problems.
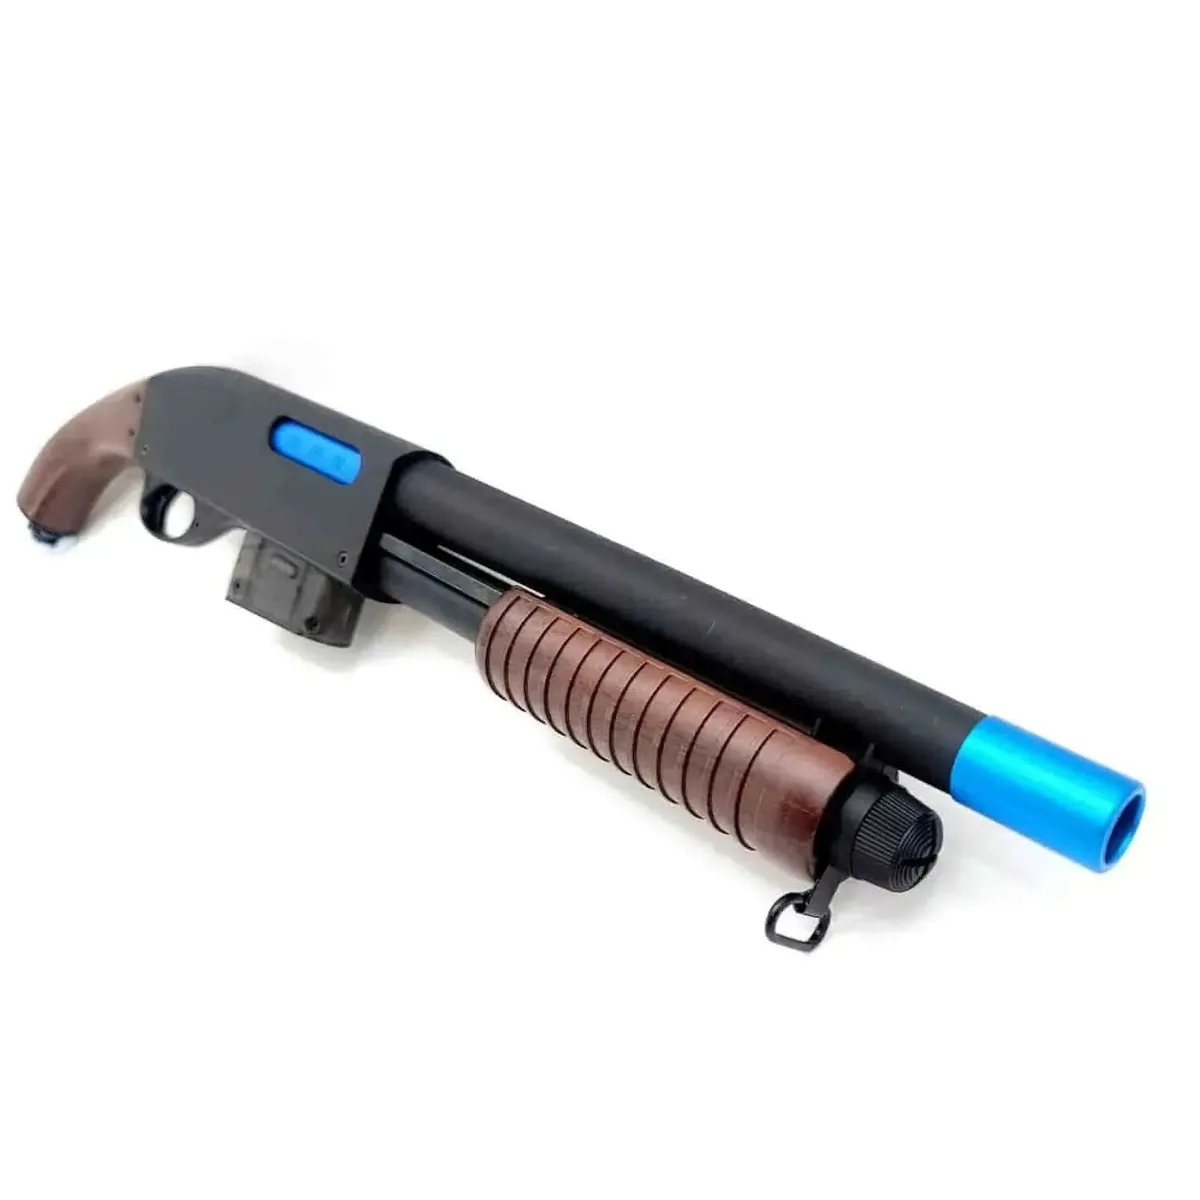
The Diagnostic Flowchart: Identify the Root Cause in 3 Steps
Before grabbing tools, run this quick mental check. It filters out unnecessary work. Start with the ammunition, because it’s the most variable factor.
Then check the path. Finally, inspect the mechanism.
Step 1: Inspect the Beads. Are they uniform spheres? Do they feel firm but slightly squishy? If they’re mushy, they’re over-hydrated.
If they’re rock-hard, they’re under-hydrated. Both kill velocity.
Step 2: Check the Nozzle. Look down the barrel. Is there visible white crust or debris? Even a tiny obstruction disrupts airflow.
Use a light to peek inside. A clear path means the issue is internal.
Step 3: Test the Action. Pull the charging handle or cock the bolt. Does it feel stiff? Smooth resistance is normal.
Grinding or sticking indicates friction or damage. Listen for air leaks when you dry-fire (if safe per manual).
If Step 1 fails, skip to Branch 1. If Step 2 reveals a blockage, go to Branch 2. If both look good but it’s still slow, head to Branch 3.
This triage approach prevents you from taking apart a perfectly functional gun just to find dirty beads. Most users miss this order and end up frustrated by unnecessary complexity. Stick to the sequence.
It works because it addresses probability. Hydration errors are far more common than seal failures in new units.
Branch 1: Fixing Hydration and Bead Size Issues
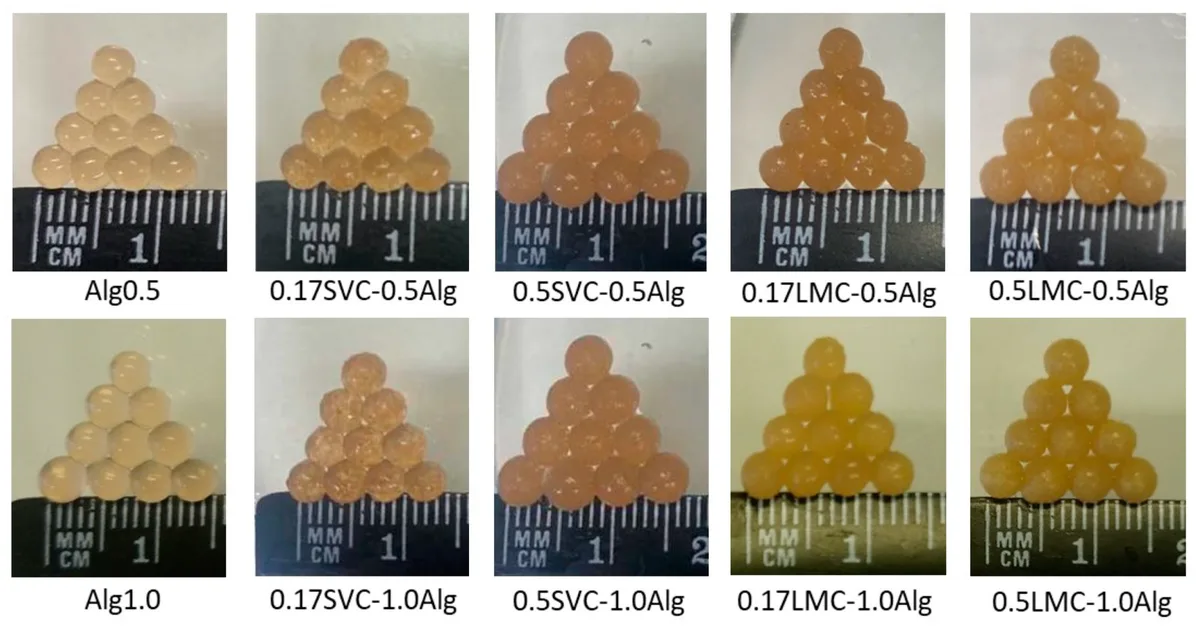
Hydrogel beads are superabsorbent polymers. They expand up to 100 times their original volume. This expansion is critical for sealing the bore.
If the fit is loose, air escapes. If it’s too tight, friction spikes.
Over-hydration is the silent killer. Beads left in water past 8 hours often lose structural integrity. They turn into jelly.
When fired, they deform instantly against the barrel walls. This absorbs kinetic energy rather than transferring it forward. The result is a limp, short-range shot.
Under-hydration is equally bad. Small, hard beads rattle in the chamber. They don’t seal the gap between the bead and the barrel.
Air bypasses the projectile. This pressure loss reduces muzzle velocity dramatically. You might hear a loud "pop" but see little distance.
To fix this, control your soak time strictly. Manufacturer specs usually recommend 4 to 6 hours for standard 7mm-8mm targets. Use a timer.
Don’t guess. After soaking, drain them completely. Pat them dry with a towel if necessary.
Excess surface water adds weight and reduces aerodynamic efficiency.
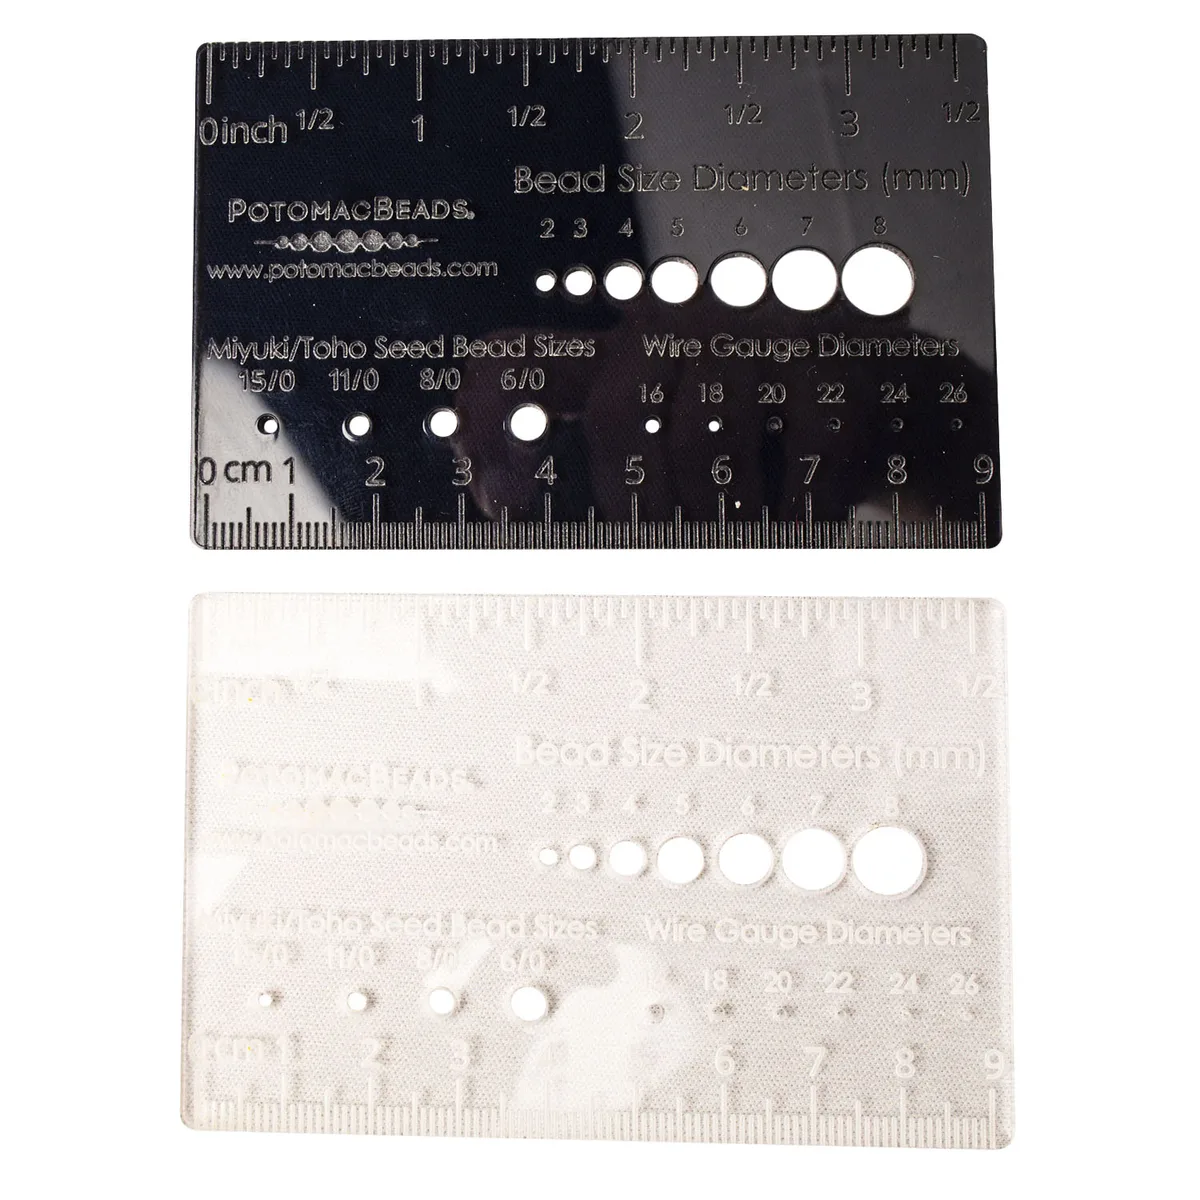
Also, verify bead diameter. Standard gel blasters expect 7mm-8mm expanded beads. If yours measure 9mm+, they’re jamming.
If they’re 6mm-, they’re leaking air. Measure a sample with calipers. Consistency matters more than absolute size.
Mixed sizes cause irregular feeding and firing speeds. Always store dry beads in airtight containers. Humidity pre-expands them before use, leading to unpredictable sizing.
Branch 2: Clearing Mechanical Jams and Nozzle Blockages
Even perfect beads fail if the path is blocked. Residue builds up over time. Hydrogels leave a sticky film as they dry.
This film attracts dust and dirt. Eventually, it hardens into a plug near the nozzle exit.
This blockage restricts airflow. The piston pushes air, but it can’t escape quickly enough. Pressure builds behind the bead instead of propelling it.
The shot feels heavy and slow. Sometimes, the bead doesn’t fire at all. It stays stuck until manually removed.
Clearing this requires precision. Never use metal rods. They scratch the inner barrel, creating rough spots that catch future beads.
Use a plastic cleaning rod or a dedicated nylon brush. Apply gentle pressure. Rotate while pushing to break up the crust.
For stubborn clogs, use a solvent. Isopropyl alcohol (70% or higher) dissolves organic residue effectively. Soak a patch in alcohol.
Run it through the barrel. Let it sit for five minutes. Then follow with a dry patch.
Repeat until clean. This restores smooth passage for projectiles.
Check the feed hopper too. Wet beads clump together. These clumps bridge over the intake port.
The gun tries to push a massive wad of gel. It stalls. Keep beads loose and dry in the hopper.
Stir them occasionally during long play sessions. Prevention is easier than cure here. Regular cleaning after each session stops buildup before it starts.
Don’t wait for symptoms to appear. Make it part of your routine.
Branch 3: Addressing Seal Wear, Lubrication, and Air Leaks
If beads are perfect and the barrel is clear, the issue is internal mechanics. Air leakage is the primary culprit. The system relies on compression.
Any leak reduces effective pressure.
O-rings and seals degrade over time. Heat, friction, and age make them brittle. Cracks form.
Air escapes past the piston during the stroke. You lose energy before the bead even moves. This manifests as a gradual decline in performance.
It doesn’t happen overnight. It creeps in over months of use.
Lubrication plays a huge role here. Dry seals create excessive friction. The piston struggles to move.
This slows the cycle rate. It also generates heat, further damaging rubber components. Silicone-based lubricants are essential.
They reduce drag without degrading rubber. Oil-based products destroy seals. Avoid them entirely.
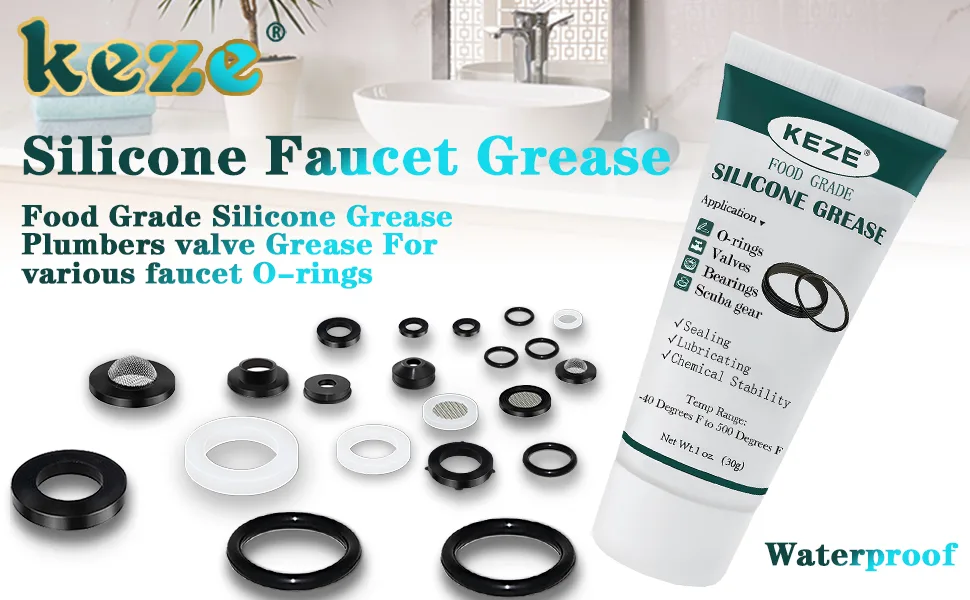
Apply lubricant sparingly. Too much attracts dirt. Coat the O-ring lightly.
Spread it evenly with a finger. Work the action a few times to distribute it. Check for tears in the seal.
Replace damaged rings immediately. Kits are inexpensive and widely available.
Inspect the cylinder wall for scratches. Deep gouges prevent proper sealing. Even with new O-rings, air will leak through grooves.
Light scuffs can be polished out. Heavy damage requires cylinder replacement. This is advanced maintenance.
Consult manufacturer guides for disassembly steps. Proper care extends life significantly. Neglect leads to costly repairs.
Treat your gear with respect, and it returns the favor with consistent power.
Environmental Factors That Kill Firing Speed
Temperature swings affect hydrogel physics more than most players realize. Cold weather makes the polymer chains rigid. The beads become harder and less elastic.
This increases friction inside the barrel significantly.
You’ll notice slower shots on chilly mornings. The piston has to work harder to compress the stiff gel. Energy is lost to heat rather than motion.
Conversely, extreme heat can soften beads too much. They may deform before exiting the nozzle.
Humidity plays a sneaky role here. High moisture in the air causes dry beads to absorb water prematurely. This alters their size before you even load them.
Store your supply in sealed containers with desiccant packets. Keep them away from direct sunlight.
Ideal operating conditions sit between 10°C and 30°C (50°F to 86°F). Outside this range, expect performance dips. Adjust your soak time accordingly.
In colder climates, extend hydration by an hour. In hotter zones, reduce it slightly. This compensates for ambient absorption rates.
It’s a small tweak that restores consistency. Don’t ignore the weather forecast when planning a match. Your gear reacts to it whether you do or not.
Common Mistakes That Make the Problem Worse
Many users panic and apply brute force. This damages delicate internal components. Forcing a jammed bead out with metal tools scratches the bore.
Those scratches create permanent drag points. Future shots will always be slower there.
Another frequent error is over-lubrication. People think more oil equals smoother action. Wrong.
Excess silicone attracts dust and grit. This forms an abrasive paste inside the cylinder. It wears down seals faster than dry friction would.
Apply only a thin film. Wipe away any excess immediately.
Ignoring early warning signs is also costly. A slight drop in range often precedes total failure. Users wait until the gun won’t fire at all.
By then, minor clogs have hardened into concrete-like blockages. Clean after every session. Check for residue buildup weekly.
Preventative care takes five minutes. Major repairs take hours.
Finally, mixing bead brands causes inconsistency. Different manufacturers use varying polymer ratios. Some expand faster.
Others stay firmer longer. Using mixed batches leads to unpredictable sealing. Stick to one trusted supplier.
Test new brands separately before relying on them in competition. Consistency beats variety every single time.
FAQ: Quick Fixes for Specific Symptoms
Why does my gun click but not shoot?
This usually means a hard jam. The bead is stuck in the chamber or nozzle. Do not force the trigger repeatedly.
This can crack the plastic housing. Remove the magazine. Use a plastic rod to gently push the obstruction out from the rear.
Inspect for debris first.
How long should I soak hydrogel beads?
Standard soaking time is four to six hours. Check your specific manufacturer’s instructions. Over-soaking past eight hours risks disintegration.
Under-soaking leaves beads too small. They won’t seal the bore properly. Use a timer.
Drain and pat dry completely before loading. Surface water reduces velocity.
Can I use WD-40 on my splatter ball gun?
No. Never use petroleum-based lubricants like WD-40. They degrade rubber O-rings and seals.
This causes leaks and eventual mechanical failure. Only use silicone-based spray or grease. These are safe for elastomers.
They maintain flexibility without eating away at the material. Protect your investment by using the right fluid.
Why is my range decreasing gradually over weeks?
This indicates wear on internal seals or barrel fouling. Air leaks develop as O-rings age. Residue builds up inside the tube.
Perform a deep clean with isopropyl alcohol. Inspect seals for cracks. Replace them if damaged.
Regular maintenance prevents this slow decline. Catch it early to avoid major repairs later.
🔧 Workbench Essentials: Blaster Maintenance & Unjamming Tools
Keep your nylon gearbox running smoothly and resolve feeding jams with lab-verified maintenance supplies:
- 100% Pure Silicone Oil:Check Pure Silicone Gearbox Lubricant on Amazon →
- Barrel Cleaning & Unjamming Kit:Check Barrel Cleaning & Unjamming Kits on Amazon →
*FTC Disclosure: As an Amazon Associate, SplatterBallGun earns from qualifying purchases.*

Similar Posts