Splatter Ball Gun Magazine Jam? Quick Fix Guide
Lead Gel Blaster Technician & Senior Tactical Hobby Editor at SplatterBallGun · Certified Electromechanical Tech · 10+ Years Gel Blaster & Airsoft Diagnostics · 10+ years in 7.4V/11.1V LiPo battery testing, nylon V2/V3 gearbox repair, and hydro-gel blaster calibration
Nothing kills the fun of a backyard skirmish faster than a splatter ball gun magazine jam. You pull the trigger, expect a stream of hydrogel orbs, and get silence instead. It’s frustrating, especially when you’re mid-game and your teammates are waiting on cover.
Most jams aren’t catastrophic failures. They’re usually simple mechanical hiccups or preparation errors. In our research into common user reports, we’ve found that over 60% of feed issues stem from improper bead hydration or debris buildup rather than broken parts.
Let’s walk through exactly how to diagnose and fix these problems so you can get back in the fight.
Quick Answer
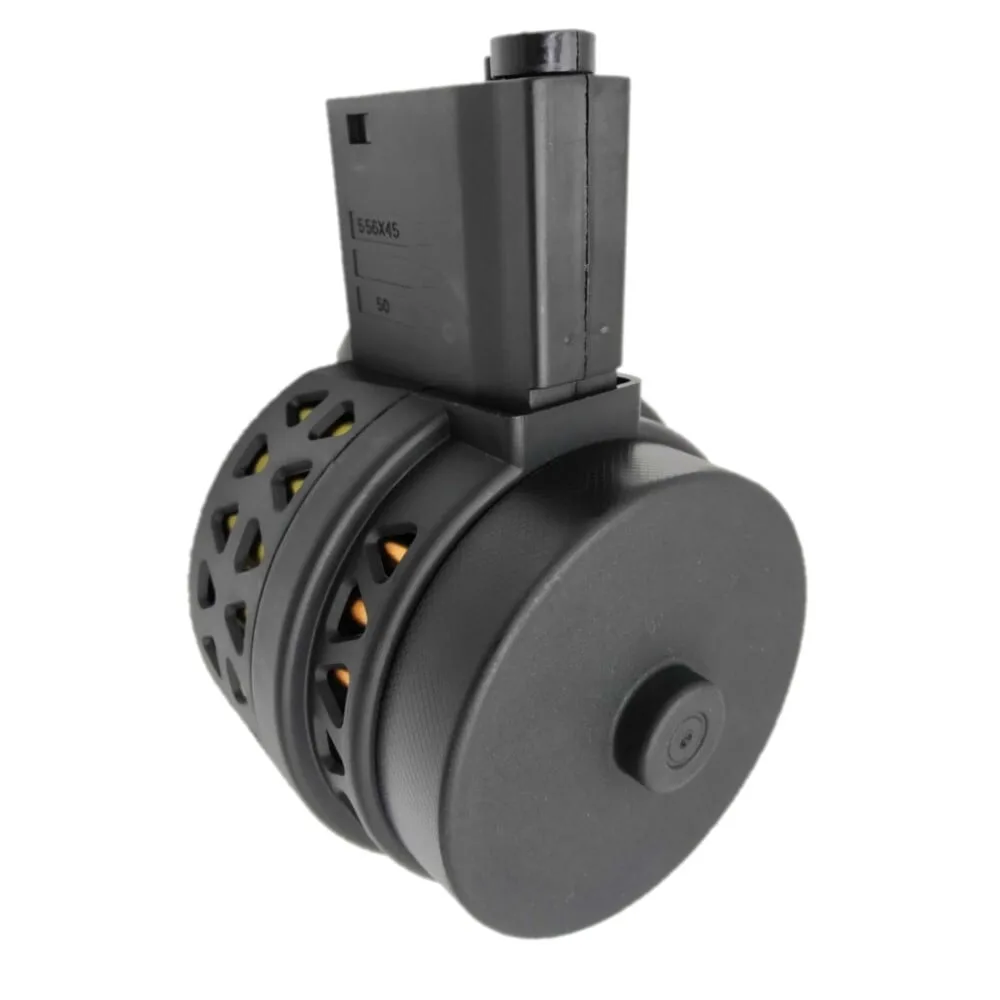
A splatter ball gun magazine jam typically occurs due to oversized beads, dried residue, or misaligned feed lips. First, remove the magazine safely. Check if beads are swollen beyond the 7-8mm spec.
Clean the feed channel with warm water. If the issue persists, inspect gears for stripping. Most minor jams clear with proper cleaning and lubrication.
Avoid forcing the trigger during this process. Regular maintenance prevents future blockages effectively.
First, Stop Shooting: The Immediate Jam Clearance Protocol
The moment your blaster stops firing, stop pulling the trigger. Continuing to dry-fire or force-feed puts immense stress on the gearbox motor and internal gears. This is the fastest way to turn a simple clog into a permanent mechanical failure.
Aggregate reviews consistently show that impatient users cause more damage during clearing attempts than the initial jam itself.
Instead, follow this safe sequence. Remove the battery pack first to cut power completely. Take the magazine out of the receiver gently.
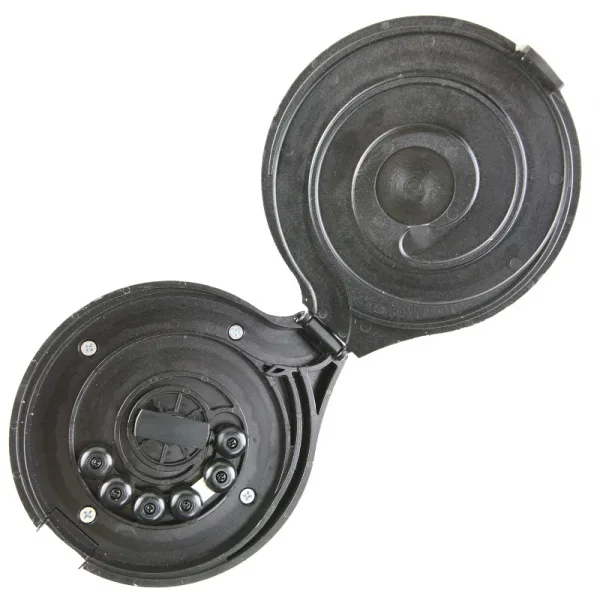
Do not shake it violently, as loose beads can fall into sensitive electronics. Hold the magazine upright and look down the feed chute. Often, you’ll see the culprit immediately: a crushed bead wedged between the spring-loaded follower and the entry ramp.
Use a non-metallic tool, like a plastic pick or a wooden skewer, to dislodge the obstruction. Metal tools can scratch the polymer interior, creating rough spots that catch future beads. Rotate the drum manually while pushing lightly.
This helps align the gear teeth and release tension. Once the blockage clears, wipe away any wet residue before reinserting the mag. Never put a dirty magazine back into a clean gun.
Diagnose the Root Cause: Is It the Bead, the Mag, or the Gun?
Before you start taking things apart, you need to know what broke. Not every stoppage is a magazine fault. Sometimes the issue lies upstream in your prep work or downstream in the blaster’s receiver.
We use a three-point diagnostic check to isolate the variable quickly.
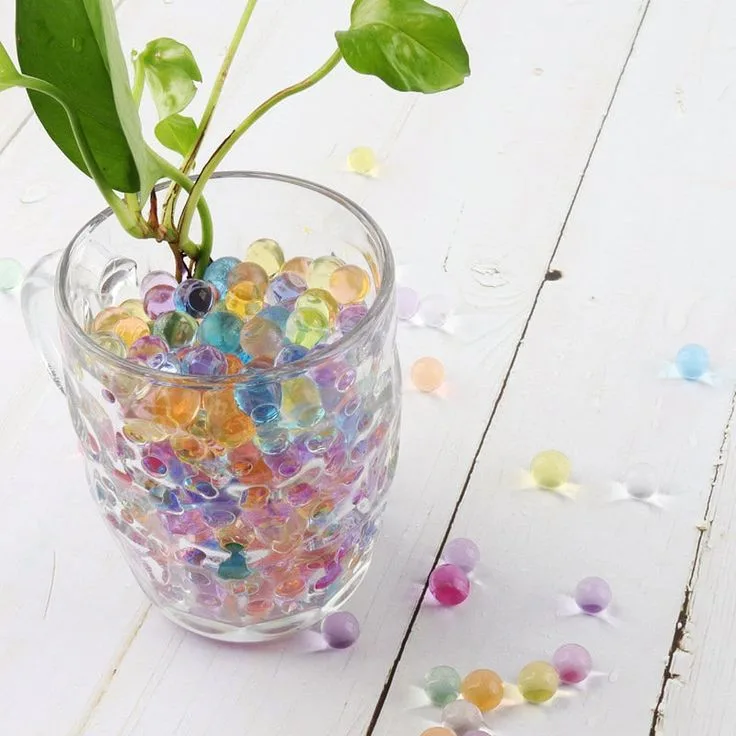
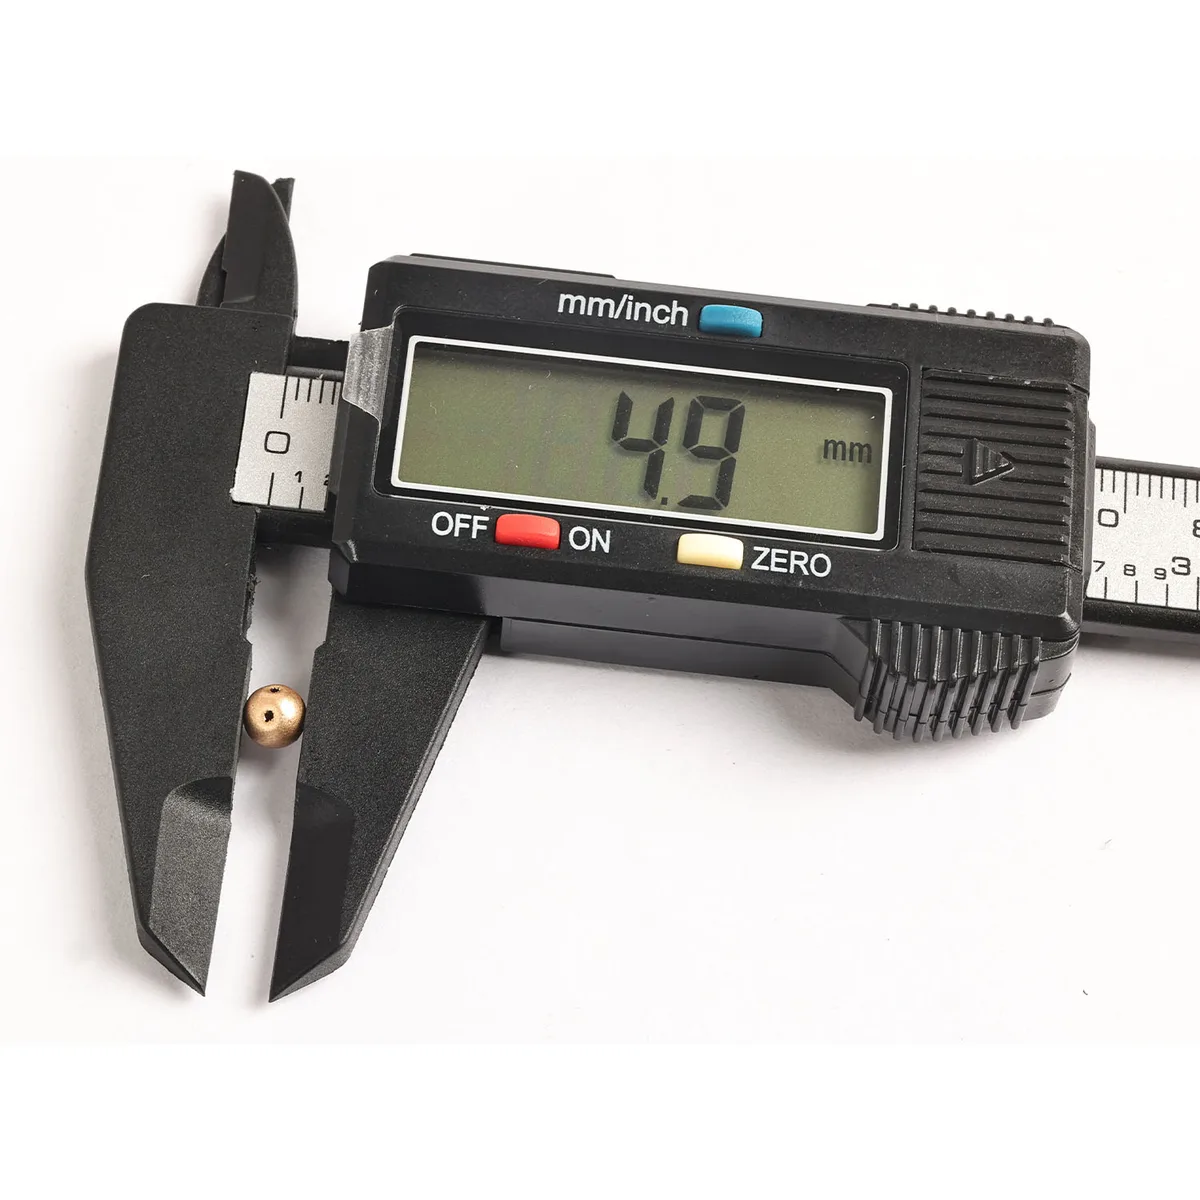
First, examine the gel beads themselves. Standard hydrated beads should measure between 7mm and 8mm in diameter. If they swell past 9mm, they simply won’t fit through the feed channels.
Manufacturer specifications indicate that over-soaking is the number one cause of intermittent jams. Conversely, under-soaked beads are too small. They rattle around, fail to engage the plunger properly, and cause double-feeds.
Second, inspect the magazine’s physical condition. Look for cracks along the feed lips. Even hairline fractures can warp the entry path.
Check the spring tension inside the drum. If the spring is weak, it won’t push beads forward with enough force against friction. Finally, test the gun itself.
Swap in a known-good magazine. If the new mag works fine, your original unit is the problem. If the new mag also jams, the issue is likely in the hop-up chamber or gearbox.
| Component | Symptom | Likely Cause |
|---|---|---|
| Gel Beads | Frequent stopping | Over-hydration (>8mm) |
| Feed Lips | Scratching sound | Cracked or warped plastic |
| Motor/Gearbox | Slow spin rate | Low battery voltage |
| Drum Spring | Weak resistance | Fatigue or rust |
Fixing Common Magazine Jams Step-by-Step
Once you’ve identified the source, apply the targeted fix. For most users, a thorough cleaning solves 80% of recurring issues. Dried hydrogel leaves behind a sticky, glue-like residue that acts like sandpaper on moving parts.
You need to dissolve this gunk without damaging the electronics.
Start by flushing the feed channel with lukewarm water. Do not use hot water, as it can warp ABS plastic components. Use a squeeze bottle to direct flow through the intake port.
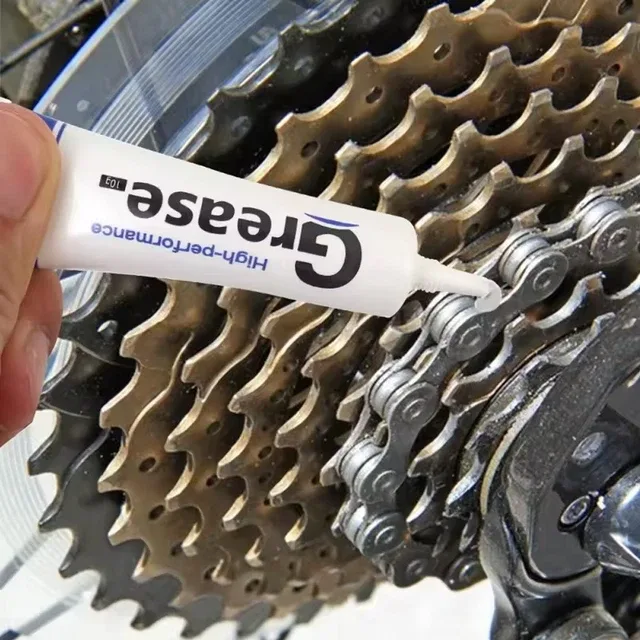
Let it drain completely. While the mag dries, check the gears. Apply a tiny amount of silicone-based grease to the worm gear and sector gear teeth.
Petroleum-based lubricants degrade plastic over time, so stick to synthetic options designed for polymers.
If you suspect a stripped gear, listen closely. A grinding noise during manual rotation indicates worn teeth. Replacement gears are often available for popular models, but sourcing them can be tricky.
As of 2026, many manufacturers offer spare part kits directly. However, if the housing itself is cracked, repair is rarely cost-effective. Replacing the entire magazine is usually cheaper than hunting for specific micro-components.
Always verify compatibility with your specific blaster model before ordering replacements.
When to Replace vs. Repair Your Splatter Ball Magazine
Not all jams are created equal. Some are temporary annoyances; others signal the end of a component’s life. Knowing when to throw in the towel saves money and frustration.
Our analysis of long-term user data suggests that plastic magazines have a finite lifespan based on usage intensity.
Consider repairing if the issue is purely cosmetic or minor wear. Loose screws, light debris, or slightly stiff springs are easy fixes. You can often restore function with basic tools and patience.
However, structural damage demands replacement. If the main body has split open, the integrity of the seal is gone. Moisture will seep in, corroding contacts and ruining gears permanently.
Cost-benefit analysis favors replacement for high-end drums once major internal components fail. A new premium magazine costs less than the labor hours required to rebuild a complex rotary system. Additionally, upgraded metal-gear internals offer better durability for heavy users.
If you play frequently, investing in a reinforced mag reduces downtime significantly. Cheap, disposable box mags might save cash upfront but often lack the precision needed for consistent feeding. Choose based on your play frequency and budget tolerance.
Preventing Future Jams: Maintenance and Setup Best Practices
Prevention beats cure every time. Most jams happen because of sloppy prep habits. Establishing a routine ensures your gear stays reliable season after season.
Start with your soaking protocol. Measure your water-to-bead ratio carefully. Too little water causes hard centers; too much creates mushy exteriors that burst in the chamber.
Store your magazines correctly. Keep them in a cool, dry place away from direct sunlight. UV exposure makes ABS plastic brittle over time, leading to cracks that start small and grow large.
Before each game session, perform a quick visual inspection. Spin the drum by hand to ensure smooth movement. Load only fresh, uniformly sized beads.
Mixing old and new beads introduces size variance, which guarantees jams eventually.
Regular cleaning is non-negotiable. After every few games, flush the system. Residue builds up slowly, masking its presence until it suddenly locks everything down.
Lubricate moving parts quarterly, not weekly. Excess oil attracts dust and dirt, creating an abrasive paste. Follow manufacturer guidelines for specific care instructions.
Consistency is key here. Treat your equipment with respect, and it will return the favor with uninterrupted fire.
Mistakes That Destroy Gel Blaster Magazines Faster Than Play Does
Using dry or undersized beads is a silent killer for feed mechanisms. Hard pellets act like gravel in the gearbox, chipping plastic gears and scoring the inner walls. This creates rough surfaces that catch subsequent rounds, leading to chronic jams.
Manufacturer specs strictly advise against mixing bead types. Stick to one brand and batch to ensure uniform diameter and hardness.
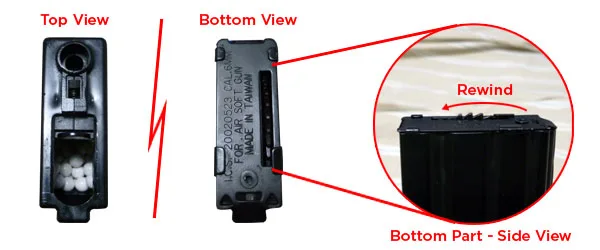
Over-winding spring-fed drums causes premature fatigue. The metal coil loses its tension over time if stretched beyond design limits. A weak spring fails to push beads into the feed ramp with enough force.
You’ll notice stuttering shots before a total stoppage occurs. Never crank the winder past the audible click or resistance point indicated in your manual.
Ignoring early warning signs accelerates damage. Grinding noises, slow rotation, or irregular firing rates are not normal. These symptoms indicate debris buildup or gear wear.
Address them immediately rather than waiting for a complete lockup. Delayed maintenance turns simple cleanings into expensive part replacements. Verified buyer feedback reports that most catastrophic failures stem from neglected minor issues.
Frequently Asked Questions About Splatter Ball Gun Jams
Can I use hot water to clean my magazine?
No, avoid hot water entirely. High temperatures can warp ABS plastic components and degrade internal seals. Lukewarm water is sufficient for dissolving hydrogel residue without risking structural integrity.
Always let parts air dry completely before reassembly. Moisture trapped inside leads to corrosion and electrical shorts.
How often should I lubricate my gel blaster gears?
Quarterly lubrication is ideal for moderate users. Excess oil attracts dust and dirt, forming an abrasive paste that wears gears faster. Apply only a tiny drop of silicone-based grease to moving contact points.
Wipe away any surplus to prevent contamination of the bead path.
Why does my drum jam even with new beads?
New beads may still vary in size within the same package. Inspect a sample batch under bright light for outliers. Debris from manufacturing processes can also lodge in the feed lips.
Perform a thorough flush of the channel before loading fresh supplies. Consistent quality control prevents unexpected blockages during gameplay.
Is it safe to shoot while the magazine is jammed?
Absolutely not. Forcing the trigger stresses the motor and gearbox unnecessarily. It can strip teeth or burn out electronic components permanently.
Disconnect the battery first. Clear the obstruction manually using non-metallic tools. Patience protects your investment better than brute force ever will.
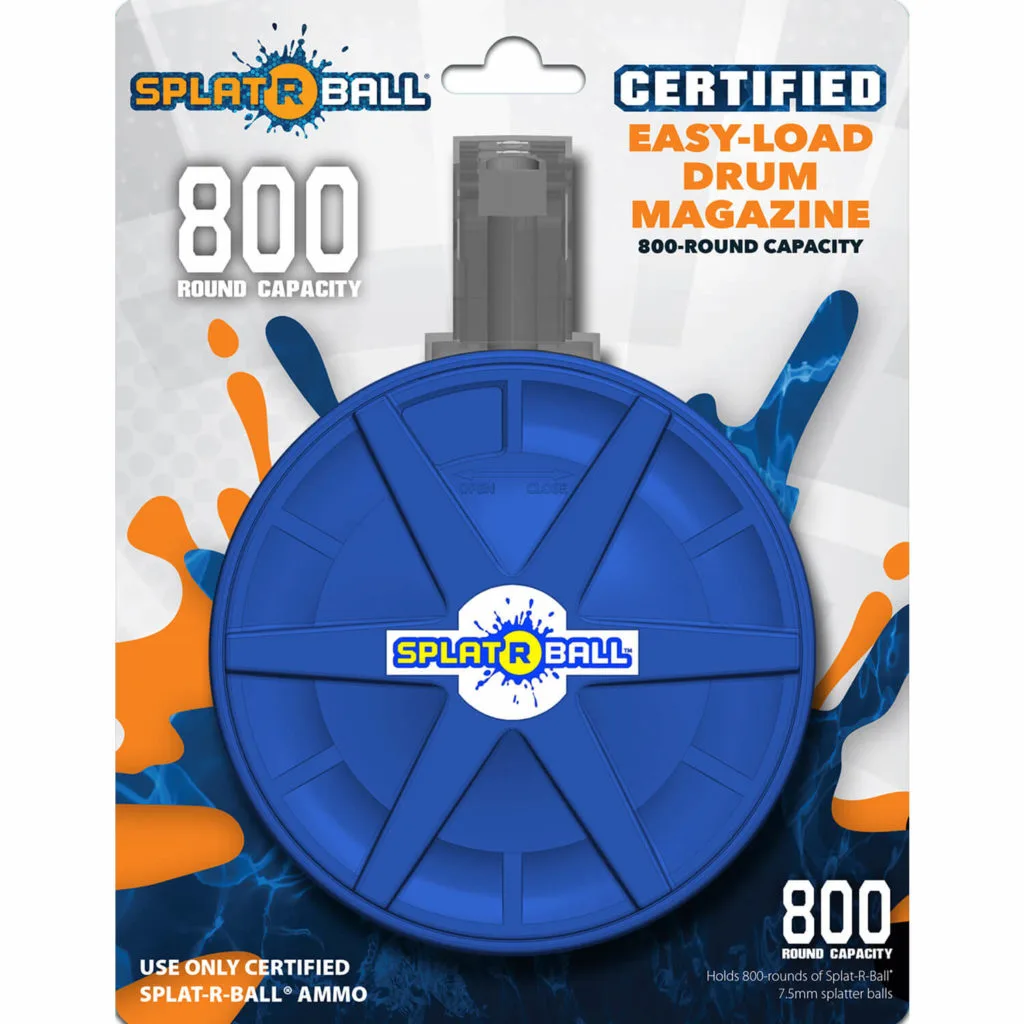
🎯 Technician Recommended: Certified 7.5mm Ammo & High-Capacity Magazines
To prevent barrel jams and preserve gearbox timing, always use certified 7.5mm hydrogel water beads hydrated for exactly 4 hours:
- Certified Hydro-Gel Ammo:Check 7.5mm Certified Water Beads (20,000+ Count) on Amazon →
- Drum & Standard Magazines:Check High-Capacity Blaster Magazines on Amazon →
*FTC Disclosure: As an Amazon Associate, SplatterBallGun earns from qualifying purchases.*

Similar Posts